I love recipes that feel like home and move quickly on weeknights. These enchiladas are exactly that: comforting, cheesy, and forgiving. You get bright tomato and onion at the end, a creamy, spicy filling, and a quick bake that pulls everything together.
No complicated sauces or long marinating required. If you have shredded rotisserie chicken in the fridge and a can of enchilada sauce on the shelf, you’re already halfway there. The assembly is straightforward, and the bake time is short—perfect for when you want dinner that tastes like you spent more time on it than you did.
Below I walk you through the ingredients, the exact steps, and a few realistic swaps and tips so these come out reliably every time. If you’re cooking for a crowd or just meal-prepping for the week, this is one you’ll make again and again.
What Goes Into Chicken Enchiladas

Ingredients
- 3 cups cooked chicken (shredded, rotisserie chicken works great!) — the main protein; pre-cooked chicken keeps this speedy.
- 8 ounces cream cheese (softened) — adds creaminess and helps bind the filling.
- 4 ounces green chilies (1 small can) — mild heat and a subtle tang; drain if you prefer less liquid.
- ½ teaspoon garlic powder — background savory flavor; use fresh garlic only if you adjust quantities.
- ½ teaspoon ground cumin — warm, earthy note that rounds out the filling.
- 1 cup Monterey Jack cheese (shredded) — melts smoothly and gives a mild, creamy cheesiness.
- salt and black pepper (to taste) — essential seasoning; add gradually and taste the filling.
- 8–10 small flour tortillas (or corn tortillas, if preferred) — they hold the filling; flour stays pliable, corn gives more texture.
- 15 ounces red enchilada sauce (1 can) — the saucy backbone; pour over the rolled enchiladas so they stay moist while baking.
- 1 cup Mexican blend (or cheddar cheese, shredded) — for a bubbly, browned topping.
- ½ cup red onion (finely diced) — added after baking for a sharp, fresh crunch.
- 1 tablespoon fresh cilantro (chopped) — bright finishing herb; add just before serving.
- ½ cup tomatoes (finely chopped) — fresh acidity to cut through the richness, also stirred on top after baking.
How to Prepare Chicken Enchiladas
- Preheat oven to 375°F (190°C). Grease a 9×13-inch baking dish.
- In a large bowl, combine 3 cups cooked shredded chicken, 8 ounces softened cream cheese, 4 ounces green chilies (1 small can), ½ teaspoon garlic powder, ½ teaspoon ground cumin, and 1 cup shredded Monterey Jack cheese. Mix until evenly combined. Season with salt and black pepper to taste.
- Warm the 8–10 small flour tortillas (or corn tortillas, if preferred) briefly in the microwave, one or a few at a time, until pliable.
- Spoon about 2–3 tablespoons of the filling into the center of each warmed tortilla. Roll each tortilla tightly and place seam-side down in the prepared baking dish. Arrange enchiladas in a single layer; use 8–10 tortillas as needed for the filling.
- Pour the entire 15 ounces of red enchilada sauce evenly over the rolled enchiladas so they are mostly covered.
- Sprinkle 1 cup shredded Mexican blend (or cheddar) cheese evenly over the sauce-covered enchiladas.
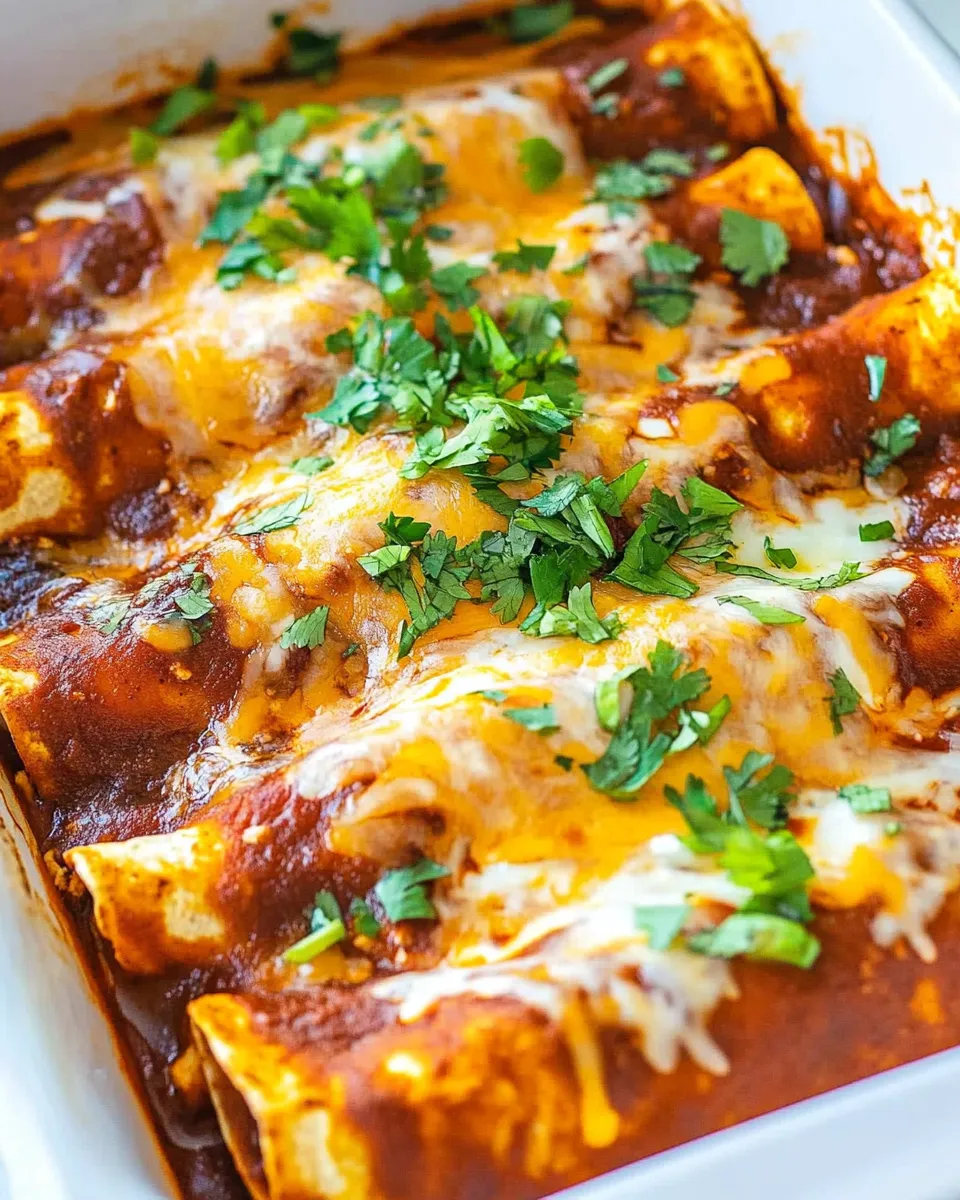
- Cover the baking dish with foil and bake for 15 minutes at 375°F (190°C). Remove the foil and bake an additional 10 minutes, or until the cheese is melted and bubbly.
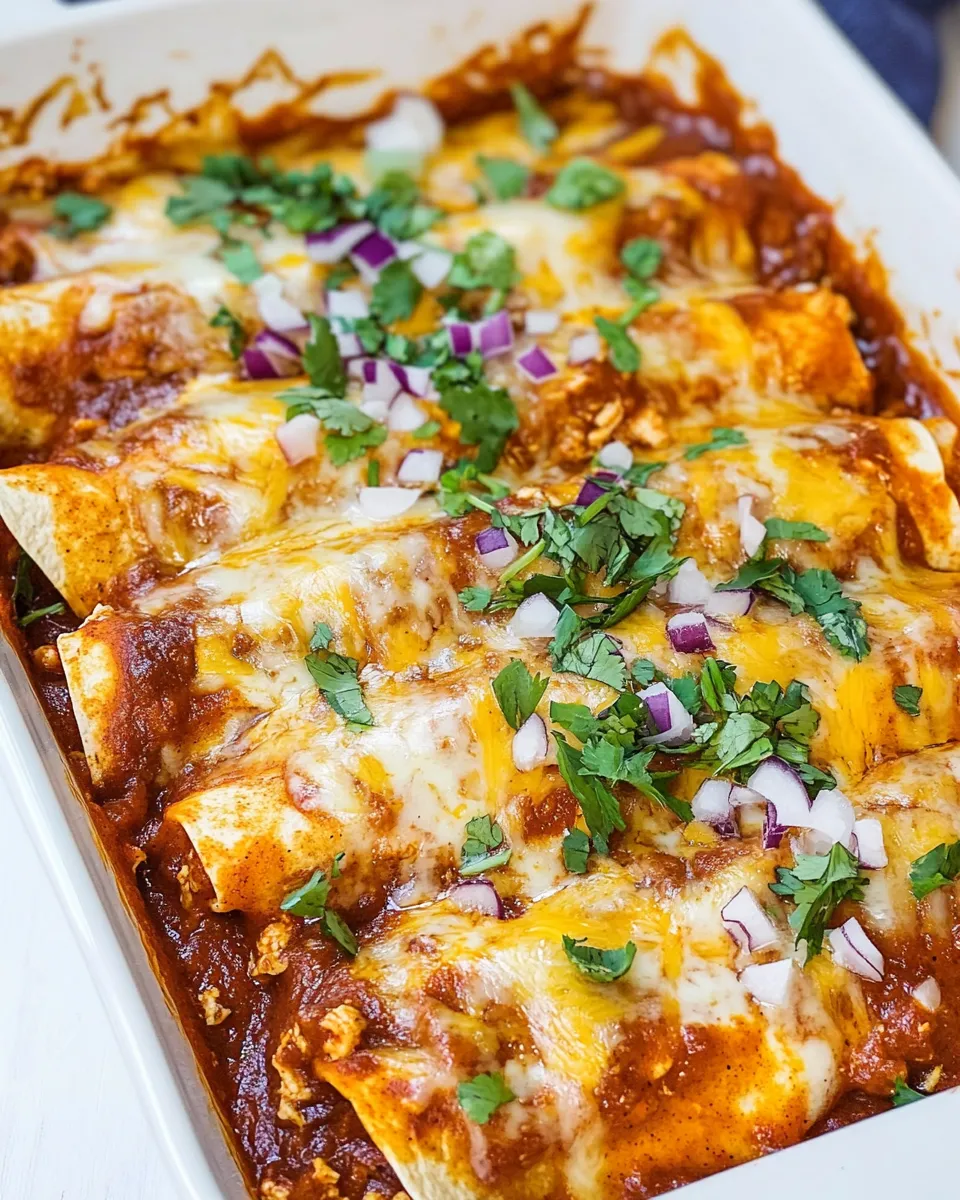
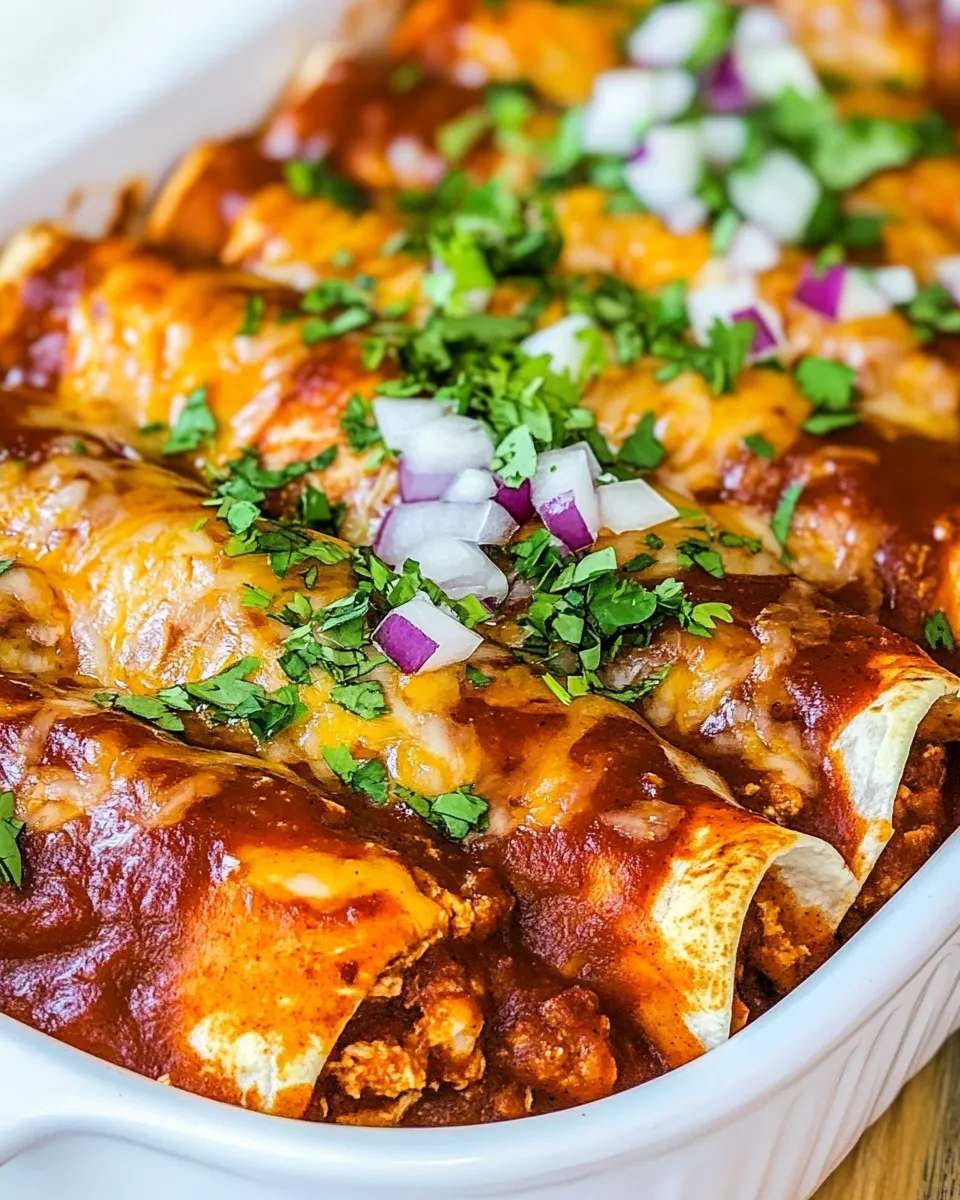
- Remove from the oven and immediately sprinkle with ½ cup finely diced red onion, 1 tablespoon chopped fresh cilantro, and ½ cup finely chopped tomatoes.
- Serve the enchiladas hot.
Why Cooks Rave About It
First, it’s the balance: creamy interior, savory chicken, melted cheese, and a bright finish from fresh onion, tomato, and cilantro. Texture plays a role too—soft tortillas give way to a silky filling, then the topping bubbles and browns for contrast.
Second, it’s efficient. You don’t need to make a sauce from scratch or simmer meat for hours. The cream cheese creates a rich, cohesive filling that stays moist, and the canned enchilada sauce keeps things fast without sacrificing flavor.
Finally, it’s forgiving. The recipe adapts to what you have—different cheeses, tortillas, or leftover proteins—and still delivers a satisfying dinner. That’s why home cooks and busy cooks both reach for it again.
Swap Guide
Proteins
- Use leftover turkey or pulled pork in place of the shredded chicken for a holiday or make-ahead twist.
- For a vegetarian option, swap the chicken for seasoned black beans or shredded roasted vegetables. Add an extra egg or a bit more cream cheese for binding if needed.
Cheese & Dairy
- Monterey Jack is mild and melty; swap in pepper jack for heat or a mild cheddar for a sharper bite.
- If you’re avoiding cream cheese, a thick ricotta mixed with a little lime juice can work, but the texture will be different.
Tortillas & Sauce
- Flour tortillas stay soft; corn tortillas add traditional flavor but may crack—warm them well and handle gently.
- If you like a smokier profile, try a chipotle or adobo-style enchilada sauce in place of the red sauce.
Toolbox for This Recipe
- 9×13-inch baking dish — the correct size ensures even baking.
- Large mixing bowl — for combining the filling thoroughly.
- Measuring spoons and cups — for accurate seasoning and cheese amounts.
- Cheese grater (if shredding fresh) or pre-shredded cheese — for the filling and topping.
- Foil — to cover during the first part of the bake and keep enchiladas from drying out.
- Microwave (or skillet) — to warm tortillas until pliable.
- Sharp knife and cutting board — for dicing onion and tomatoes.
Easy-to-Miss Gotchas
- Don’t skip warming the tortillas. Cold tortillas will crack and spill filling when you roll them.
- Don’t overfill each tortilla. The recipe specifies 2–3 tablespoons—more makes rolling messy and can lead to uneven baking.
- Season the filling to taste. The salt in the enchilada sauce and cheeses varies by brand, so taste a small spoonful of filling and adjust before rolling.
- Drain canned green chilies lightly if you prefer a thicker filling—too much liquid can thin the mix and make enchiladas soggy.
- When covering with foil, tent it slightly so the cheese doesn’t stick to the foil during the first bake phase.
Holiday-Friendly Variations
For Thanksgiving or Christmas, switch shredded chicken for leftover turkey and mix in a pinch of smoked paprika or a spoonful of cranberry salsa on the side for a festive pop. Serve with a slaw or roasted vegetables to round out the plate.
For a Cinco de Mayo spread, double the recipe, lay them in two dishes, and keep one vegetarian with black beans, roasted corn, and sautéed peppers. Finish both with a quick pico de gallo and lime wedges for brightness.
For holiday entertaining, bake ahead up to the foil-covered stage and refrigerate. On the day, pop them straight into a warm oven for the final bake and broil for a minute if you want extra browned cheese.
Method to the Madness
There’s a method behind the simple steps. Mixing shredded chicken with softened cream cheese and melted Monterey Jack creates a cohesive filling that won’t leach into the tortillas during baking. The green chilies and seasonings are distributed evenly so every bite has balanced flavor.
Warming tortillas makes them pliable. A microsecond in the microwave or a quick pass in a hot, dry skillet prevents tearing while rolling. Pouring the enchilada sauce over the rolled tortillas before adding the top cheese keeps everything moist and allows the sauce to bake into the seams.
The two-stage bake—covered, then uncovered—does two jobs: the foil traps steam and heats everything through quickly; removing it lets the cheese brown and the sauce reduce slightly so you get that appealing finished texture.
Shelf Life & Storage
Store leftovers in an airtight container in the refrigerator for 3–4 days. Reheat in a 350°F (175°C) oven covered with foil for about 15–20 minutes, or until heated through. For quicker reheating, microwave single portions, but the oven method preserves texture better.
To freeze: assemble and place in a freezer-safe dish without baking, or bake fully and freeze cooled portions. Unbaked, cover tightly with plastic wrap and foil and freeze for up to 2 months. To cook from frozen, thaw in the fridge overnight and then bake at 375°F (190°C) until heated through, about 25–35 minutes. If frozen after baking, reheat from frozen at 350°F (175°C) until warmed through; add a few extra minutes for even heating.
FAQ
Can I use corn tortillas?
Yes. Corn tortillas are traditional and flavorful, but warm them well to prevent cracking. You can quickly steam them under a damp paper towel in the microwave or char them briefly in a skillet.
How spicy are these?
Mild to moderate, depending on the green chilies and enchilada sauce you choose. For more heat, use a spicier sauce or add chopped jalapeño to the filling.
Can I make these ahead?
Yes. Assemble everything, cover tightly, and refrigerate for up to 24 hours before baking. If you assemble and freeze, follow the thaw-and-bake guidance in the storage section.
Do I have to use rotisserie chicken?
No, any cooked shredded chicken works—leftover baked or poached chicken is perfect. Rotisserie is just an easy shortcut.
Ready to Cook?
This is the kind of recipe that rewards straightforward effort. Gather the ingredients, shred the chicken, soften the cream cheese, and follow the steps. You’ll have a warming, cheesy dinner that comes together quickly and leaves room for improvisation. Bookmark it, tweak it for your family’s tastes, and enjoy the relief of a reliable, delicious weekday meal.

Easy Chicken Enchiladas
Ingredients
Ingredients
- 3 cupscooked chicken shredded, rotisserie chicken works great!
- 8 ouncescream cheese softened
- 4 ouncesgreen chilies 1 small can
- 1/2 teaspoongarlic powder
- 1/2 teaspoonground cumin
- 1 cupMonterey Jack cheese shredded
- salt and black pepper to taste
- 8-10 smallflour tortillas or corn tortillas, if preferred
- 15 ouncesred enchilada sauce 1 can
- 1 cupMexican blend or cheddar cheese, shredded
- 1/2 cupred onion finely diced
- 1 tablespoonfresh cilantro chopped
- 1/2 cuptomatoes finely chopped
Instructions
Instructions
- Preheat oven to 375°F (190°C). Grease a 9×13-inch baking dish.
- In a large bowl, combine 3 cups cooked shredded chicken, 8 ounces softened cream cheese, 4 ounces green chilies (1 small can), ½ teaspoon garlic powder, ½ teaspoon ground cumin, and 1 cup shredded Monterey Jack cheese. Mix until evenly combined. Season with salt and black pepper to taste.
- Warm the 8–10 small flour tortillas (or corn tortillas, if preferred) briefly in the microwave, one or a few at a time, until pliable.
- Spoon about 2–3 tablespoons of the filling into the center of each warmed tortilla. Roll each tortilla tightly and place seam-side down in the prepared baking dish. Arrange enchiladas in a single layer; use 8–10 tortillas as needed for the filling.
- Pour the entire 15 ounces of red enchilada sauce evenly over the rolled enchiladas so they are mostly covered.
- Sprinkle 1 cup shredded Mexican blend (or cheddar) cheese evenly over the sauce-covered enchiladas.
- Cover the baking dish with foil and bake for 15 minutes at 375°F (190°C). Remove the foil and bake an additional 10 minutes, or until the cheese is melted and bubbly.
- Remove from the oven and immediately sprinkle with ½ cup finely diced red onion, 1 tablespoon chopped fresh cilantro, and ½ cup finely chopped tomatoes.
- Serve the enchiladas hot.
Equipment
- 9×13-inch Casserole Dish
Notes
Corn or flour tortillas both work: just warm them first so they don’t tear.
Shred your cheese freshif you can. The melt is worth the extra couple of minutes.
Spice it upby adding jalapeños or hot sauce to the filling if you like heat.
Want to make it ahead?Assemble, refrigerate, and bake when ready, or freeze unbaked for up to 3 months.