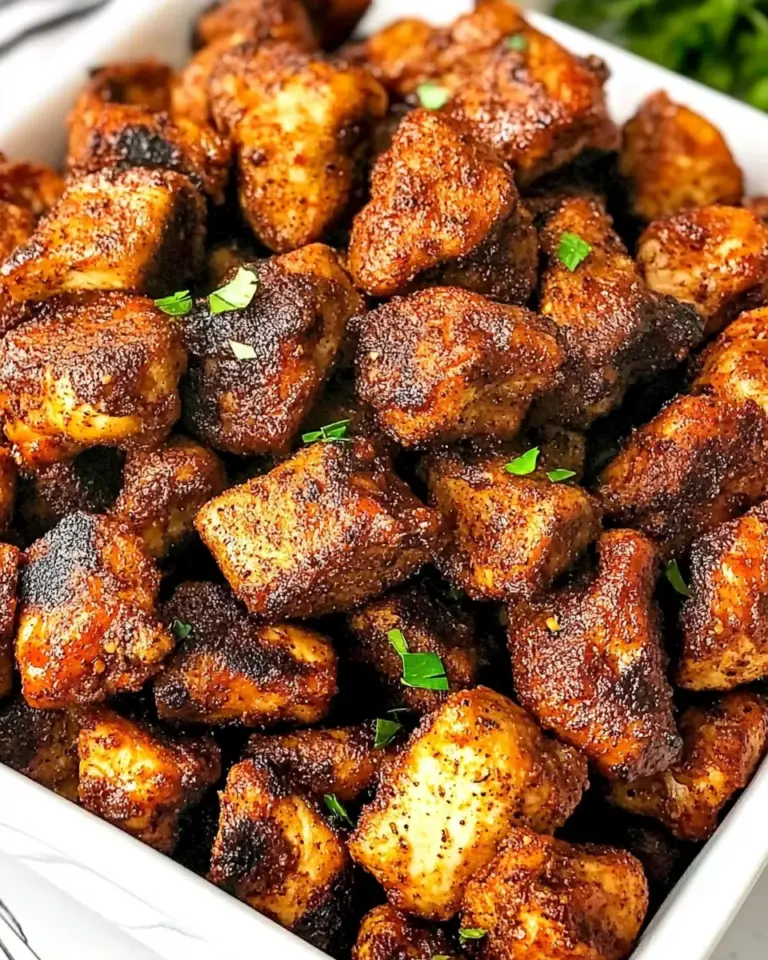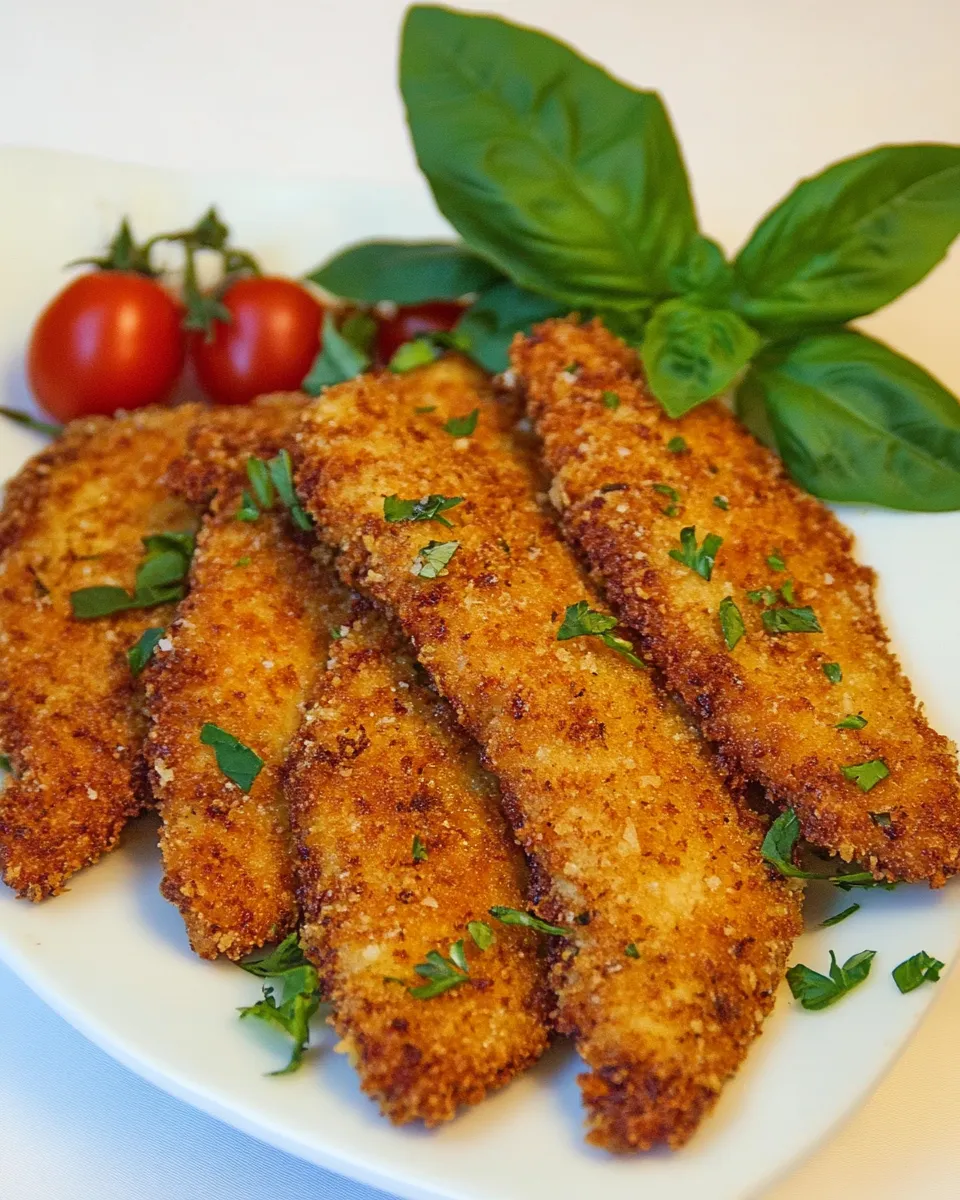
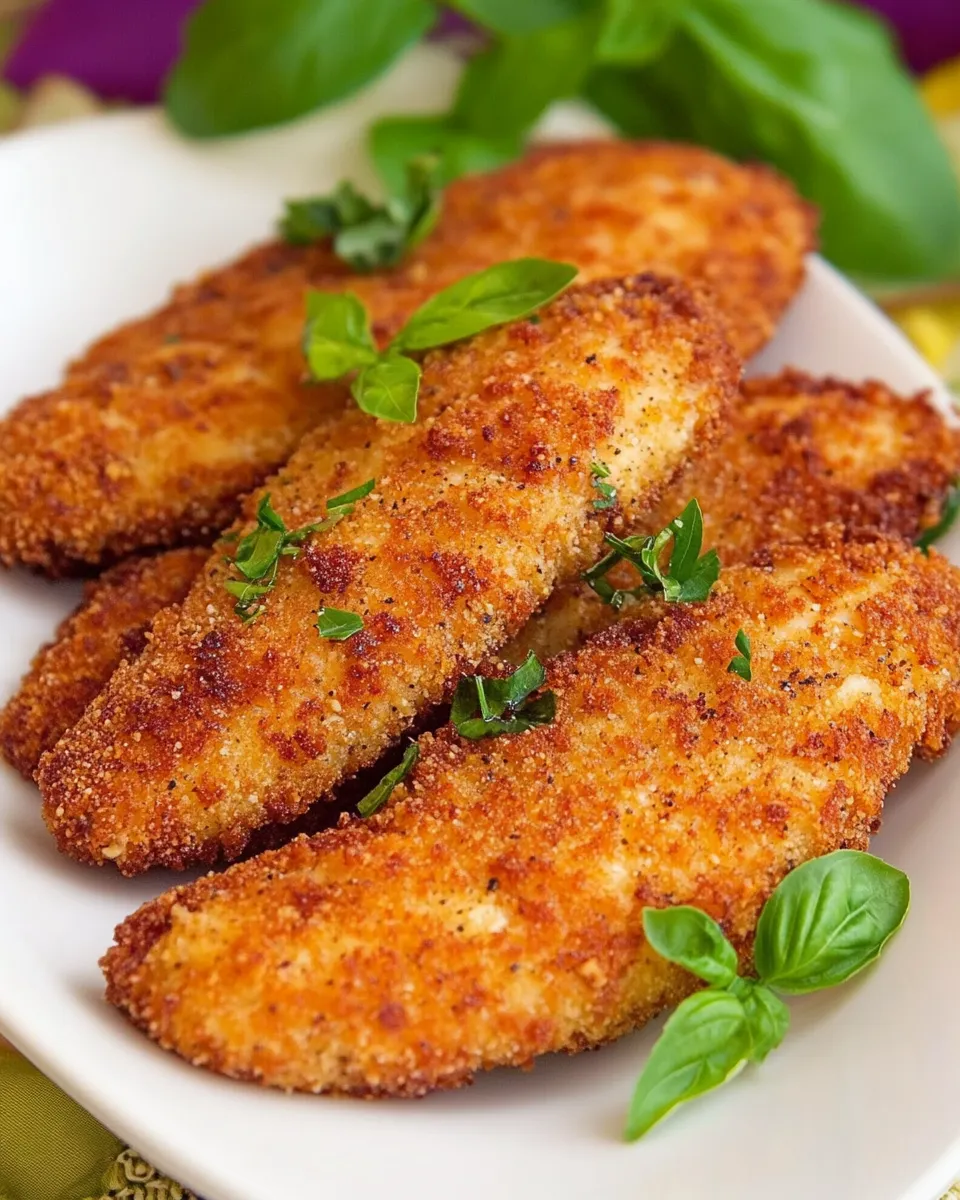
These chicken tenders are a weekday hero: straightforward, reliably crispy, and forgiving if your timing is tight. They come from a simple Eastern European style of pounding and breading—thin pieces, quick sautéing, and a golden crust that holds up to dipping and serving. I rely on this method when I want something that feels homemade and a bit special without fuss.
I’ll show the exact technique in the recipe below, but the short version is this: pound the tenders thin, use an egg-and-mayo wash for adhesion, press into Italian breadcrumbs, then sauté in about 1/4″ of oil until golden. The result is juicy chicken with an even crust; the whole process moves quickly once you get a rhythm.
Pairing is flexible—simple salad, steamed veggies, or wedges and a dipping sauce—and the leftovers reheat well. Read through the steps, gather the few tools you’ll need, and you’ll be turning out consistent tenders in no time.
Ingredient Breakdown
- 2–2.5 lbs boneless, skinless chicken tenders — the main protein; pound thin for even, fast cooking.
- Salt and Pepper — basic seasoning for the pounded chicken; keep it simple so the coating shines.
- Canola Oil for sauteing — neutral oil with a high smoke point; fill the pan about 1/4″ deep as the method specifies.
- 2 large whole eggs — the base of the egg wash that helps crumbs adhere.
- 1 Tbsp mayonnaise — adds richness and helps emulsify the egg wash for better coating.
- 1 Tbsp all-purpose flour — thickens the wash slightly so it clings to the chicken.
- 3 Tbsp milk — loosens the egg wash to an even consistency.
- 1/2 tsp Mrs. Dash seasoning — a salt-free blend to add herb and spice lift to the wash.
- 1/8 tsp salt — a small, controlled seasoning inside the egg wash.
- 2 cups Italian bread crumbs — the crust; choose fine or coarse based on the texture you prefer.
- 3 Tbsp flour — mixed with crumbs to improve adhesion and yield a crisper finish.
How to Prepare Otbivnaya (Otbivni) Chicken Tenders
- Pat the chicken tenders dry with paper towels. Cover a large cutting board with a sheet of cellophane (plastic wrap).
- Arrange half of the chicken tenders on the covered board in a single layer, spacing them evenly. Cover the chicken with another sheet of cellophane.
- Using the flat side of a meat mallet, gently pound the chicken through the top layer of cellophane until each piece is about 1/4″ to 1/3″ thick. Do not over-beat so the chicken falls apart. Remove and keep the top sheet of cellophane for the next batch.
- Remove the top sheet of cellophane and lightly sprinkle the pounded chicken with salt and pepper. Repeat steps 2–4 with the remaining chicken and the saved sheet of cellophane.
- In a medium bowl, whisk together 2 large whole eggs and 1 tablespoon mayonnaise. Add 1 tablespoon all-purpose flour, 3 tablespoons milk, 1/2 teaspoon Mrs. Dash seasoning, and 1/8 teaspoon salt. Whisk until well blended; this is your egg wash.
- In a second medium bowl, combine 2 cups Italian bread crumbs and 3 tablespoons flour. Mix to blend evenly.
- Pour canola oil into a large, heavy-bottomed skillet to a depth of about 1/4″. Heat the oil over medium-high heat until it is hot enough that the chicken sizzles when added.
- Working in batches (do not crowd the pan), dip a chicken tender on both sides in the egg wash, then press it into the bread crumb mixture until evenly coated. Place coated tenders on a plate while you finish coating the rest.
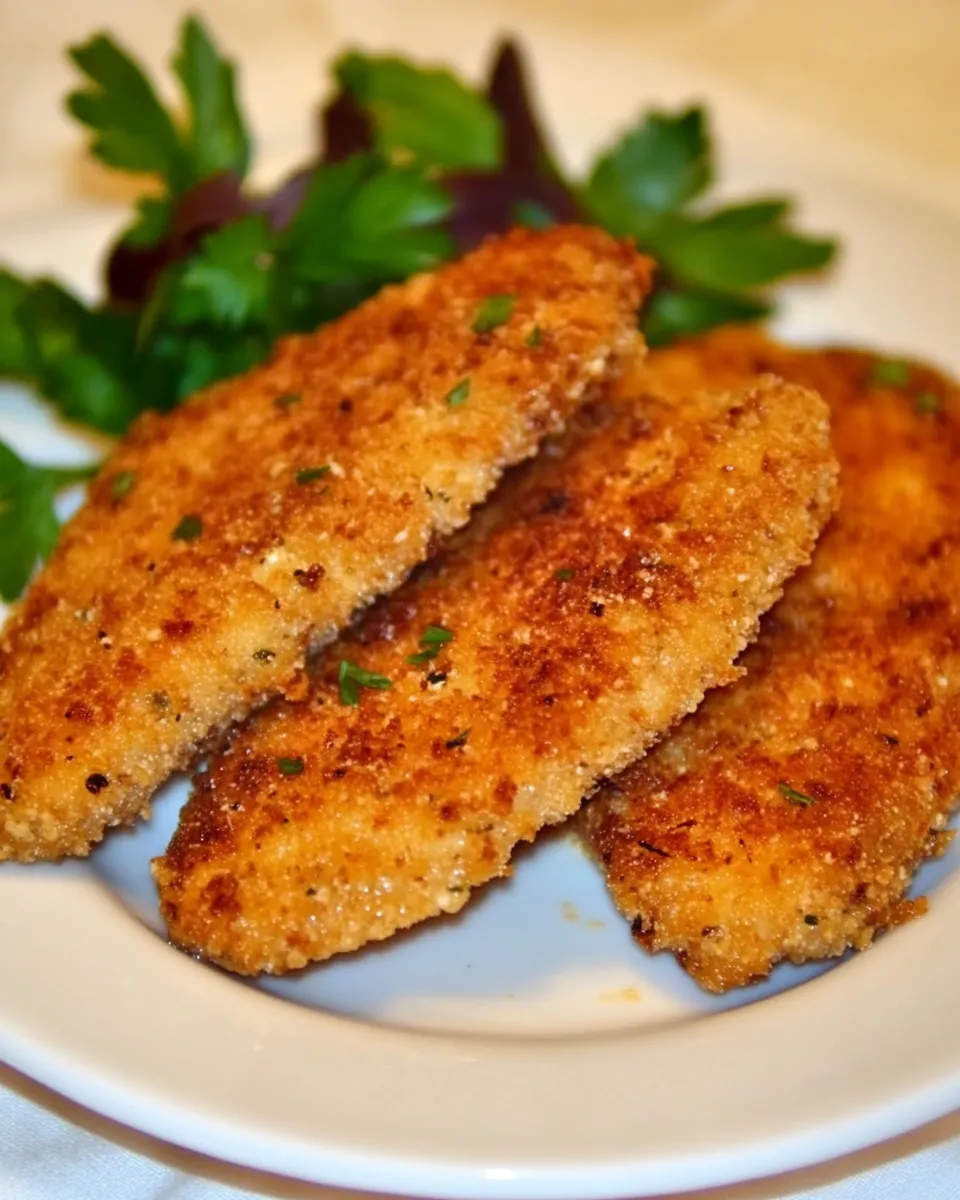
- When the oil is hot, add about 4 coated chicken tenders to the skillet and sauté about 4 minutes per side, or until golden brown and cooked through.
- Use tongs to transfer cooked tenders to a plate lined with paper towels to drain. Repeat frying with remaining tenders.
- Let the tenders rest on the paper towels a minute or two before serving.
Why It’s My Go-To
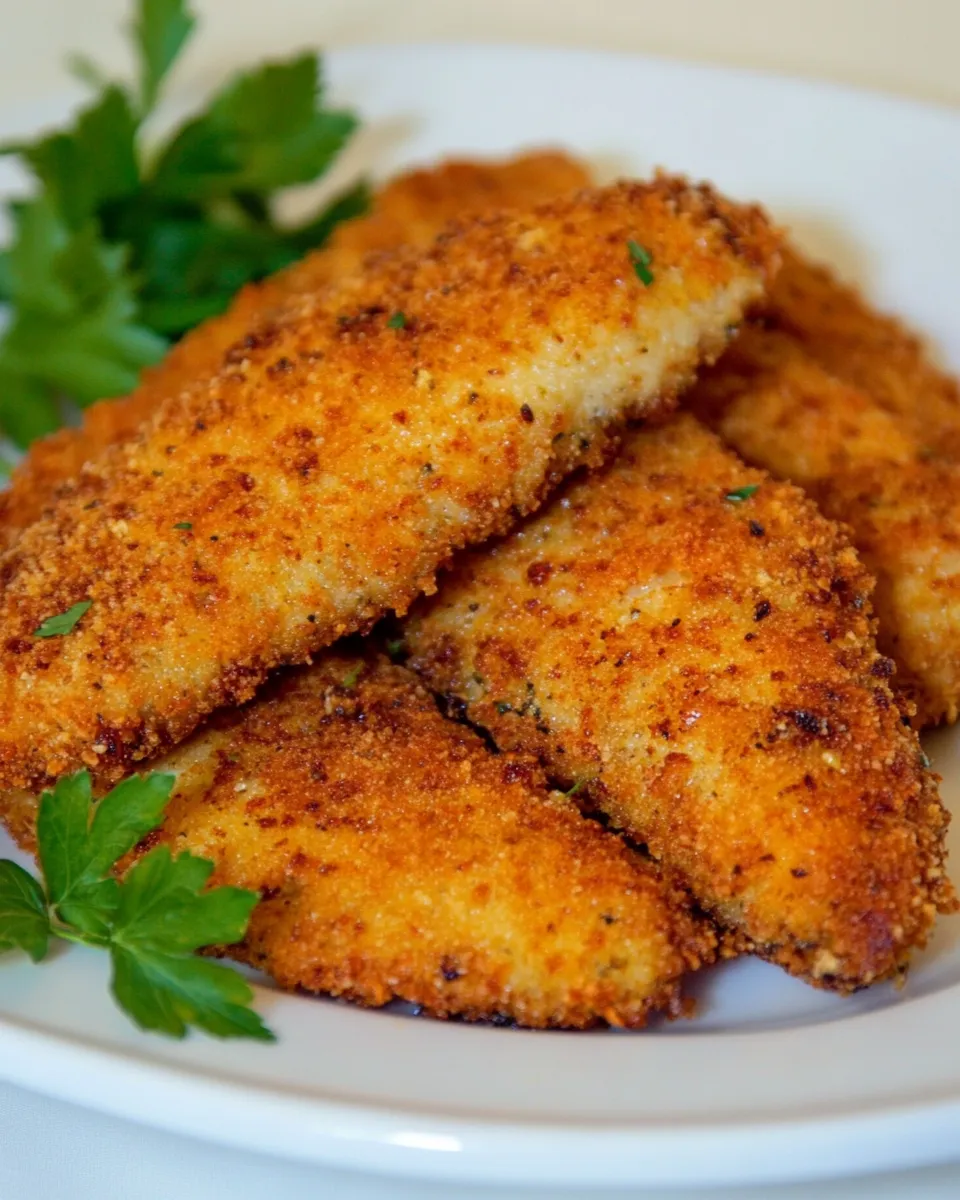
Otbivnaya-style tenders hit the sweet spot between simple and satisfying. The open, thin shape of each piece cooks fast and evenly, which matters for busy weeknights. You get a crisp exterior without drying out the meat inside. The egg-and-mayo wash is a small trick that adds richness and helps breadcrumbs cling better than a plain egg wash.
It’s also forgiving: you can scale quantities up or down, work in batches, and tweak the seasoning without breaking the technique. The process—pound, coat, sauté—becomes almost meditative once you have everything prepped. On top of that, they’re kid-friendly and adult-pleasing: mild, crunchy, and easy to dress up with a sauce or a salad.
Healthier Substitutions
- Bake instead of sautéing — arrange coated tenders on a wire rack set over a baking sheet and bake at 425°F until golden, flipping once. Less oil but still crisp if you don’t skip the rack.
- Swap breadcrumbs — use whole-wheat breadcrumbs or panko for a different texture and slightly more fiber.
- Lighten the wash — replace mayonnaise with plain Greek yogurt in the egg wash for tang and protein, but expect a slightly different browning.
- Oil choice — use avocado oil if you prefer a higher smoke point and a neutral flavor; it behaves similarly to canola in this method.
Kitchen Gear Checklist
- Large cutting board (covered with plastic wrap for pounding)
- Meat mallet (flat side) or rolling pin as an alternative
- Two medium bowls (for egg wash and dry mix)
- Large, heavy-bottomed skillet
- Tongs for turning and removing tenders
- Paper towels and a plate for draining
- Thermometer (optional) to check internal temp if you prefer precision
Slip-Ups to Skip
- Over-pounding: Don’t flatten until pieces fall apart. Thin is the goal, not shredded chicken.
- Crowding the pan: Adds steam and prevents browning. Work in small batches so each tender gets that sizzle.
- Oil not hot enough: If oil is too cool, coating soaks up oil and turns greasy. Wait until it sizzles when you test with one piece.
- Skipping rest: Let the tenders sit briefly after frying so the crust sets and excess oil drains—this helps maintain crispness.
Holiday & Seasonal Touches
For a spring or summer table, add a bright herb salad—dressed arugula with lemon and olive oil—to balance the richness. In fall or winter, serve the tenders with a warm mushroom gravy or spiced apple compote for an unexpected pairing that still feels cozy.
For holidays, consider a double-dip station: a creamy horseradish-mayo, a tangy mustard dip, and a warm roasted red-pepper sauce. Guests appreciate variety, and the tenders are neutral enough to pair with both classic and seasonal flavors.
Flavor Logic
Every element in this recipe has a role. Pounding creates thin, uniform pieces so the cooking time is short and reliable. The egg wash, enriched with mayonnaise, helps breadcrumbs adhere and contributes fat for browning. A small amount of flour in both the wash and the crumbs binds moisture and produces a tighter, crispier crust. Italian breadcrumbs bring herbs and subtle seasoning so you don’t have to over-salt the chicken itself.
Mrs. Dash in the wash adds aromatic herbs and a multi-note flavor without extra sodium—handy when you want brightness without oversalting. Canola oil is a neutral medium for frying that won’t compete with the coating’s flavor.
Meal Prep & Storage Notes
Cooked tenders: allow them to cool completely, then store in an airtight container in the refrigerator for up to 3 days. Layer with paper towels to absorb excess moisture.
Freezing: flash-freeze the tenders on a sheet tray until solid, then transfer to a freezer bag for up to 2 months. Reheat from frozen in a 400°F oven on a wire rack until heated through to preserve crispness.
Reheating: for best texture, reheat on a wire rack in a 375–400°F oven for 8–12 minutes, flipping once. Microwaving will heat them faster but softens the crust; if you must microwave, finish briefly under the broiler or in a hot skillet to crisp.
Otbivnaya (Otbivni) Chicken Tenders Q&A
- Q: Can I use chicken breasts instead of tenders?
A: Yes—slice boneless breast into 1/2–3/4″ strips, then follow the same pounding and coating steps. Adjust cooking time slightly if pieces are thicker. - Q: How do I know the oil is the right temperature?
A: The recipe’s test is simple: the chicken should sizzle on contact. If it sizzles weakly and the coating soaks up oil, raise the heat and let the pan come back to temperature before adding more. - Q: Can I prepare the breaded tenders ahead?
A: Yes—coat and place them on a plate, then cover and refrigerate for up to a few hours before frying. Don’t bread more than a day ahead, as crumbs can become soggy. - Q: Are these spicy?
A: No—the base recipe is mild. Add a pinch of cayenne to the egg wash or mix chili flakes into the breadcrumbs if you want heat.
Bring It to the Table
Serve these tenders hot on a platter with lemon wedges, a small bowl of tangy dip, and a crisp green salad or roasted vegetables. For casual meals, fries or potato wedges and a pickled slaw make a satisfying combo. For an elevated plate, pair with a bright herb sauce and a simple buttered grain like farro or barley.
Keep extras for packed lunches or slice them for sandwiches—they stay flavorful and reheat cleanly when stored properly. This is comfort food that adapts: easy enough for midweek, and presentable enough for guests.

Otbivnaya (Otbivni) Chicken Tenders
Ingredients
Ingredients
- 2 - 2.5 lbsboneless skinless chicken tenders
- Salt and Pepper
- Canola Oil for sauteing
- 2 large whole eggs
- 1 Tbspmayonnaise
- 1 Tbspall-purpose flour
- 3 Tbspmilk
- 1/2 tspMrs. Dash seasoning
- 1/8 tspsalt
- 2 cups
- Italian bread crumbs
- brand
- 3 Tbspflour
Instructions
Instructions
- Pat the chicken tenders dry with paper towels. Cover a large cutting board with a sheet of cellophane (plastic wrap).
- Arrange half of the chicken tenders on the covered board in a single layer, spacing them evenly. Cover the chicken with another sheet of cellophane.
- Using the flat side of a meat mallet, gently pound the chicken through the top layer of cellophane until each piece is about 1/4" to 1/3" thick. Do not over-beat so the chicken falls apart. Remove and keep the top sheet of cellophane for the next batch.
- Remove the top sheet of cellophane and lightly sprinkle the pounded chicken with salt and pepper. Repeat steps 2–4 with the remaining chicken and the saved sheet of cellophane.
- In a medium bowl, whisk together 2 large whole eggs and 1 tablespoon mayonnaise. Add 1 tablespoon all-purpose flour, 3 tablespoons milk, 1/2 teaspoon Mrs. Dash seasoning, and 1/8 teaspoon salt. Whisk until well blended; this is your egg wash.
- In a second medium bowl, combine 2 cups Italian bread crumbs and 3 tablespoons flour. Mix to blend evenly.
- Pour canola oil into a large, heavy-bottomed skillet to a depth of about 1/4". Heat the oil over medium-high heat until it is hot enough that the chicken sizzles when added.
- Working in batches (do not crowd the pan), dip a chicken tender on both sides in the egg wash, then press it into the bread crumb mixture until evenly coated. Place coated tenders on a plate while you finish coating the rest.
- When the oil is hot, add about 4 coated chicken tenders to the skillet and sauté about 4 minutes per side, or until golden brown and cooked through.
- Use tongs to transfer cooked tenders to a plate lined with paper towels to drain. Repeat frying with remaining tenders.
- Let the tenders rest on the paper towels a minute or two before serving.
Equipment
- large cutting board
- Plastic Wrap
- Meat Mallet
- Mixing bowls
- large heavy-bottomed skillet
- Tongs
- Plate
- Paper Towels