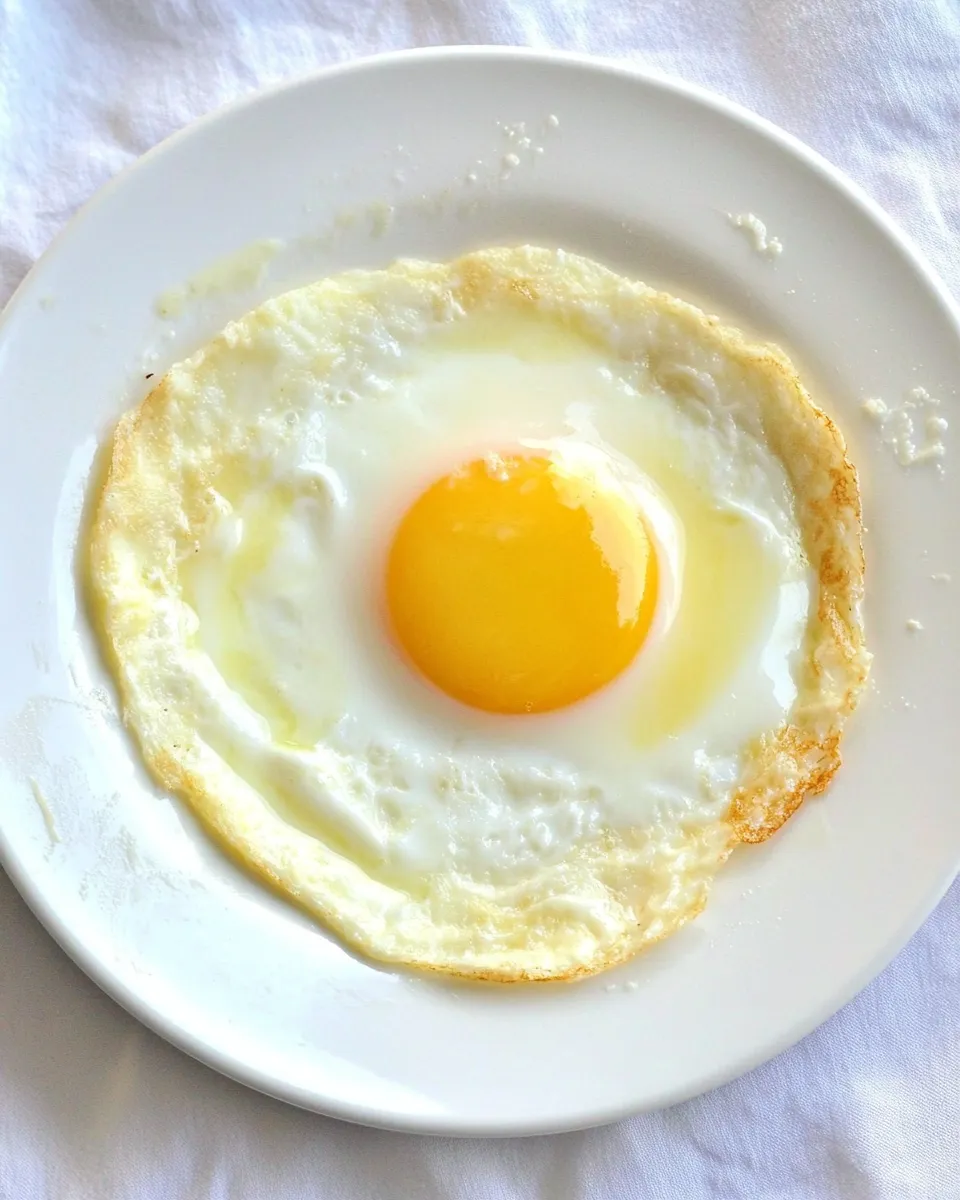
There are mornings when the thought of turning on the stove feels like too much. You want an egg that’s quick, clean, and reliable — one you can eat on toast or tuck into a sandwich without starting a sink-full of dishes. That’s exactly what this microwave fried egg method gives you: an everyday solution for real life.
I test simple tricks until they’re foolproof, then share what works. This method uses two paper plates and a quick spray of nonstick oil. No pans, no spatulas, and the microwave does the heavy lifting. It takes under a minute of active work and produces an egg with set whites and a runny or slightly jammy yolk depending on how long you nudge it.
Below you’ll find the exact ingredients and step-by-step directions I used in testing, plus notes on gear, common mistakes, and ways to make it feel like breakfast from home, even if you’re short on time or counter space.
Gather These Ingredients
- 1 egg — the focus of the recipe; choose a fresh egg for best texture.
- 2 paper plates — one to cook on and one to cover; disposable and easy to handle.
- nonstick cooking spray — prevents sticking and makes sliding the egg off the plate simple.
How to Prepare Microwave Fried Egg Method
- Generously spray one paper plate with nonstick cooking spray.
- Crack the egg onto the center of the sprayed plate.
- Gently pierce the yolk once with a fork or the tip of a knife (this helps prevent the yolk from bursting).
- Place the second paper plate on top as a cover; set it loosely so steam can escape (leave a small gap on one side).
- Microwave on high for 45 seconds. Check the egg—whites should be set. If it needs more time, microwave in 5–10 second increments, checking after each increment, until the yolk reaches your preferred doneness (about 60 seconds total maximum).
- Let the covered plate sit in the microwave for 15–30 seconds to finish cooking, then carefully remove the plates using a towel or oven mitt (they will be hot).
- Slide the egg off the plate onto toast or eat as-is.
Why It’s My Go-To
Speed without compromise. For days when I want an actual egg but have five minutes or less, this method is the fastest way I trust. No pan to wash, no butter to measure, and very little babysitting. The cover keeps the egg from splattering the microwave interior. The trick of piercing the yolk eliminates pops that can ruin a quick meal.
I also like how predictable it is. Once you’ve calibrated your microwave’s power and your preferred yolk texture, the results are consistent. That reliability means I can build quick breakfasts around this egg—toast, an English muffin, or a salad topper—without worrying about cleanup.
Ingredient Flex Options
This is intentionally minimalist. You only need an egg, two paper plates, and spray. From there, consider small, simple add-ins after the egg is cooked: a dash of seasoning, a smear of spread on your toast, or a slice of tomato. Those extras are added after cooking and won’t change the clean-up advantage.
If you’re cautious about paper plates or want something reusable, use a microwave-safe plate and a loose microwave-safe lid instead. The method stays the same: spray, crack, pierce, cover, and time carefully.
Gear Checklist
- Microwave — standard household microwave; power settings vary by model.
- Paper plates — sturdy enough to hold the egg without bending.
- Nonstick cooking spray — makes removing the egg effortless.
- Fork or knife — to pierce the yolk once before cooking.
- Towel or oven mitt — to remove the plates safely after cooking.
- Toast or bread — optional, but I usually serve the egg on something to soak up the yolk.
Troubles You Can Avoid
Microwave Power Differences
Not all microwaves are created equal. If yours runs hot, shorten the initial cook time; if it’s on the weaker side, you may need the full 60 seconds total. The 45-second starting point is conservative and works well for many machines, but always use the incremental checks described in the instructions.
Yolk Explosions
Piercing the yolk once is the single most important step to prevent a burst. The pressure from steam forms under the yolk during cooking; that tiny hole lets steam escape without losing the yolk entirely. Don’t skip it.
Sticking Problems
If the egg sticks to the plate, the usual culprit is not enough spray or an absorbent paper plate that’s too thin. Use a generous coat of spray and a sturdy plate. If you want a reusable option, a microwave-safe plate with a thin coating of oil works the same.
Customize for Your Needs
I’ve used this method when camping with a travel microwave, during rushed work mornings, and when my stovetop was busy with other dishes. It scales mentally: for two eggs, use a larger plate and increase the initial cook time slightly, checking frequently. If you prefer a firmer yolk, add those 5–10 second increments until you reach the texture you like.
For a heartier breakfast, place your cooked egg on toast and fold it to trap the yolk, or add a slice of cheese that will melt from the residual heat. Since you’re not using oil or butter in the cooking step, you can control added fats at serving time.
What I Learned Testing
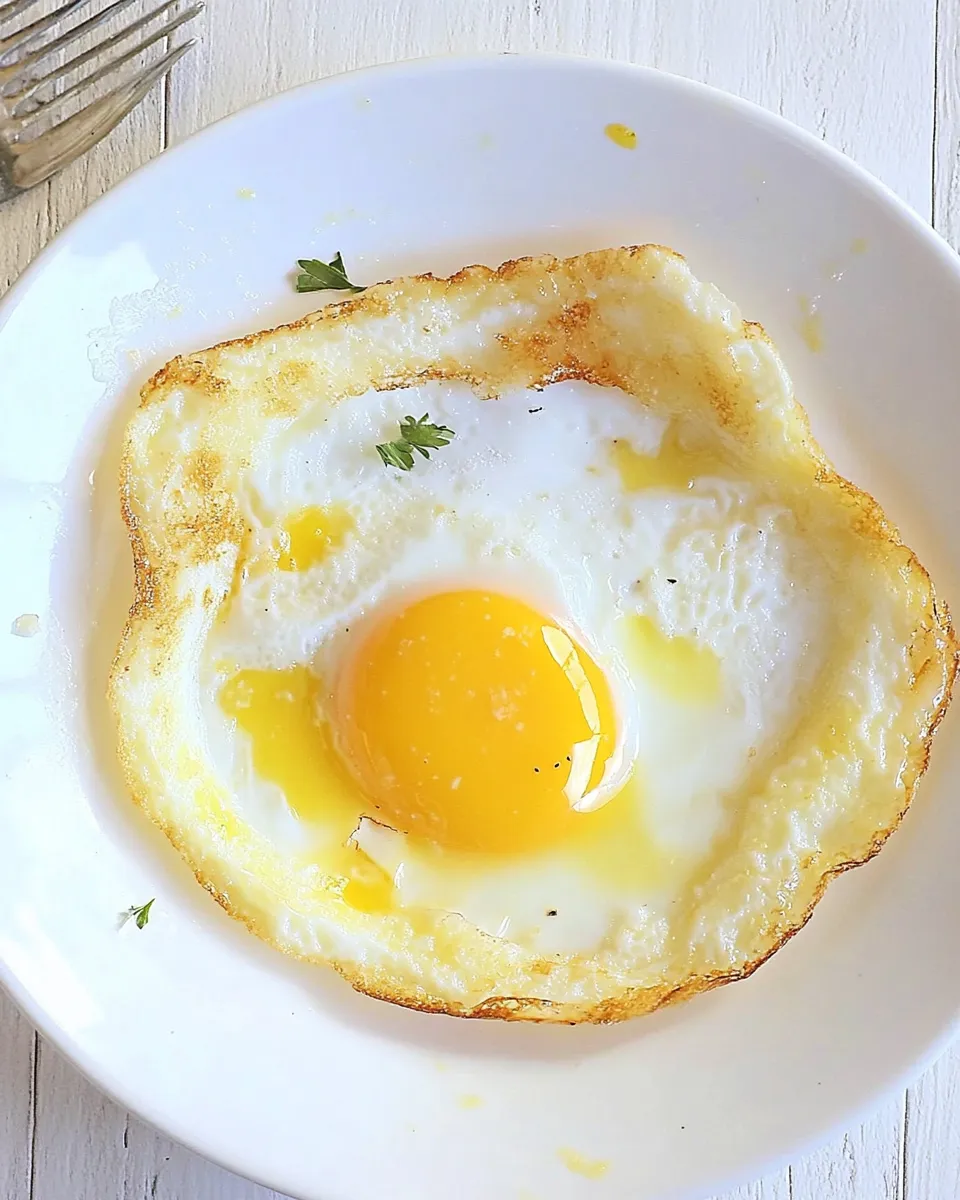
Test after test taught me to trust timing but verify visually. Forty-five seconds is the sweet spot for many microwaves to set the whites while keeping the yolk soft. Letting the covered plate rest for 15–30 seconds after cooking finishes the egg gently; the carryover heat firms the whites a touch without overcooking the yolk.
Another lesson: use a sturdy paper plate. Thin plates can buckle and lead to spills. The plate on top should sit loosely; trapping all steam can cause sogginess or delays in cooking. A small gap prevents that while still keeping the microwave clean.
Leftovers & Meal Prep
Microwave-cooked eggs are best eaten immediately. The texture changes on refrigeration—yolks become firmer and whites may tighten. If you want to meal prep, cook eggs to a firmer doneness and cool them quickly. Store in an airtight container for up to 24 hours, then reheat gently in the microwave for 10–15 seconds to warm through.
If you’re prepping breakfasts for the week, I recommend cooking eggs fresh each morning when possible. The no-dishes advantage makes that easy. If you must store, use the firmer-cooked approach and plan to reheat covered for only a short time so they don’t dry out.
FAQ
Q: Can I cook more than one egg at a time?
A: Yes, with caveats. Use a larger, microwave-safe dish and space eggs so they don’t touch. Cooking time will increase; check frequently in 5–10 second increments and rely on visual cues. Steam release still matters, so keep a loose cover.
Q: Is it safe to microwave eggs this way?
A: Yes, when you follow the piercing step and allow steam to escape. Piercing prevents pressure buildup that can cause the yolk to burst. Use the covered-but-not-sealed approach described in the directions.
Q: My yolk isn’t runny. What did I do wrong?
A: Likely you cooked it for too long or your microwave is higher-powered than the model used for testing. Reduce the total time and check earlier. The resting step also gently finishes cooking; a shorter rest can help if you want a looser yolk.
Q: Will the egg taste microwaved?
A: The flavor is straightforward and egg-forward. You won’t get the browned edges and crispness of pan-frying, but you’ll get a clean-tasting, tender egg with much less fuss. Add a sprinkle of salt and pepper or a smear of hot sauce to boost flavor at serving.
The Last Word
For days when you want a real egg but no mess, this microwave method is a quiet little lifesaver. It trims prep and cleanup, is consistent once you learn your microwave, and keeps breakfast easy even when your kitchen time is limited. Follow the seven steps exactly, especially piercing the yolk and using a loose cover. Do that, and you’ll have a dependable fried-style egg with almost no effort.
Try it tomorrow morning. Start with the 45-second baseline, adjust as needed, and enjoy a hot egg without dirtying a single pan. That small convenience adds up, and breakfast suddenly feels a lot more manageable.

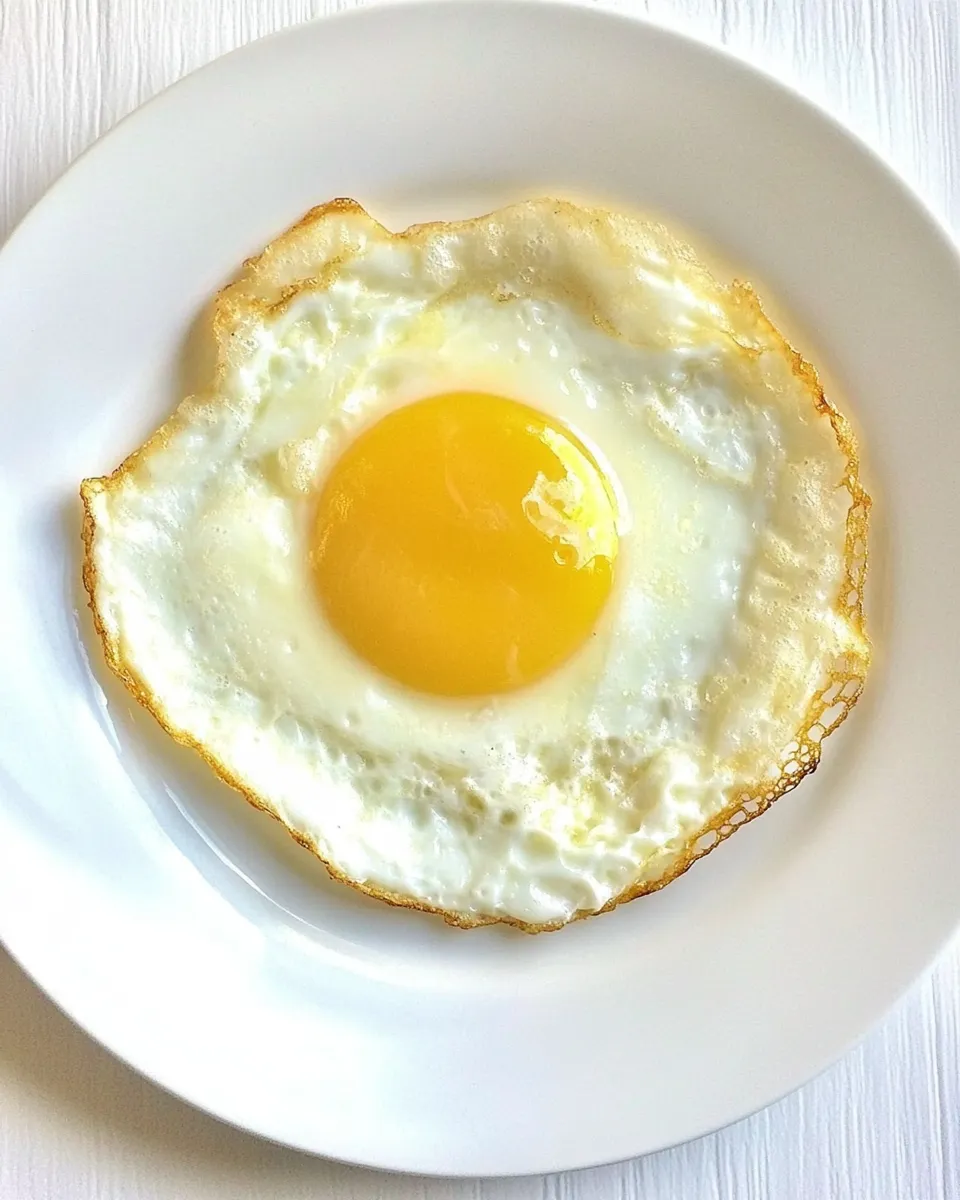
Microwave Fried Egg Method (No Dirty Dishes!)
Ingredients
Ingredients
- 1 egg
- 2 paper plates
- nonstick cooking spray
Instructions
Instructions
- Generously spray one paper plate with nonstick cooking spray.
- Crack the egg onto the center of the sprayed plate.
- Gently pierce the yolk once with a fork or the tip of a knife (this helps prevent the yolk from bursting).
- Place the second paper plate on top as a cover; set it loosely so steam can escape (leave a small gap on one side).
- Microwave on high for 45 seconds. Check the egg—whites should be set. If it needs more time, microwave in 5–10 second increments, checking after each increment, until the yolk reaches your preferred doneness (about 60 seconds total maximum).
- Let the covered plate sit in the microwave for 15–30 seconds to finish cooking, then carefully remove the plates using a towel or oven mitt (they will be hot).
- Slide the egg off the plate onto toast or eat as-is.
Equipment
- Microwave
- paper plates
- nonstick cooking spray
- fork or knife
- towel or oven mitt
Notes
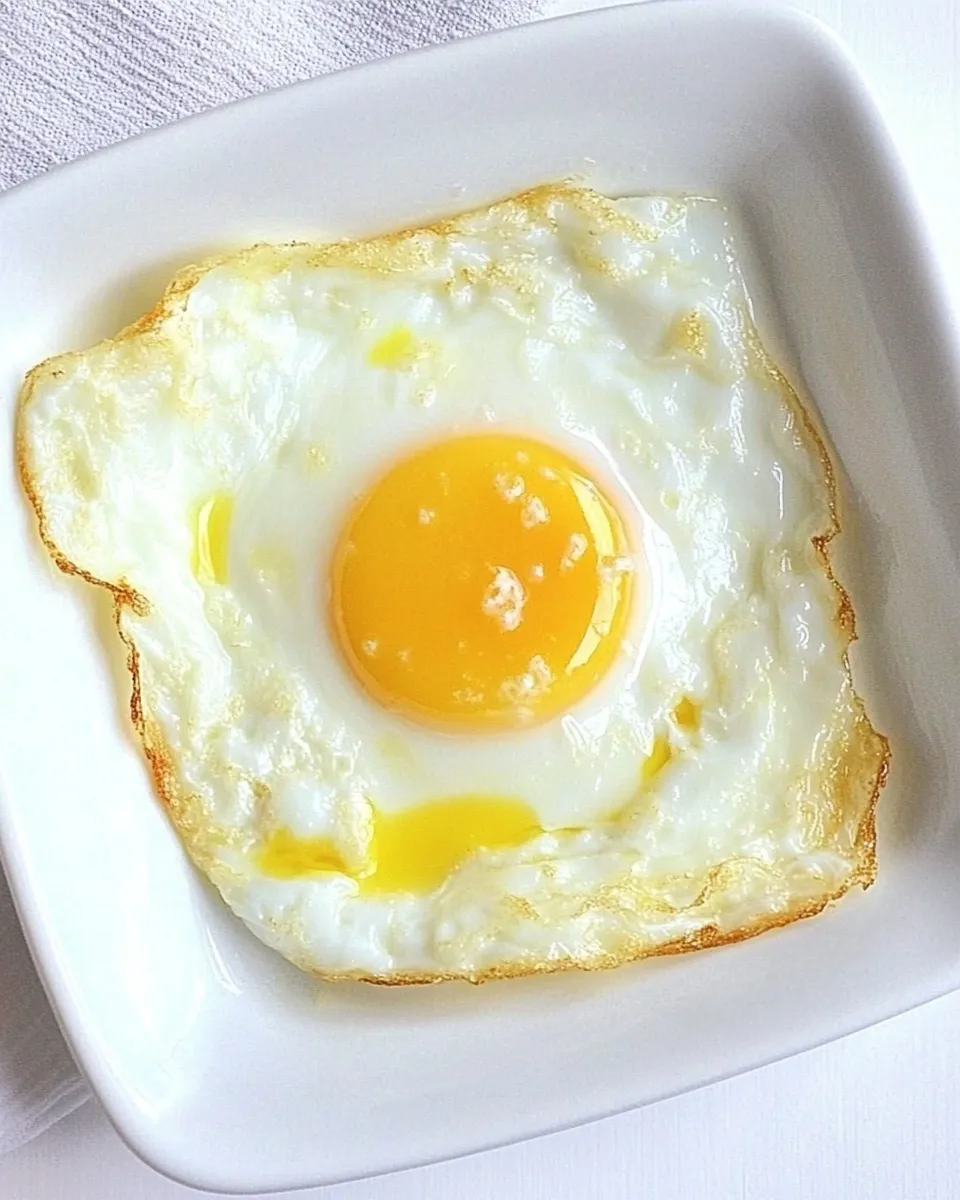
The vegetable oil tasted fine, but the cooking spray made a prettier egg.
The egg did pop, and seem like it was about to burst in the microwave, but it was just the oil getting hot.
50 seconds gave me a hard center, and 35 seconds had more liquid yolk. You’ll have to experiment with your microwave to perfect this, as all microwave wattages are different.
I also used cheap paper plates to see if it would work, and it did. Slid right off the plate (with both methods), too!