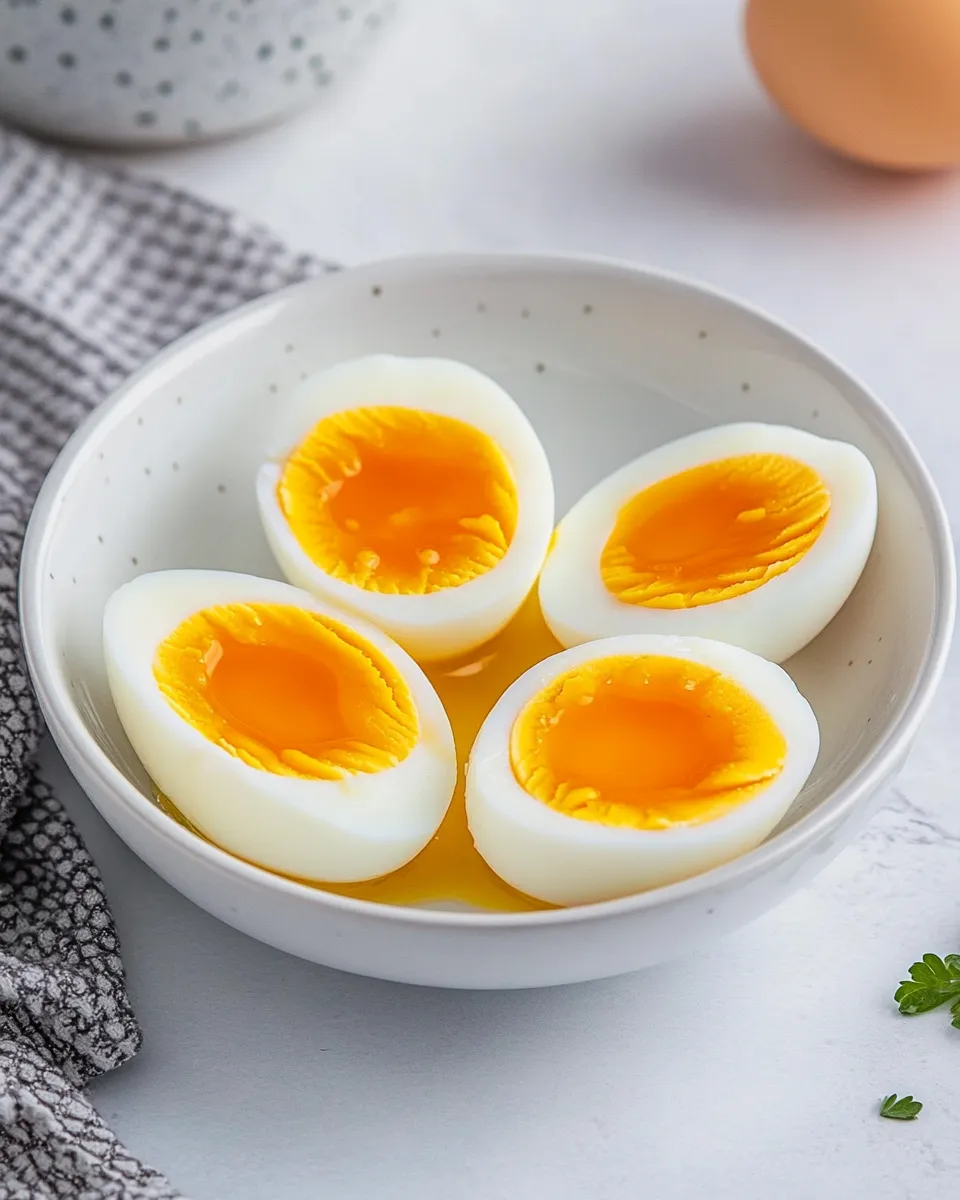
I know how deceptively simple an egg can be. You’d think boiling an egg is trivial until you cut one open and find the yolk either chalky and dry or runny and underdone. Medium-boiled eggs sit in that sweet spot — jammy, slightly soft in the center, with set whites that hold together for salads, toast, or a quick snack.
I’ve honed this exact method in a busy kitchen and at home, testing timings and cooling techniques until it reliably delivers the texture I want: a tender white and a yolk that’s creamy, not wet. The process is forgiving but precise where it matters, so I’ll walk you through the facts, tools, and common fixes so you can get consistent results every time.
No fluff — just practical tips and a clear, repeatable process. If you often reach for boiled eggs for breakfasts, lunch bowls, or to top ramen, this is the routine to bookmark.
Ingredient Notes
Before we dive into the method, a few practical notes about the ingredients and their roles. There are only two items on the ingredient list, but small details—egg age, size, and how much water you use—make a big difference in the outcome. Read these points once and you’ll waste fewer eggs while dialing in the texture you prefer.
Ingredients
- Water for boiling — provides the environment for even heat transfer; cover eggs by about 1 inch for consistent cooking.
- 6large eggs — the star ingredient; size and freshness affect cooking time and how easily they peel.
Medium-Boiled Eggs: Step-by-Step Guide
- Place the 6 large eggs in a single layer in a large pot and add enough water to cover the eggs by about 1 inch.
- Bring the water to a rolling boil over high heat.
- Using a slotted spoon, carefully lower the eggs into the boiling water.
- Reduce the heat as needed to maintain a gentle rolling boil; when the water is steadily boiling again, start a timer and cook the eggs for exactly 8 minutes.
- While the eggs cook, prepare a large bowl of cold tap water to use for cooling.
- When the 8 minutes are up, immediately transfer the eggs from the pot to the bowl of cold water and cool them for 2–4 minutes.
- Peel the eggs under lukewarm running water to help remove the shells, then serve.
Why I Love This Recipe
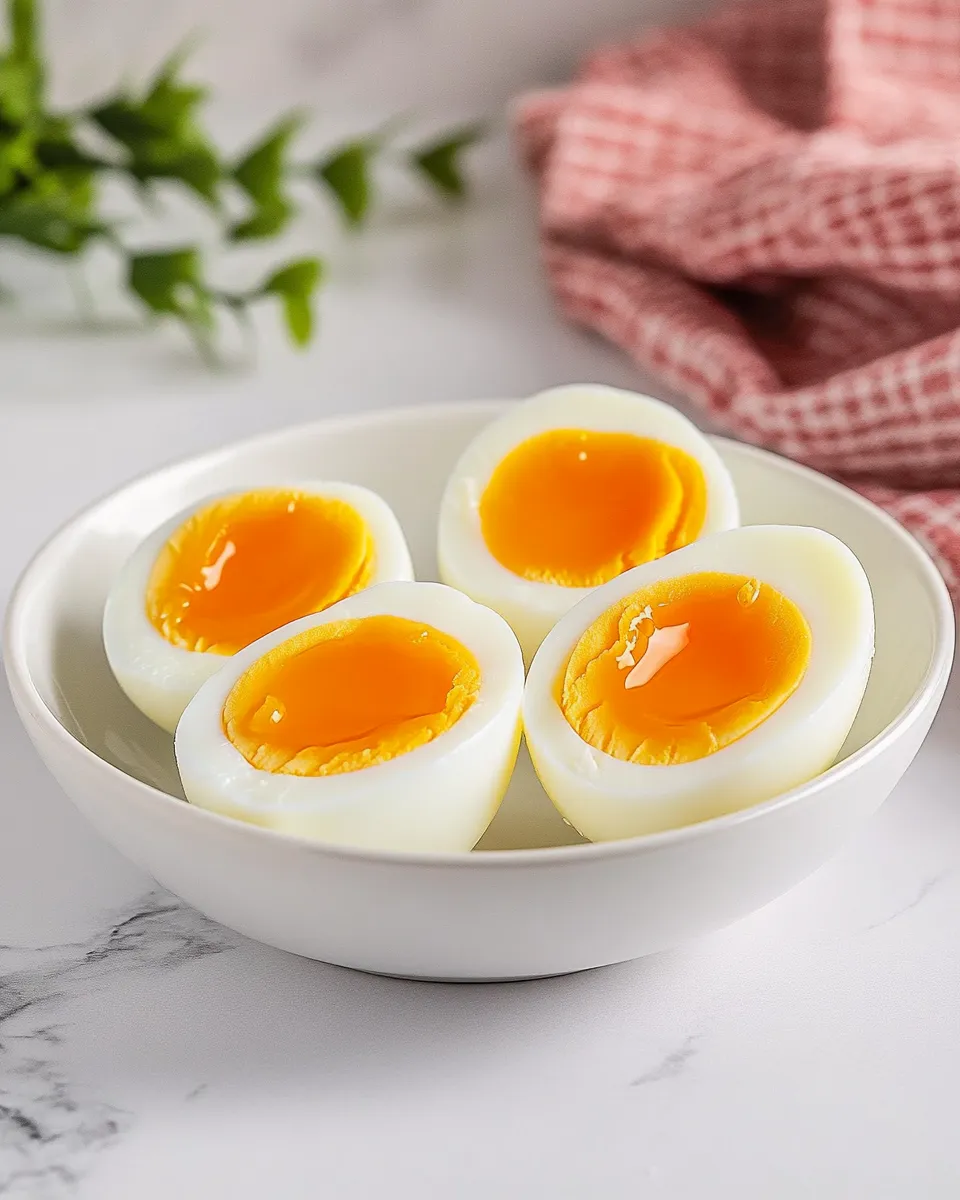
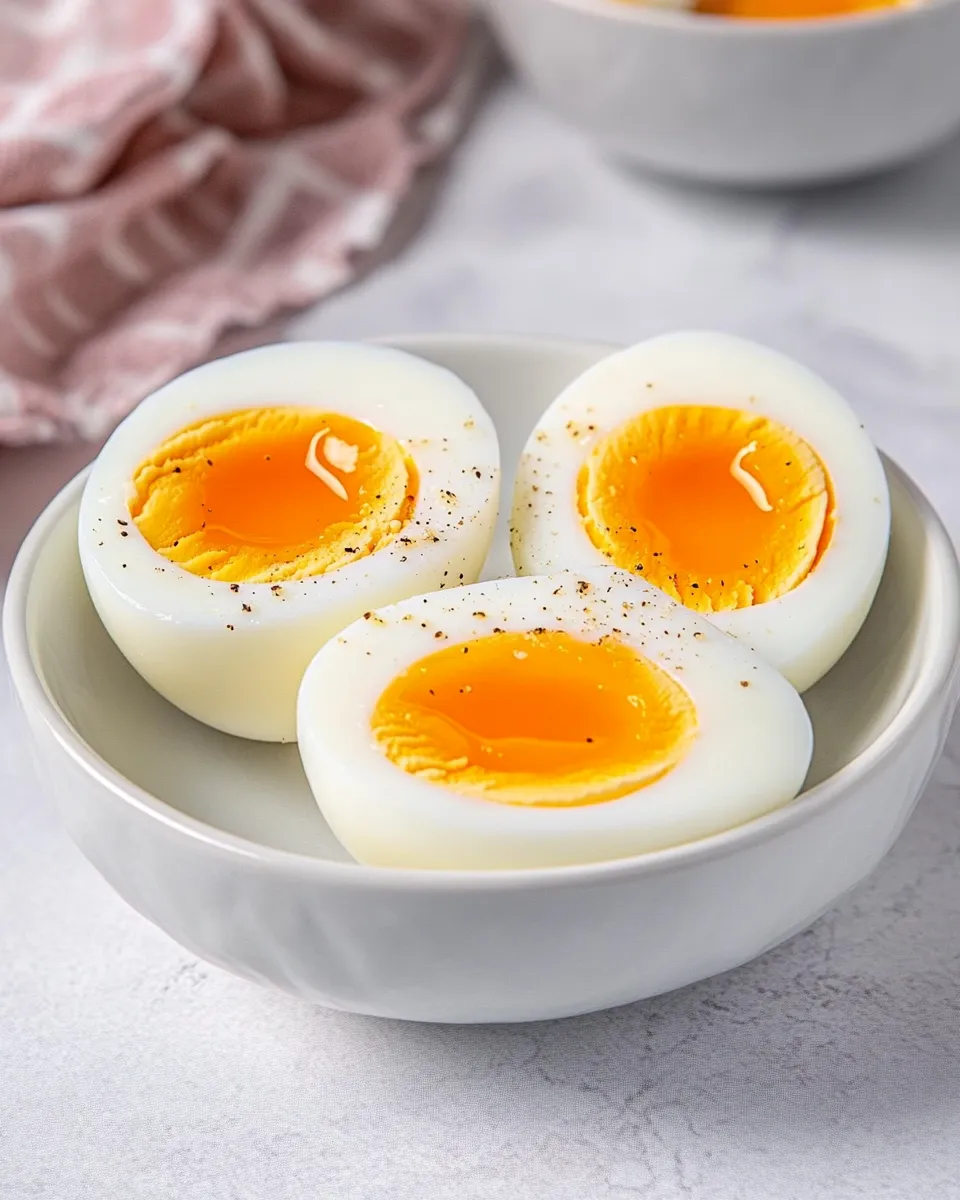
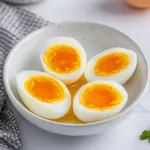
This routine delivers a dependable texture: whites that are firm and clean, and yolks that are jammy and spreadable. That balance makes these eggs extremely versatile — they’re perfect for avocado toast, sliced into salads, halved atop grain bowls, or simply salted and eaten with a fork.
It’s fast and efficient. From boiling water to a peeled egg ready to eat takes only a few minutes, and you can scale the method up for a meal prep batch. The short cold shock (2–4 minutes) is the trick that stops carryover cooking, so the yolk keeps its jammy center without overcooking into a dry crumbly core.
Substitutions by Category

Because this is a technique-focused recipe, substitutions are mostly about ingredient choices or small process tweaks rather than replacing ingredients entirely.
- Egg type: Use brown or white eggs interchangeably; color doesn’t affect cooking time. For a slightly larger yolk relative to the white, choose extra-large eggs, but expect small timing differences.
- Water source: Tap water is fine. If your tap water is very hard or has an off-flavor, filtered water is an easy swap.
- Cooling method: The cold water bath can be ice water or cold tap water. Ice speeds cooling but isn’t required; the important part is stopping residual heat quickly.
Recommended Tools
Essentials
- Large pot — big enough to hold the eggs in a single layer with about 1 inch of water above them.
- Slotted spoon — lowers and lifts eggs safely without cracking.
- Timer — digital or phone timer for precise 8-minute cook time.
- Large bowl — to hold cold tap water for cooling the eggs.
Nice-to-have
- Thermometer — not necessary for this method, but helpful if you want to be extra precise about water temperature before adding eggs.
- Egg cup or small bowl — for serving and hand-peeling if you prefer.
Common Errors (and Fixes)
Here are the mistakes I see most often and how to fix them quickly.
- Overcooked, chalky yolks: Usually from residual heat after removing from the pot. Fix: move eggs to cold water immediately and stick to the 2–4 minute cool time.
- Undercooked yolks: Timer not started at the right moment or heat reduced too much. Fix: ensure you start timing only once the water returns to a steady boil after lowering eggs.
- Cracked shells during boiling: Eggs hitting the pot or crowding the pan can crack shells. Fix: place eggs in a single layer with room between them; use the slotted spoon to lower gently, or start with warm water to reduce shock.
- Shells that won’t peel easily: Very fresh eggs can be harder to peel. Fix: use eggs a few days old for easier peeling, or peel under running water as instructed to help the membrane release.
- Green ring around yolk: Sign of overcooking. Fix: shorter cook time and immediate cold bath prevent the iron-sulfur reaction that causes the ring.
Substitutions by Diet
Eggs are a protein staple for many diets. If you need to adapt for dietary preferences, think in terms of role rather than exact replacement.
- Low-carb / Keto: No change required — eggs are naturally low-carb and fit well.
- Vegetarian (ovo-vegetarian): This recipe fits without change.
- Vegan: If you’re cooking for vegans, you’ll need a plant-based alternative for texture and protein. Tofu preparations and commercial egg substitutes can mimic eggs in some dishes, but they won’t be boiled in the same way.
Notes on Ingredients
A few ingredient-focused pointers to make your life easier and improve consistency.
- Egg age: Freshness matters for peeling. Very fresh eggs tend to stick to the membrane, while eggs that are 5–10 days old usually peel more cleanly.
- Egg size: The method lists 6 large eggs. If you use a different size, watch the yolk texture and adjust timing slightly in future batches — larger eggs have more mass and can take a touch longer to reach the same internal temperature.
- Water depth: Covering the eggs by about 1 inch ensures even heating. Too little water can cause uneven cooking; too much is unnecessary but not harmful.
- Salt or vinegar in the water: Some cooks add these to help if an egg cracks, but they aren’t required for texture. I prefer plain water for predictable results.
Best Ways to Store
Proper storage keeps your medium-boiled eggs safe and tasty.
- Unpeeled: Store cooled, unpeeled eggs in the refrigerator for up to 1 week. Keep them in a covered container or the original carton to prevent odor transfer.
- Peeled: If peeled, store them in a bowl of water in the fridge (change water daily) or place them in an airtight container with a damp paper towel to maintain moisture; use within 3–5 days for best texture.
- Reheating: Gently warm a medium-boiled egg by placing it in hot (not boiling) water for a minute — avoid microwaving whole eggs as they can explode.
Quick Q&A
What if I want the yolk slightly runnier?
Try reducing the cook time by 30 seconds to 1 minute and test. Remember that the timer starts when the water is steadily boiling again after you lower the eggs.
Can I start the eggs in cold water instead?
Yes, the cold-start method is common and works, but it changes timing. This recipe is built around adding eggs to boiling water and timing 8 minutes once the boil resumes for a predictable jammy yolk.
Do altitude or stovetop differences matter?
High altitude can lower boiling temperatures slightly, which can make eggs take longer to cook. If you’re at a significantly high altitude, you may need to increase the cook time a bit and test results.
Is peeling under lukewarm water necessary?
Peeling under running water helps loosen the shell and membrane, making peeling faster and cleaner. It’s a small step that prevents frustration.
Ready, Set, Cook
There you have it: a clean, efficient routine for medium-boiled eggs that gives you a tender white and a pleasantly jammy yolk every time. Keep to the timing, move the eggs to cold water immediately, and peel under running water. Those three habits make this method repeatable whether you’re making 6 eggs for a meal or scaling up for meal prep.
Try the steps as written, then adjust one variable at a time — egg age, start temperature, or cooling time — until you find your perfect jammy center. And if one egg doesn’t turn out exactly right, chalk it up to experiment and try again. The more you practice, the more reliably perfect your eggs will be.
If you liked these instructions, save the page and come back when you want to build bowls, salads, or quick breakfasts around a reliably delicious medium-boiled egg. Happy cooking!
Medium-Boiled Eggs
Ingredients
Ingredients
- Water for boiling
- 6 large eggs
Instructions
Instructions
- Place the 6 large eggs in a single layer in a large pot and add enough water to cover the eggs by about 1 inch.
- Bring the water to a rolling boil over high heat.
- Using a slotted spoon, carefully lower the eggs into the boiling water.
- Reduce the heat as needed to maintain a gentle rolling boil; when the water is steadily boiling again, start a timer and cook the eggs for exactly 8 minutes.
- While the eggs cook, prepare a large bowl of cold tap water to use for cooling.
- When the 8 minutes are up, immediately transfer the eggs from the pot to the bowl of cold water and cool them for 2–4 minutes.
- Peel the eggs under lukewarm running water to help remove the shells, then serve.
Equipment
- Large Pot
- Slotted Spoon
- Large Bowl
- Timer