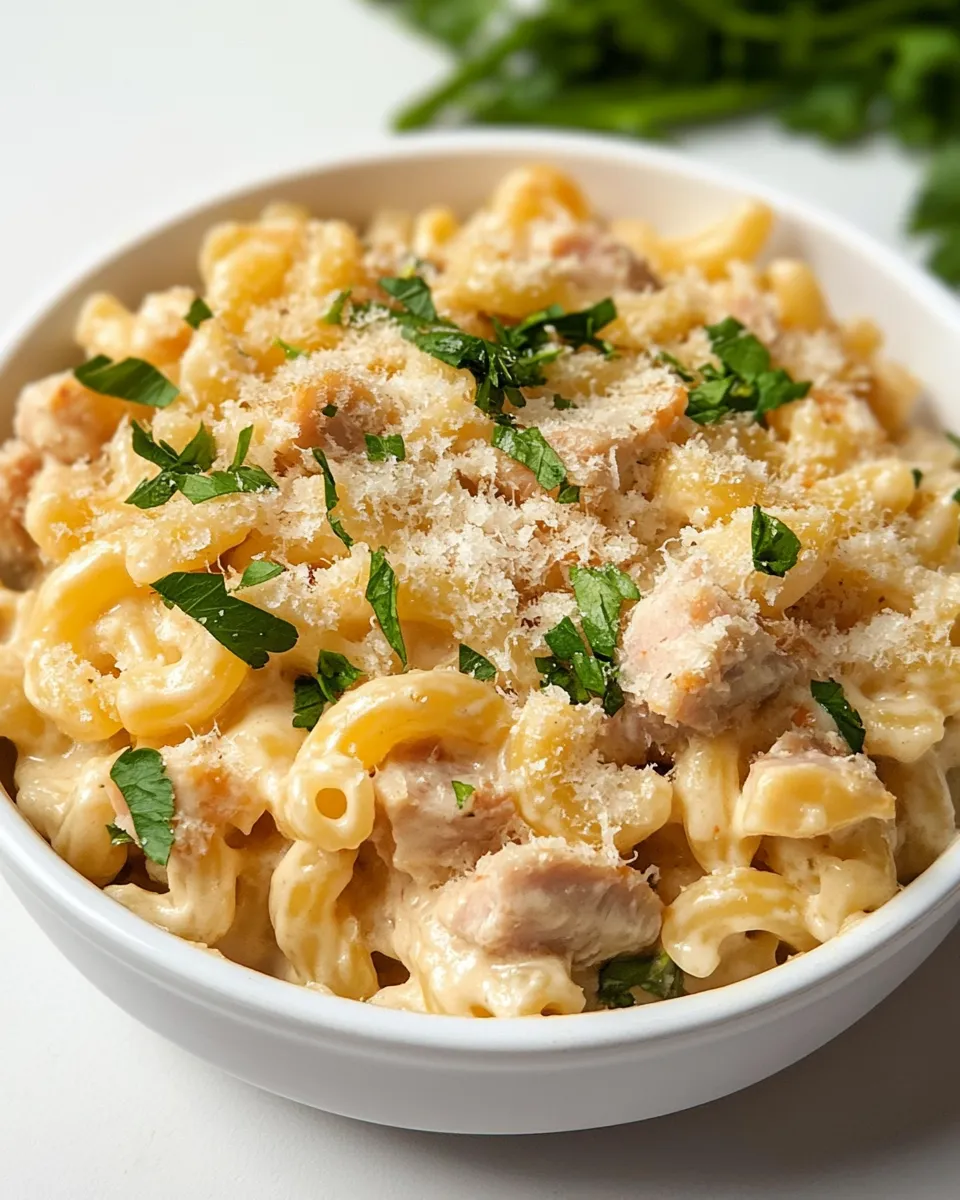
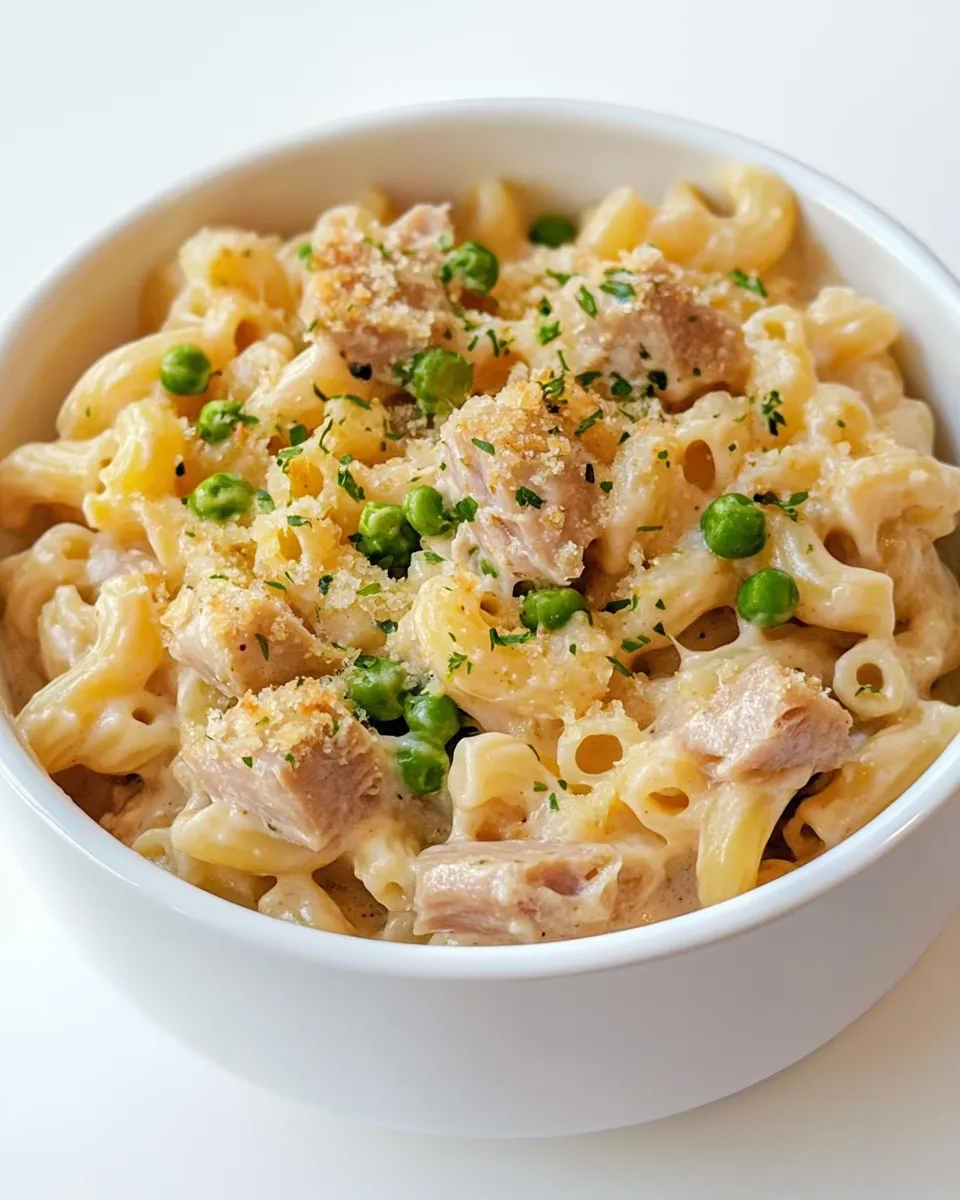
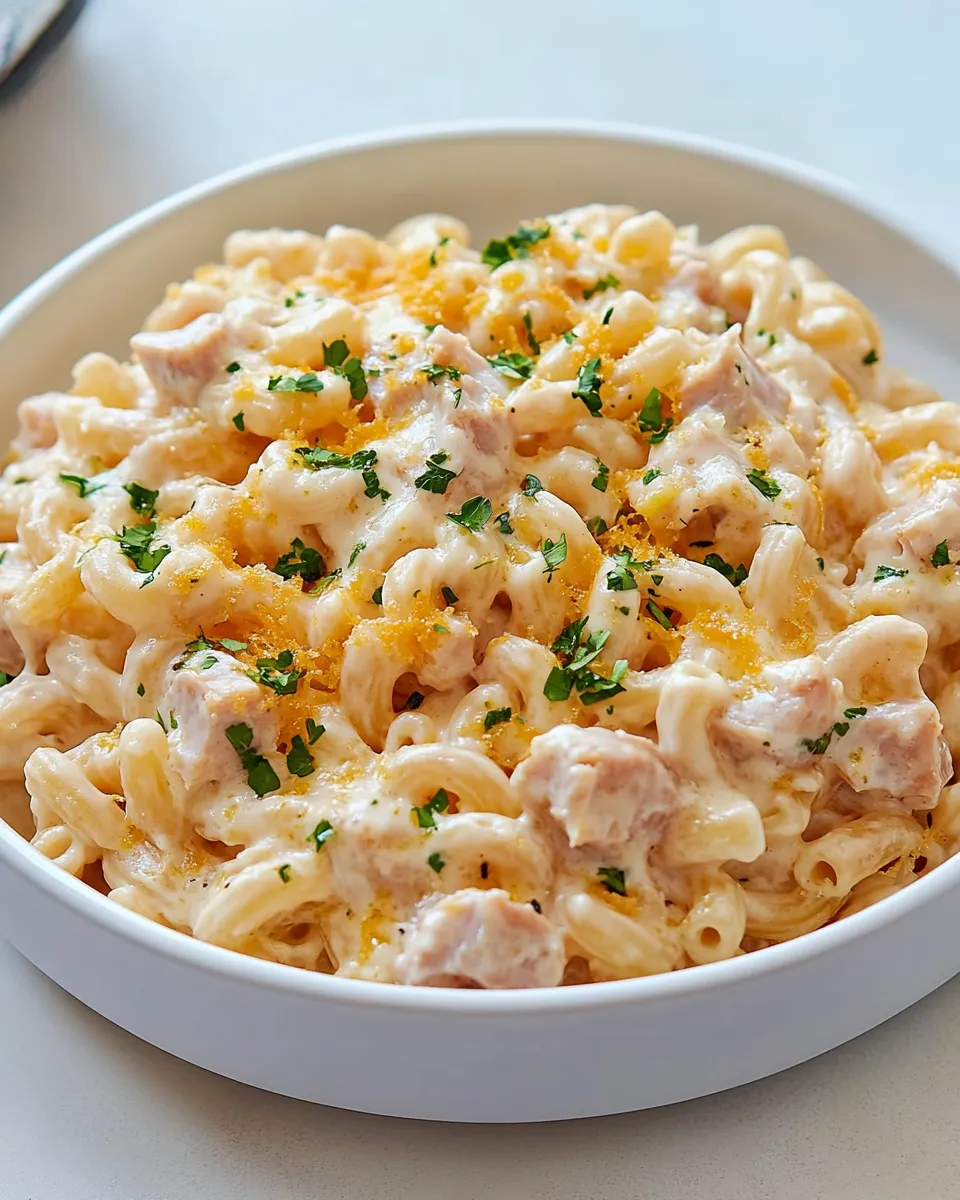
This is the sort of meal I reach for when I want something that hits warm, cheesy, and comforting without drama. Tuna Mac and Cheese does exactly that: pantry pasta, a simple roux, sharp cheddar for tang, and canned tuna folded in so every bite has protein and texture. It’s forgiving, fast, and makes enough to feel like a proper dinner for two with leftovers for lunch.
I like that this recipe is practical. It uses one pot for the sauce and a quick boil for pasta, so cleanup doesn’t take longer than the meal. The peas add a bright pop and a little sweetness, and cream cheese gives the sauce a silkiness that keeps it from feeling heavy. You’ll finish this in under 30 minutes if you stay organized.
Below I’ll walk you through the exact ingredients, the step-by-step directions I use, and small tweaks that keep the dish flexible. There are also tips on gear, storage, and what to avoid so your Tuna Mac and Cheese turns out reliably every time.
Ingredient Checklist
Ingredients
- 8 ounces elbow macaroni — the classic pasta shape here; it traps sauce well and bakes or serves straight from the stove.
- 2 tablespoons unsalted butter — starts the roux for the sauce; unsalted lets you control seasoning.
- 2 tablespoons all-purpose flour — thickens the milk into a smooth cheese sauce.
- 1 1/4 cups whole milk — adds body and creaminess; whole milk gives the richest, creamiest sauce.
- 1/2 cup frozen peas thawed and drained — a bright, sweet compliment to the cheddar and tuna; thaw and drain so they don’t water down the sauce.
- 1 1/2 cups shredded sharp cheddar cheese — the primary flavor; sharp cheddar adds the tang that makes mac and cheese sing.
- 4 tablespoons cream cheese softened — smooths and stabilizes the sauce for a silky finish.
- 15-ounce can tuna in water drained and flaked — the protein for the dish; drain and flake so it distributes evenly.
- Kosher salt to taste — season to finish; add gradually and taste.
- Black pepper to taste — fresh cracked for best flavor; adds a little bite.
- Fresh parsley chopped (for garnish) — optional but highly recommended for color and a light herbal note.
Directions: Tuna Mac and Cheese
- Bring a large pot of salted water to a boil. Add 8 ounces elbow macaroni and cook according to package instructions until al dente. Drain and set aside.
- Return the empty pot to the stove and melt 2 tablespoons unsalted butter over medium heat.
- Add 2 tablespoons all-purpose flour to the melted butter and whisk constantly for about 1 minute, until the mixture is bubbly and fragrant but not browned.
- Gradually whisk in 1 1/4 cups whole milk, adding a little at a time and whisking until smooth. Increase heat slightly and bring the mixture to a gentle simmer, stirring frequently.
- Add 1/2 cup frozen peas (thawed and drained) to the simmering milk mixture. Continue to cook, stirring, until the sauce thickens and coats the back of a spoon, about 3–5 minutes.
- Remove the pot from the heat. Stir in 1 1/2 cups shredded sharp cheddar cheese and 4 tablespoons softened cream cheese until fully melted and the sauce is smooth.
- Add the cooked macaroni and the drained, flaked tuna (15-ounce can) to the cheese sauce. Gently stir until the pasta and tuna are evenly coated.
- Taste and season with kosher salt and black pepper to your preference.
- Serve warm, garnished with chopped fresh parsley.
Why I Love This Recipe
Tuna Mac and Cheese is comfort with purpose: it’s fast, uses pantry staples, and feels substantial. The balance here matters — sharp cheddar gives the dish character while cream cheese keeps it luxuriously smooth. The peas are small, inexpensive, and lift the bowl visually and in flavor. Canned tuna is surprisingly flexible; it’s gentle in flavor and provides that satisfying protein without extra fuss.
I also love that this is forgiving. If the sauce is a touch thin, let it simmer a minute longer. If it’s too thick, whisk in a splash more milk. The flavors come together quickly, which is great on weeknights or when you want a reliable, crowd-pleasing dish for guests or picky eaters.
Easy Ingredient Swaps
- Elbow macaroni: swap for any short pasta like shells or rotini if that’s what you have on hand.
- Whole milk: use 2% for a lighter sauce; the texture will be slightly less rich.
- Sharp cheddar: mix in a milder cheddar or Monterey Jack if you prefer less tang.
- Cream cheese: sour cream can work in a pinch, but add it off the heat to avoid breaking the sauce.
- Frozen peas: green beans or corn can be used instead—adjust cooking time so they stay crisp-tender.
Gear Up: What to Grab
- Large pot — for boiling pasta and then making the sauce; using the same pot saves dishes.
- Whisk — essential for a lump-free roux and smooth sauce.
- Wooden spoon or silicone spatula — for folding tuna and pasta into the sauce gently.
- Measuring cups and spoons — accurate liquid and flour measures keep the sauce consistent.
- Colander — to drain the pasta thoroughly so the sauce clings instead of thinning out.
Frequent Missteps to Avoid
- Skipping the whisking step when adding flour: if you don’t whisk constantly the roux can clump. Whisk until it’s bubbling but not browned.
- Adding milk too quickly: pour gradually and whisk to avoid lumps.
- Overcooking the pasta: cook to al dente. If the pasta is too soft it will break down when mixed with the sauce.
- Not draining the tuna well: excess liquid from the can will water down the sauce and make it runny.
- Heating cheese on high: remove the pot from heat before stirring in cheese to prevent grainy separation.
Make It Your Way
Texture and add-ins
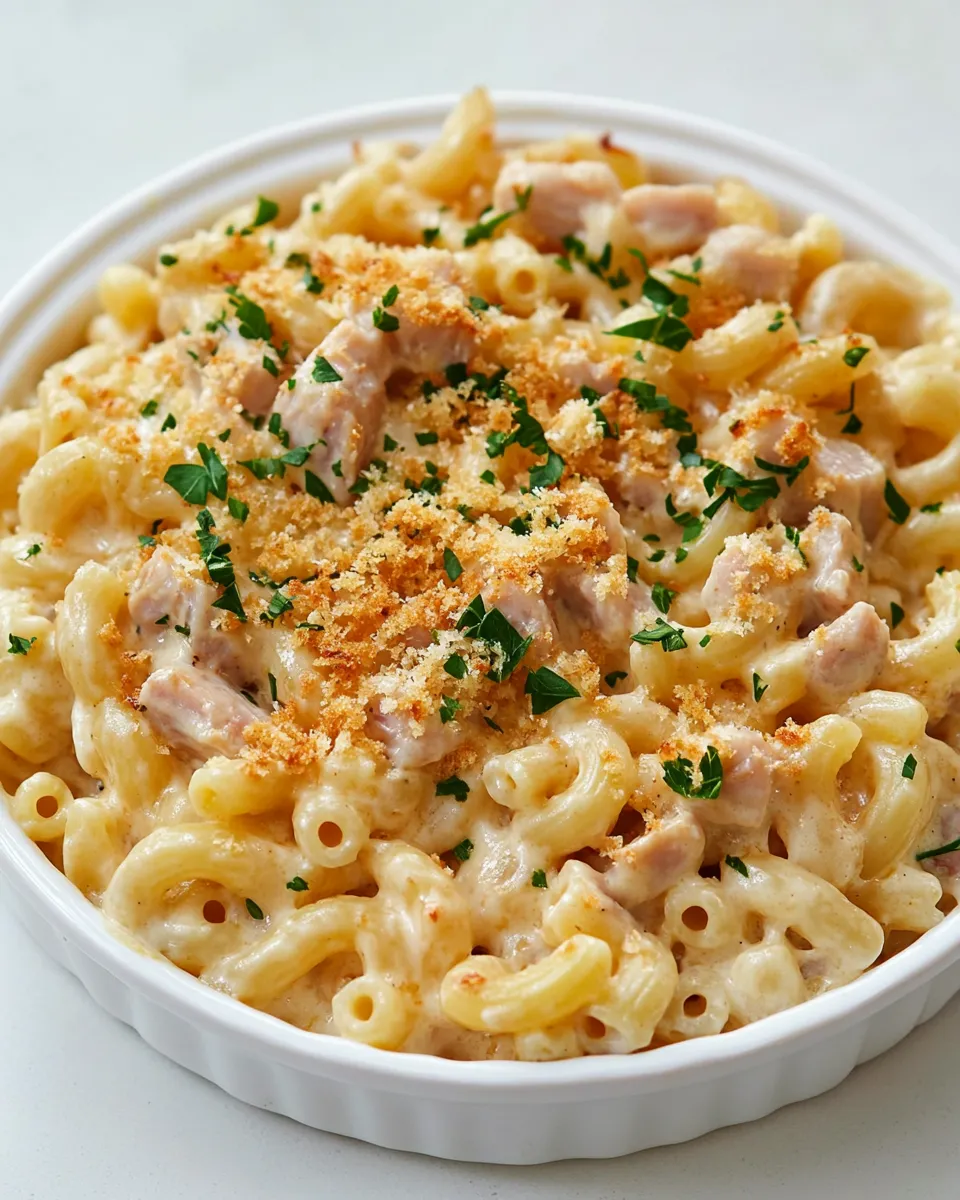
- Crispy top: transfer to a baking dish, sprinkle extra cheddar or breadcrumbs, and broil briefly until golden.
- Veg-forward: fold in sautéed mushrooms, spinach, or roasted red peppers for more vegetables.
- Heat: add a pinch of cayenne or a few drops of hot sauce if you like a little kick.
Portion and presentation
Serve straight from the pot for a casual family dinner, or spoon into bowls and sprinkle chopped parsley and a grind of black pepper for a simple, plated look. Leftovers reheat well and make a great lunch — see Storage Pro Tips below.
Chef’s Rationale
This recipe is built around technique more than bells and whistles. A proper roux and slow addition of milk produce a smooth béchamel base for the cheese. Using whole milk minimizes the chance of a grainy sauce and keeps the final texture silky. Sharp cheddar brings acidity and salt; cream cheese stabilizes the sauce and prevents separation. Thawing and draining the peas avoids watering down the sauce, and draining the tuna ensures the texture stays appealing and not soggy.
Those small technical choices — salt control with unsalted butter, gentle heat when melting cheese, and folding the tuna in off the boil — turn a decent mac and cheese into a reliable, creamy dish every time.
Storage Pro Tips
- Refrigerate leftovers in an airtight container within two hours of cooking. They’ll keep 3–4 days.
- To reheat, add a splash of milk to loosen the sauce and warm gently over low heat, stirring until evenly heated.
- Freeze only if necessary: texture changes in dairy-heavy dishes can be noticeable after freezing. If you do freeze, use a freezer-safe container and consume within a month. Thaw overnight in the fridge and reheat gently.
- When reheating from refrigerated leftovers, avoid microwaving on high. Low and slow prevents the cheese from breaking and becoming grainy.
Popular Questions
- Can I use tuna in oil? Yes. If you use tuna packed in oil, drain it well and taste before adding extra salt since oil-packed tuna can be richer and saltier.
- Can I make this ahead? You can prepare the sauce and pasta separately, refrigerate, and combine just before reheating and serving. Keep the tuna separate until the last minute for best texture.
- Is this freezer-friendly? It’s possible but not ideal because dairy textures change after freezing. Freeze only if necessary and expect a slightly different mouthfeel.
- How do I prevent grainy cheese sauce? Remove the pot from the heat before adding the cheese and stir until melted. Use moderate heat and freshly shredded cheese — pre-shredded cheese often contains anti-caking agents that can affect melting.
Hungry for More?
If you liked this Tuna Mac and Cheese, try swapping tuna for cooked shredded chicken and adding a handful of chopped scallions for a different take. For a day-of-week dinner rotation, keep a can of tuna and a bag of frozen peas in the pantry and the freezer — they pair with a basic cheese sauce to make dinner in under 30 minutes.
Thanks for cooking with me. If you try this, tell me how you adjusted it — favorite add-ins, how you finished it, or what made it perfect for your table. Practical, simple, and delicious is what I aim for, and this Tuna Mac and Cheese hits that mark every time.

Tuna Mac and Cheese
Ingredients
Ingredients
- 8 ounceselbow macaroni
- 2 tablespoonsunsalted butter
- 2 tablespoonsall-purpose flour
- 1 1/4 cupswhole milk
- 1/2 cupfrozen peasthawed and drained
- 1 1/2 cupsshredded sharp cheddar cheese
- 4 tablespoonscream cheesesoftened
- 15- ounce can tuna in waterdrained and flaked
- Kosher salt to taste
- Black pepper to taste
- Fresh parsleychopped for garnish
Instructions
Instructions
- Bring a large pot of salted water to a boil. Add 8 ounces elbow macaroni and cook according to package instructions until al dente. Drain and set aside.
- Return the empty pot to the stove and melt 2 tablespoons unsalted butter over medium heat.
- Add 2 tablespoons all-purpose flour to the melted butter and whisk constantly for about 1 minute, until the mixture is bubbly and fragrant but not browned.
- Gradually whisk in 1 1/4 cups whole milk, adding a little at a time and whisking until smooth. Increase heat slightly and bring the mixture to a gentle simmer, stirring frequently.
- Add 1/2 cup frozen peas (thawed and drained) to the simmering milk mixture. Continue to cook, stirring, until the sauce thickens and coats the back of a spoon, about 3–5 minutes.
- Remove the pot from the heat. Stir in 1 1/2 cups shredded sharp cheddar cheese and 4 tablespoons softened cream cheese until fully melted and the sauce is smooth.
- Add the cooked macaroni and the drained, flaked tuna (15-ounce can) to the cheese sauce. Gently stir until the pasta and tuna are evenly coated.
- Taste and season with kosher salt and black pepper to your preference.
- Serve warm, garnished with chopped fresh parsley.
Equipment
- Large Pot
- Whisk
- Colander