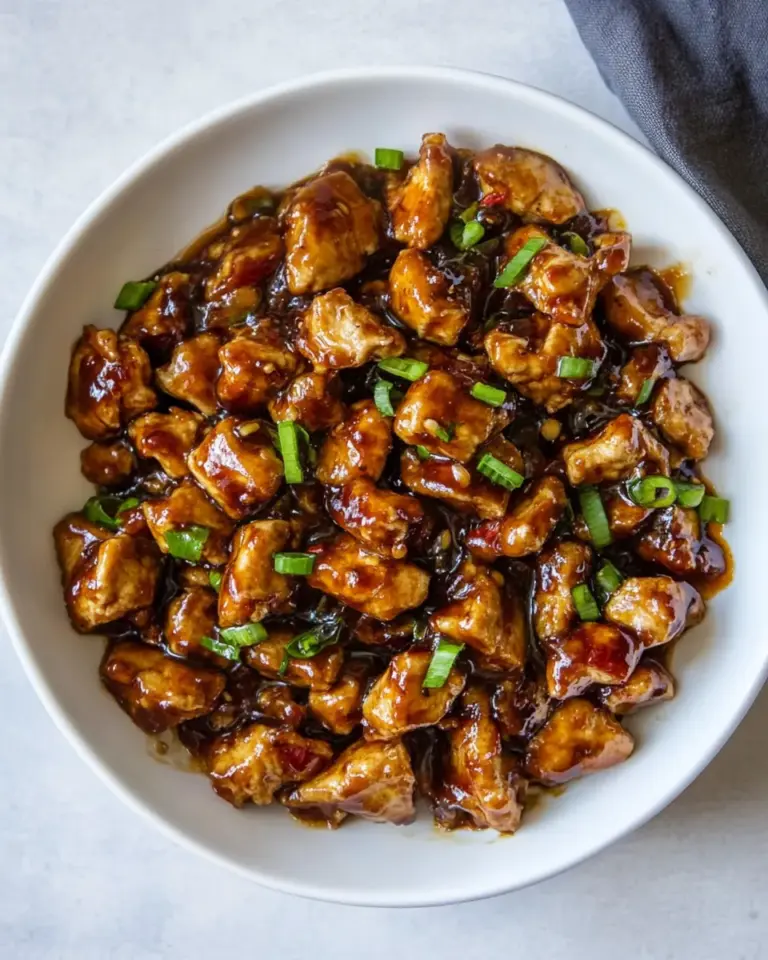
I fell in love with Panang the first time I tasted its creamy, slightly nutty sauce. It felt familiar and exotic at once — rich coconut, warm curry paste, and that faint hint of sweetness that ties everything together. This version leans on simple pantry staples and a focused technique so you get consistent results every time.
I write recipes that I actually cook on busy weeknights, and this Panang is exactly that: straightforward, forgiving, and deeply satisfying. You’ll brown the chicken, simmer the sauce long enough to meld flavors, and finish with a silky texture that clings to rice or zoodles.
Below you’ll find a clear ingredient list, step-by-step directions straight from the skillet, troubleshooting tips, and a few swaps so the dish fits your diet. No unnecessary frills — just practical guidance to help you make a lively, restaurant-style Thai Panang Curry at home.
What Goes Into Thai Panang Curry
- 2 (15-oz) cans full-fat coconut milk, divided — full-fat gives the sauce body and sheen; reserve most for the simmer step.
- 1/2 yellow onion, finely chopped — builds savory sweetness when sautéed; chop small so it softens quickly.
- 1 red bell pepper, chopped — adds color and a mild, crisp sweetness; toss in after the onion so it keeps some texture.
- 1 Tbsp coconut oil — neutral, high-smoke-point oil that complements the coconut milk; used for browning the chicken.
- 1.5 lbs boneless skinless chicken breasts, chopped — lean protein that browns nicely; cut into even pieces for even cooking.
- 4 Tbsp panang curry paste — the aromatic core of the dish; adjust to taste but stick to this amount for balanced heat and flavor.
- 2 Tbsp peanut butter / unsweetened almond butter — gives the curry its signature nutty depth and helps thicken the sauce.
- 2 Tbsp coconut sugar or brown sugar, optional — balances the savory and salty elements; add or omit based on your preference.
- 2 Tbsp fish sauce — primary source of umami and saltiness; taste and adjust at the end.
- sea salt, to taste — fine-tune seasoning after simmering so everything sings together.
Thai Panang Curry, Made Easy
- Open both 15-oz cans of full-fat coconut milk. Pour about 1/4 cup into a large skillet or Dutch oven and reserve the remaining coconut milk from both cans for later.
- Heat the skillet with the 1/4 cup coconut milk over medium heat. Add the finely chopped 1/2 yellow onion and sauté, stirring occasionally, until very fragrant and softened, about 5–8 minutes.
- Add the chopped red bell pepper to the skillet and sauté until slightly softened, about 2 minutes.
- Add the reserved coconut milk, 4 Tbsp panang curry paste, 2 Tbsp peanut butter (or unsweetened almond butter), 2 Tbsp coconut sugar or brown sugar (optional), 2 Tbsp fish sauce, and a pinch of sea salt. Stir to combine, bring the mixture to a full boil, then reduce heat to a simmer. Simmer, stirring occasionally, for 15 minutes to develop the sauce flavors.
- While the sauce is simmering, heat a separate skillet over medium-high heat and add 1 Tbsp coconut oil. Add the 1.5 lbs chopped boneless skinless chicken breasts in a single layer.
- Brown the chicken: cook undisturbed until the bottom side is browned, about 3–5 minutes, then flip and brown the other side, about 3–5 minutes. Cover the skillet and continue cooking until the chicken is cooked through, about 3–5 more minutes. Drain any excess liquid from the chicken.
- Transfer the cooked chicken into the simmering curry. Continue to cook gently for an additional 10 minutes, stirring occasionally, to allow the flavors to meld. Taste and adjust sea salt if needed.
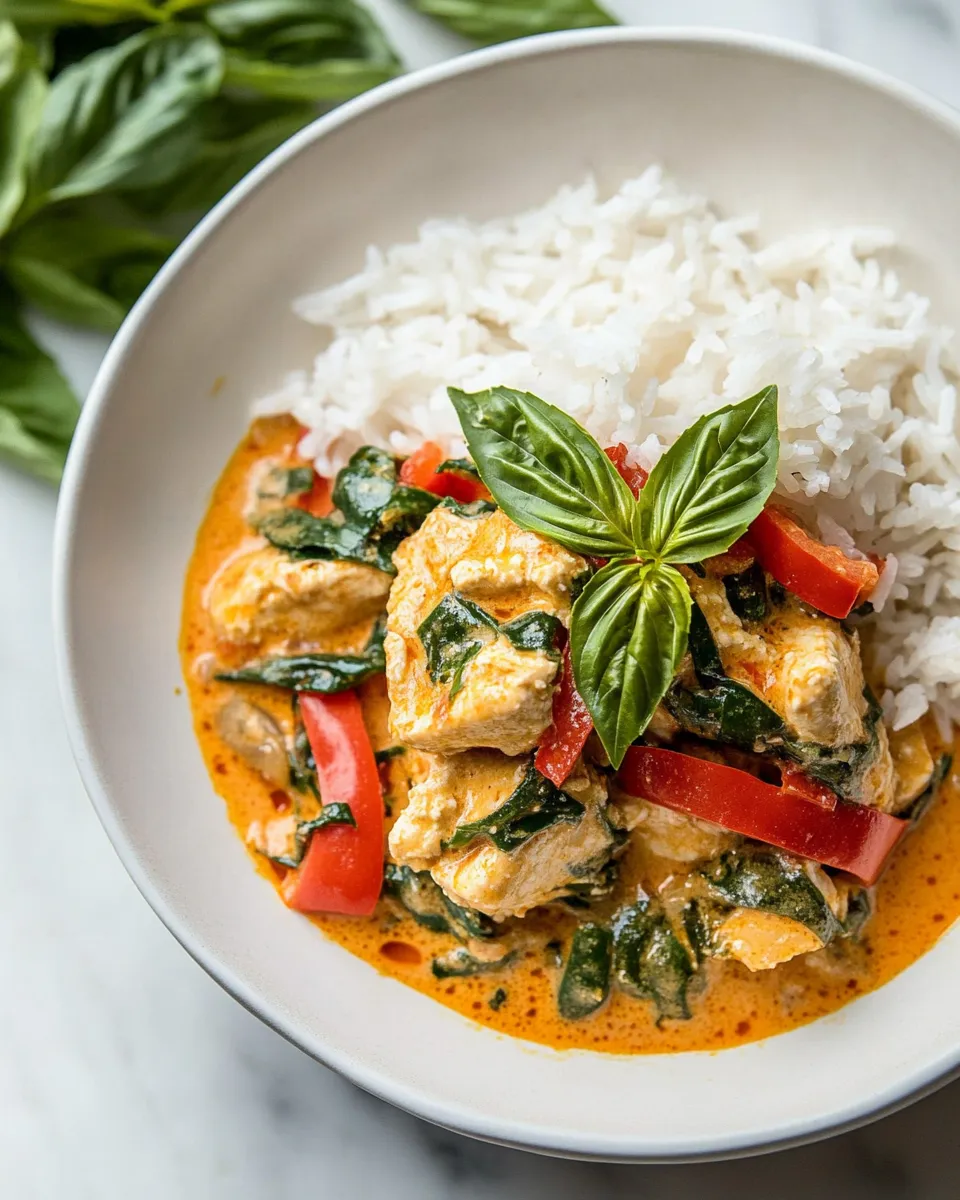
- Serve the panang curry hot with your choice of rice, cauliflower rice, zucchini noodles, quinoa, etc.
Why It Works Every Time
This recipe is built on a few reliable principles. First: fat carries flavor. Using full-fat coconut milk at the start and for the simmer gives the sauce a glossy richness that holds the curry paste and peanut butter in suspension. That 1/4 cup seared with the onion lets the aromatics bloom and creates a flavorful foundation.
Second: controlled heat and time. Browning the chicken in a hot skillet locks in flavor and texture. Simmering the sauce for a full 15 minutes lets the paste mellow and the sugar, fish sauce, and peanut butter meld into a cohesive sauce. A final 10-minute join between chicken and sauce ensures the meat absorbs those layered flavors without drying out.
Lastly: balance. Panang relies on a three-way tension — salty (fish sauce), sweet (coconut or brown sugar), and creamy (coconut milk and nut butter). Taste and adjust sea salt at the end, because the sauce concentrates as it simmers.
Vegan & Vegetarian Swaps

You can make this dish meat-free without losing its character. Swap the chicken for firm cubes of tofu or thick slices of seared mushrooms and cook them the same way — brown first, then add to the simmering sauce so they soak up the flavors.
Replace the fish sauce with a plant-based alternative: a salty, umami-rich soy or tamari-based substitute (or a commercial vegetarian fish sauce) maintains depth. Keep the peanut or almond butter; it’s essential for that Panang texture. Use the same timing: simmer the sauce fully so the paste and nut butter integrate.
Tools of the Trade

Must-haves
- Large skillet or Dutch oven — to build the sauce and simmer without crowding.
- Separate skillet — for browning chicken in a single layer so you get a good sear.
- Can opener — for the coconut milk cans.
- Spatula or wooden spoon — for stirring the sauce and scraping the bottom.
- Chef’s knife and cutting board — for even chopping of onion, pepper, and chicken.
Nice-to-haves
- Tongs — easier for flipping chicken pieces without splatter.
- Thermometer — quick way to confirm chicken is at a safe internal temp if you prefer precision.
Common Errors (and Fixes)
Issue: sauce separates or looks oily. Fix: use full-fat coconut milk (as called for) and simmer gently after the initial boil. If separation happens, whisk briefly and continue to cook over low heat; the nut butter helps re-emulsify the sauce.
Issue: bland curry. Fix: taste after the 15-minute simmer and before adding chicken. Increase fish sauce by small increments or add the optional coconut sugar to balance. A pinch of sea salt is a simple, immediate adjuster.
Issue: dry or rubbery chicken. Fix: don’t overcrowd the pan when browning; cook in a single layer. After searing both sides, cover the skillet and finish for the final 3–5 minutes as directed, then drain excess liquid before adding to the sauce so the curry doesn’t get diluted.
Dietary Swaps & Alternatives
Low-carb or keto: serve with cauliflower rice or zucchini noodles (both suggested in the instructions) instead of grain rice. The coconut milk and peanut butter keep the curry naturally higher in fat and satisfying.
Nut sensitivity: this recipe lists peanut butter with an almond butter option. If nuts are not possible, omit the nut butter and expect a thinner sauce; the flavor will be different but still tasty. Increase the simmer time slightly to concentrate the sauce.
Lower-sodium: reduce the fish sauce slightly and add a touch more coconut sugar or a small pinch of sea salt as needed to keep depth without oversalting. Taste as you go.
Cook’s Notes
Chop uniformly. Small, even pieces of chicken cook at the same rate, so you avoid overcooking some pieces while others remain underdone. The same goes for the onion and bell pepper; fine chop the onion so it softens in the skillet, and keep the pepper slightly larger for textural contrast.
Reserve most coconut milk. That initial 1/4 cup in step 1 is intentional — it fries the aromatics without overpowering them. The bulk of the coconut milk goes in later so the curry finishes silky and not greasy.
Keep a little patience. The 15-minute simmer seems long for a curry, but it’s the difference between a one-note sauce and one that tastes layered and built. Stir occasionally and keep the heat low enough to avoid a hard boil.
Storage Pro Tips
Refrigeration: cool curry to room temperature then store in an airtight container for up to 3–4 days. The sauce will thicken in the fridge; reheat gently over low heat and stir in a splash of reserved coconut milk or water if it feels too thick.
Freezing: this curry freezes well. Portion into freezer-safe containers and freeze for up to 2 months. Thaw overnight in the refrigerator and reheat on low, stirring regularly to restore a smooth texture.
Make-ahead: you can prepare the sauce up to 24 hours ahead, cool, and refrigerate. Reheat the sauce, then finish by adding freshly browned chicken for the best texture.
Top Questions & Answers
Q: Can I use chicken thighs instead of breasts?
A: Yes. Thighs stay juicier and are more forgiving. Brown them the same way and adjust the finish time as needed; they may need slightly longer to cook through depending on size.
Q: How spicy is 4 Tbsp of Panang paste?
A: Paste heat varies by brand. Four tablespoons gives a noticeable but balanced warmth in this recipe; reduce by a tablespoon if you are sensitive to spice, and taste after the simmer to adjust.
Q: Can I substitute store-bought curry paste?
A: Absolutely. This recipe expects panang curry paste; a good-quality jar or paste from the market will work. Freshly made paste is great, but store-bought keeps the recipe quick.
Q: Do I need to drain the chicken after cooking?
A: Yes. The recipe calls for draining excess liquid so the curry doesn’t become diluted when you add the chicken back into the sauce.
Ready, Set, Cook
Now you’ve got everything you need to make a dependable, flavorful Panang Curry. Follow the steps, taste as you go, and don’t rush the simmer. The payoff is a creamy, slightly nutty curry that pairs perfectly with plain rice or any light grain or vegetable base you prefer.
Make a batch tonight. Brown the chicken confidently, give the sauce the time it needs, and serve hot. The house will smell amazing, and you’ll be happy you kept the technique simple and the flavors true.
Thai Panang Curry
Ingredients
Ingredients
- 2 15-oz cansfull-fat coconut milkdivided
- 1/2 yellow onionfinely chopped
- 1 red bell pepperchopped
- 1 Tbspcoconut oil
- 1.5 lbsboneless skinless chicken breastschopped
- 4 Tbsppanang curry paste
- 2 Tbsppeanut butterunsweetened almond butter
- 2 Tbspcoconut sugaror brown sugar optional
- 2 Tbspfish sauce
- sea saltto taste
Instructions
Instructions
- Open both 15-oz cans of full-fat coconut milk. Pour about 1/4 cup into a large skillet or Dutch oven and reserve the remaining coconut milk from both cans for later.
- Heat the skillet with the 1/4 cup coconut milk over medium heat. Add the finely chopped 1/2 yellow onion and sauté, stirring occasionally, until very fragrant and softened, about 5–8 minutes.
- Add the chopped red bell pepper to the skillet and sauté until slightly softened, about 2 minutes.
- Add the reserved coconut milk, 4 Tbsp panang curry paste, 2 Tbsp peanut butter (or unsweetened almond butter), 2 Tbsp coconut sugar or brown sugar (optional), 2 Tbsp fish sauce, and a pinch of sea salt. Stir to combine, bring the mixture to a full boil, then reduce heat to a simmer. Simmer, stirring occasionally, for 15 minutes to develop the sauce flavors.
- While the sauce is simmering, heat a separate skillet over medium-high heat and add 1 Tbsp coconut oil. Add the 1.5 lbs chopped boneless skinless chicken breasts in a single layer.
- Brown the chicken: cook undisturbed until the bottom side is browned, about 3–5 minutes, then flip and brown the other side, about 3–5 minutes. Cover the skillet and continue cooking until the chicken is cooked through, about 3–5 more minutes. Drain any excess liquid from the chicken.
- Transfer the cooked chicken into the simmering curry. Continue to cook gently for an additional 10 minutes, stirring occasionally, to allow the flavors to meld. Taste and adjust sea salt if needed.
- Serve the panang curry hot with your choice of rice, cauliflower rice, zucchini noodles, quinoa, etc.
Equipment
- Large skillet or Dutch oven
- Skillet