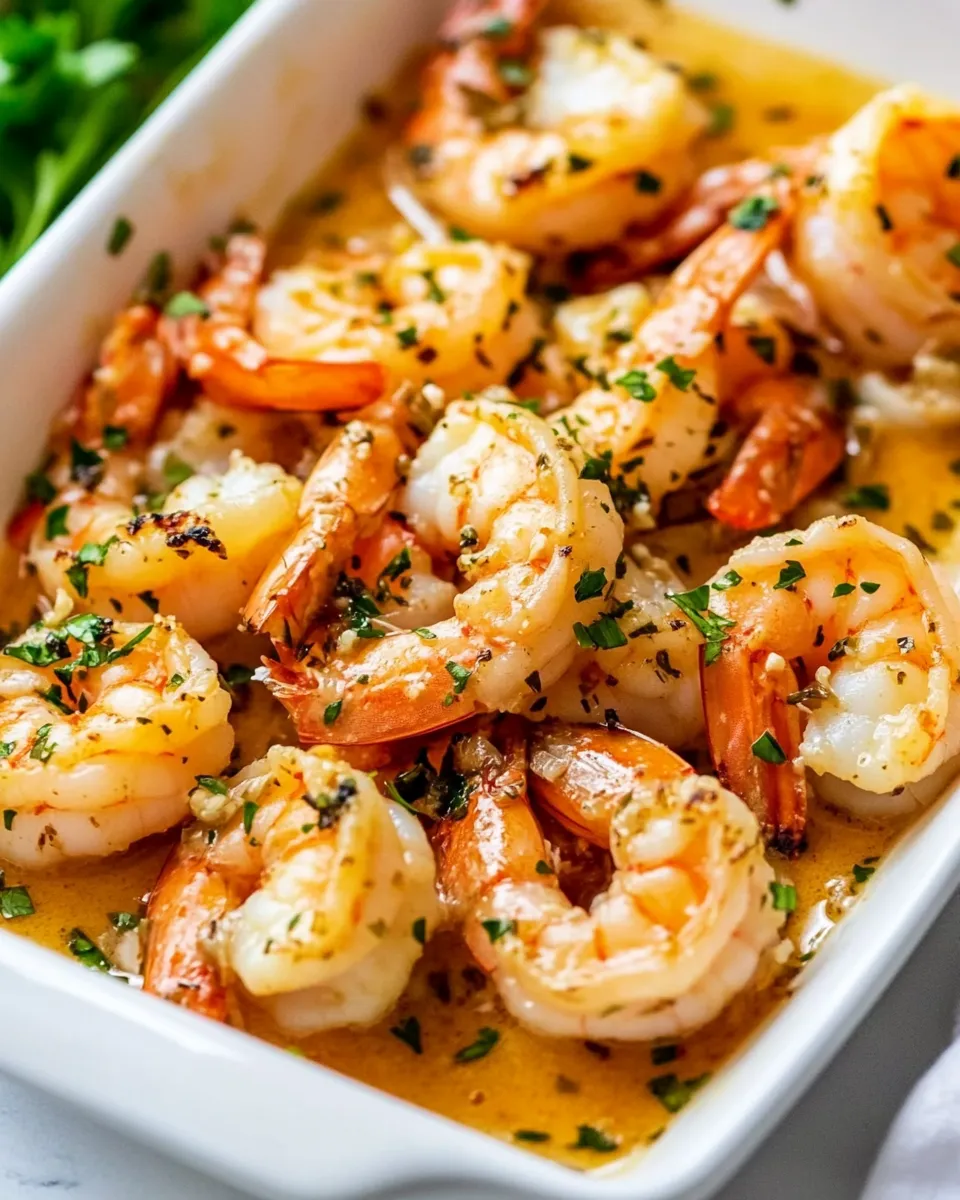
I make this garlic butter shrimp on weeknights when I want something fast, satisfying, and a little bit special. It comes together in minutes, and the sauce is so good you’ll want to spoon it over rice or a pile of greens. I love that it’s flexible — same base, different finishes depending on what’s in my fridge.
There’s no long prep, no complicated steps, and no instruments beyond a good skillet. The shrimp cook quickly and the garlic-butter-lemon finish feels bright and indulgent at once. If you can peel shrimp and press garlic, you’re already halfway there.
I’ll walk you through exactly what to grab, how to cook it so the shrimp stay tender, and a handful of smart swaps if you want it lighter or dairy-free. Practical tips, reasons for each step, and fixes for the few things that can go wrong — all included.
What’s in the Bowl
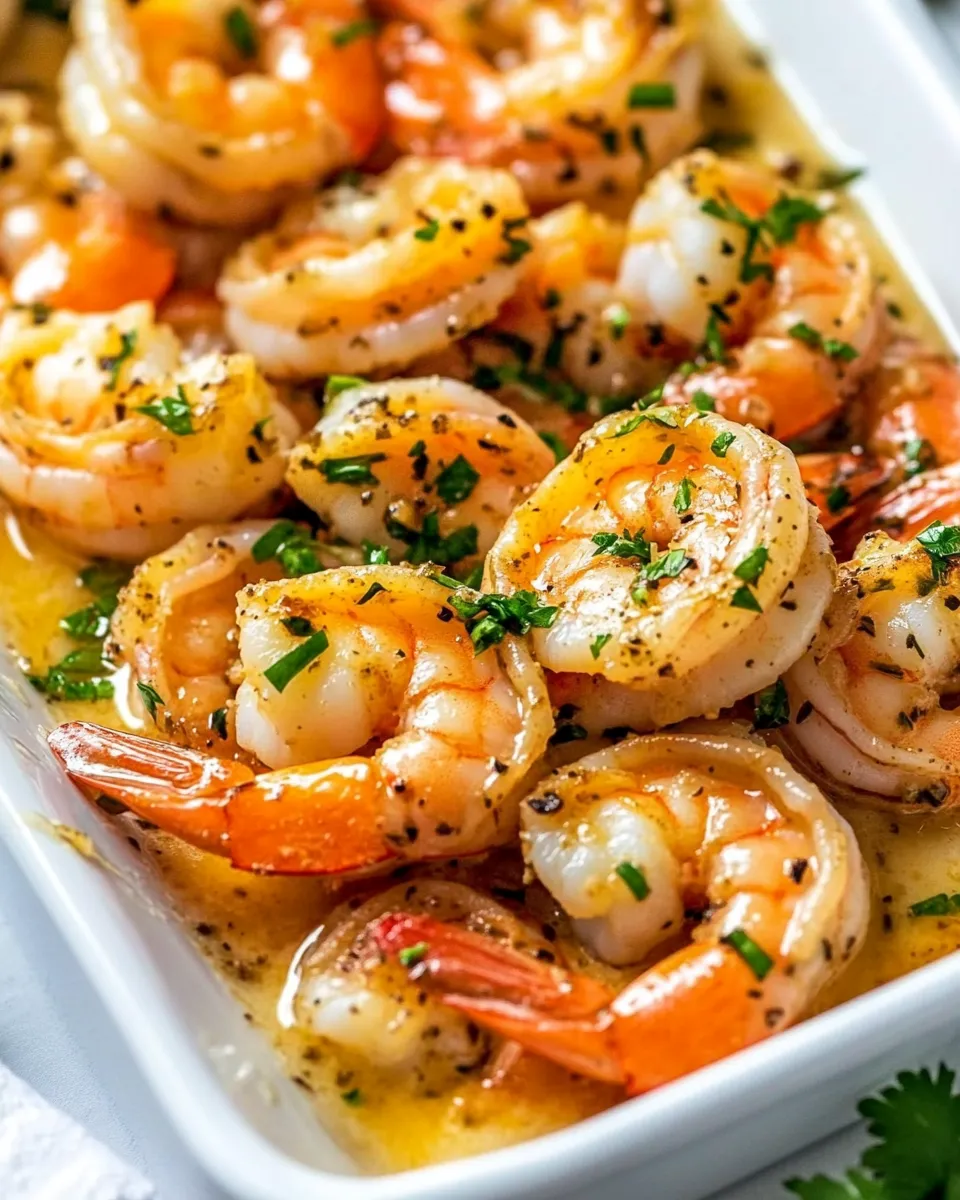
This dish is all about a few high-impact components: shrimp, garlic, butter, acid, and parsley. Each one pulls its weight. The olive oil helps get the skillet hot and gives a clean sear. Butter brings richness and that glossy finish. Lemon juice brightens everything and slices through the fat. Parsley adds a fresh, herbaceous note at the end. A pinch of red pepper flakes wakes up the palate with gentle heat.
Because there are so few elements, quality matters. Use fresh garlic and freshly squeezed lemon juice if you can. But don’t overthink it — good technique matters more than boutique ingredients here. Dry the shrimp well, get a hot pan, and don’t overcrowd the skillet.
Ingredients
- 2 tablespoons olive oil — helps the pan get hot quickly and prevents sticking; use a neutral or extra-virgin depending on preference.
- 4 tablespoons butter (unsalted) — gives richness and a silky sauce; unsalted lets you control salt.
- 1 pound shrimp (large or jumbo, shelled) — the star of the dish; patted dry will sear best.
- ¼ teaspoons salt (or to taste) — seasons the shrimp; I add some during cooking and adjust at the end if needed.
- 6 cloves garlic (minced) — aromatic backbone; mince finely so it releases flavor quickly.
- ½ teaspoon red pepper flakes — provides gentle heat; reduce or omit if you prefer no spice.
- 3 tablespoons lemon juice (freshly squeezed) — brightens and balances the butter.
- ¼ cup fresh parsley (chopped) — fresh finish that lifts the whole dish.
Step-by-Step: Garlic Butter Shrimp
- Pat the shrimp dry with paper towels. Heat a large skillet over medium-high heat, add 2 tablespoons olive oil and 2 tablespoons butter, and melt the butter until it sizzles.
- Add the shrimp in a single layer to the hot skillet. Cook without moving for 2 to 3 minutes, until the underside is pink. Sprinkle 1/4 teaspoon salt evenly over the shrimp.
- Flip the shrimp and cook for another 2 minutes, until shrimp are pink and opaque and just cooked through.
- Add 6 cloves minced garlic and 1/2 teaspoon red pepper flakes to the skillet. Cook, stirring constantly, for about 30 seconds until fragrant but not browned.
- Stir in the remaining 2 tablespoons butter, 3 tablespoons lemon juice, and 1/4 cup chopped fresh parsley. Turn off the heat, toss to coat the shrimp in the sauce, and serve immediately.
Why It’s My Go-To
Speed. Flavor. Minimal cleanup. That combination wins on busy nights. The technique locks in shrimp texture — a quick sear, a flip, and you stop the cooking when they’re just opaque. That short time in a hot pan gives a caramelized edge without rubberiness.
The sauce is forgiving. The butter and lemon make a simple emulsion that clings to the shrimp, and garlic gives that familiar, comforting punch. Pair it with pasta, rice, or a salad and you have dinner in under 15 minutes.
Healthier Substitutions
Want to lighten the dish without losing everything you love? A few easy swaps do the trick.
- Use 1 tablespoon butter and 1 tablespoon olive oil, or replace butter with a light cooking oil if dairy is a concern.
- Substitute ghee for butter if you’re lactose-sensitive; it keeps the buttery flavor with less lactose.
- To cut calories, serve over cauliflower rice or a bed of mixed greens instead of pasta or regular rice.
- Reduce salt or skip the pinch during searing and finish with a small grind of sea salt after tasting.
Gear Up: What to Grab
- Large skillet — a heavy-bottomed pan or stainless steel skillet works best for a good sear.
- Tongs or a spatula — for flipping shrimp cleanly.
- Paper towels — to pat the shrimp dry.
- Citrus juicer or reamer — for fresh lemon juice.
- Sharp knife and cutting board — for mincing garlic and chopping parsley.
Watch Outs & How to Fix
Shrimp overcooked? Unfortunately, that one is hard to reverse. If they turn rubbery, remove them from heat immediately and use them in a saucier preparation (stew or curry) where texture is less obvious.
Garlic browned and bitter? Garlic cooks fast. If it browns, it will taste bitter. Fix: remove the pan from heat quickly, transfer shrimp to a warm plate, wipe the pan, and start again with fresh garlic — or simply finish with extra lemon and parsley to balance the bitterness.
Too salty? Add a squeeze more lemon juice or a tablespoon of unsalted butter to mute saltiness. You can also add a mild starch like plain rice to dilute the effect on the plate.
Variations for Dietary Needs
Gluten-free: naturally gluten-free as written. Watch cross-contamination if using shared tools.
Dairy-free: swap the butter for equal parts extra olive oil or coconut oil, or use vegan butter. Ghee works if you tolerate clarified butter.
Low-FODMAP: reduce garlic or use garlic-infused oil for flavor without the fructans (but note whole garlic is in the ingredient list; swap only if you need to for dietary reasons).
Behind-the-Scenes Notes
I test this recipe with shrimp straight from the supermarket and with frozen-thawed shrimp. The key difference is dryness. Frozen shrimp often release more water; make sure to pat them thoroughly. I also experiment with pan temperature: medium-high gives the best balance so the butter doesn’t burn before the shrimp cook.
Fresh parsley is more than garnish here. It brightens the butter and rounds out the garlic. I rarely skip it. Red pepper flakes are optional — they add depth, but if you’re cooking for kids or anyone sensitive to heat, leave them out and rely on black pepper if needed.
Freezer-Friendly Notes
Cooked shrimp do freeze, but texture will change. I recommend freezing only uncooked peeled shrimp if you plan ahead, then defrost and cook fresh following this method. If you have leftover cooked Garlic Butter Shrimp, store in an airtight container and use within 2 days; reheat gently in a skillet with a splash of water or broth over low heat to avoid further cooking.
Handy Q&A
- Can I use frozen shrimp? Yes. Thaw fully and pat very dry before cooking.
- Should I keep tails on? Either works. Tails on look pretty and can be used as handles for finger food; tails off are easier to eat with a fork.
- What if my butter browns too quickly? Lower the heat slightly and add oil to raise the smoke point, or start with less butter and finish with the remaining amount off heat as instructed in the steps.
- Can I make this ahead? The shrimp are best fresh. You can make the garlic-butter sauce ahead and gently rewarm it, then toss with freshly cooked shrimp.
Bring It to the Table
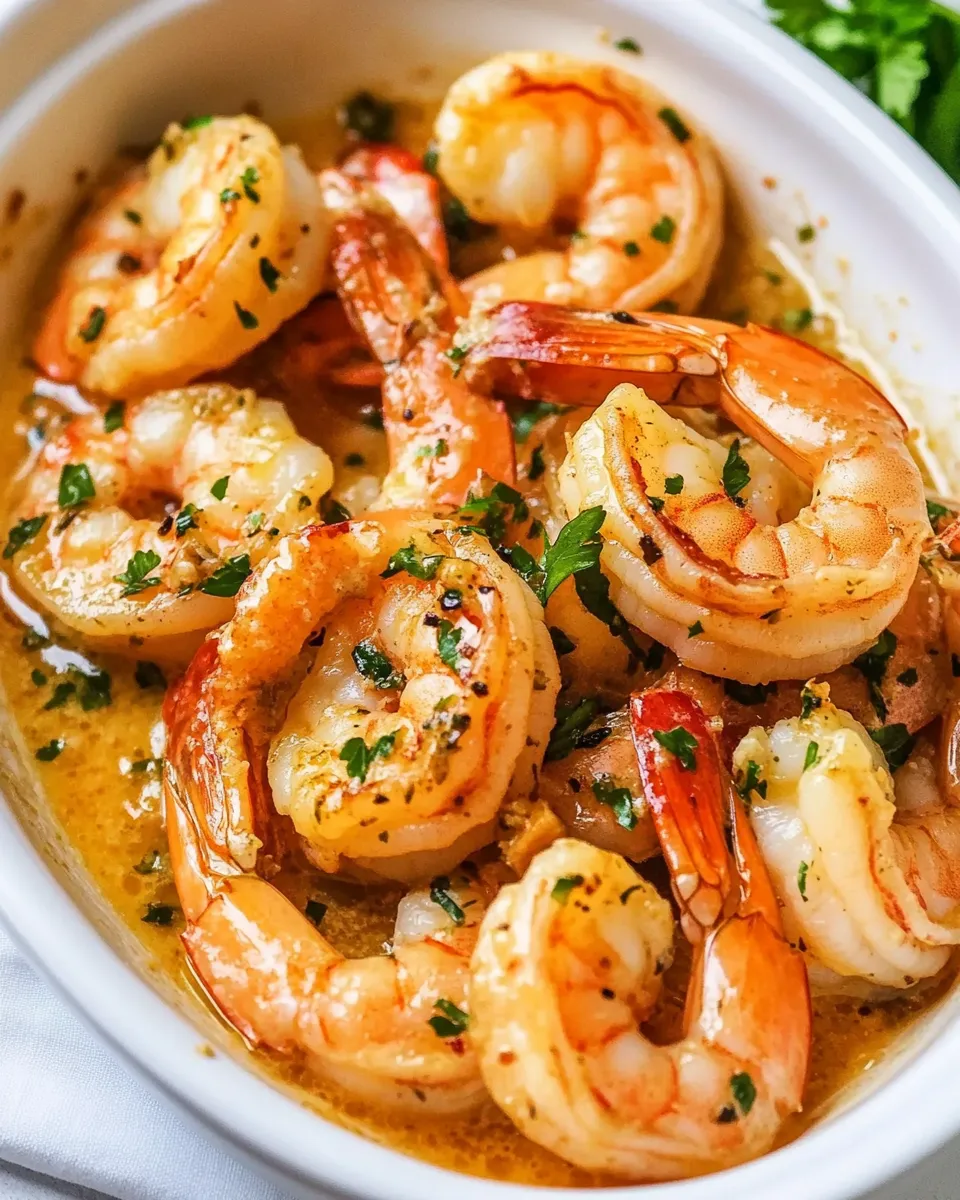
Serve this Garlic Butter Shrimp straight from the skillet. It’s happiest hot, with the sauce glossy and warm. Offer crusty bread, steamed rice, or a tangle of spaghetti tossed with a little olive oil for a one-pan weeknight pasta. A simple green salad makes a bright contrast.
Garnish with an extra squeeze of lemon and a sprinkle of fresh parsley. If you made extra sauce (and you probably will), spoon it over the sides — no one minds. Quick, bright, and deeply satisfying. That’s why this recipe lives on my regular rotation.
Garlic Butter Shrimp
Ingredients
Ingredients
- 2 tablespoonsolive oil
- 4 tablespoonsbutter unsalted
- 1 poundshrimp large or jumbo, shelled
- 1/4 teaspoonsalt or to taste
- 6 clovesgarlic minced
- 1/2 teaspoonred pepper flakes
- 3 tablespoonslemon juice freshly squeezed
- 1/4 cupfresh parsley chopped
Instructions
Instructions
- Pat the shrimp dry with paper towels. Heat a large skillet over medium-high heat, add 2 tablespoons olive oil and 2 tablespoons butter, and melt the butter until it sizzles.
- Add the shrimp in a single layer to the hot skillet. Cook without moving for 2 to 3 minutes, until the underside is pink. Sprinkle 1/4 teaspoon salt evenly over the shrimp.
- Flip the shrimp and cook for another 2 minutes, until shrimp are pink and opaque and just cooked through.
- Add 6 cloves minced garlic and 1/2 teaspoon red pepper flakes to the skillet. Cook, stirring constantly, for about 30 seconds until fragrant but not browned.
- Stir in the remaining 2 tablespoons butter, 3 tablespoons lemon juice, and 1/4 cup chopped fresh parsley. Turn off the heat, toss to coat the shrimp in the sauce, and serve immediately.
Equipment
- 12 inch cast iron skillet
Notes
Press the body of the shrimp with your finger. If your finger leaves an indentation, that shrimp isn’t fresh.
Never thaw shrimp on the counter as this can be dangerous, always thaw it in the refrigerator.
Freshly cooked shrimp is really at it’s best when served immediately, but is perfectly fine in the fridge for up to2-3 daysin an airtight container.
Allow cooked shrimp to cool completely before placing in airtight freezer bags or containers, and store up to3-4 months.When ready to use, take them directly from the freezer to your pan for reheating.