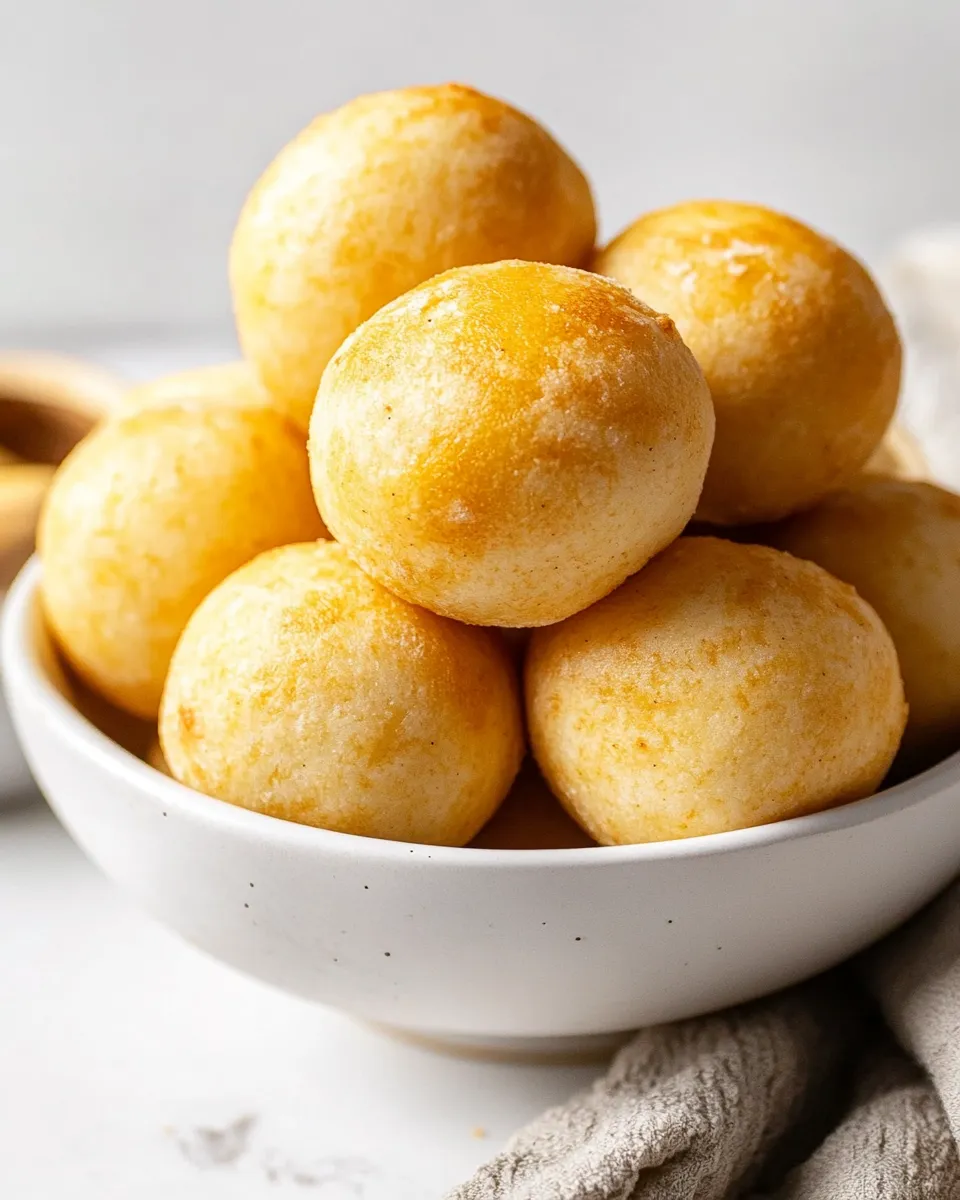
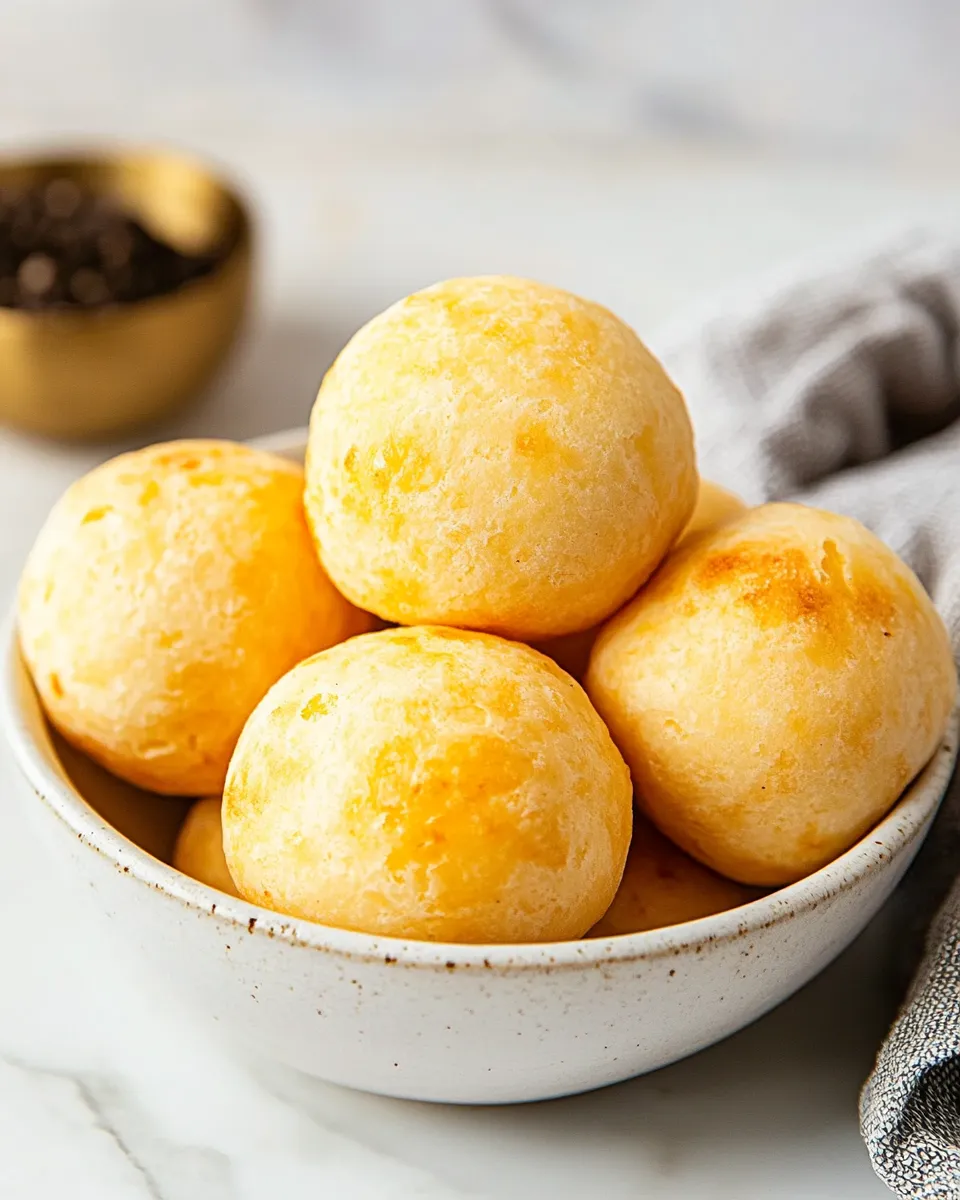
This pao de queijo recipe is one of my go-to quick bakes when I want something warm, cheesy, and naturally gluten-free. The exterior puffs into a light, golden shell while the interior stays elastic and cheesy — exactly what you want from Brazilian cheese bread. It’s small, snackable, and perfect straight from the oven.
I like to make a double batch when friends stop by because they disappear fast. The batter comes together in a blender which makes the whole process fast and forgiving. You’ll find the texture is different from regular bread — pleasantly chewy thanks to tapioca flour — and that’s part of the charm.
Below I walk you through shopping, the exact steps to follow, troubleshooting notes, and simple variations to match your pantry. Keep the oven ready and your mini muffin pans greased; this one moves quickly once the batter is blended.
Your Shopping Guide
Buy ingredients you enjoy eating on their own: a flavorful sharp cheddar and a good mozzarella make a noticeable difference. Tapioca flour is the core — it gives the characteristic chew and puff. If your store labels it cassava starch, that’s the same thing. The rest are pantry staples.
For equipment, confirm you have a blender or food processor that can handle wet batter. If you only have a large blender jar, plan to blend in batches. Nonstick spray or a light coating of oil in mini muffin wells prevents sticking and makes removal quick.
Ingredients
- 2 cups tapioca flour — the gluten-free starch that gives chew and puff; essential for structure.
- 1 cup whole milk — provides moisture and fat for a tender crumb; do not substitute quantity.
- 2 large eggs — bind the dough and help with rise; room temperature is fine.
- 1/3 cup vegetable oil — avocado oil or light olive oil
- ½ cup shredded sharp cheddar cheese — adds tang and depth of flavor; shred fresh if possible.
- ½ cups shredded mozzarella cheese — for meltiness and stretch; low-moisture if available.
- 1 teaspoon salt — balances flavors; adjust slightly to taste but keep the amount for proper savory profile.
- ½ teaspoon garlic powder — subtle savory note; it complements cheese without overpowering.
Stepwise Method: Pao de Queijo
- Preheat the oven to 400°F. Place your mini muffin pans on a baking sheet and spray the wells generously with nonstick cooking spray or brush them with oil.
- Add the ingredients to a blender in this order: 1 cup whole milk, 2 large eggs, 1/3 cup vegetable oil (avocado oil or light olive oil), 1 teaspoon salt, 1/2 teaspoon garlic powder, 1/2 cup shredded sharp cheddar cheese, 1/2 cup shredded mozzarella cheese, then 2 cups tapioca flour.
- Blend on high until the mixture is completely smooth and frothy, stopping once or twice to scrape down the sides if necessary.
- If your blender cannot hold all the ingredients at once, blend in two batches. If any batter sits for more than a minute before baking, re-blend it about 30 seconds to restore froth.
- Use a spoon to portion the batter into the prepared mini muffin wells, filling each about 3/4 full.
- Bake on the center oven rack for 19–20 minutes, until the tops are puffed and golden.
- Remove the pans from the oven, let the cheese breads cool slightly, then remove them from the pans and serve warm.
Why It Deserves a Spot

Pao de queijo earns a place in any home baking rotation because it’s fast, reliable, and uniquely satisfying. It fills the craving for something bread-like without gluten. The contrast between crisp exterior and chewy, cheesy interior makes every bite interesting. It’s also endlessly practical: breakfast with coffee, a party snack, or a side for soup.
Beyond taste, the technique is forgiving. The blender method reduces hands-on time and produces a consistently smooth batter. And because the recipe uses simple pantry ingredients, you don’t need specialty dairy or baking supplies to get great results.
Substitutions by Category
Keep substitutions simple and purposeful. Below are common swaps that maintain texture and flavor.
- Milk: Whole milk gives richness. If you must, try a lower-fat milk, but expect a slightly less tender crumb.
- Oils: The recipe calls for vegetable oil; avocado or light olive oil work well. Neutral oils preserve cheese flavor.
- Cheese: Sharp cheddar and mozzarella deliver tang and stretch. You can vary the ratio for more sharpness or more meltiness, but keep total cheese volume the same.
- Flour: Tapioca flour (cassava starch) is essential. Substituting other flours will change the texture dramatically and is not recommended.
- Eggs: Eggs add structure and rise. Replacements will alter texture; if you need egg-free, expect a very different result and consider finding a specialized recipe.
Tools & Equipment Needed
- Blender or food processor — to combine and froth the batter; a powerful blender makes the smoothest result.
- Mini muffin pans — they create the classic small, puffy shape and even baking.
- Baking sheet — to stabilize pans and catch any overflow.
- Nonstick spray or pastry brush and oil — for greasing wells so the breads release cleanly.
- Spoon or small scoop — for consistent portioning into wells.
Things That Go Wrong
If they don’t puff: the batter likely lost its froth. Re-blend briefly before portioning and bake immediately. Also ensure the oven is fully preheated; these need a hot start.
If they’re too dense: check that you used tapioca flour, not a different starch. Also avoid overfilling wells; filling about 3/4 full gives the right dome without collapsing.
If they stick to the pan: make sure wells are well greased. Let them cool briefly but not completely. Warm breads release easier than cold ones; if stubborn, run a thin knife around the edge.
If texture is gummy after cooling: these breads are best warm. Refrigeration can exaggerate chewiness in tapioca-based bakes. Reheat briefly in a hot oven to refresh texture.
Seasonal Spins
Spring: Add a small pinch of finely chopped fresh herbs like chives or parsley to the batter for a bright finish — herbs pair well with mild cheeses.
Autumn/Winter: Serve warm with a bowl of roasted tomato soup or guava paste on the side for a cozy, Brazilian-inspired pairing.
Summer: Make a picnic-friendly batch and serve with sliced cured meats and fruit. They’re great at room temperature for a few hours.
Little Things that Matter
Shred your cheeses fresh when possible. Pre-shredded cheese often contains anti-caking agents that can affect melt and texture. Freshly shredded cheddar blends and melts more uniformly.
Measure tapioca flour by spooning into the cup and leveling; packing it down will add more starch than intended. Accurate measurement keeps the balance between chew and structure.
Portion consistently. Use a small scoop or tablespoon to fill wells evenly so all pieces bake in the same time window.
Keep-It-Fresh Plan
Cool the pao de queijo slightly on a rack for 10–15 minutes, then store in an airtight container at room temperature for up to 24 hours. They’re best the day they’re baked.
For longer storage, freeze cooled cheese breads in a single layer on a baking sheet, then transfer to a freezer bag for up to 1 month. Reheat from frozen in a preheated 350°F oven for 8–10 minutes until warmed through and the exterior crisps up.
Common Qs About Pao de Queijo
Q: Can I make this without a blender?
A: The blender helps create the froth and smoothness this recipe relies on. If you don’t have one, use a food processor or a high-speed mixer and blend until smooth. You may need to work in batches.
Q: Why does the recipe use tapioca flour specifically?
A: Tapioca flour (cassava starch) is what gives pao de queijo its signature chew and puff. Other flours won’t replicate that texture.
Q: Can I make larger rolls instead of mini muffins?
A: Yes, you can portion into regular muffin tins or shape larger rounds, but baking time will increase. Watch for puffing and golden tops; larger sizes may need an extra 5–8 minutes.
Q: My batter separated or wasn’t smooth — what now?
A: Blend longer and stop to scrape the sides. If you blended in batches, re-blend the combined batter a short time to restore uniform froth before portioning.
Time to Try It
Preheat your oven, grease the mini muffin wells, and line up your ingredients. The recipe moves fast once the blender is going. Work clean and with everything measured, and you’ll be rewarded with small, golden, cheesy puffs in under 30 minutes from start to finish.
When you pull the pans from the oven, give them a moment to set, then dig in warm. Serve with coffee for breakfast or offer as a snack for guests. Once you’ve tried this method, it becomes a dependable, feel-good recipe you’ll reach for again and again.

Pao de Queijo Recipe (Brazilian Cheese Bread)
Ingredients
Ingredients
- 2 cupstapioca flour
- 1 cupwhole milk
- 2 largeeggs
- 1/3 cupvegetable oilavocado oil or light olive oil
- 1/2 cupshredded sharp cheddar cheese
- 1/2 cupsshredded mozzarella cheese
- 1 teaspoonsalt
- 1/2 teaspoongarlic powder
Instructions
Instructions
- Preheat the oven to 400°F. Place your mini muffin pans on a baking sheet and spray the wells generously with nonstick cooking spray or brush them with oil.
- Add the ingredients to a blender in this order: 1 cup whole milk, 2 large eggs, 1/3 cup vegetable oil (avocado oil or light olive oil), 1 teaspoon salt, 1/2 teaspoon garlic powder, 1/2 cup shredded sharp cheddar cheese, 1/2 cup shredded mozzarella cheese, then 2 cups tapioca flour.
- Blend on high until the mixture is completely smooth and frothy, stopping once or twice to scrape down the sides if necessary.
- If your blender cannot hold all the ingredients at once, blend in two batches. If any batter sits for more than a minute before baking, re-blend it about 30 seconds to restore froth.
- Use a spoon to portion the batter into the prepared mini muffin wells, filling each about 3/4 full.
- Bake on the center oven rack for 19–20 minutes, until the tops are puffed and golden.
- Remove the pans from the oven, let the cheese breads cool slightly, then remove them from the pans and serve warm.
Equipment
- Blender
- mini muffin pan
- Baking Sheet
- Spoon
- Oven
Notes
Store cooled Brazilian cheese bread in an airtight container at room temperature for up to 4 days, or freeze for up to 3 months.
You can place the cheese puffs on a baking sheet and reheat all of them later, if needed. 350 degrees for 5 minutes.