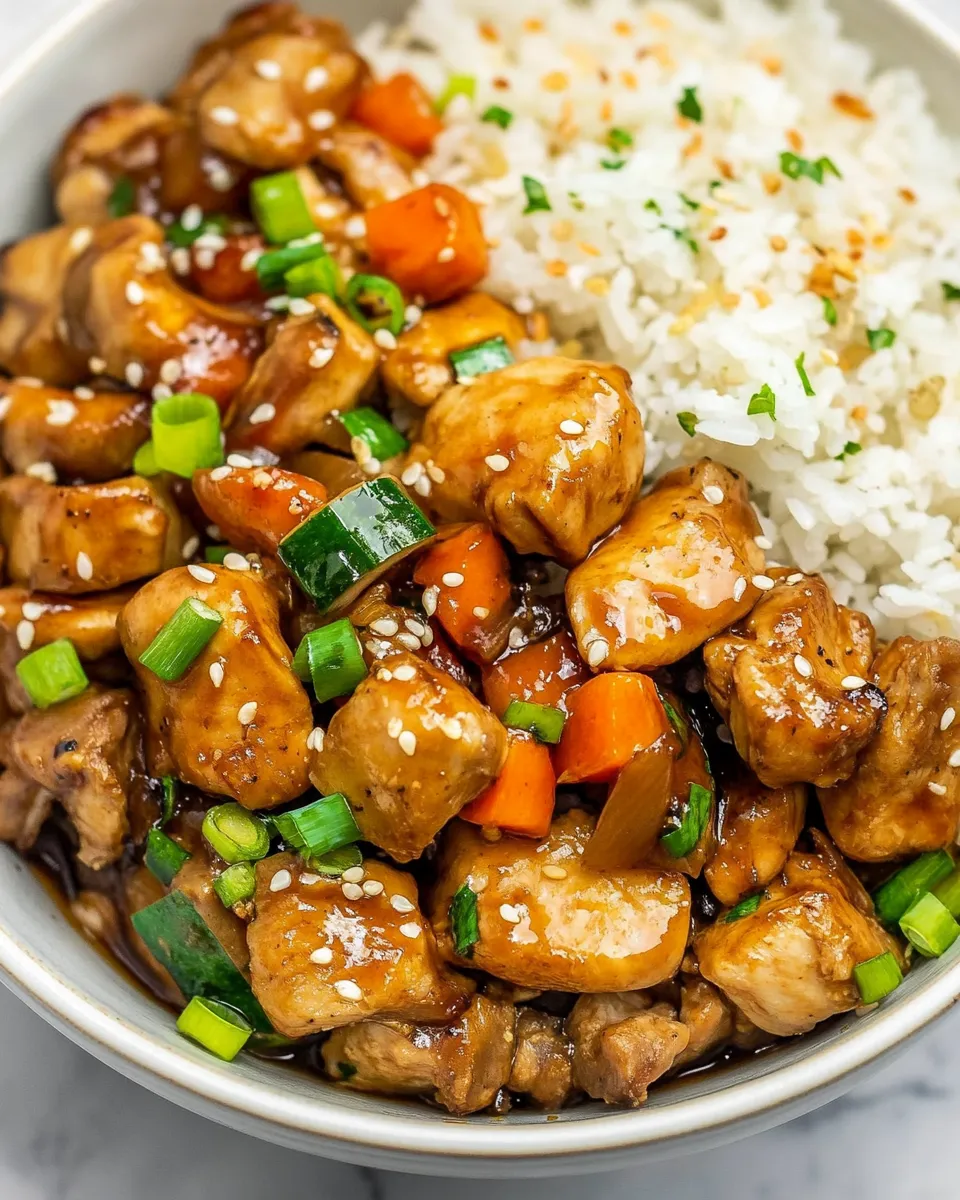
Are you ready to bring the flavors of the hibachi grill into your kitchen? This Instant Pot Hibachi Chicken recipe is a quick and easy way to enjoy tender, flavorful chicken with that signature hibachi taste, all in a fraction of the time it would take to make on the stovetop or grill. With the sauté feature of the Instant Pot, you can achieve that delicious sear on the chicken and bring all the rich flavors together seamlessly. Let’s get started!
Why This Recipe Is a Must-Try
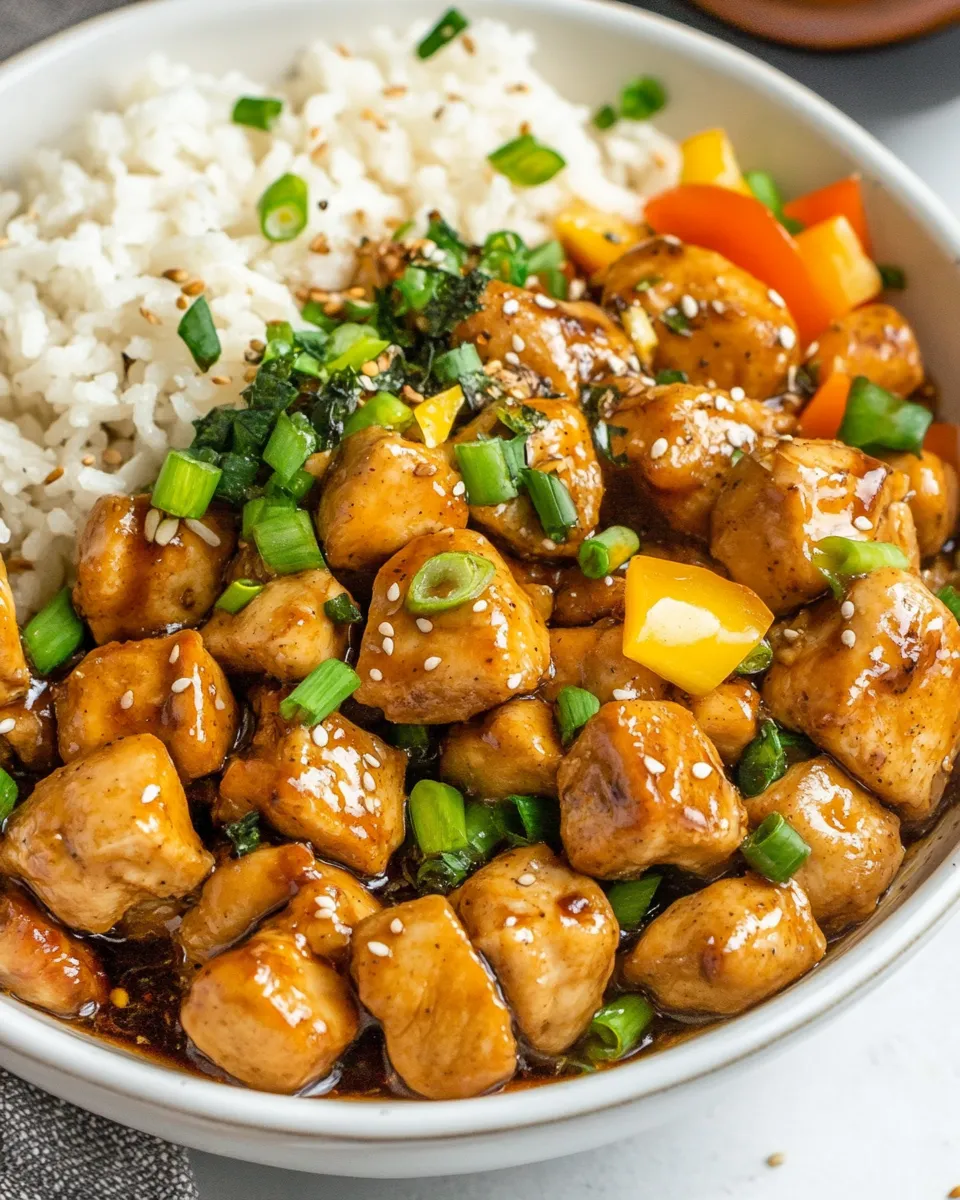
This hibachi chicken recipe is not only delicious but also incredibly convenient. The Instant Pot locks in flavors and moisture, resulting in juicy and tender chicken every time. Plus, it’s versatile enough to serve over rice, quinoa, or even as a filling for wraps. With a mix of savory soy sauce, tangy vinegar, and aromatic ginger, this dish is sure to become a staple in your weeknight dinner rotation. Best of all, it’s done in just one pot, making cleanup a breeze!
Ingredients
To make this wonderful dish, you will need the following ingredients:
- ¼ cup low-sodium soy sauce
- ¼ cup water
- 2 tablespoons vinegar vinegar or apple cider vinegar
- 1 tablespoon fresh ginger, grated – or from a jar
- 2 cloves garlic, minced
- 1 tablespoon granulated sugar or honey or maple syrup
- ¼ teaspoon ground white pepper or black pepper
Make sure to gather all your ingredients beforehand so you can enjoy a smooth cooking experience!
How To Make Instant Pot Hibachi Chicken
Step 1: Prepare the Chicken
Start by cutting boneless, skinless chicken breasts or thighs into bite-sized pieces. This ensures they will cook quickly and evenly in the Instant Pot.
Step 2: Mix the Sauce
In a medium bowl, whisk together the low-sodium soy sauce, water, vinegar, grated ginger, minced garlic, sugar (or honey/maple syrup), and pepper. This simple sauce will infuse the chicken with flavor as it cooks.
Step 3: Sauté the Chicken
Turn on your Instant Pot and select the ‘Sauté’ function. Once hot, add a splash of oil and the chicken pieces. Sauté for about 3-4 minutes, until the chicken is lightly browned. You might need to do this in batches to avoid overcrowding.
Step 4: Add the Sauce
Once the chicken is browned, pour the sauce mixture over the chicken in the pot. Stir to combine, ensuring all the chicken is coated with the savory sauce.
Step 5: Pressure Cook
Secure the lid on your Instant Pot and set it to pressure cook on high for 8 minutes. After the cooking time is complete, allow the pressure to release naturally for 5 minutes, and then perform a quick release for any remaining pressure.
Step 6: Serve
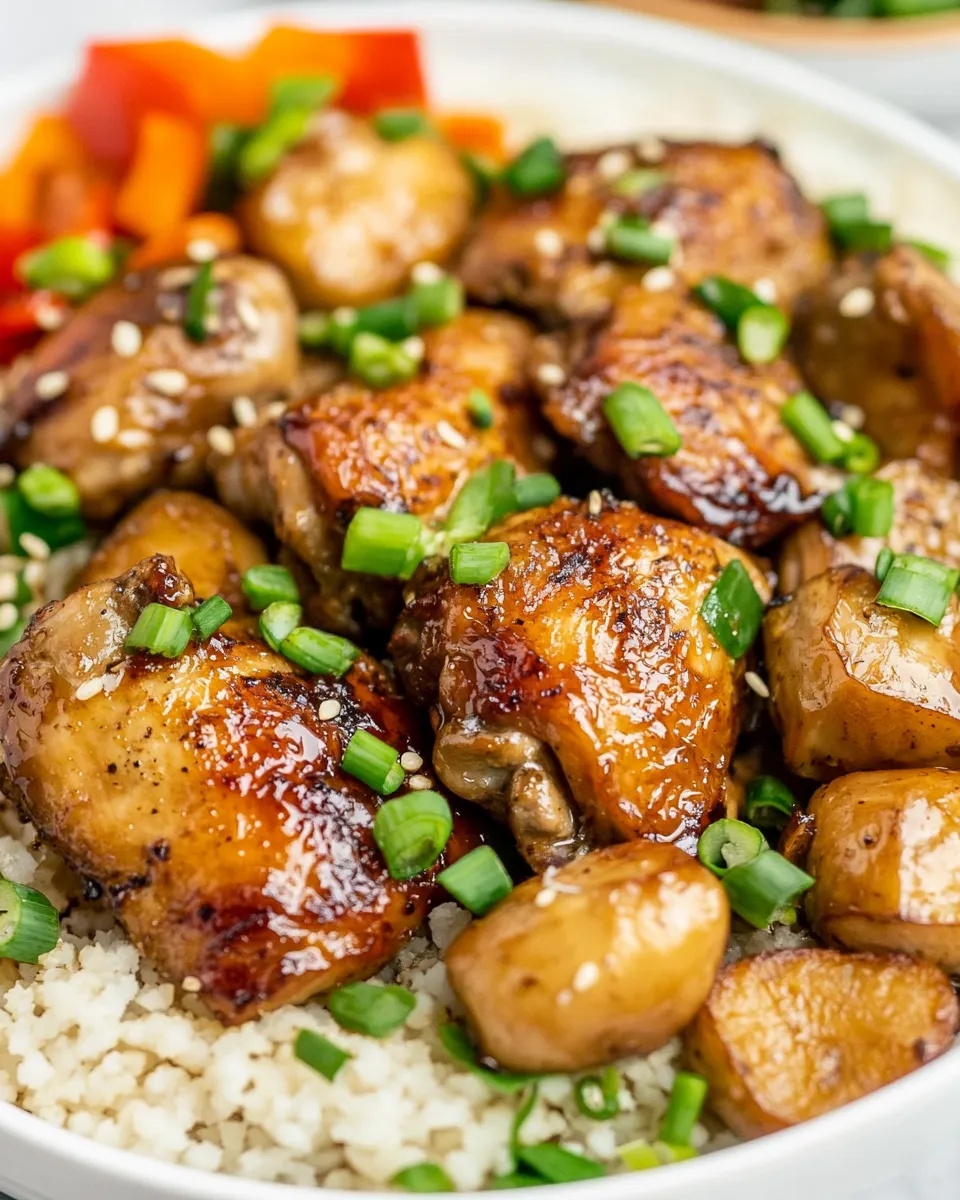
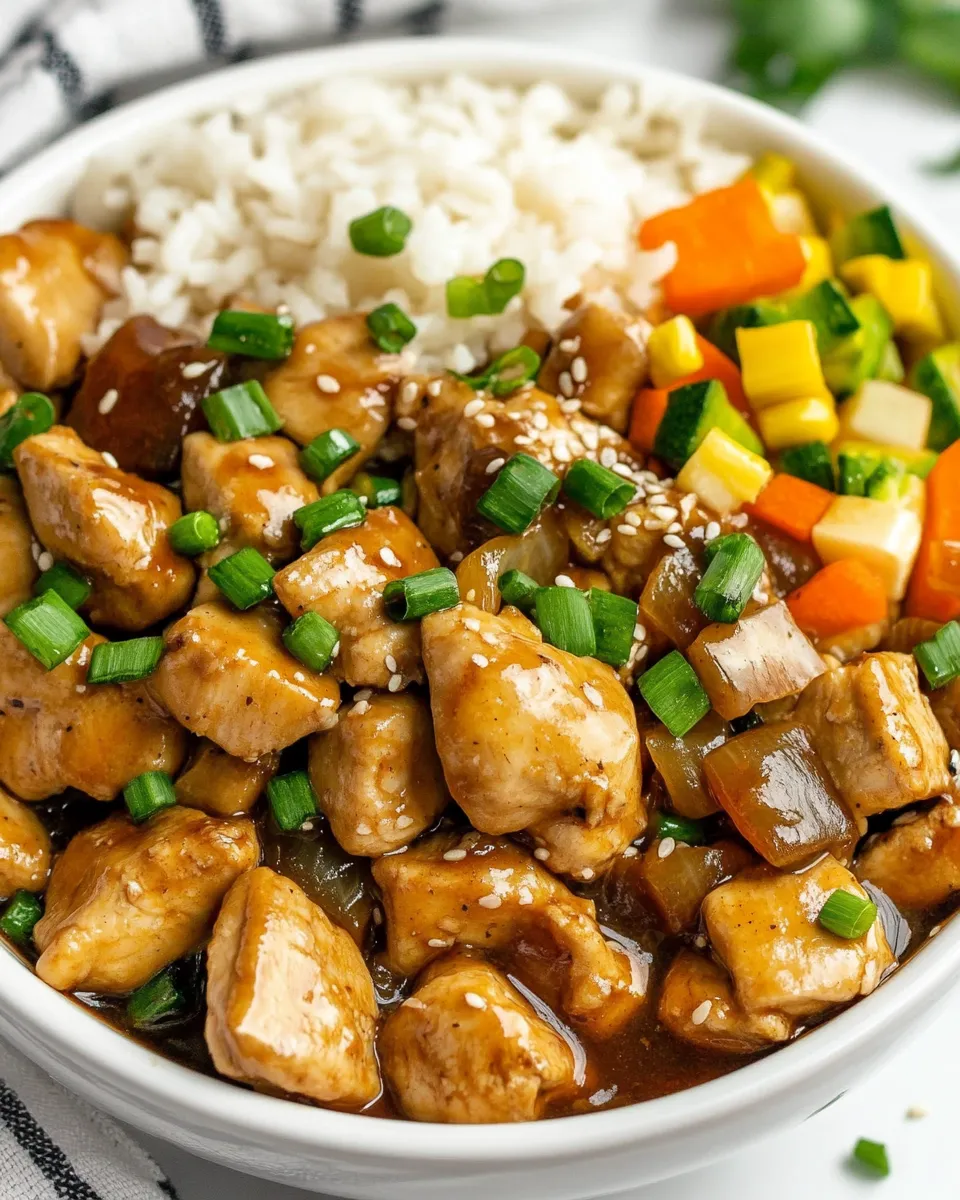
Carefully open the lid and give the chicken a gentle stir. You can serve it over steamed rice, sautéed vegetables, or in lettuce wraps. Drizzle with additional sauce if desired, and enjoy your homemade hibachi experience!
Expert Tips
- For extra flavor, marinate the chicken in the sauce for an hour before cooking.
- If you prefer a thicker sauce, you can thicken it by mixing a tablespoon of cornstarch with a little water and adding it to the pot after cooking. Then, sauté for a few minutes until thickened.
- To add more vegetables, consider throwing in some broccoli or zucchini when you sauté the chicken.
- Feel free to use chicken thighs instead of breasts for a juicier finish.
Variations and Customizations
- Swap out the chicken for shrimp or tofu to create a seafood or vegetarian option.
- Add sesame oil for a nutty flavor that complements the other ingredients well.
- Include chopped green onions or sesame seeds for garnish to add a pop of color and texture.
- Experiment with different types of vinegar to find your perfect flavor balance.
How to Store Leftovers
Store any leftover hibachi chicken in an airtight container in the refrigerator for up to 3 days. To reheat, simply warm it in the microwave until heated through or sauté it in a pan over medium heat for a few minutes. The flavors will meld even more over time, making the leftovers just as delicious!
FAQ
Can I use frozen chicken for this recipe?
Yes, you can use frozen chicken, but you may need to increase the cooking time by a couple of minutes. Make sure to separate the pieces before cooking for even cooking.
Is this recipe gluten-free?
To make this recipe gluten-free, simply substitute the low-sodium soy sauce with a gluten-free soy sauce or tamari.
How can I make this dish spicier?
If you love heat, consider adding a teaspoon of red pepper flakes or a dash of hot sauce into the sauce mix to give it a spicy kick.
Can I make this dish in advance for meal prep?
Absolutely! This hibachi chicken is perfect for meal prep. Just store it in individual containers with rice or veggies for easy grab-and-go lunches throughout the week.
Conclusion
You’ve just discovered a delicious and easy recipe for Instant Pot Hibachi Chicken that brings the flavors of your favorite hibachi grill right to your home. With its quick cooking method and rich flavors, this dish is destined to become a family favorite. Whether you’re looking for a weeknight dinner solution or a new recipe to impress guests, this hibachi chicken delivers. Enjoy it today and savor the delightful combination of savory, tangy, and sweet flavors in each bite!

Instant Pot Hibachi Chicken
Ingredients
Ingredients
- ¼ cup low-sodium soy sauce
- ¼ cup water
- 2 tablespoons wine vinegar or apple cider vinegar
- 1 tablespoon fresh ginger, grated or from a jar
- 2 cloves garlic, minced
- 1 tablespoon granulated sugar or honey or maple syrup
- ¼ teaspoon ground white pepper or black pepper
Instructions
- Step 1: Prepare the Chicken - Start by cutting boneless, skinless chicken breasts or thighs into bite-sized pieces.
- Step 2: Mix the Sauce - In a medium bowl, whisk together the low-sodium soy sauce, water, vinegar, grated ginger, minced garlic, sugar (or honey/maple syrup), and pepper.
- Step 3: Sauté the Chicken - Turn on your Instant Pot and select the ‘Sauté’ function. Once hot, add a splash of oil and the chicken pieces. Sauté for about 3-4 minutes, until the chicken is lightly browned.
- Step 4: Add the Sauce - Once the chicken is browned, pour the sauce mixture over the chicken in the pot. Stir to combine.
- Step 5: Pressure Cook - Secure the lid on your Instant Pot and set it to pressure cook on high for 8 minutes. After cooking, allow the pressure to release naturally for 5 minutes, then perform a quick release.
- Step 6: Serve - Carefully open the lid and give the chicken a gentle stir. Serve it over steamed rice, sautéed vegetables, or in lettuce wraps.
Equipment
- Instant Pot
- Mixing Bowl