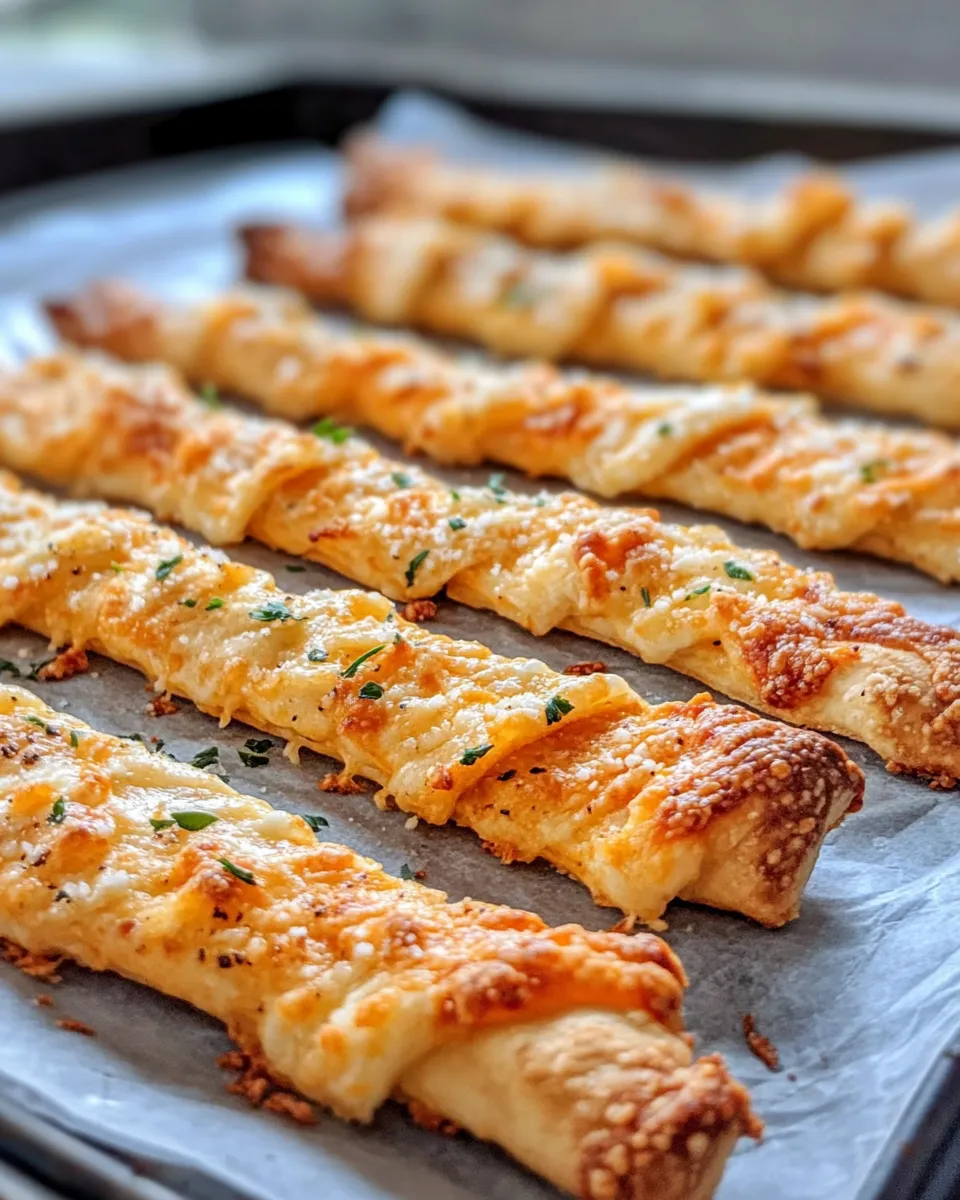
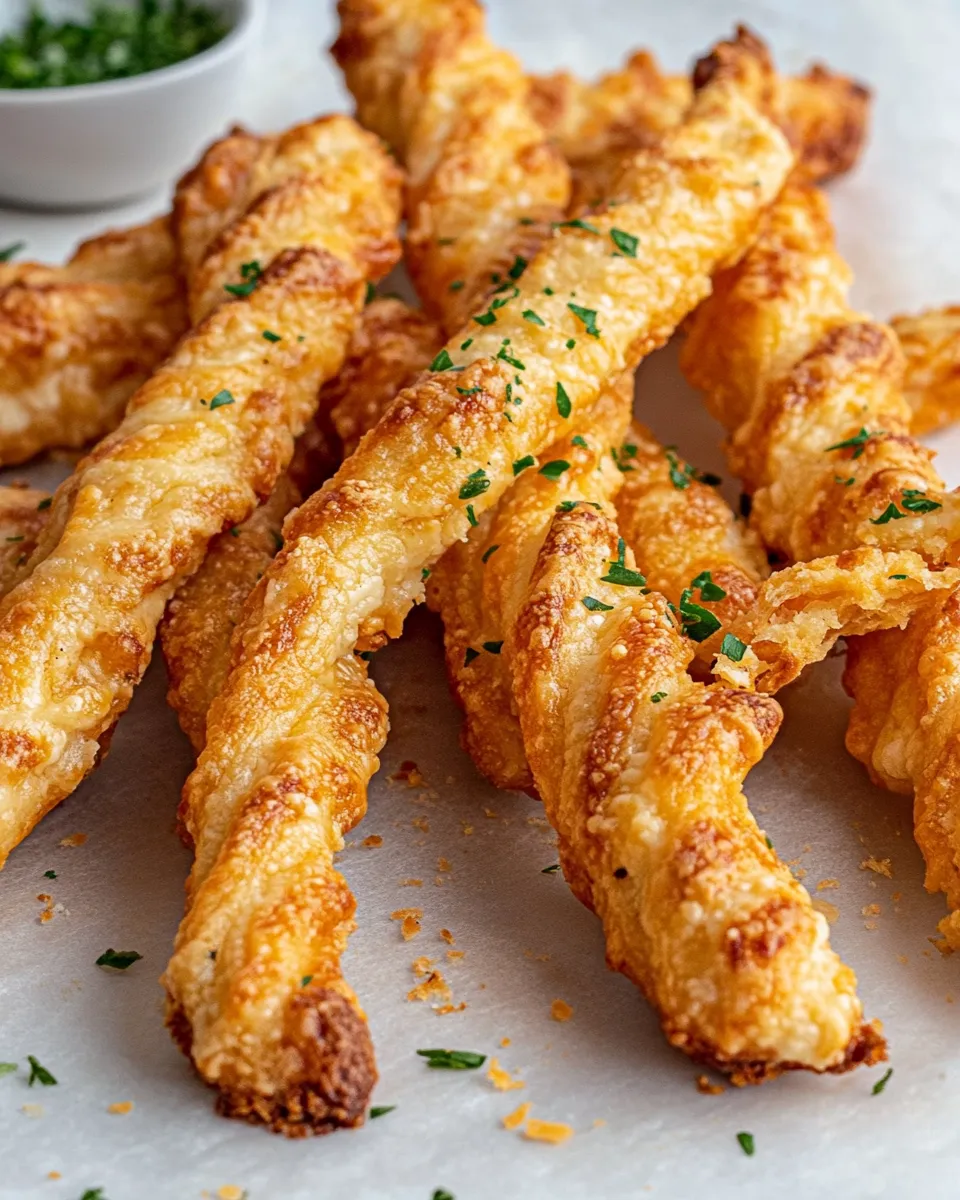
These Cheese Straws are the kind of snack I reach for when I want something crisp, cheesy, and utterly addictive. They’re simple to make, hold up well for parties, and pair brilliantly with a cold drink or a bowl of soup. No complicated techniques, just good ingredients and a little patience while they bake to a golden snap.
I love that the dough is forgiving and comes together quickly in a mixer, but you can also make it by hand if you prefer. A touch of fresh rosemary adds an herbaceous lift, and a whisper of cayenne is optional for a little background heat. The result is a batch of elegant, buttery sticks with concentrated cheddar flavor.
Below I walk you through the ingredients, the exact method, equipment, and the common slip-ups I see so you get perfect straws every time. Read through the tips, then preheat your oven — these don’t take long once they’re in.
What’s in the Bowl

At the heart of these Cheese Straws are three things: butter, cheddar, and flour. The butter gives richness and helps the dough hold together while the cheddar provides the bold, savory taste. Granulated garlic and salt season the whole mix, and fresh rosemary gives a floral, savory note that keeps these from feeling one-dimensional. A little cayenne is optional but effective if you want an edge of warmth.
The texture comes from the ratio: enough cheese to make them cheesily intense, but enough flour to keep them crisp. Room temperature butter and cheese make the mixing easier and result in a smoother dough that rolls cleanly.
Ingredients
- ¾ cup unsalted butter, room temperature — provides richness and structure; use unsalted so you control the seasoning.
- 3 ½ cups Sargento® Off The Block® Extra Sharp Cheddar Cheese – Traditional Cut, room temperature — the bold cheddar is the star; coarse shreds give more concentrated flavor.
- 1 heaping tablespoon finely chopped fresh rosemary — adds a bright, herbal lift; finely chop so it distributes evenly.
- 2 cups all-purpose flour — gives body and crispness; measure by spooning into the cup and leveling for accuracy.
- ¼ teaspoon cayenne pepper — optional — brings gentle heat; omit if you want no spice.
- 2 ½ teaspoons granulated garlic — provides a savory backbone without adding moisture.
- ¾ teaspoon fine sea salt — seasons the dough; adjust slightly if you use a very salty cheese.
How to Prepare Cheese Straws

- Preheat the oven to 375°F. Line a baking sheet with parchment paper and set aside.
- In the bowl of a stand mixer fitted with the paddle attachment or in a large bowl with an electric mixer, combine the 3/4 cup room-temperature unsalted butter and 3 1/2 cups room-temperature cheddar cheese. Beat on medium speed about 2 minutes, until the mixture is evenly combined and creamy. Scrape down the bowl as needed.
- Add the heaping tablespoon finely chopped fresh rosemary and mix on low just until the rosemary is evenly distributed.
- In a medium bowl, whisk together the 2 cups all-purpose flour, the 1/4 teaspoon cayenne pepper (if using), the 2 1/2 teaspoons granulated garlic, and the 3/4 teaspoon fine sea salt.
- With the mixer on low speed, gradually add the flour mixture to the butter-cheese mixture. Mix until a soft dough forms, stopping to scrape the bowl and sides of the paddle as needed. Do not overmix.
- Lightly flour a work surface and turn the dough onto it. If the dough is sticky, lightly dust the top with a little flour.
- Using a rolling pin, roll the dough into a rectangle about 1/2 inch thick.
- Use a pizza cutter or a sharp knife to cut the rolled dough into strips.
- Place the strips on the prepared baking sheet about 1 inch apart.
- Bake in the preheated oven for 12–14 minutes, or until the cheese straws are crisp and lightly golden.
- Remove from the oven and transfer the cheese straws to a wire rack to cool. Once cooled, serve.
Why This Recipe is a Keeper
Because it’s fast, forgiving, and produces a snack people ask for again and again. The proportions are tuned so you don’t get greasy, floppy sticks — just crisp, intensely cheesy ones. You can scale the recipe easily and the flavor holds up if you make them a day ahead. They’re great for gifting in a tin, for bringing to potlucks, or serving at cocktail hour.
It’s also a fantastic base for customization. Add a different herb, swap in smoked cheese, or incorporate seeds on top before baking. But even plain, these hit the mark: buttery, savory, and crisp.
Dairy-Free/Gluten-Free Swaps
These straws rely on real cheddar and all-purpose flour, so swaps will change the texture and flavor. If you need gluten-free, use a 1:1 all-purpose gluten-free blend formulated to replace wheat flour; expect a slightly different bite and to watch hydration since blends vary.
For dairy-free, use a firm, dairy-free buttery spread that handles baking and a mature dairy-free cheddar-style shreds. The flavor won’t be identical, but you’ll keep the technique the same. Keep in mind salt and moisture levels vary in substitutes, so you may need small adjustments.
Equipment Breakdown
Few tools do most of the work here. You don’t need a full workshop, but the right items make things straightforward.
Must-haves
- Stand mixer with paddle attachment or electric mixer — makes mixing faster and easier.
- Rolling pin — to roll dough evenly to about 1/2 inch thick.
- Pizza cutter or sharp knife — for clean, quick strips.
- Baking sheet and parchment paper — prevents sticking and helps even browning.
- Wire rack — for cooling so they stay crisp.
Slip-Ups to Skip
Here are the common mistakes I see and how to avoid them:
- Overmixing the dough — mix only until it comes together. Overworking develops gluten and makes straws tough.
- Using cold butter or cheese — they should be room temperature so they blend smoothly and the dough rolls without breaking.
- Rolling too thin — aim for about 1/2 inch. Too thin and they’ll burn or lose structure; too thick and they won’t crisp properly.
- Crowding the baking sheet — leave at least an inch between strips so heat circulates and they crisp evenly.
- Skipping the wire rack — if you leave them on the hot pan they’ll steam and soften. Move them right away.
Warm & Cool Weather Spins
In warm weather, keep the butter and cheese chilled until you’re ready to mix. Work quickly and chill the dough briefly if it gets too soft while you roll. A short rest in the fridge for 10–15 minutes makes rolling much easier without compromising texture.
In cooler months, the dough will be more cooperative at room temperature. You can also fold in winter herbs like finely chopped thyme or a pinch of smoked paprika for a seasonal twist. Serve alongside a warm bowl of tomato soup for a cozy combo.
Behind-the-Scenes Notes

I developed this version with extra-sharp cheddar to make sure the cheese stands up through baking. The amount of cheese here is generous on purpose: it’s what gives these straws their deep savory note. The granulated garlic integrates without adding moisture, and fresh rosemary keeps the flavor profile interesting without overwhelming the cheddar.
One small technique point: if your dough feels sticky while rolling, dust sparingly with flour. Too much flour will dry the dough and mute the cheese flavor. The dough should be manageable, not stiff.
Storing Tips & Timelines
Cheese Straws keep well if stored correctly. Once completely cooled, place them in an airtight container or a sealable tin. They’ll stay crisp for up to 4 days at room temperature. If you want them longer, freeze in a single layer on a sheet pan, then transfer to a freezer bag for up to 1 month. Reheat in a 350°F oven for a few minutes to refresh the crispness.
Avoid refrigerating — the cold will soften them and make them lose their snap. If moisture is a concern in humid climates, add a small paper towel in the container to absorb extra humidity.
Ask & Learn
Q: Can I make the dough ahead?
A: Yes. You can refrigerate the dough for up to 24 hours wrapped tightly in plastic. Let it sit at room temperature for 15–20 minutes before rolling if it’s too firm.
Q: Can I cut shapes instead of strips?
A: Absolutely. Use a cookie cutter or knife to make short bites or decorative shapes. Just adjust bake time: smaller pieces will brown faster so watch them closely.
Q: My straws melted into one another. What happened?
A: They were likely too close on the sheet or the dough was too warm. Leave space between strips and chill slightly if needed.
Ready, Set, Cook
Preheat your oven, line a sheet, and set out the ingredients. Follow the steps and you’ll have crisp, golden Cheese Straws in under 30 minutes of hands-on time. These are one of those recipes where the technique is simple but attention to a few details — room-temperature ingredients, correct thickness, and immediate cooling — makes all the difference.
Make a batch for guests, tuck them into a lunchbox, or enjoy them straight from the cooling rack. They store well and travel even better. Happy baking — and if you try a variation that works, I’d love to hear how you made them your own.

Cheese Straws
Ingredients
Ingredients
- 3/4 cupunsalted butterroom temperature
- 3 1/2 cupsSargento® Off The Block® Extra Sharp Cheddar Cheese – Traditional Cutroom temperature
- 1 heaping tablespoon finely chopped fresh rosemary
- 2 cupsall-purpose flour
- 1/4 teaspooncayenne pepperoptional
- 2 1/2 teaspoonsgranulated garlic
- 3/4 teaspoonfine sea salt
Instructions
Instructions
- Preheat the oven to 375°F. Line a baking sheet with parchment paper and set aside.
- In the bowl of a stand mixer fitted with the paddle attachment or in a large bowl with an electric mixer, combine the 3/4 cup room-temperature unsalted butter and 3 1/2 cups room-temperature cheddar cheese. Beat on medium speed about 2 minutes, until the mixture is evenly combined and creamy. Scrape down the bowl as needed.
- Add the heaping tablespoon finely chopped fresh rosemary and mix on low just until the rosemary is evenly distributed.
- In a medium bowl, whisk together the 2 cups all-purpose flour, the 1/4 teaspoon cayenne pepper (if using), the 2 1/2 teaspoons granulated garlic, and the 3/4 teaspoon fine sea salt.
- With the mixer on low speed, gradually add the flour mixture to the butter-cheese mixture. Mix until a soft dough forms, stopping to scrape the bowl and sides of the paddle as needed. Do not overmix.
- Lightly flour a work surface and turn the dough onto it. If the dough is sticky, lightly dust the top with a little flour.
- Using a rolling pin, roll the dough into a rectangle about 1/2 inch thick.
- Use a pizza cutter or a sharp knife to cut the rolled dough into strips.
- Place the strips on the prepared baking sheet about 1 inch apart.
- Bake in the preheated oven for 12–14 minutes, or until the cheese straws are crisp and lightly golden.
- Remove from the oven and transfer the cheese straws to a wire rack to cool. Once cooled, serve.
Equipment
- Stand mixer
- paddle attachment
- Electric Mixer
- Mixing Bowl
- Medium Bowl
- Rolling Pin
- Pizza Cutter
- Sharp Knife
- Baking Sheet
- Parchment Paper
- Wire Rack