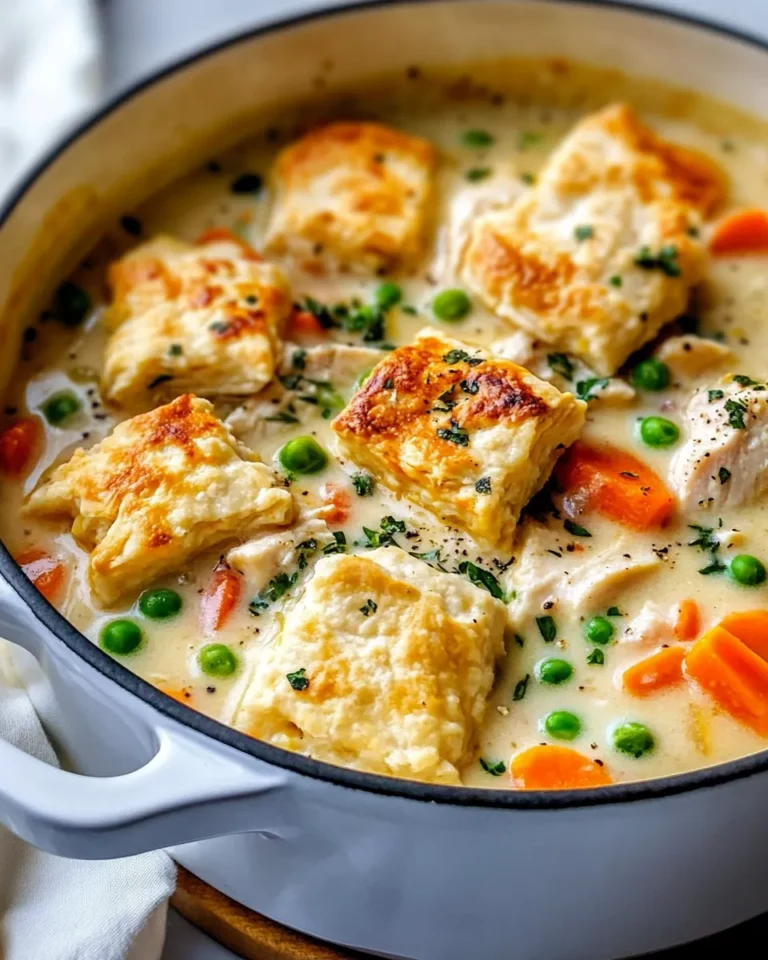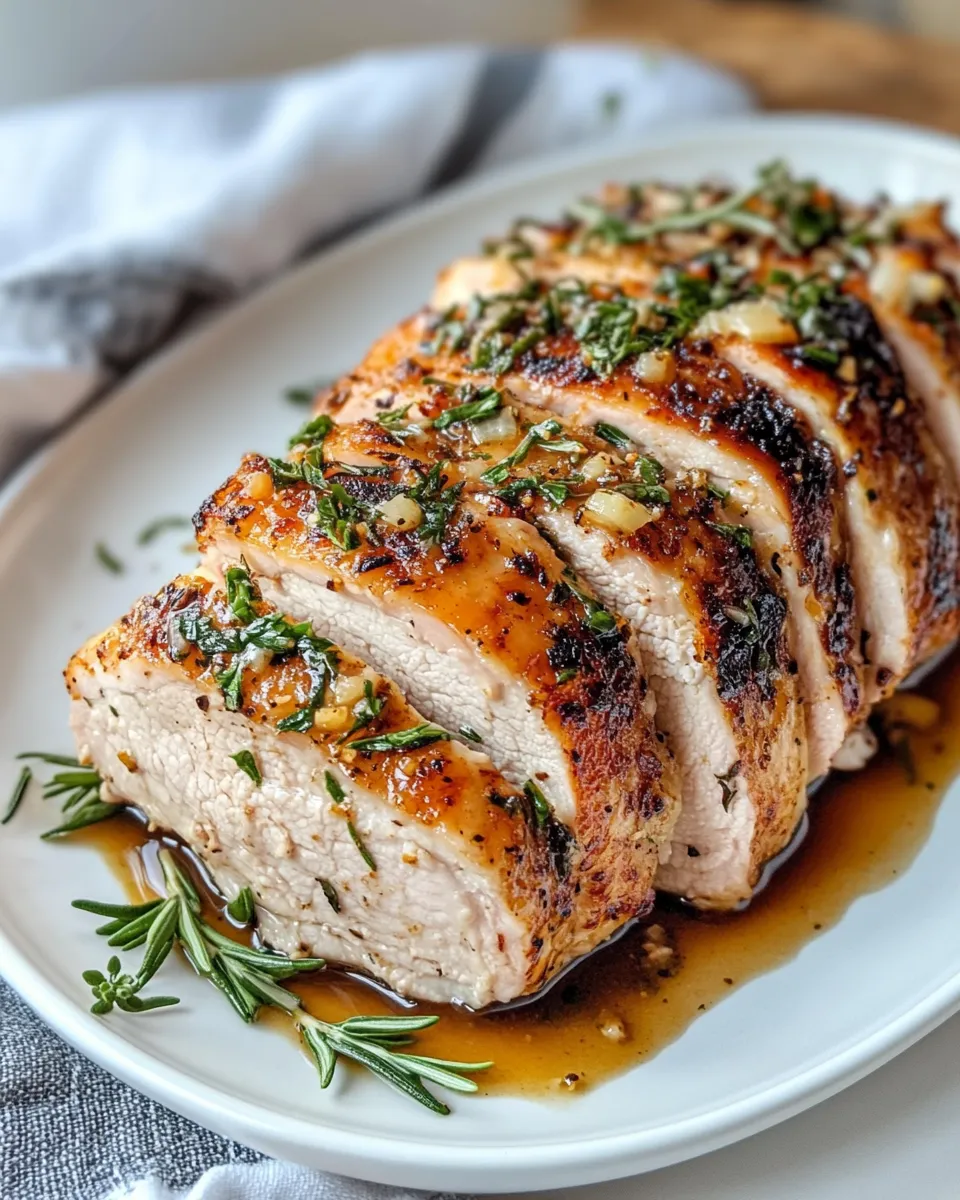
There’s something truly magical about making Gravy from Pan Drippings (No Lumps, Super Silky). It’s the ultimate way to elevate your roasted chicken, turkey, or any meat by capturing all those caramelized bits left behind in the pan and transforming them into a luscious, flavorful sauce. Picture this: a perfectly roasted bird resting on your plate, draped in a rich gravy that’s smooth as silk and free of any pesky lumps. This is comfort food at its best, a simple yet impressive addition that makes every bite sing.
Why It Deserves a Spot
Gravy made from pan drippings isn’t just an afterthought; it’s the crown jewel of any roast dinner. Instead of relying on store-bought sauces loaded with preservatives and artificial flavors, you get to savor a gravy that’s bursting with the deep, concentrated essence of your roasted meat. Plus, mastering this technique means you’ll never have to worry about lumpy or grainy gravy again. The silky texture and rich flavor add moisture and richness, tying together the entire meal in a way that’s both homey and gourmet.
This gravy is incredibly versatile and pairs beautifully with a variety of sides, whether you’re serving up creamy mashed potatoes or a rustic bread. It’s simple, uses minimal ingredients, and takes just minutes once your meat is done roasting.
What Goes In
- Pan drippings from roasted meat such as chicken or turkey – these are full of flavor and form the base of your gravy.
- 2 tablespoons all-purpose flour – to thicken the gravy and create that silky, lump-free texture.
- 2 cups low-sodium chicken or beef broth – adds depth and volume without overpowering the drippings.
- 1 tablespoon unsalted butter – enriches the gravy with a velvety finish.
- Salt to taste – enhances all the flavors.
- Black pepper to taste – for a gentle kick and seasoning balance.
Cook’s Kit
- Roasting pan – to collect those precious pan drippings after roasting your meat.
- Whisk – essential for stirring the mixture and preventing lumps.
- Measuring cups and spoons – for accuracy when adding flour and broth.
- Saucepan or skillet – to make the gravy on the stovetop.
- Fine mesh strainer (optional) – to remove any solids or burnt bits from the drippings for an ultra-smooth gravy.
Method: Gravy from Pan Drippings (No Lumps, Super Silky)
Step 1: Collect the Pan Drippings
Once your chicken or turkey is done roasting, carefully transfer the meat to a serving platter to rest. Tilt the roasting pan slightly and spoon out the flavorful drippings into a heatproof bowl or measuring cup. You want to separate the fat from the juices, so let the drippings sit for a minute, then skim off about 2 tablespoons of fat to use in your gravy.
Step 2: Make a Roux
Place a saucepan over medium heat and melt the 2 tablespoons of fat you just skimmed off. Add 2 tablespoons of all-purpose flour to the fat and whisk continuously, cooking for about 2 minutes. This step cooks out the raw flour taste and starts to develop that beautiful golden color which will give your gravy depth.
Step 3: Slowly Add Broth
Gradually pour in 2 cups of low-sodium chicken or beef broth, whisking constantly to combine with the roux. This slow addition and constant whisking are key to preventing lumps and achieving that super silky texture. The mixture will begin to thicken as it heats.
Step 4: Incorporate Pan Juices
Strain your reserved pan juices through a fine mesh sieve to remove any burnt bits, then slowly stir them into the thickened broth mixture. This step infuses your gravy with the rich, meaty flavor that makes it irresistible.
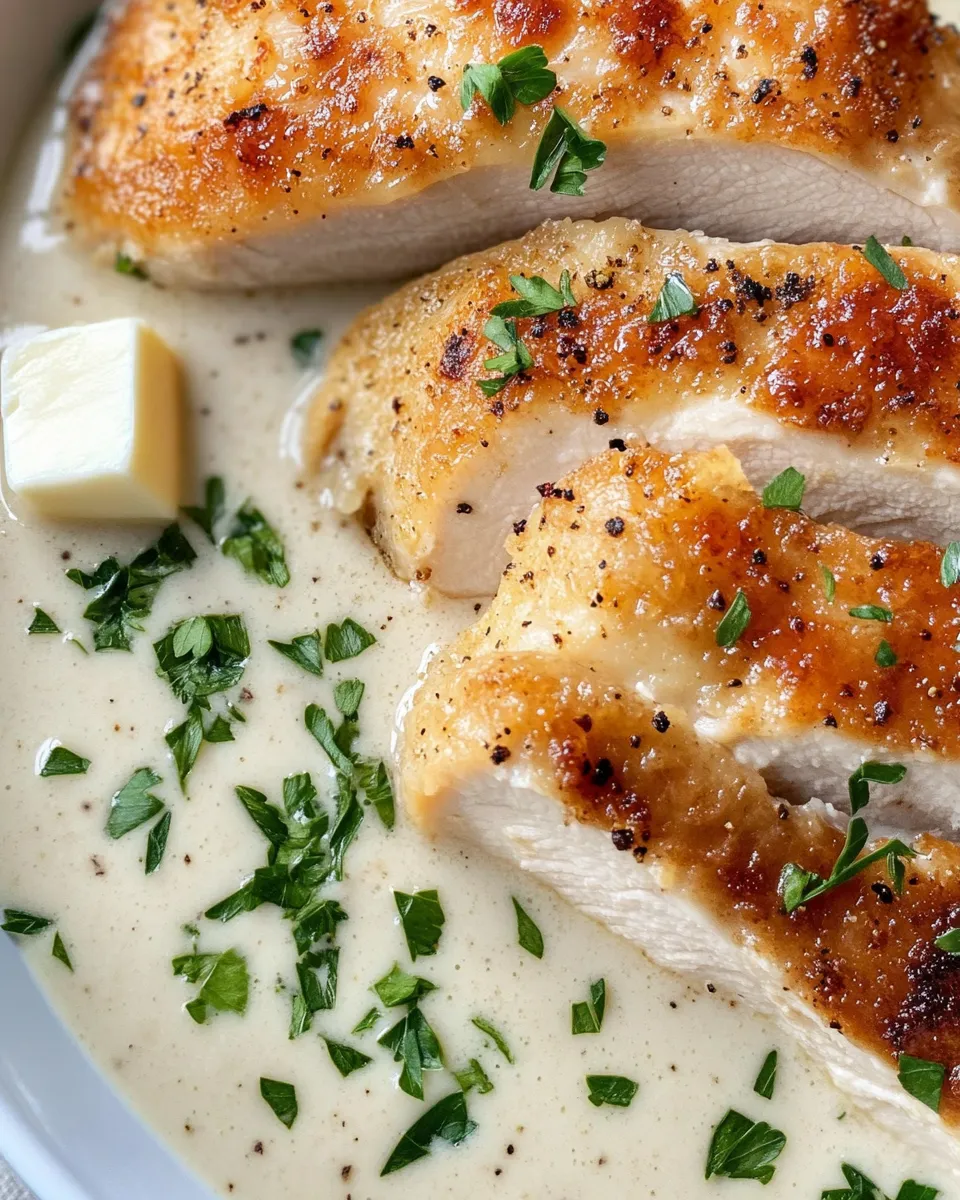
Step 5: Finish with Butter and Season
Turn off the heat and whisk in 1 tablespoon of unsalted butter for a glossy finish and added richness. Taste your gravy and season with salt and black pepper to your preference. If the gravy is too thick, add a splash more broth; if too thin, simmer gently until desired consistency is reached.
Low-Carb/Keto Alternatives
- Replace all-purpose flour with almond flour or coconut flour for thickening, but use sparingly as they absorb liquid differently.
- Use arrowroot powder or glucomannan powder as a thickener for a clear, silky finish.
- Opt for homemade or store-bought bone broth that’s low in carbs to enhance the flavor while keeping carbs in check.
- Use ghee or extra virgin olive oil instead of butter for added healthy fats.
Troubles You Can Avoid
- Lumpy gravy: Always whisk vigorously when adding liquid to the roux, and add the liquid slowly.
- Bitter taste: Don’t let the roux brown too dark; cook it just until golden.
- Thin gravy: If not thick enough, simmer a few minutes longer or add a little more flour mixed with cold broth to thicken.
- Burnt bits in gravy: Strain your pan drippings to remove any charred pieces before adding to the sauce.
Save It for Later
If you have leftover gravy, cool it to room temperature and store it in an airtight container in the refrigerator for up to 3 days. When ready to use, reheat gently on the stove over low heat, stirring occasionally. You may need to add a splash of broth or water to loosen it up. Gravy also freezes well—pour it into a freezer-safe container or bag for up to 3 months. Thaw overnight in the fridge before reheating.
Reader Questions
Can I make gravy from pan drippings ahead of time?
Yes! You can prepare the gravy ahead and simply reheat it when ready to serve. Just store it in the fridge for up to 3 days or freeze for longer storage. Reheat gently on the stove, adding broth if needed to restore the perfect consistency.
What if I don’t have enough pan drippings?
If your pan drippings are sparse, supplement with additional broth to reach the 2-cup liquid requirement. You can also intensify flavor by adding a splash of soy sauce or Worcestershire sauce, but keep it balanced to maintain the gravy’s natural meatiness.
How do I prevent gravy from being too salty?
Use low-sodium broth and taste as you go before adding salt. Remember, pan drippings can carry plenty of seasoning, so it’s best to add salt gradually, tasting after each addition to avoid over-salting.
Can I use this method with other meats?
Absolutely! This technique works beautifully with roasted beef, lamb, pork, or even game birds. Just adjust the broth choice to complement the meat—beef broth for beef drippings, chicken broth for poultry, and so on.
Ready to Cook?
Now that you’ve got all the secrets, tools, and tips, it’s time to turn those pan drippings into the most luscious, silky gravy you’ve ever tasted. Whether it’s a Sunday roast or a special holiday feast, this Gravy from Pan Drippings (No Lumps, Super Silky) will transform your meal from good to unforgettable. Grab your roasting pan, whisk, and broth, and let’s get started on making gravy that’s smooth, flavorful, and utterly irresistible.
Mastering this classic technique puts you in control of your meal’s flavor and texture, and it’s one of those skills that once you have it, you’ll reach for it every time you roast meat. Enjoy the process, savor the aroma, and delight in the rich, comforting taste of homemade gravy that’s truly worth celebrating.
Share on Pinterest
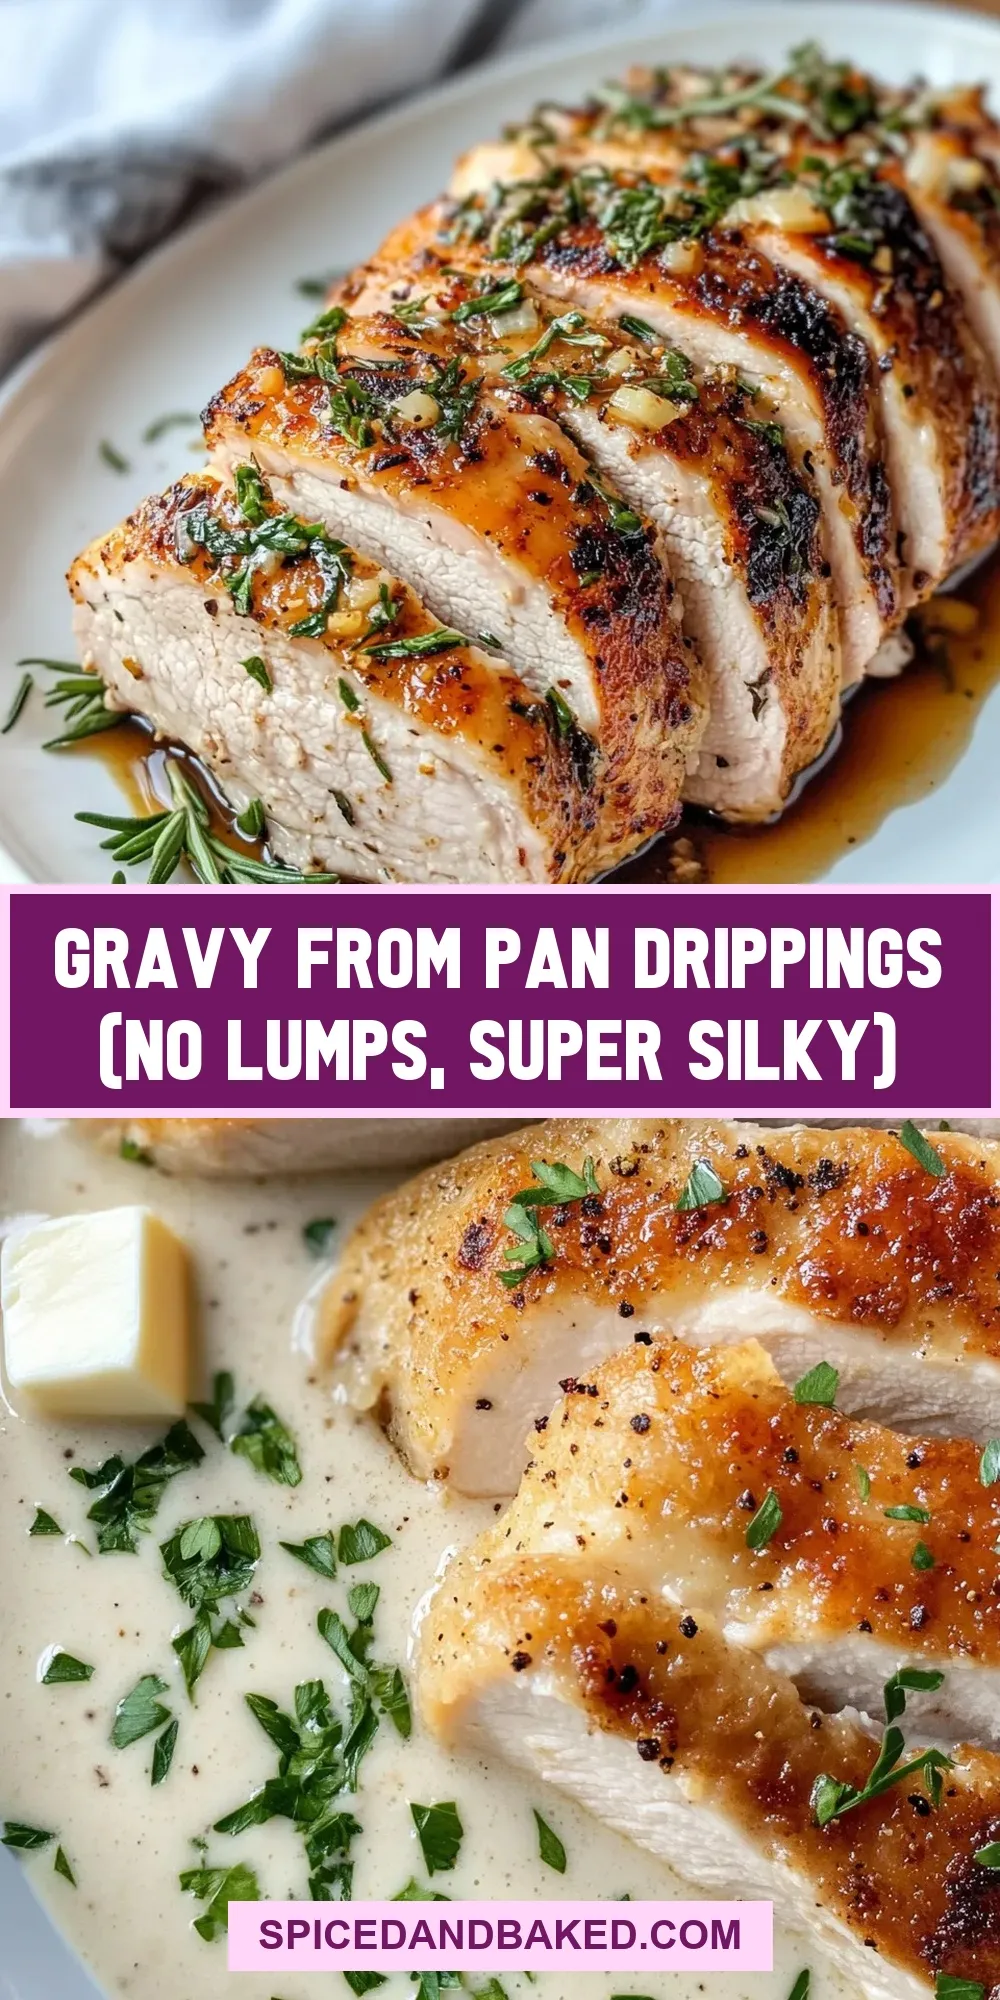

Gravy from Pan Drippings (No Lumps, Super Silky)
Ingredients
- 2 tablespoons fat from pan drippings skimmed
- 2 tablespoons all-purpose flour
- 2 cups low-sodium chicken or beef broth
- 1 tablespoon unsalted butter
- salt to taste
- black pepper to taste
Instructions
Step 1: Collect the Pan Drippings
- Once your chicken or turkey is done roasting, carefully transfer the meat to a serving platter to rest. Tilt the roasting pan slightly and spoon out the flavorful drippings into a heatproof bowl or measuring cup. You want to separate the fat from the juices, so let the drippings sit for a minute, then skim off about 2 tablespoons of fat to use in your gravy.
Step 2: Make a Roux
- Place a saucepan over medium heat and melt the 2 tablespoons of fat you just skimmed off. Add 2 tablespoons of all-purpose flour to the fat and whisk continuously, cooking for about 2 minutes. This step cooks out the raw flour taste and starts to develop that beautiful golden color which will give your gravy depth.
Step 3: Slowly Add Broth
- Gradually pour in 2 cups of low-sodium chicken or beef broth, whisking constantly to combine with the roux. This slow addition and constant whisking are key to preventing lumps and achieving that super silky texture. The mixture will begin to thicken as it heats.
Step 4: Incorporate Pan Juices
- Strain your reserved pan juices through a fine mesh sieve to remove any burnt bits, then slowly stir them into the thickened broth mixture. This step infuses your gravy with the rich, meaty flavor that makes it irresistible.
Step 5: Finish with Butter and Season
- Turn off the heat and whisk in 1 tablespoon of unsalted butter for a glossy finish and added richness. Taste your gravy and season with salt and black pepper to your preference. If the gravy is too thick, add a splash more broth; if too thin, simmer gently until desired consistency is reached.
Equipment
- Roasting pan
- Whisk
- Measuring cups and spoons
- Saucepan or skillet
- Fine-mesh strainer
Notes
- For a low-carb or keto version, substitute all-purpose flour with almond flour, coconut flour, arrowroot powder, or glucomannan powder.
- Always whisk continuously and add broth slowly to avoid lumps in the gravy.
- Strain pan drippings to remove burnt bits for a smoother gravy texture.
- Leftover gravy can be refrigerated for up to 3 days or frozen for up to 3 months.
- If gravy is too thick, add broth; if too thin, simmer to thicken.