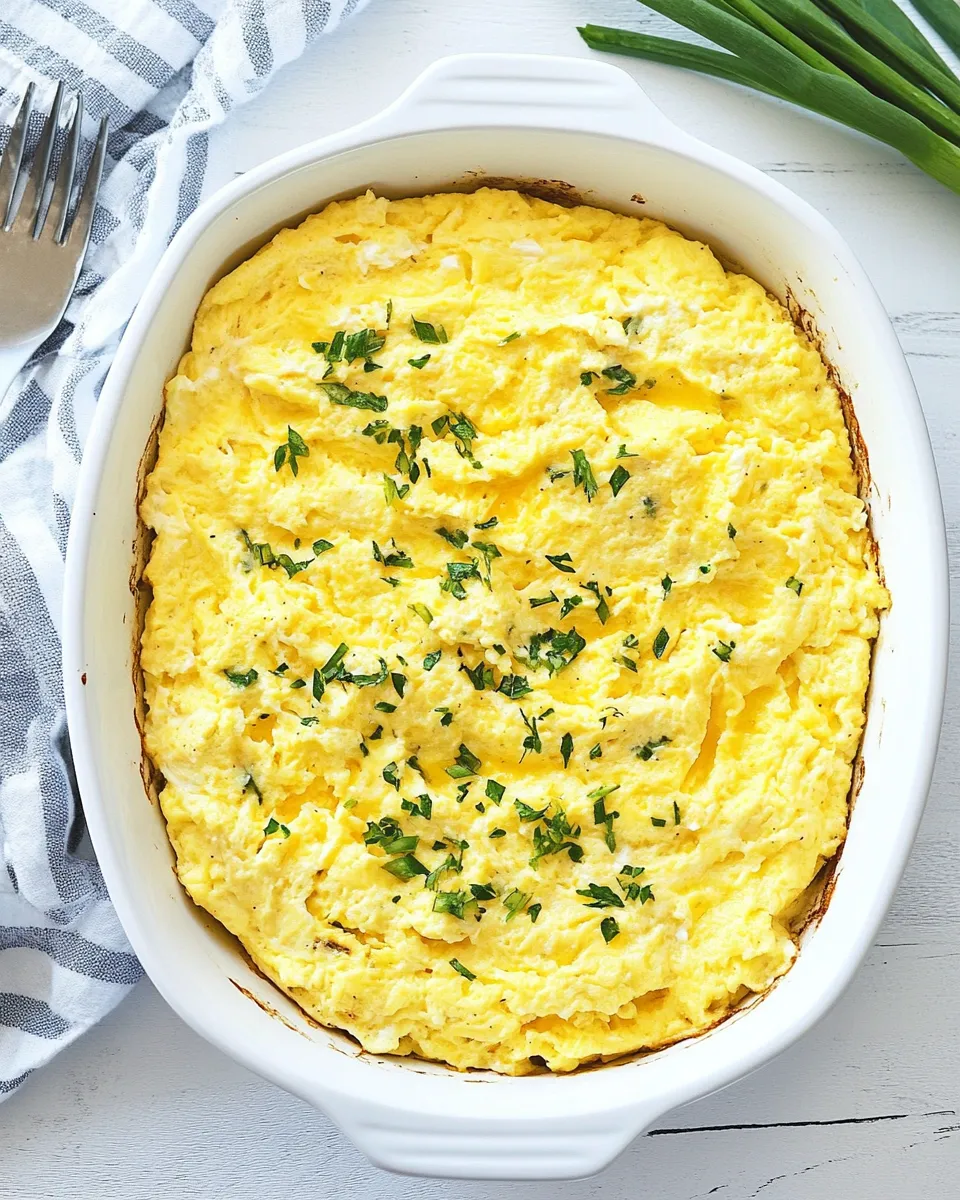
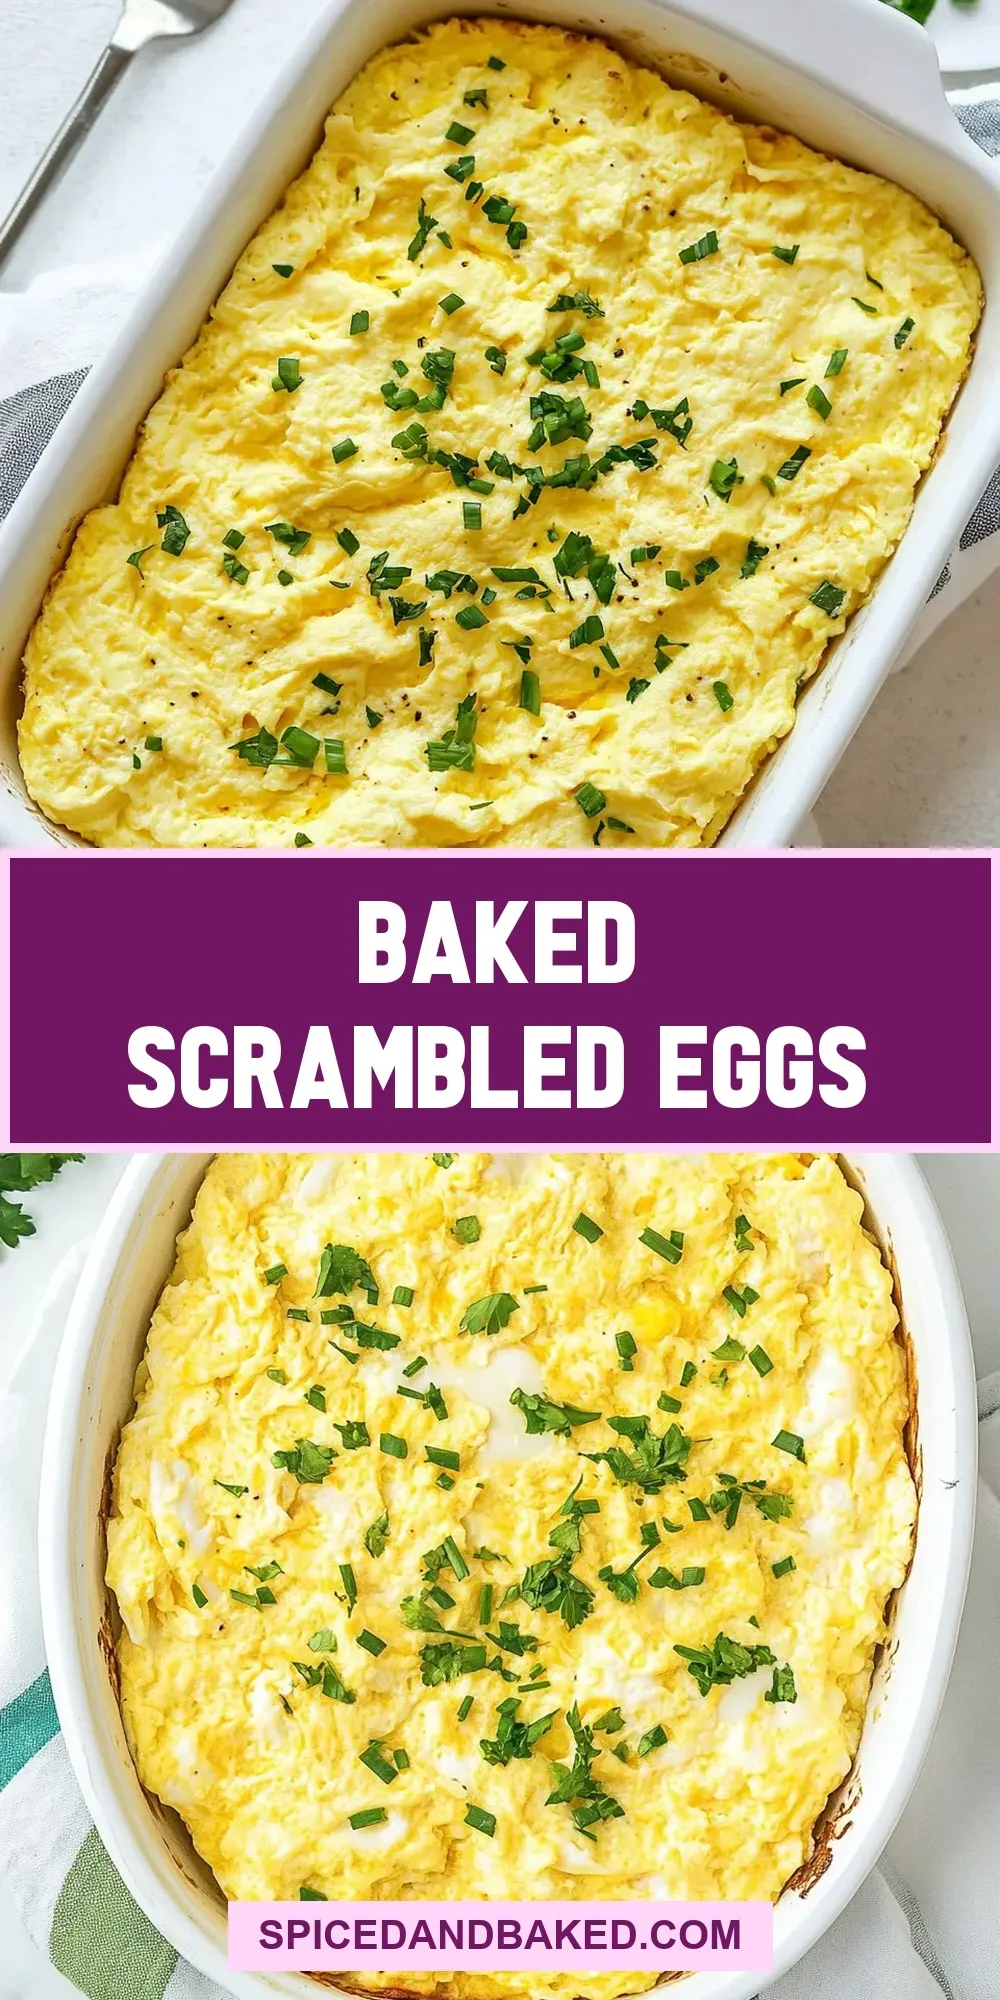
I love recipes that look like effort but feel like comfort. Baked scrambled eggs are one of those reliable, comforting dishes that feed a crowd with very little babysitting. They bake up tender, uniformly cooked, and require just a few simple steps—perfect for a slow weekend brunch or an easy weeknight dinner when you want something warm and satisfying without standing over the stove.
This version is intentionally straightforward: eggs, a little milk and water to loosen the curd, salt for seasoning, and melted butter folded in for richness. The technique uses two short bakes with a gentle stir in the middle so you get soft curds and no rubbery patches—an approach that scales, holds well, and is forgiving if you need to step away for a minute.
Below you’ll find the exact ingredients and the step-by-step method I follow every time. I’ll also share troubleshooting pointers, tools I reach for, and storage tips so you can make this reliably every time. No frills, all comfort—let’s get into it.
What You’ll Gather
Ingredients
- 12 large eggs — the primary protein; they set into soft curds when baked.
- 1 cup milk — loosens the eggs for a creamier texture.
- 1/4 cup water — thins the mixture slightly so the curds remain tender.
- 1 teaspoon salt — seasons the whole batch; add more to taste after baking.
- 1/4 cup butter, melted and cooled — folded in for richness and a silkier mouthfeel.
From Start to Finish: Baked Scrambled Eggs
- Preheat the oven to 350°F (175°C). Place a rack in the center of the oven and spray a 9×13-inch glass baking dish with nonstick cooking spray.
- Melt 1/4 cup butter (microwave briefly or melt on the stovetop) and set it aside to cool until just warm or room temperature.
- In a large bowl, crack 12 large eggs. Add 1 cup milk, 1/4 cup water, and 1 teaspoon salt. Whisk until the mixture is smooth and well blended.
- Whisk the cooled melted butter into the egg mixture until fully combined.
- Pour the egg mixture into the prepared 9×13 baking dish and smooth the surface with a spatula.
- Bake uncovered for 10 minutes.
- Remove the dish from the oven and gently stir the eggs with a spatula to break up any set edges and distribute the still-liquid portion.
- Return the dish to the oven and bake for an additional 12 minutes, or until the eggs are set (no large pools of liquid remain).
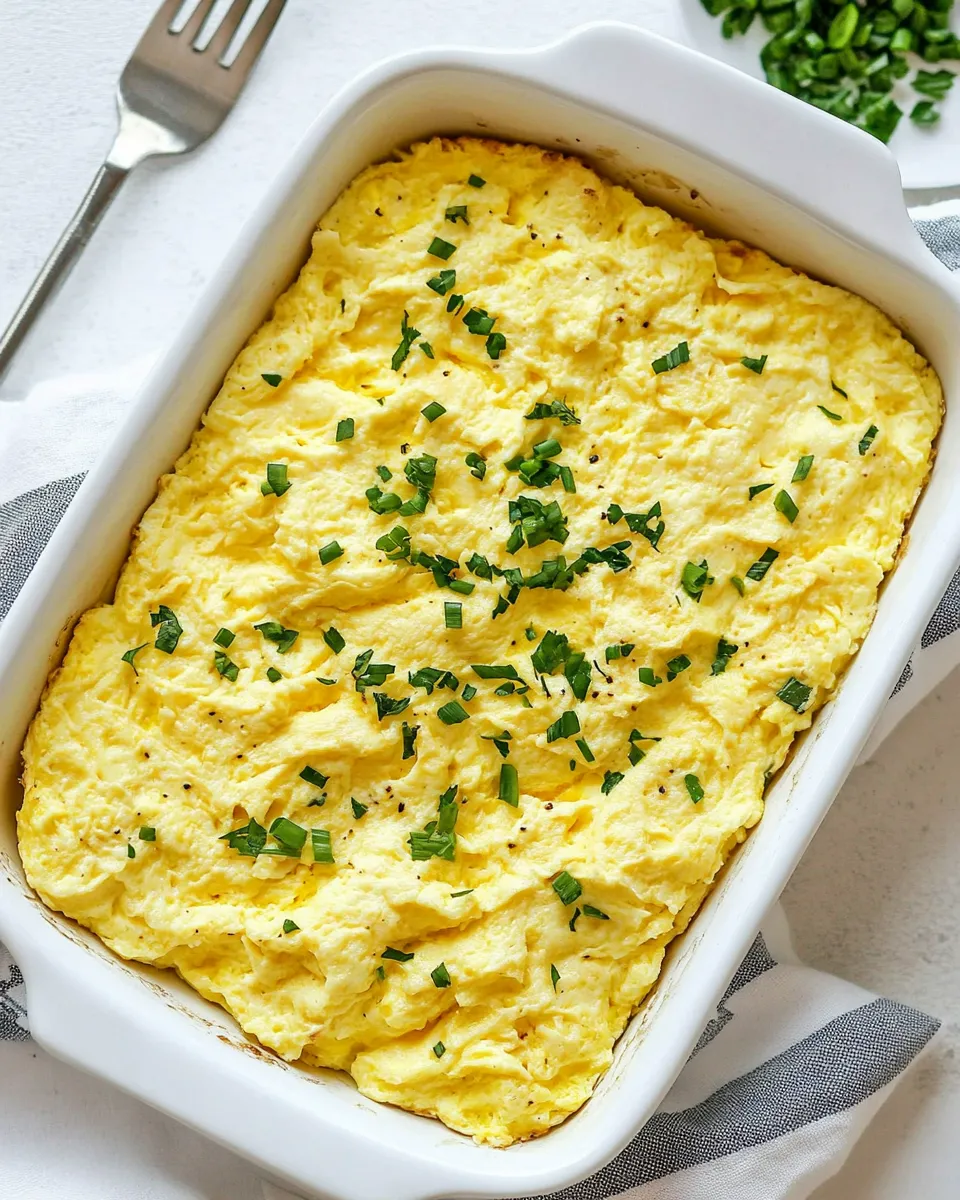
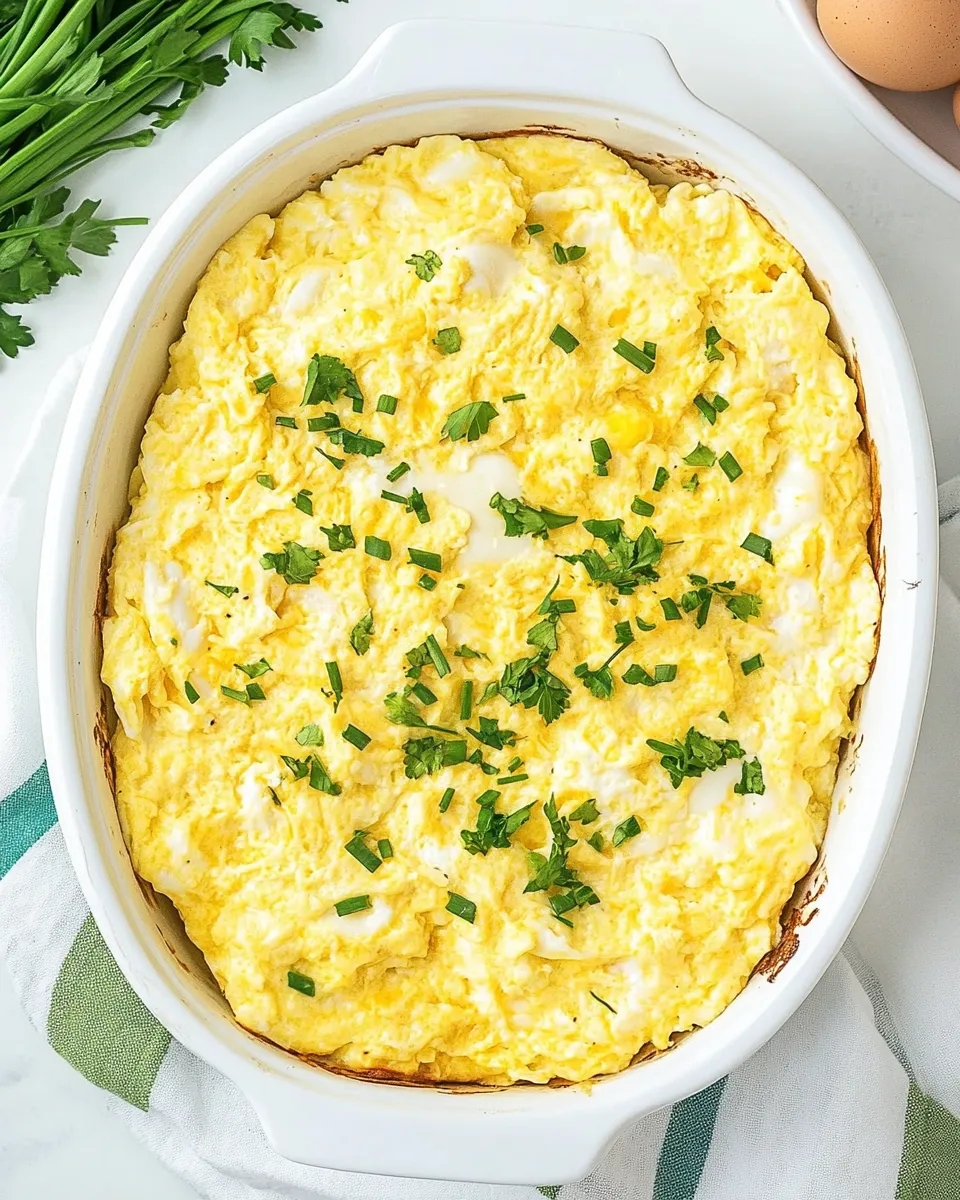
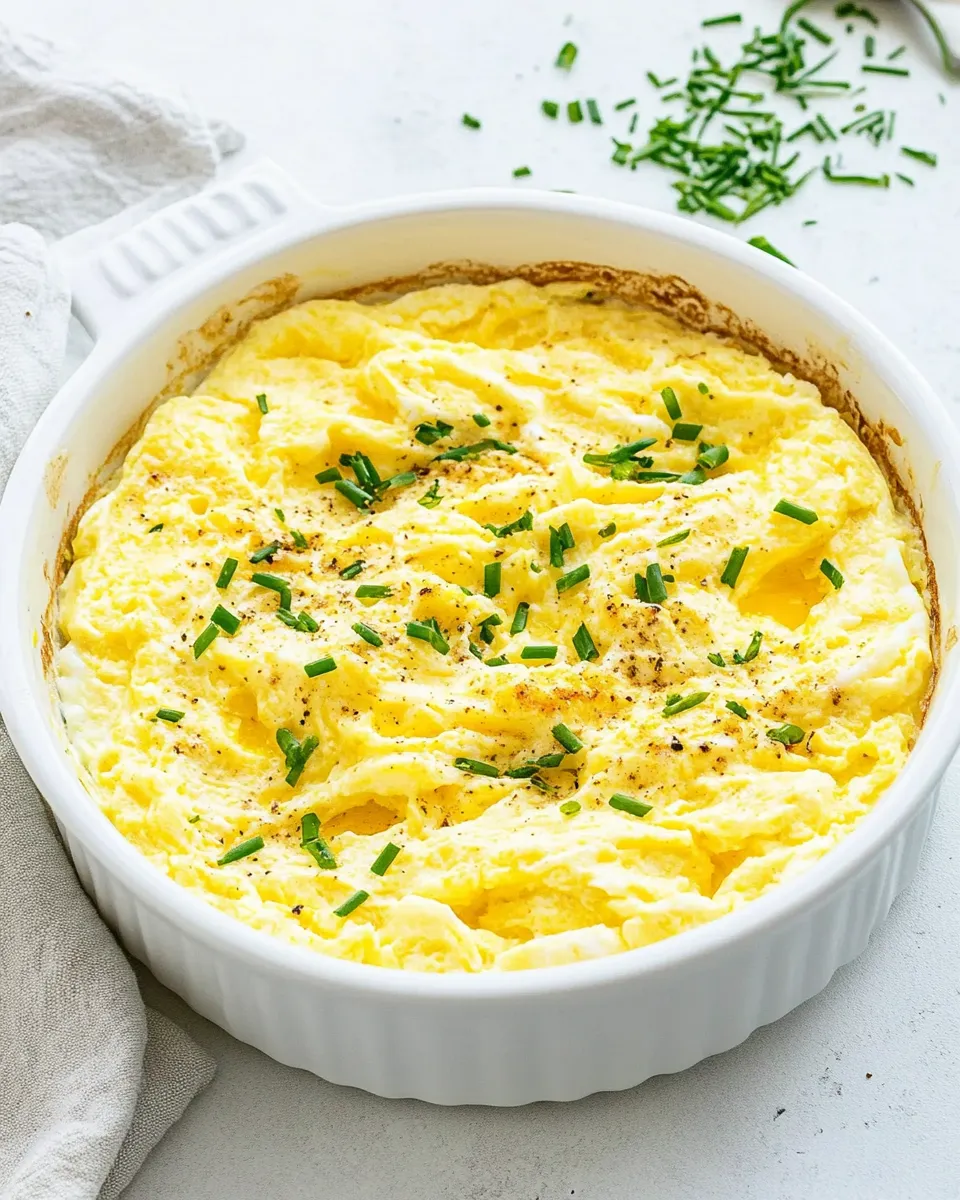
- Remove from the oven, let rest 1–2 minutes, then fluff the eggs with a fork. Taste and adjust salt if needed. Serve warm.
Why Baked Scrambled Eggs is Worth Your Time
These baked scrambled eggs are a smart time-saver. You can whisk the whole tray in minutes, pop it in the oven, and get on with other prep or relax while the oven does the work. The texture is consistently soft and custardy when you follow the two-stage bake-and-stir method—no overcooked edges, no watery center.
They’re also wonderfully scalable. The 9×13 pan is a convenient size for feeding a family or a small gathering. Because the eggs cook evenly in the oven, you avoid the patchy results that sometimes come from large skillet batches. Finally, they’re easy to season and dress up at the end if you want to add a finishing touch—without changing the basic, dependable formula.
Low-Carb/Keto Alternatives
This recipe is naturally low in carbohydrates—eggs, butter, a splash of milk and water—so it already fits a low-carb or keto lifestyle for most people. If you prefer to reduce carbs further, keep in mind that milk contains some lactose (carbs) and you can reduce or omit it, relying on the water and butter for richness. The two-stage bake still applies, and texture will remain soft though slightly less creamy without the milk.
Tools of the Trade
Good tools make a difference with a hands-off recipe like this:
- 9×13-inch glass baking dish — even heating and easy cleanup.
- Nonstick cooking spray — prevents sticking without extra butter or oil.
- Large mixing bowl — gives you room to whisk the eggs thoroughly.
- Whisk — for smooth, homogenous egg mixture.
- Spatula — to smooth before baking and to gently stir midway.
- Measuring cups and spoons — keep amounts accurate, especially for larger batches.
What Not to Do
There are a few simple missteps that turn a great tray of baked eggs into an uneven one. Don’t skip the cooled butter step—adding very hot butter can begin to cook the eggs prematurely and create uneven texture. Don’t stir aggressively or too often; the middle stir is gentle and intentional to break set edges and redistribute liquid. And don’t overbake: remove the pan when there are no large pools of liquid; a slight jiggle or minimal residual moisture will finish while the eggs rest.
Spring to Winter: Ideas
Because this recipe is a neutral base, it’s a reliable canvas across seasons. In warmer months, serve the warm eggs with lightly dressed greens or crusty bread. In chillier weather, they’re lovely alongside roasted root vegetables or a warm grain pilaf. If you need to stretch the batch for a larger crowd, bake in two pans or transfer to a slightly larger baking dish and monitor the timing closely—thin layers will set faster.
Recipe Notes & Chef’s Commentary
Little details matter here. Cooling the melted butter just until it’s warm or room temperature is deliberate—warm enough to incorporate, cool enough not to cook the eggs prematurely. Whisking the eggs until smooth creates an even matrix so the heat sets everything uniformly in the oven. The mid-bake stir is the trick that keeps the eggs tender; it prevents the outer edges from setting too fast and lets the interior continue to cook evenly.
If you prefer a silkier finish, be gentle when fluffing at the end—use a fork to tease the curds apart rather than mashing. Always taste and adjust salt after baking. Eggs can taste flat straight from the oven, and a quick sprinkle of salt when they’re warm brings the flavors forward.
Keep It Fresh: Storage Guide
Cool the baked scrambled eggs to room temperature then refrigerate in an airtight container within two hours of baking. They will keep for up to 3–4 days. Reheat gently to avoid drying: microwave in short bursts, stirring in between, or reheat in a low oven (about 300°F/150°C) covered with foil until warmed through. For best texture, avoid excessive reheating; just warm enough to serve.
Quick Q&A
Q: Can I halve the recipe?
A: Yes. Use a smaller baking dish and reduce the baking time slightly—start checking after the first bake interval (around 8 minutes) and watch closely in the second stage.
Q: Can I use a metal pan instead of glass?
A: Yes, but baking times may vary slightly. Metal conducts heat faster than glass, so start checking a few minutes earlier to prevent overbaking.
Q: What if the eggs look watery after the second bake?
A: Return the dish to the oven for a few more minutes. They should be set with no large pools of liquid; a small amount of moisture is fine and will be absorbed as the eggs rest.
Q: Can I make this ahead?
A: You can prepare the egg mixture and keep it covered in the fridge for a few hours, then bake when ready. If you assemble and refrigerate the raw mix overnight, stir well before baking to recombine.
See You at the Table
This baked scrambled eggs method is one of my go-to recipes when I want reliable results with minimal effort. It keeps well, scales easily, and fits into nearly any meal plan. Stick to the method—two-stage bake, mid-bake stir, gentle rest—and you’ll be rewarded with tender, even curds every time. I hope it becomes a regular in your rotation for breakfasts, lazy brunches, or quick dinners when you want something warm and homey without a lot of fuss.
If you try it, tell me how you served it and any small tweaks that made it special for your table. Happy baking—and enjoy the easy comfort of a big pan of perfectly baked eggs.

Baked Scrambled Eggs
Ingredients
Ingredients
- 12 largeeggs
- 1 cupmilk
- 1/4 cupwater
- 1 teaspoonsalt
- 1/4 cupbutter melted and cooled
Instructions
Instructions
- Preheat the oven to 350°F (175°C). Place a rack in the center of the oven and spray a 9x13-inch glass baking dish with nonstick cooking spray.
- Melt 1/4 cup butter (microwave briefly or melt on the stovetop) and set it aside to cool until just warm or room temperature.
- In a large bowl, crack 12 large eggs. Add 1 cup milk, 1/4 cup water, and 1 teaspoon salt. Whisk until the mixture is smooth and well blended.
- Whisk the cooled melted butter into the egg mixture until fully combined.
- Pour the egg mixture into the prepared 9x13 baking dish and smooth the surface with a spatula.
- Bake uncovered for 10 minutes.
- Remove the dish from the oven and gently stir the eggs with a spatula to break up any set edges and distribute the still-liquid portion.
- Return the dish to the oven and bake for an additional 12 minutes, or until the eggs are set (no large pools of liquid remain).
- Remove from the oven, let rest 1–2 minutes, then fluff the eggs with a fork. Taste and adjust salt if needed. Serve warm.
Equipment
- Oven
- 9x13 inch Baking Dish
- Mixing Bowl
- Whisk
- Spatula
- Measuring Cups