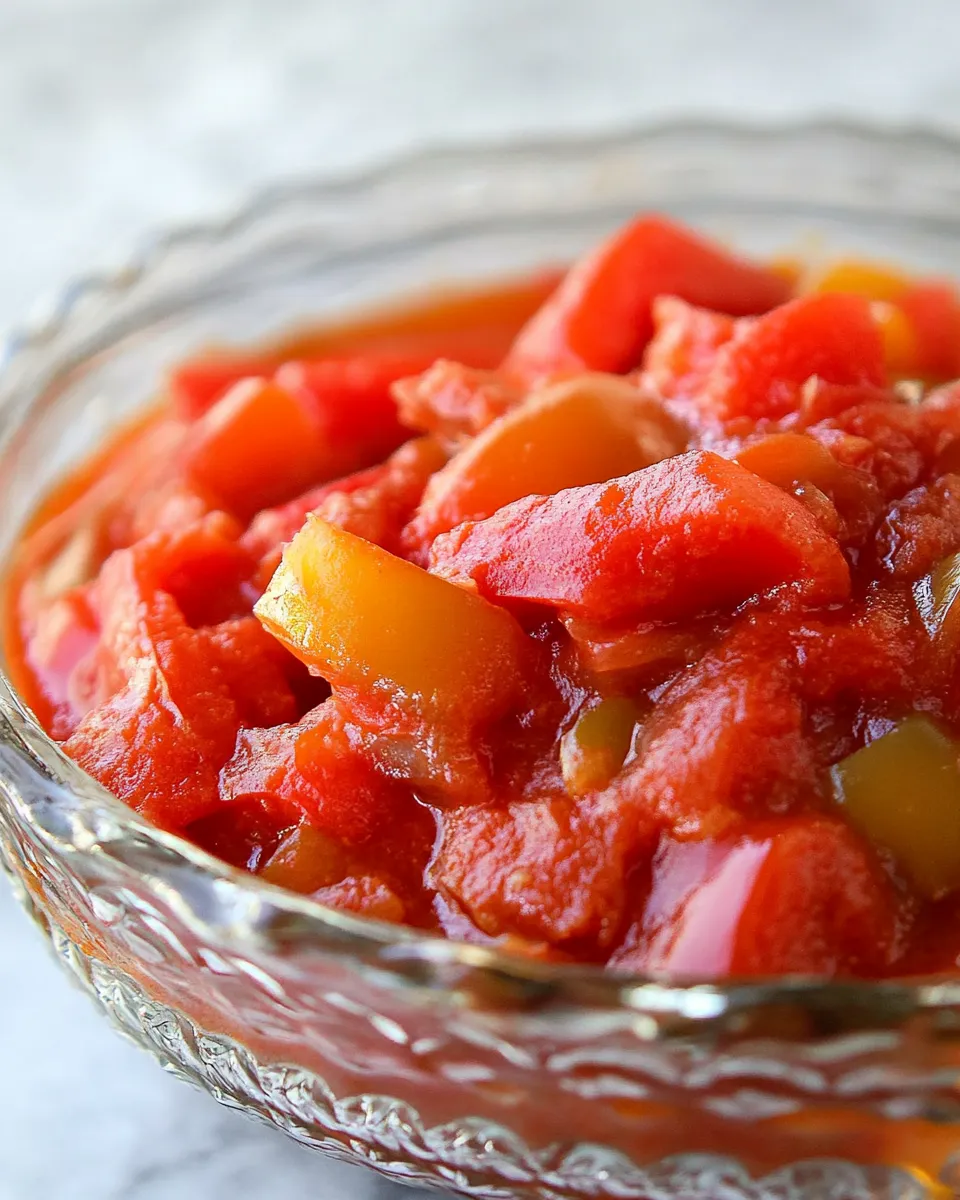
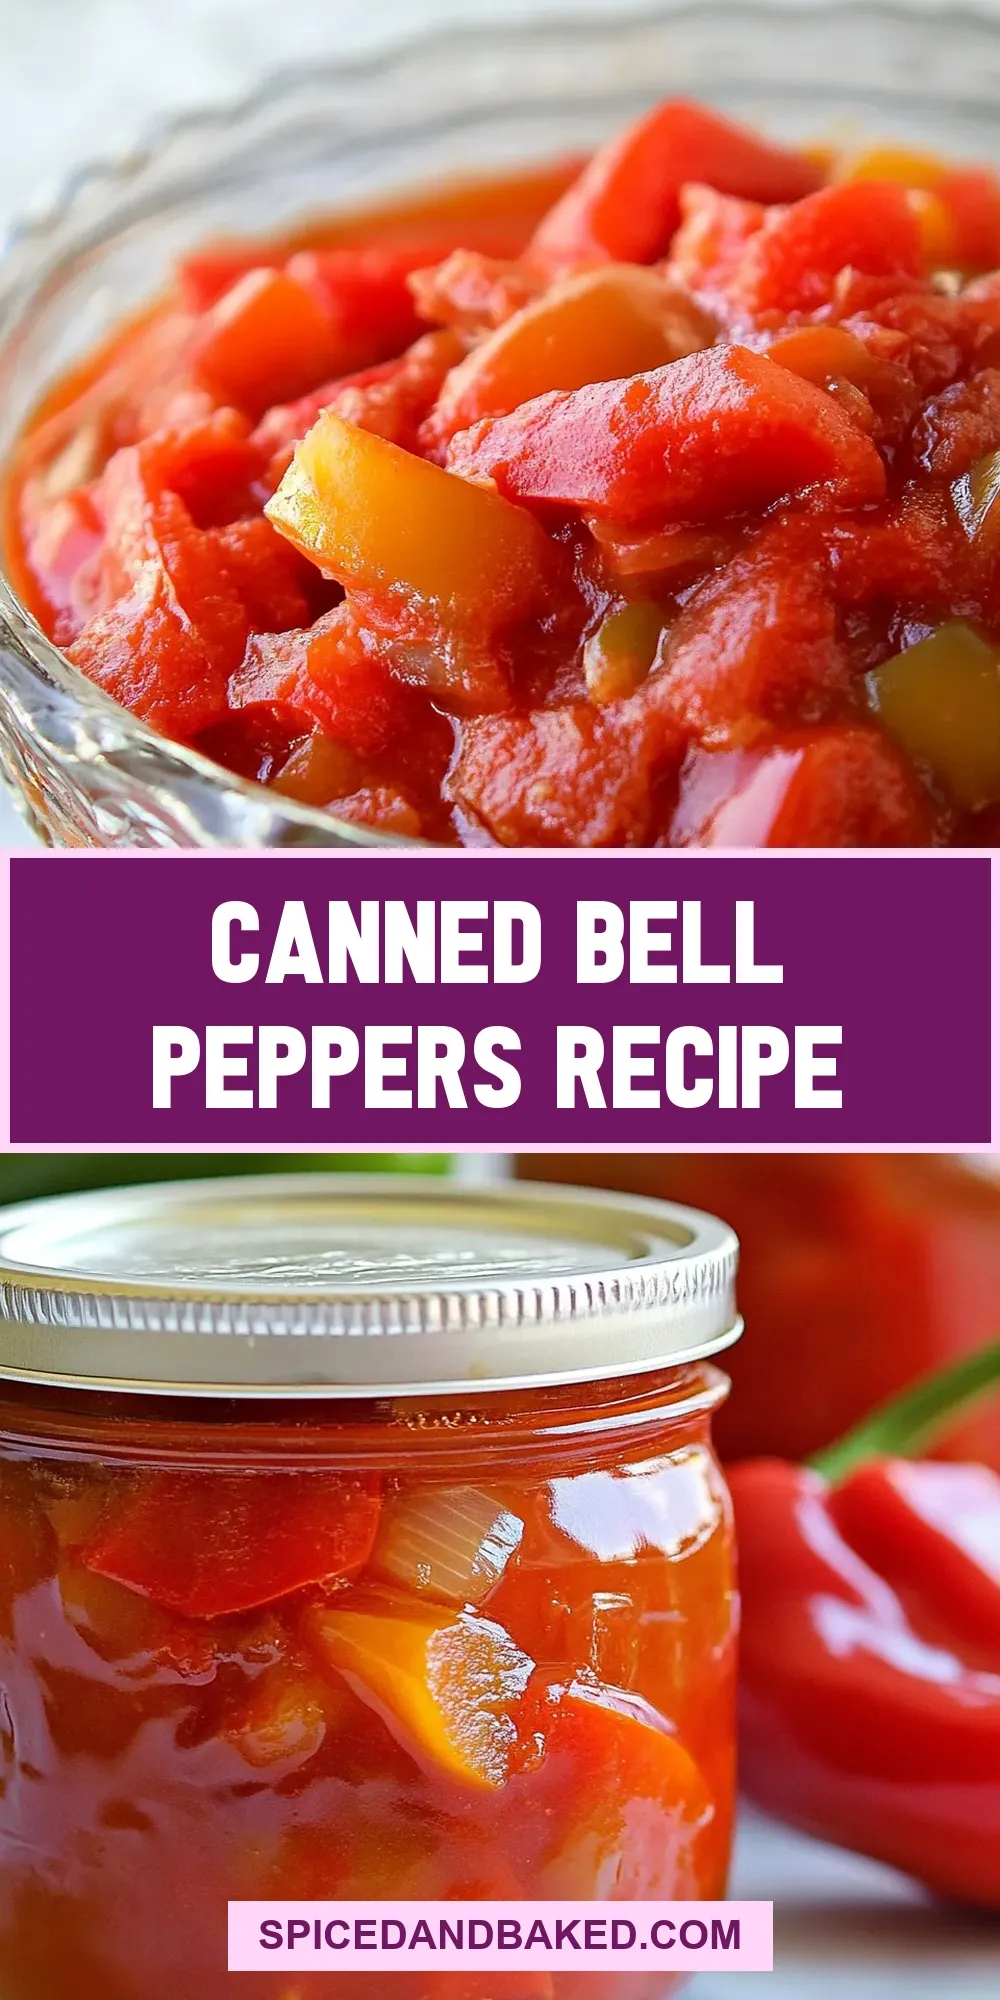
These canned bell peppers are the kind of pantry staple I reach for when I want bright, tangy sweetness on a sandwich, salad, or as a colorful side. The process is straightforward and comforting: a sweet-tangy tomato syrup bath, a gentle simmer until the peppers are tender, and a reliable water-bath canning finish. It’s a recipe that rewards patience and a little attention to detail.
Make a big batch when bell peppers are plentiful and cheap. You’ll end up with jars that keep well, travel easily to potlucks, and rescue weeknight meals. The texture stays pleasantly tender without turning to mush, and the syrup is balanced so the peppers shine through.
I’ll walk you through ingredient tips, the exact step-by-step canning directions, common mistakes to avoid, and simple swaps to adapt this to your pantry or diet. No nonsense, just clear guidance so your jars seal and your peppers taste great.
Ingredient Notes
Nothing here is exotic. The main ingredient is red bell peppers — ripe, red peppers provide the best color and natural sweetness. The tomato juice forms the syrup base and keeps the flavors cohesive; if you have homemade tomato juice, it works beautifully. Extra light olive oil and a touch of sugar smooth and round the texture and flavor, while white vinegar and iodine-free sea salt do the preserving and seasoning work. Follow the ingredient quantities closely in the canning steps: balance and safety are partly a numbers game.
Ingredients
- 5-6lbs Red Bell Peppers, seeded and sliced — ripe red peppers give the brightest color and sweetest flavor; slice into 1/2-inch strips for even cooking and packing.
- 6 1/2 cups 1 1/2 liters tomato juice (I used my mom’s homemade juice) — the syrup base; use a smooth tomato juice for a glossy finish and true tomato flavor.
- 1/2 cup extra light olive oil — adds body and helps suspend flavors; extra light oil has a neutral flavor that won’t compete with the peppers.
- 3/4 cup granulated sugar — balances acidity and brings out the natural sweetness in the peppers; don’t omit unless you want a tarter result.
- 3 Tbsp sea salt, use iodine free salt — iodized salt can discolor or affect flavor in long-term canned goods; use the specified iodine-free sea salt.
- 1/2 cup white vinegar — provides necessary acidity for preservation and a bright note to the syrup.
Cook Canned Bell Peppers Like This
- Preheat the oven to 215°F (about 102°C). Wash jars and screw bands with soap and warm water. Place the jars (not the lids) upside down on the bottom rack of the oven for 20 minutes or until completely dry. Place the lids in a small pot of hot water and keep them hot (simmering) until ready to use.
- In a large pot or Dutch oven, combine 6 1/2 cups (1 1/2 liters) tomato juice, 1/2 cup extra light olive oil, 3/4 cup granulated sugar, 3 Tbsp sea salt (use iodine-free salt), and 1/2 cup white vinegar.
- Bring the mixture to a boil over medium-high heat, then reduce heat and simmer gently for 10 minutes.
- If your bell peppers are not already seeded and sliced, seed them and slice into 1/2-inch-wide strips. (The ingredient list calls for 5–6 lbs of red bell peppers, seeded and sliced.)
- After the syrup has simmered 10 minutes, add the sliced bell peppers to the pot. Cover and cook, stirring occasionally, until the peppers are tender and a fork or skewer easily pierces the skin side, about 20–25 minutes.
- Remove the pot from heat and keep the peppers and liquid hot while you prepare to pack jars.
- Using a canning funnel (or a ladle), transfer the hot peppers to the hot, dry jars. Pack mostly peppers into each jar and then fill the jars with the hot syrup so the peppers are covered, leaving 1/4 inch of headspace at the top of each jar.
- Remove air bubbles by sliding a nonmetallic spatula or bubble remover down the inside edge of each jar and pressing gently. Recheck headspace and add more hot syrup if needed to maintain 1/4 inch.
- Wipe the jar rims with a clean, damp cloth to remove any food residue. Place the lids on the jars and screw on the bands until fingertip-tight—secure but not overtightened (do not force them tight).
- Place the packed jars into a canning pot or large stockpot fitted for water-bath canning. Add enough water to cover the jars by 1–2 inches. Bring the water to a rolling boil.
- Once the water is boiling, process (boil) the jars for 15 minutes. After 15 minutes, turn off the heat and carefully remove the jars with a jar lifter. Set the jars upright on a towel or cooling rack and leave undisturbed at room temperature for 12–24 hours.
- After 12–24 hours you may hear the lids pop as they seal. After 24 hours, check seals by pressing the center of each lid—the lid should not move. If a jar did not seal, refrigerate that jar and use within 3 months. Store sealed jars in a cool, dark place.
What Makes This Recipe Special
This recipe balances sweet and tangy without overpowering the natural pepper flavor. The tomato juice-based syrup is lighter than a heavy pickling brine, so the peppers retain a clean, bright taste and a pleasing texture. It’s forgiving in texture—peppers come out tender but still intact—and the oil keeps the mouthfeel smooth. The method is practical: it uses a water bath canning process that works reliably for acidic vegetable preserves like this.
Easy Ingredient Swaps
- Tomato juice: If you don’t have homemade tomato juice, a plain store-bought tomato juice works fine. Avoid highly seasoned versions that include celery salt or hot spices.
- Extra light olive oil: Neutral oils like grapeseed or light vegetable oil can substitute if you prefer.
- Granulated sugar: You can reduce the sugar slightly for a tarter result (start by reducing 1–2 tablespoons), but do not eliminate entirely if you want the same flavor profile.
- White vinegar: Distilled white vinegar is specified for a clean, predictable acid level. Apple cider vinegar will change the flavor and color slightly but is usable if you prefer its tang.
- Red bell peppers: Yellow or orange bell peppers can be used, though color and sweetness will vary; green bell peppers will be firmer and more vegetal.
Hardware & Gadgets
- Water-bath canner or large stockpot fitted for canning — to process jars safely.
- Jar lifter — essential for lifting hot jars out of boiling water without injury.
- Canning funnel — speeds up filling jars and keeps rims clean.
- Bubble remover or nonmetallic spatula — for removing trapped air and ensuring proper headspace.
- Kitchen towel or cooling rack — a safe place for jars to rest while sealing.
Frequent Missteps to Avoid
- Packing cold jars: Always use hot, dry jars. Putting hot food into cold jars increases the risk of jar breakage or unsuccessful seals.
- Skipping the headspace check: Leaving more or less than 1/4 inch headspace can prevent proper sealing or cause siphoning during processing.
- Using iodized salt: It can affect flavor and appearance in long-term canned goods. The recipe specifies iodine-free sea salt for a reason.
- Overcooking peppers: Cook until tender but not falling apart; 20–25 minutes is the target. Mushy peppers don’t hold up well in storage or in recipes.
- Tightening bands too much: Bands should be fingertip-tight. Overtightening can prevent lids from sealing properly.
Tailor It to Your Diet
Want less sugar? Reduce the granulated sugar gradually, tasting the hot syrup before packing to make sure the balance suits you. Need lower sodium? You can cut back on salt modestly, but remember salt helps flavor and preservation—don’t remove it entirely. For a vegan and plant-based pantry this recipe is already compliant; the ingredients are plant-forward and allergy-friendly in most cases. If you need to avoid oil entirely, you can omit it, but the texture and sheen of the finished jars will be different.
Cook’s Commentary
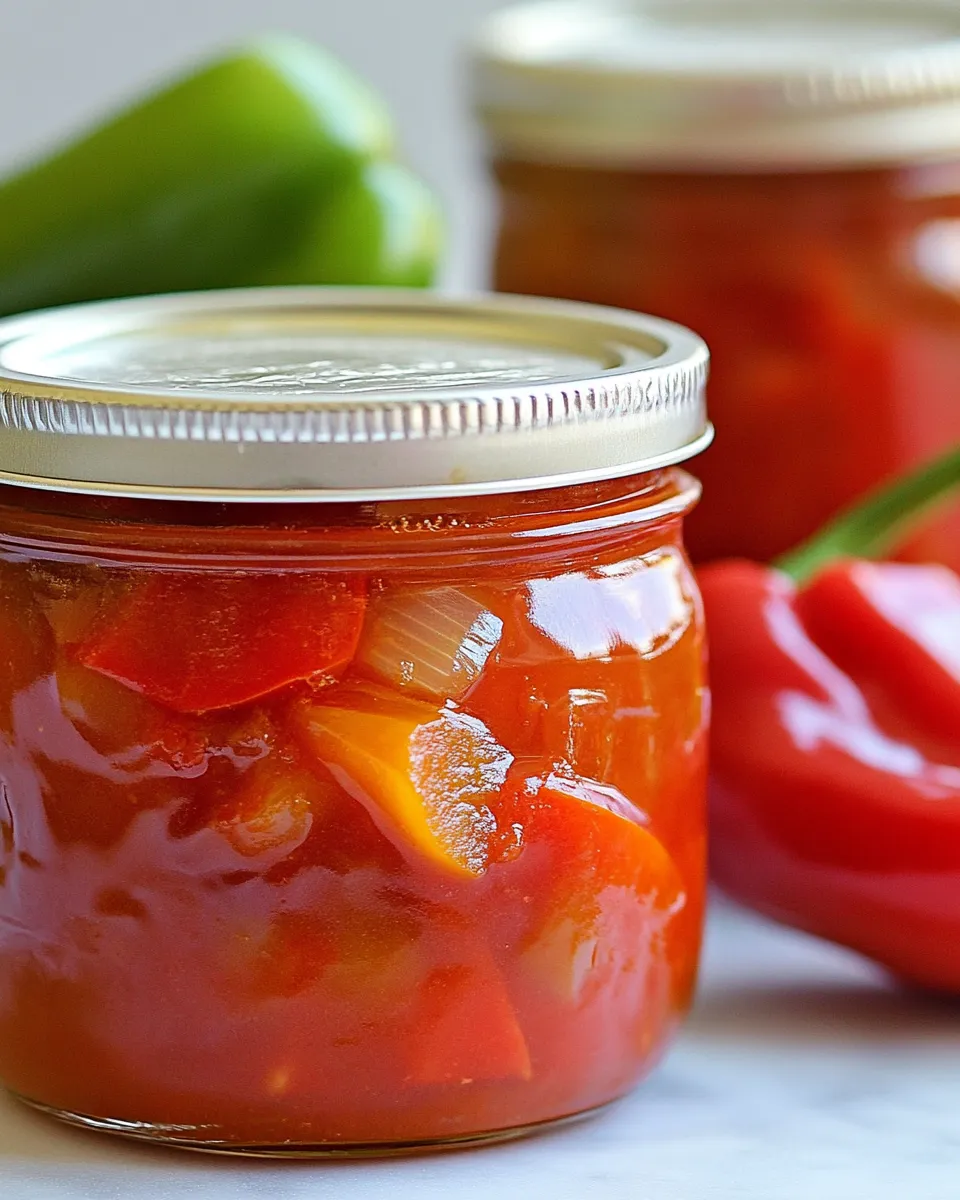
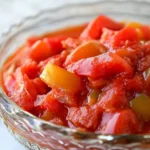
I make a double batch when peppers are inexpensive and keep a few jars in the fridge for immediate use while the rest go on the shelf. The red peppers make gorgeous jar presentations; they’re as pretty on a shelf as they are on a charcuterie board. I also like using my mom’s homemade tomato juice when available—freshness shows in the syrup’s brightness. When you pack the jars, aim for mostly peppers with just enough syrup to cover them; that way the flavor is concentrated but they stay nicely preserved.
Make Ahead Like a Pro
- Prep the peppers ahead: Seed and slice peppers the day before and keep them in the fridge in a covered container. Dry them thoroughly before cooking to avoid watering down the syrup.
- Sanitize and warm jars in advance: The oven step can be done while you prep your peppers to streamline workflow.
- Keep lids hot in simmering water right up to use so they seal consistently when applied.
- If a jar doesn’t seal after 24 hours, refrigerate it and use within three months — you can also reprocess it with a fresh lid if you want to preserve it long-term.
Quick Questions
- How long do sealed jars last? Store sealed jars in a cool, dark place. Properly processed and sealed jars will keep for at least a year; for best flavor use within 12 months.
- Can I use green bell peppers? Yes, but flavor and texture will be different—green peppers are firmer and less sweet.
- What if a jar doesn’t seal? Refrigerate immediately and use within 3 months, or reprocess with a new lid following the same water-bath instructions.
- Do I need to remove skins from the peppers? Not necessary; the simmering softens the skin, and the texture is pleasant in the finished jars.
Final Bite
Canning bell peppers this way is low-fuss, rewarding, and useful year-round. Follow the steps carefully, respect the headspace and processing time, and you’ll have jars that look and taste delightful. Use them on sandwiches, toss into pasta, or serve alongside grilled proteins — they brighten any plate. Happy canning, and enjoy the stash of vibrant, shelf-stable peppers you’ll be proud to serve.
Canned Bell Peppers Recipe
Ingredients
Ingredients
- 5-6 lbsRed Bell Peppers seeded and sliced
- 6 1/2 cups1 1/2 liters tomato juice I used my mom's homemade juice
- 1/2 cupextra light olive oil
- 3/4 cupgranulated sugar
- 3 Tbspsea salt use iodine free salt
- 1/2 cupwhite vinegar
Instructions
Instructions
- Preheat the oven to 215°F (about 102°C). Wash jars and screw bands with soap and warm water. Place the jars (not the lids) upside down on the bottom rack of the oven for 20 minutes or until completely dry. Place the lids in a small pot of hot water and keep them hot (simmering) until ready to use.
- In a large pot or Dutch oven, combine 6 1/2 cups (1 1/2 liters) tomato juice, 1/2 cup extra light olive oil, 3/4 cup granulated sugar, 3 Tbsp sea salt (use iodine-free salt), and 1/2 cup white vinegar.
- Bring the mixture to a boil over medium-high heat, then reduce heat and simmer gently for 10 minutes.
- If your bell peppers are not already seeded and sliced, seed them and slice into 1/2-inch-wide strips. (The ingredient list calls for 5–6 lbs of red bell peppers, seeded and sliced.)
- After the syrup has simmered 10 minutes, add the sliced bell peppers to the pot. Cover and cook, stirring occasionally, until the peppers are tender and a fork or skewer easily pierces the skin side, about 20–25 minutes.
- Remove the pot from heat and keep the peppers and liquid hot while you prepare to pack jars.
- Using a canning funnel (or a ladle), transfer the hot peppers to the hot, dry jars. Pack mostly peppers into each jar and then fill the jars with the hot syrup so the peppers are covered, leaving 1/4 inch of headspace at the top of each jar.
- Remove air bubbles by sliding a nonmetallic spatula or bubble remover down the inside edge of each jar and pressing gently. Recheck headspace and add more hot syrup if needed to maintain 1/4 inch.
- Wipe the jar rims with a clean, damp cloth to remove any food residue. Place the lids on the jars and screw on the bands until fingertip-tight—secure but not overtightened (do not force them tight).
- Place the packed jars into a canning pot or large stockpot fitted for water-bath canning. Add enough water to cover the jars by 1–2 inches. Bring the water to a rolling boil.
- Once the water is boiling, process (boil) the jars for 15 minutes. After 15 minutes, turn off the heat and carefully remove the jars with a jar lifter. Set the jars upright on a towel or cooling rack and leave undisturbed at room temperature for 12–24 hours.
- After 12–24 hours you may hear the lids pop as they seal. After 24 hours, check seals by pressing the center of each lid—the lid should not move. If a jar did not seal, refrigerate that jar and use within 3 months. Store sealed jars in a cool, dark place.
Equipment
- jars
- screw bands
- lids
- Large Pot or Dutch Oven
- canning funnel or ladle
- nonmetallic spatula or bubble remover
- canning pot or large stockpot
- Jar Lifter
- towel or cooling rack
Notes
Tip: Wait at least 1 week before opening a can and eating it to give the flavors a chance to meld and marinate.