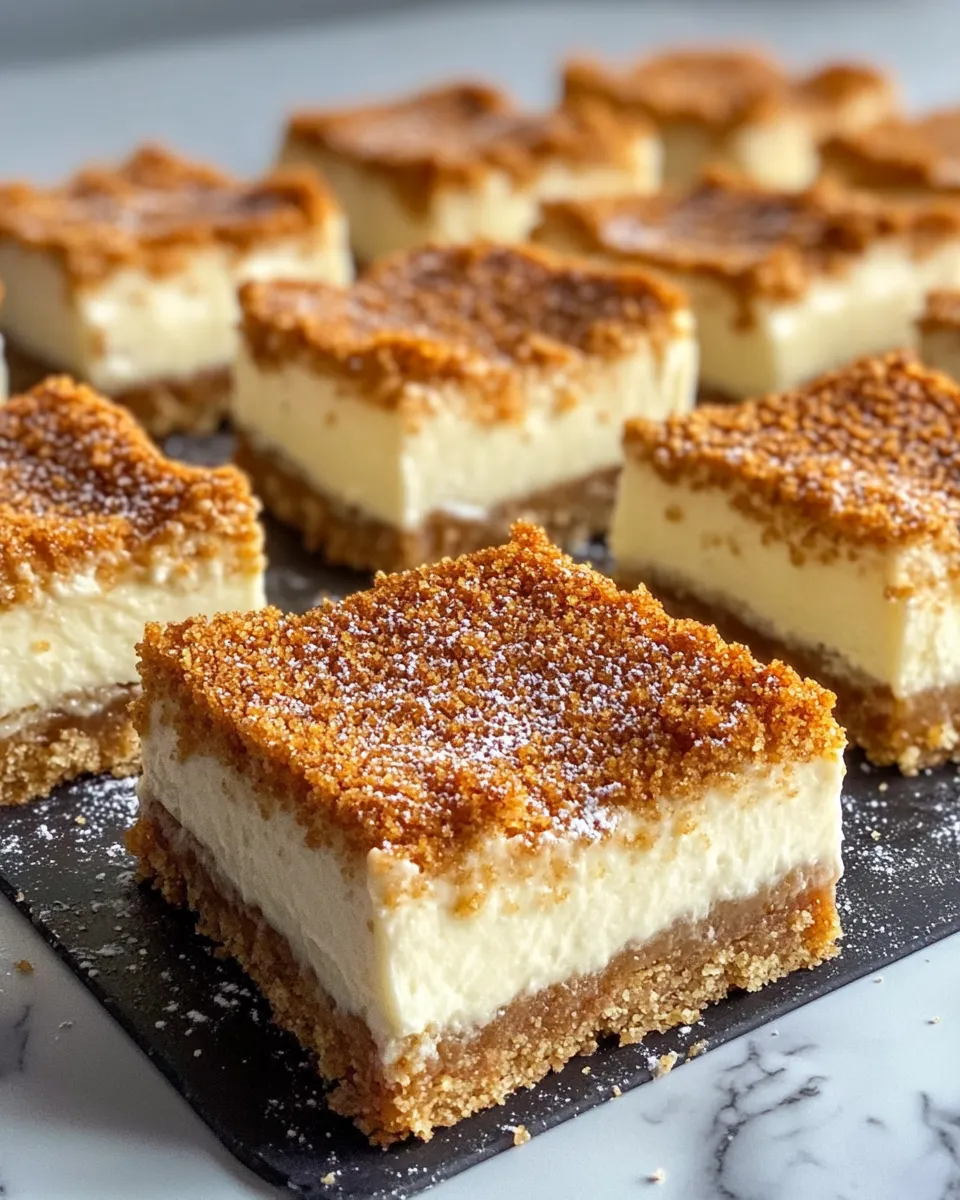
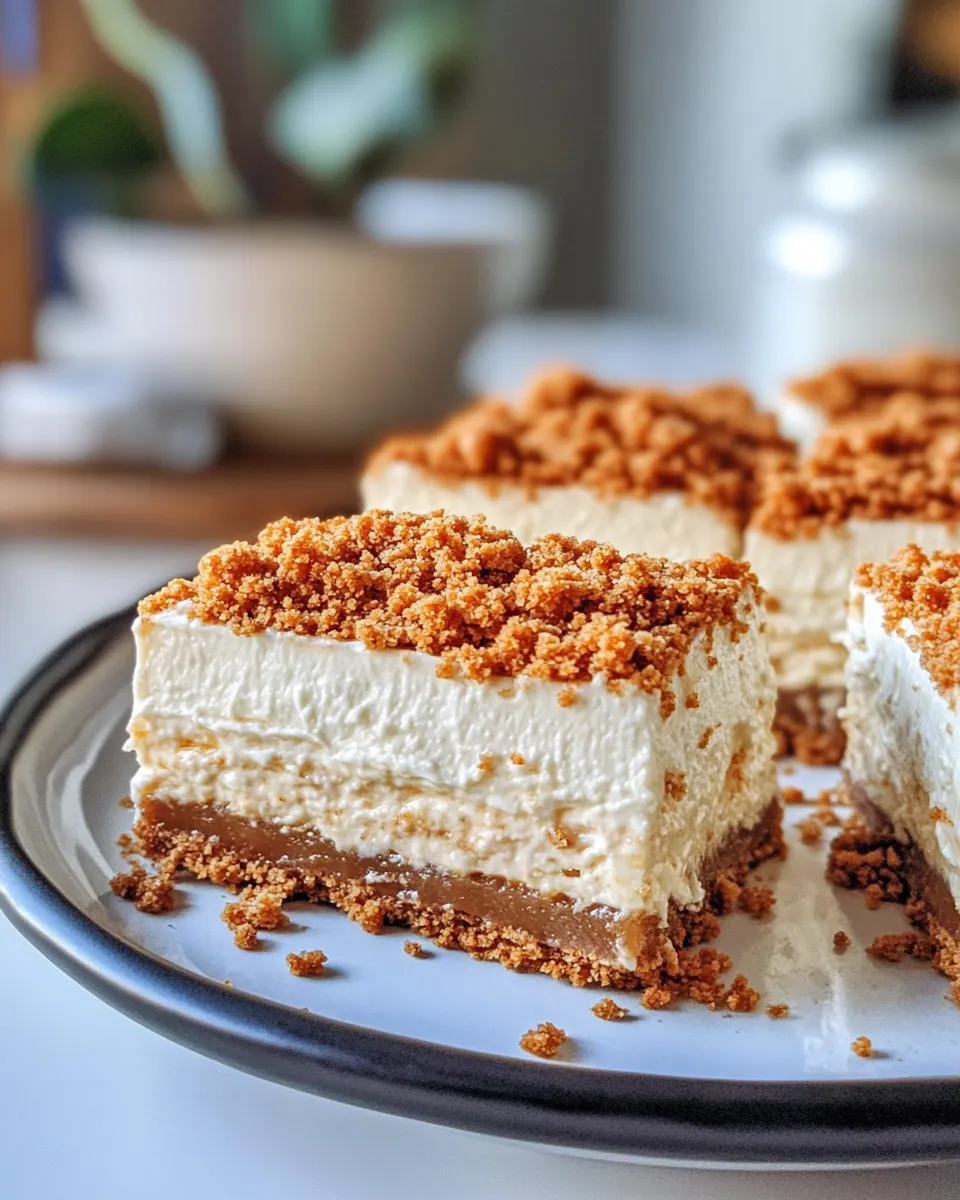
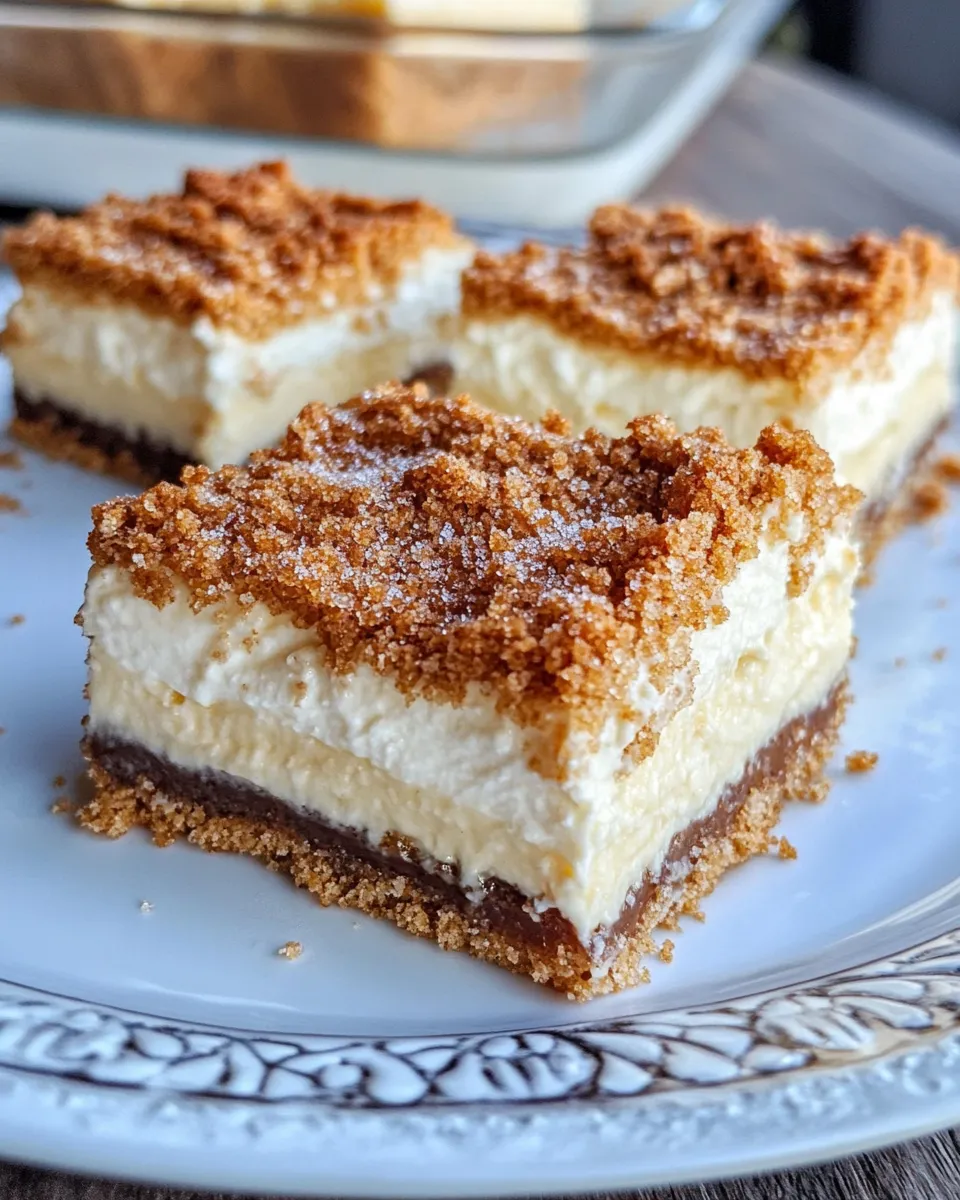
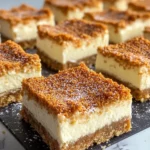
These cheesecake bars are my go-to when I want the creamy tang of cheesecake but in a format that’s simple to share. They have a sturdy graham cracker crust and a lemon-bright, lightly set filling that slices cleanly after a long chill. No water baths, no fuss—just straightforward baking and patience.
I love that the recipe is predictable: the crust bakes quickly, the filling comes together in one bowl, and the oven does the rest. If you follow the steps and give the bars a proper chill, you’ll get thin, even slices that hold their shape without cracking. They’re perfect for potlucks, weeknight dessert, or a small celebration.
Below you’ll find the ingredient lineup, exact method, troubleshooting tips, and ways to adapt these bars for holidays or a last-minute twist. Read through the timeline and storage notes before you start so the timing fits your plans.
The Ingredient Lineup
- 1¼ cups graham cracker crumbs, from 10 whole crackers — the structural base; press firmly for a stable crust.
- 4 tablespoons unsalted butter, melted — binds the crumbs and adds richness; use melted and warm so it mixes evenly.
- ¼ cup (packed) dark brown sugar — adds depth and a touch of molasses flavor to the crust.
- ⅛ teaspoon salt — balances the sweetness in the crust.
- 16 oz (two 8-oz packages) cream cheese, at room temperature — the star ingredient; room temperature prevents lumps in the filling.
- 1 cup granulated sugar — sweetens the filling; measure level for consistent texture.
- 1½ tablespoons all-purpose flour — stabilizes the filling and helps prevent cracks.
- ¼ cup sour cream — adds creaminess and a subtle tang to the filling.
- 3 large eggs — provide structure; add them one at a time for even mixing.
- 2½ teaspoons vanilla extract — rounds out the flavor; pure vanilla is best when you can.
- ½ teaspoon (packed) freshly grated lemon zest, from 1 lemon — brightens the filling; zest, don’t juice, for concentrated citrus aroma.
- 1 teaspoon lemon juice — adds a hint of acidity to balance the richness.
- ⅛ teaspoon salt — a small amount in the filling to enhance flavors.
The Method for Cheesecake Bars
- Preheat the oven to 375°F (190°C) and place a rack in the middle position. Line an 8-inch (20-cm) baking dish with heavy-duty aluminum foil so there is an overhang on at least two opposite sides; spray the foil lightly with nonstick cooking spray.
- Make the crust: In a medium bowl, stir together 1¼ cups graham cracker crumbs, 4 tablespoons melted unsalted butter, ¼ cup packed dark brown sugar, and 1/8 teaspoon salt until evenly combined and no lumps of brown sugar remain. Press the mixture firmly into the bottom of the prepared pan and about 1 inch (2.5 cm) up the sides. Bake the crust for 10 minutes, until set. Remove from the oven and set aside. Reduce the oven temperature to 325°F (165°C).
- Make the filling: In the bowl of an electric mixer fitted with the paddle attachment (or using beaters), beat 16 oz cream cheese, 1 cup granulated sugar, and 1½ tablespoons all-purpose flour on medium speed until just smooth, about 1 minute. Add ¼ cup sour cream, 3 large eggs, 2½ teaspoons vanilla extract, ½ teaspoon packed freshly grated lemon zest, from 1 lemon, 1 teaspoon lemon juice, and 1/8 teaspoon salt. Beat on low speed until just combined, about 1 minute, scraping the bowl and paddle once. Do not overmix.
- Assemble and bake: Pour the filling into the slightly cooled crust and smooth the top. Confirm the oven has reached 325°F (165°C), then bake for 40 to 45 minutes, until the filling is set at the edges but still a little jiggly in the center. An instant-read thermometer inserted about 1 inch (2.5 cm) in from the edge should read 180° to 190°F (82° to 88°C).
- Cool and chill: Remove the pan from the oven and let the cheesecake bars cool at room temperature for 30 minutes. Refrigerate until fully cold, at least 6 hours and preferably overnight.
- Serve: Use the foil overhang to lift the cheesecake out of the pan and place it on a cutting board. Cut into squares, wiping the knife clean with a damp cloth between slices. Keep the bars refrigerated until ready to serve.
Why This Recipe is a Keeper

It hits the balance most of us want from a cheesecake: creamy but not too dense, zesty without being sour, and easy to slice. The graham crust is thin yet firm, giving the bars structure without stealing the show. The method keeps steps simple—no complicated water baths or specialty equipment—so it’s approachable whether you’re making dessert for guests or just a family treat.
The ingredient list is short and pantry-friendly. If you keep cream cheese, eggs, and a lemon on hand, you can pull this together quickly. And because the filling is lightly flavored, it plays nicely with toppings or seasonal tweaks without losing its identity.
Easy Ingredient Swaps
- Graham cracker crumbs: Substitute with crushed digestive biscuits, vanilla wafers, or a mix of crushed cookies for a different flavor profile.
- Unsalted butter: Use salted butter if that’s what you have—reduce or omit added salt in the filling if you do.
- Dark brown sugar: Light brown sugar will work, but dark brings more caramel notes.
- Sour cream: Plain Greek yogurt is a fine swap; it gives similar tang and creaminess.
- Lemon zest & juice: Swap lemon for orange zest and a splash of orange juice for a milder, sweeter citrus note.
Before You Start: Equipment
- 8-inch (20-cm) baking dish lined with heavy-duty foil and nonstick spray — the foil overhang makes removing the bars easy.
- Electric mixer with paddle attachment or hand beaters — ensures a smooth, lump-free filling.
- Medium mixing bowl for the crust — simple stirring is all that’s required.
- Instant-read thermometer — helpful to confirm doneness (180°–190°F at 1 inch from edge).
- Sharp knife and damp cloth — for clean slices when cutting the chilled bars.
Avoid These Traps
Overmixing the filling is the most common mistake. Beat just until ingredients are combined and smooth. Overworking the batter incorporates too much air, which can cause cracks or a puffy texture that collapses when cooling.
Don’t skip the chill. The recipe requires at least 6 hours in the refrigerator. Attempting to cut or serve while the center is warm will ruin the clean edges and the bars will be too soft.
Watch oven temperature. The crust bakes briefly at 375°F, then the oven is reduced to 325°F for the filling. Make sure the oven has truly come down before you bake the filling—otherwise the surface can bake too quickly while the center stays underdone.
Holiday & Seasonal Touches
These bars are a canvas. For a festive edge, top with a cranberry compote for winter holidays or a thin layer of fruit curd in spring. Fresh berries and a dusting of powdered sugar are lovely in summer. For autumn, fold in a pinch of cinnamon and swap lemon zest for orange zest to lean into warmer citrus notes.
If you want a decorative finish without altering texture, pipe a small whipped cream rosette on each square just before serving or scatter toasted nuts for crunch.
Testing Timeline
Plan at least a full day when you can. Here’s a reliable schedule:
- Day 1 morning or afternoon: Make crust and filling, bake, then start the 30-minute cool on the counter before chilling.
- Chill: Refrigerate for at least 6 hours; overnight is best for firm slices and cleaner cuts.
- Day 2: Slice and serve. If transporting, keep bars chilled until serving time and place them on a cold surface or insulated carrier.
Prep Ahead & Store
You can fully bake the bars and keep them refrigerated for up to 3–4 days. Store in an airtight container to prevent any off-fridge flavors. For longer storage, freeze the whole slab wrapped tightly in plastic and foil for up to 1 month. Thaw in the refrigerator overnight before slicing.
If you plan to decorate, wait until just before serving to add fresh fruit, whipped cream, or toasted toppings so they remain vibrant and fresh.
Your Questions, Answered
Can I make this gluten-free?
Yes. Swap the graham crumbs for certified gluten-free graham crackers or finely ground gluten-free cookies. Ensure any other packaged ingredients you use are labeled gluten-free.
Why is my filling still jiggly after baking?
A little jiggle in the center is expected. The center continues to set as it cools. If the edges are set and the thermometer reads 180°–190°F near the edge, follow the cooling and chilling steps and it will firm up.
Can I use low-fat cream cheese or sour cream?
You can, but expect a slightly different texture—lower fat can lead to a less rich, potentially grainier filling. Full-fat yields the creamiest, most stable result.
Bring It to the Table
To serve, lift the chilled slab from the pan using the foil overhang and set it on a cutting board. Use a sharp knife dipped in hot water and wiped dry between cuts for the cleanest edges. Arrange squares on a platter and keep them chilled until serving time. Add a final flourish of fresh fruit, a drizzle of fruit sauce, or simply a light dusting of powdered sugar.
These bars travel well and are crowd-pleasers. Make them the day before your event for stress-free presentation and reliably perfect slices. Enjoy the creamy, bright simplicity—and please let me know if you try a flavor variation that becomes your new favorite.
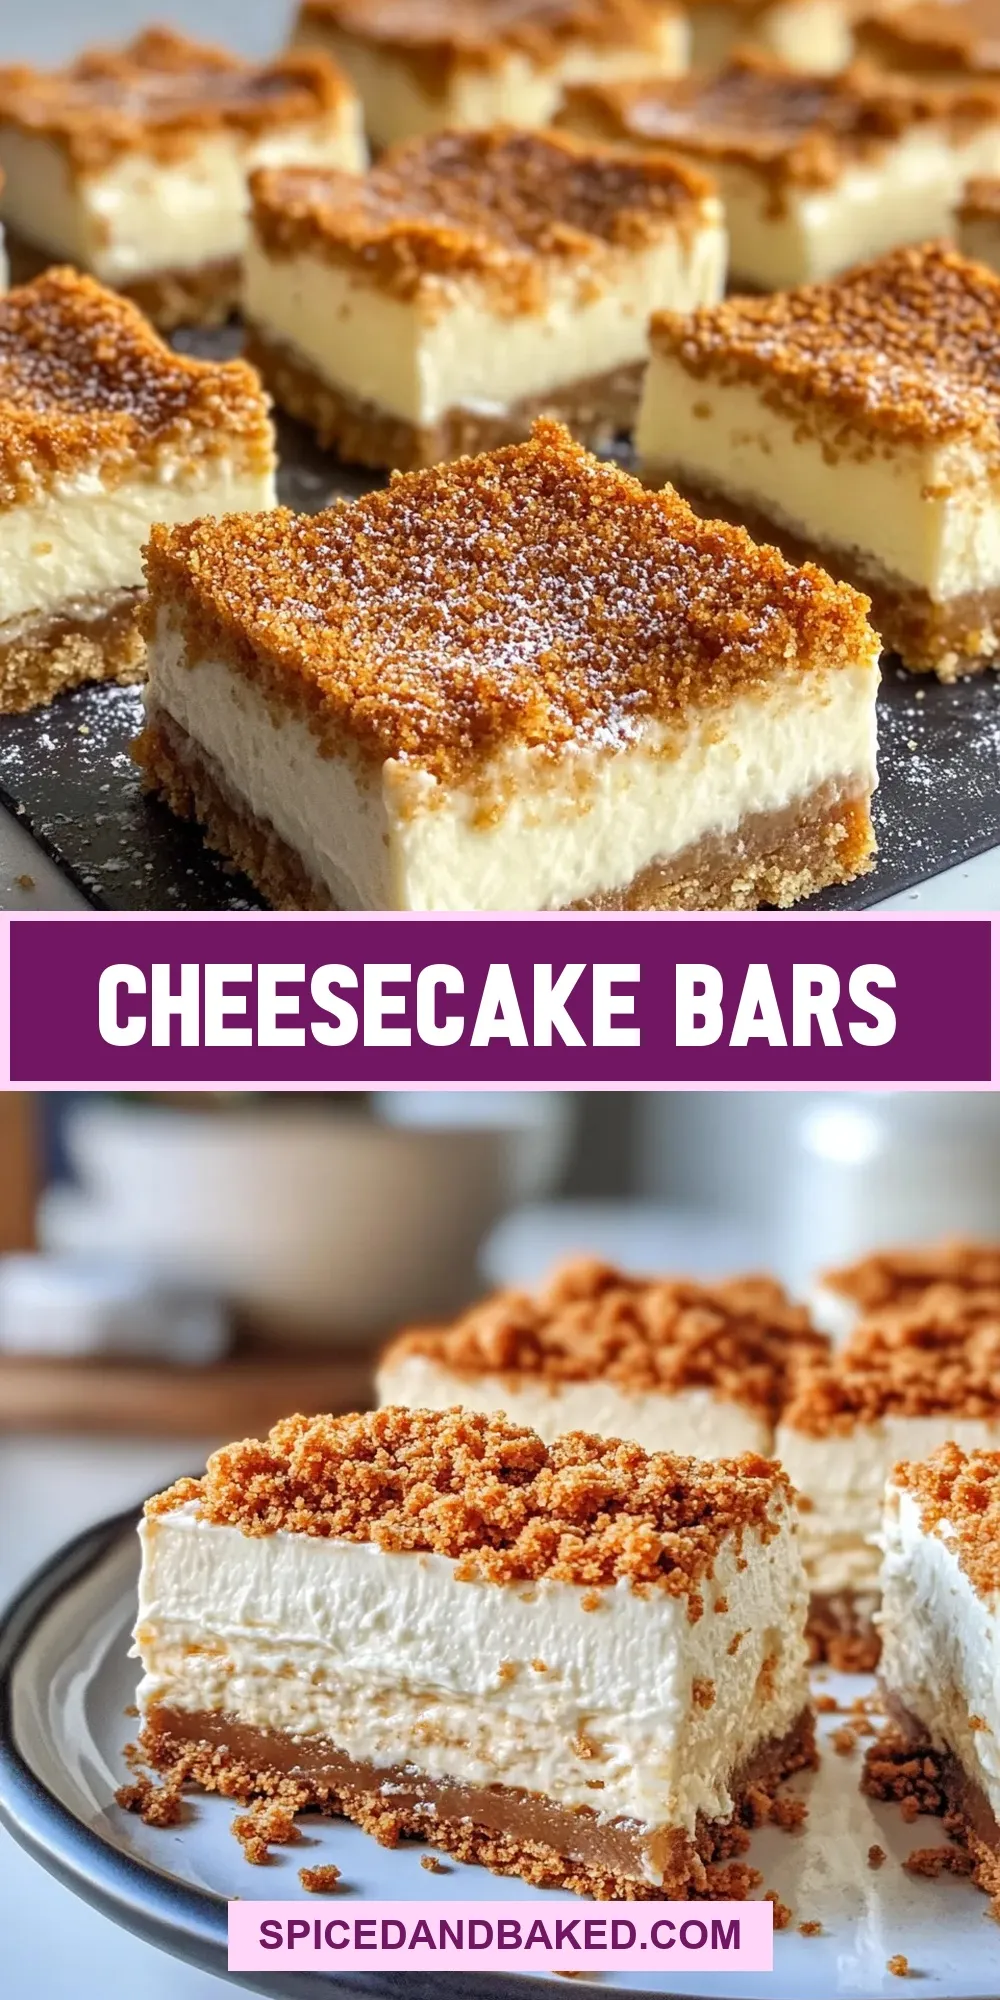
Cheesecake Bars
Ingredients
Ingredients
- 1 1/4 cupsgraham cracker crumbs from 10 whole crackers
- 4 tablespoonsunsalted butter melted
- 1/4 cup packed dark brown sugar
- 1/8 teaspoonsalt
- 16 oz two 8-oz packages cream cheese, at room temperature
- 1 cupgranulated sugar
- 1 1/2 tablespoonsall-purpose flour
- 1/4 cupsour cream
- 3 large eggs
- 2 1/2 teaspoonsvanilla extract
- 1/2 teaspoonpacked freshly grated lemon zest from 1 lemon
- 1 teaspoonlemon juice
- 1/8 teaspoonsalt
Instructions
Instructions
- Preheat the oven to 375°F (190°C) and place a rack in the middle position. Line an 8-inch (20-cm) baking dish with heavy-duty aluminum foil so there is an overhang on at least two opposite sides; spray the foil lightly with nonstick cooking spray.
- Make the crust: In a medium bowl, stir together 1¼ cups graham cracker crumbs, 4 tablespoons melted unsalted butter, ¼ cup packed dark brown sugar, and 1/8 teaspoon salt until evenly combined and no lumps of brown sugar remain. Press the mixture firmly into the bottom of the prepared pan and about 1 inch (2.5 cm) up the sides. Bake the crust for 10 minutes, until set. Remove from the oven and set aside. Reduce the oven temperature to 325°F (165°C).
- Make the filling: In the bowl of an electric mixer fitted with the paddle attachment (or using beaters), beat 16 oz cream cheese, 1 cup granulated sugar, and 1½ tablespoons all-purpose flour on medium speed until just smooth, about 1 minute. Add ¼ cup sour cream, 3 large eggs, 2½ teaspoons vanilla extract, ½ teaspoon packed freshly grated lemon zest, 1 teaspoon lemon juice, and 1/8 teaspoon salt. Beat on low speed until just combined, about 1 minute, scraping the bowl and paddle once. Do not overmix.
- Assemble and bake: Pour the filling into the slightly cooled crust and smooth the top. Confirm the oven has reached 325°F (165°C), then bake for 40 to 45 minutes, until the filling is set at the edges but still a little jiggly in the center. An instant-read thermometer inserted about 1 inch (2.5 cm) in from the edge should read 180° to 190°F (82° to 88°C).
- Cool and chill: Remove the pan from the oven and let the cheesecake bars cool at room temperature for 30 minutes. Refrigerate until fully cold, at least 6 hours and preferably overnight.
- Serve: Use the foil overhang to lift the cheesecake out of the pan and place it on a cutting board. Cut into squares, wiping the knife clean with a damp cloth between slices. Keep the bars refrigerated until ready to serve.
Equipment
- 8-inch (20-cm) baking dish
- heavy-duty aluminum foil
- nonstick cooking spray
- Mixing Bowl
- electric mixer (or beaters)
- Instant-read thermometer
Notes
Make-Ahead/Freezing Instructions:
The cheesecake bars can be made up to 3 days ahead and stored in the refrigerator or
frozen for up to 3 months. To freeze, place the cooled cheesecake (cut or uncut) on a plate and freeze, uncovered, until firm. Remove the cheesecake from the freezer, wrap it in heavy-duty aluminum foil, and place in a freezer bag. Seal and return to freezer for up to 3 months. Remove the foil before defrosting.