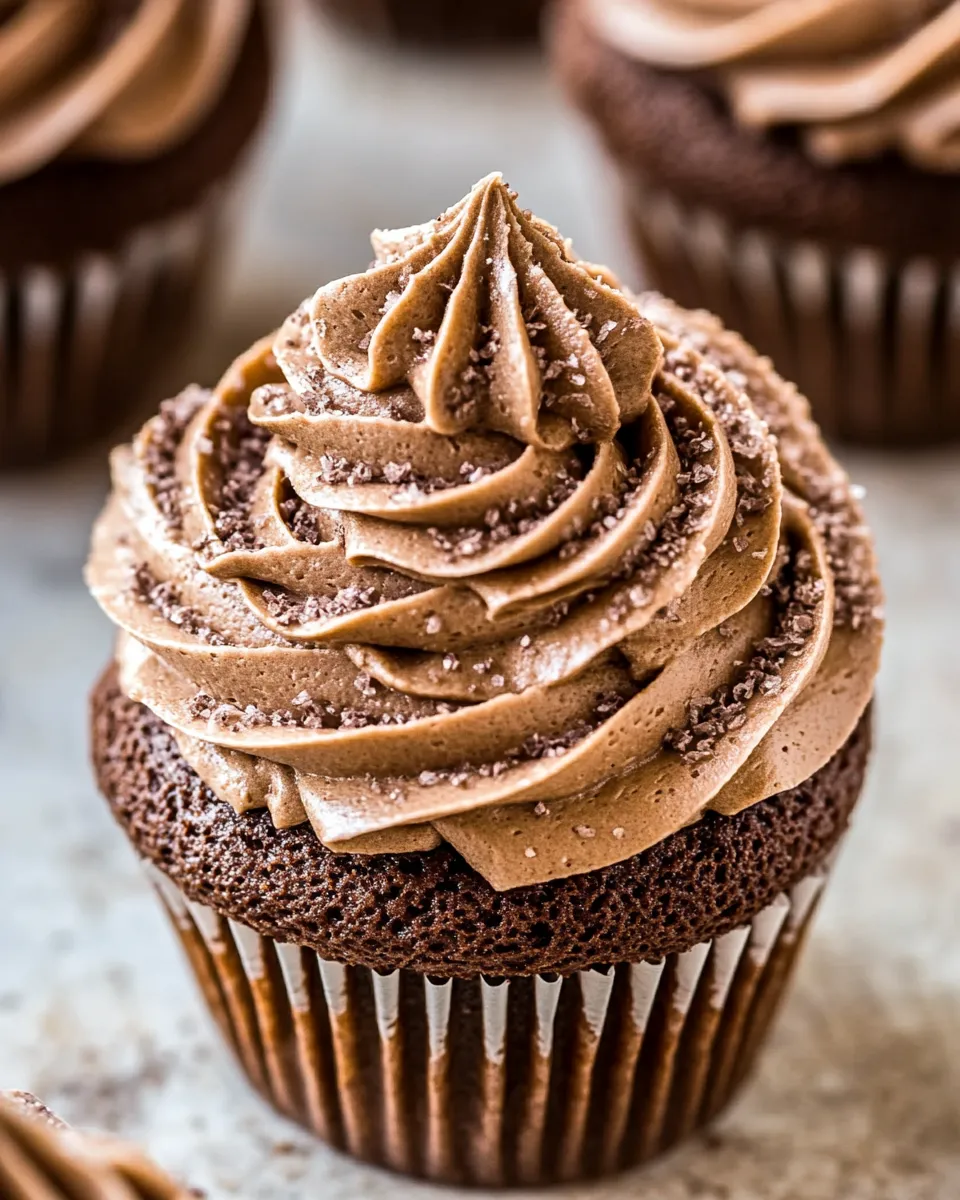
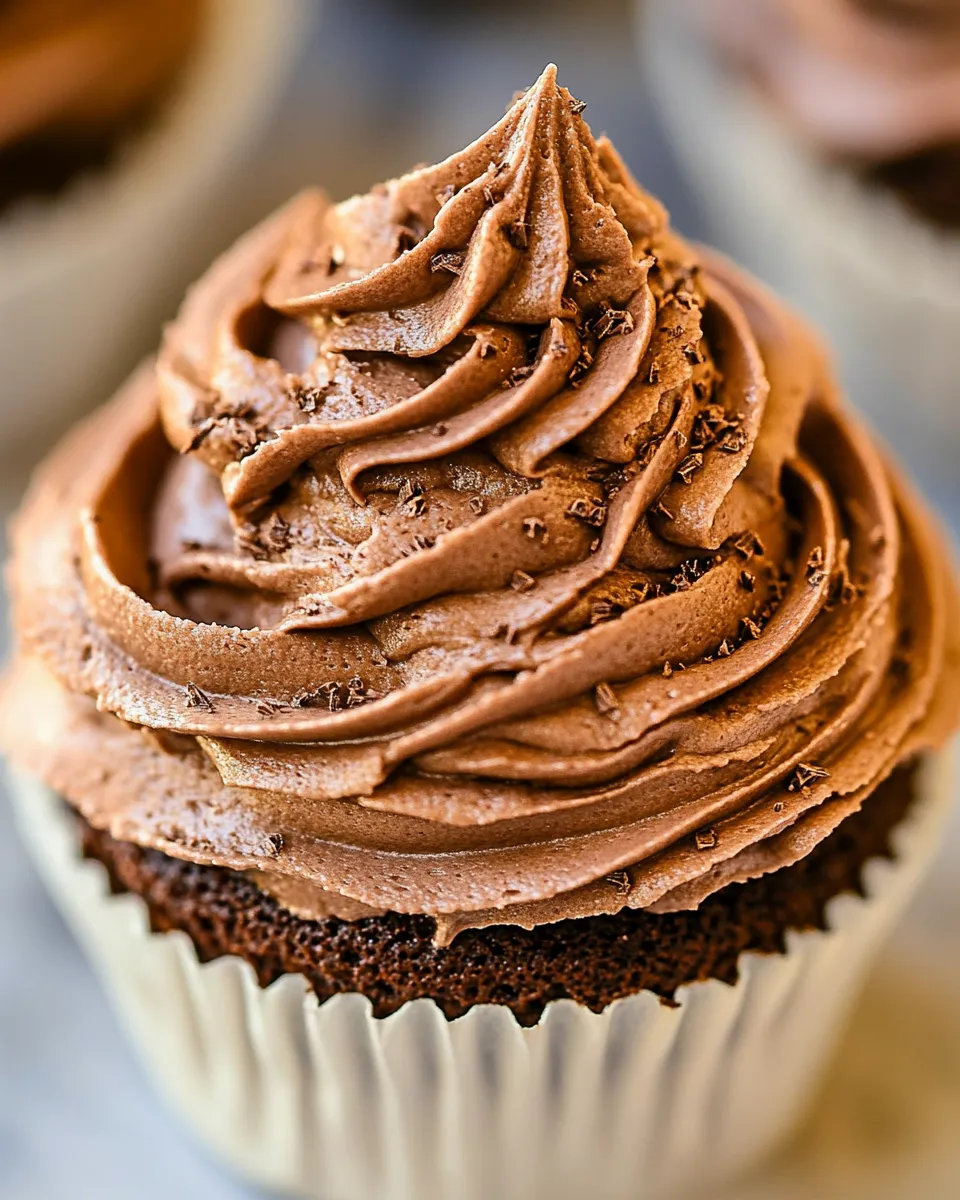
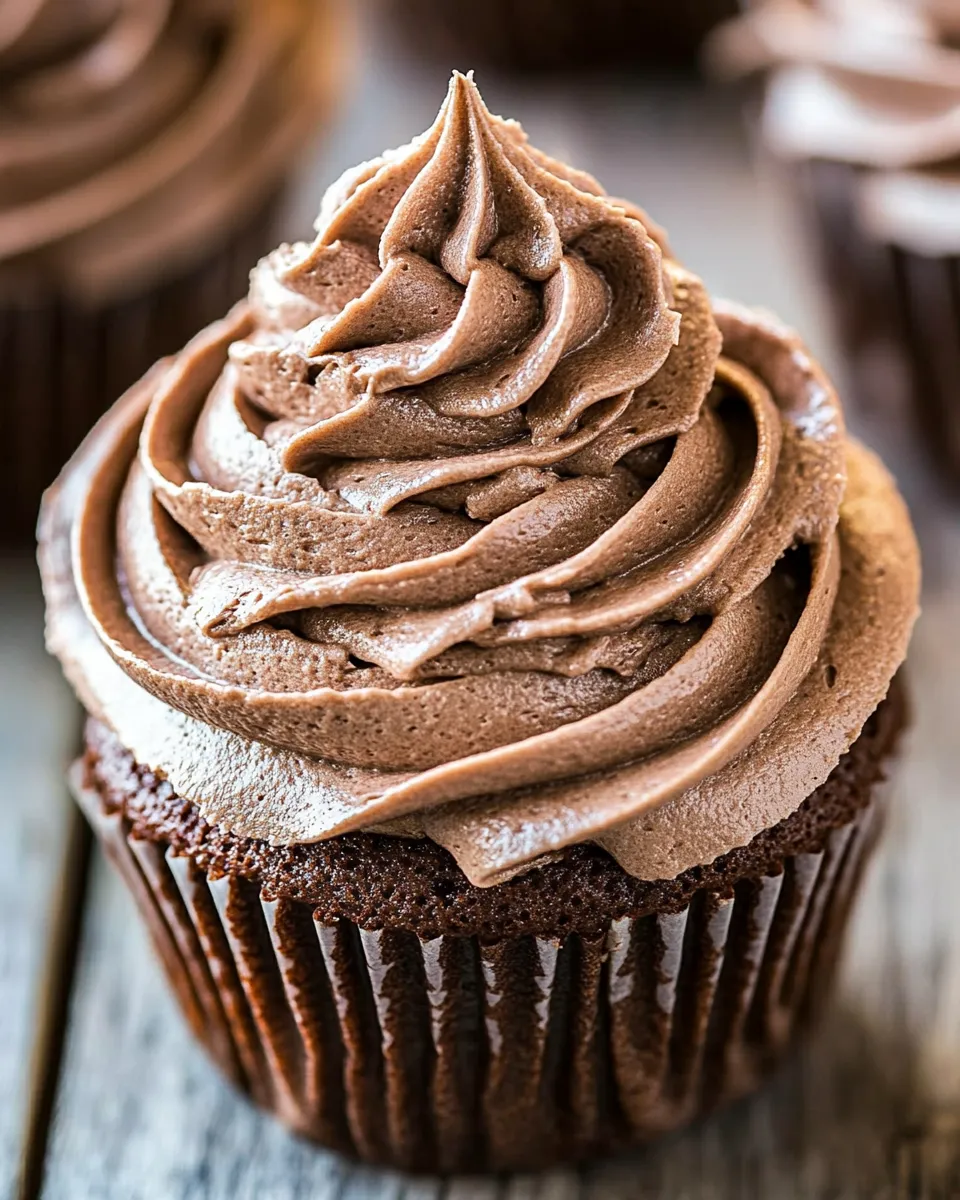
I’m going to keep this short and useful: this is the chocolate buttercream I reach for when I need a reliable, smooth, crowd-pleasing frosting. It’s rich but not cloying, spreadable but stable, and forgiving if you need to tweak consistency at the end. You’ll find measurements and techniques below that make it fast to pull together, even on weeknights.
There are no tricky steps—this recipe relies on simple ingredients and a mixer doing most of the work. I’ve written practical notes throughout so you can adjust for piping, spreading, or filling. If you’re frosting a cake, cupcakes, or batch-baking to stock the freezer, you’ll get the consistency you want with a couple of small adjustments.
Read the shopping notes, follow the step-by-step directions, and use the storage and troubleshooting tips at the end. This post is meant to help you finish with a glossy, fluffy buttercream that tastes like chocolate without tasting powdered-sugar flat.
Your Shopping Guide
Before you start, gather everything you need—ingredients and tools. Buying the right staples (fresh butter, unsweetened cocoa) will save time and keep the frosting tasting bright. You don’t need fancy chocolate here; unsweetened cocoa powder provides a clean chocolate note and better control over sweetness than melted chocolate.
Measure as you go and have your mixer ready. If you plan to pipe decorations, consider buying extra butter and powdered sugar to make a double batch so you have more room for fiddly work. Otherwise, this single batch is perfect for spreading or filling.
Ingredients
- ½ cup (40 g) unsweetened cocoa powder — provides the chocolate flavor; sifted for smoothness.
- 3 ½ cups (396 g) powdered sugar — sweetens and stabilizes the frosting; sifted with the cocoa to avoid lumps.
- 1 cup (226 g) unsalted butter, softened — the base for structure and mouthfeel; use fully softened, not melted.
- ¼ teaspoon salt — balances sweetness and enhances chocolate flavor.
- 1 teaspoon vanilla extract — rounds out flavor; pure vanilla is best if you have it.
- 2–3 tablespoons (30–45 ml) heavy whipping cream — thins and lightens the buttercream; add toward the end to reach spreading or piping consistency.
Cook Chocolate Buttercream Frosting Like This
- Place ½ cup (40 g) unsweetened cocoa powder, 3 ½ cups (396 g) powdered sugar, and ¼ teaspoon salt in a large bowl. Sift the cocoa powder into the powdered sugar, then whisk the dry ingredients together until evenly combined.
- Put 1 cup (226 g) softened unsalted butter in the bowl of a stand mixer or in a large mixing bowl if using a hand mixer. Beat the butter on medium speed until smooth and creamy. Scrape down the sides and bottom of the bowl.
- Add the cocoa/powdered sugar mixture to the butter in 2–3 additions. Mix on low speed after each addition until the mixture becomes crumbly. Scrape down the sides of the bowl as needed.
- Add 1 teaspoon vanilla extract and 2 tablespoons (30 ml) heavy whipping cream to the bowl. Increase mixer speed to medium–high and beat until the frosting is smooth and fluffy and reaches your desired spreading consistency. Scrape the bowl once or twice while mixing.
- If the frosting is still too stiff or crumbly, add up to 1 more tablespoon (15 ml) heavy whipping cream (for a total of 2–3 tablespoons / 30–45 ml). Add the extra cream 1 teaspoon at a time, beating briefly after each addition, until the frosting is the consistency you want.
- Use the frosting to frost one 9×13-inch cake, a 9-inch layer cake, or about 24 cupcakes. If you need extra frosting for decorating, make a double batch.
- To store: refrigerate the frosting in an airtight container for up to 3 days. Bring it to room temperature before using and re-whip briefly; you may need to add a little cream to thin if necessary.
- To freeze: freeze the frosting for up to 1 month in an airtight container. Thaw in the refrigerator, then bring to room temperature and re-whip before using.
Top Reasons to Make Chocolate Buttercream Frosting
- Reliable texture — It’s forgiving: a little extra cream or a short re-whip fixes most consistency issues.
- Pure chocolate flavor — Cocoa powder gives a clean, familiar chocolate without the heaviness of melted chocolate.
- Versatile uses — Spread it, pipe borders, fill layers, or mound it on cupcakes.
- Scales well — Double or triple the recipe when you need more for elaborate decorating.
- Easy pantry ingredients — You probably have everything on hand or can pick it up at any grocery store.
Low-Carb/Keto Alternatives
A classic powdered-sugar buttercream uses a large amount of powdered sugar, which is high in carbs. If you need a lower-carb version, here are practical alternatives. Keep in mind changing sweeteners affects texture and stability.
- Use erythritol-based powdered sweetener designed for baking. It can behave differently; start with less and adjust texture with extra cream or butter.
- Consider a sugar-free chocolate ganache (heavy cream + unsweetened chocolate) as an alternative filling or glaze. It’s lower in sugar and provides a glossy finish, though it won’t have the same stiff, pipeable structure as this buttercream.
- Swap some butter for cream cheese to reduce sweetness perception, but remember cream cheese brings tang and softer structure; keep it chilled and use for spreading rather than delicate piping.
What’s in the Gear List
- Stand mixer or hand mixer — required for the creaming and achieving a smooth, airy texture.
- Large mixing bowls — for sifting and combining dry ingredients, and for the butter when using a hand mixer.
- Sifter or fine mesh sieve — to sift the cocoa into the powdered sugar and avoid lumps.
- Rubber spatula — for scraping the bowl clean and folding as needed.
- Measuring cups and spoons and a kitchen scale (optional) — scale gives the most consistent results, especially with powdered sugar.
- Airtight containers — for refrigerating or freezing leftover frosting.
What Not to Do
- Don’t use melted butter — it will make the frosting loose and greasy. Use softened, not liquid, butter.
- Don’t skip sifting the cocoa into the powdered sugar — lumps will cause gritty spots in the finished frosting.
- Don’t add too much liquid at once. If the frosting is stiff, add cream 1 teaspoon at a time until you hit the right spreadability.
- Don’t try to over-crank the mixer when the powdered sugar is still dry; mix on low until the dry mix integrates to avoid a powdered cloud.
- Don’t warm a chilled frosting in the microwave: bring it to room temperature and re-whip to avoid separating.
Make It Year-Round
This frosting travels well across seasons. In summer, keep frosted cakes chilled until an hour before serving, especially if they contain perishable fillings or are going to be transported. In winter, a room-temperature kitchen makes whipping easier—if your butter is too cold, let it soften just enough to become easily beatable.
For summer gatherings: refrigerate the frosted cake and remove it an hour before serving so the texture softens. For holiday desserts: consider making frosting a day ahead and storing it chilled; then re-whip briefly before final use to restore loftiness.
Testing Timeline
- Day 0, 0:00 — Pull butter from fridge to soften if needed (about 30–60 minutes, depending on room temperature).
- Day 0, 0:30 — Sift dry ingredients and cream butter (10 minutes prep and mixing).
- Day 0, 0:40 — Combine dry and wet ingredients, adjust cream to desired consistency (5–10 minutes).
- Day 0, 1:00 — Frost cake or cupcakes; if decorating, allow time for piping practice and adjustments (30–60 minutes).
- Storage — Refrigerate up to 3 days or freeze up to 1 month. When ready to use, thaw in refrigerator, bring to room temperature, and re-whip (5–10 minutes).
Prep Ahead & Store
Short-term (Refrigerator)
Refrigerate the frosting in an airtight container for up to 3 days. Before using, bring it to room temperature and re-whip briefly. If it’s a touch stiff after warming, add a teaspoon or two of cream and beat until smooth.
Long-term (Freezer)
Freeze the frosting for up to 1 month in an airtight container. Thaw in the refrigerator overnight. After thawing, bring to room temperature and re-whip to restore airflow. Add a teaspoon of cream if it seems a little dry.
Chocolate Buttercream Frosting FAQs
Can I make this frosting without a mixer? You can, but it’s much harder to get a light, airy texture by hand. A sturdy whisk and some elbow grease will work for small quantities, but I strongly recommend a handheld or stand mixer for best results.
Why is my frosting grainy? Usually because the powdered sugar or cocoa wasn’t sifted, or the sugar hasn’t fully incorporated. Beat longer on medium speed and scrape the bowl. If graininess persists, try warming the frosting slightly and re-whipping, but be careful not to melt the butter.
How do I make the frosting stiffer for piping? Chill the frosting briefly (10–15 minutes) and then re-whip. You can also reduce the cream slightly—stay within the 2–3 tablespoon range and add less for stiffer results.
Can I use salted butter? It’s better to use unsalted butter so you can control the salt level precisely. If you only have salted butter, omit the added ¼ teaspoon salt and taste as you go.
Will this frosting hold up in warm weather? It’s butter-based, so it softens in heat. Keep frosted items chilled until serving and avoid leaving them in direct sun. For hot climates or outdoor events, consider a stabilizer (like shortening added to part of the butter) or use a chocolate ganache instead.
Next Steps
Now that you have reliable instructions and troubleshooting notes, pick the project: a simple 9-inch layer cake, a tray of cupcakes, or a sheet cake for a crowd. If you want to decorate, practice piping swirls on parchment before committing to the cake. For more chocolate variation, try adding a tablespoon of espresso powder dissolved in the cream to deepen the chocolate flavor without making it taste like coffee.
Bookmark this page or print the ingredient list before you start. The frosting is straightforward, forgiving, and versatile—once you’ve made it once, you’ll have a go-to method for countless celebrations. Happy frosting!
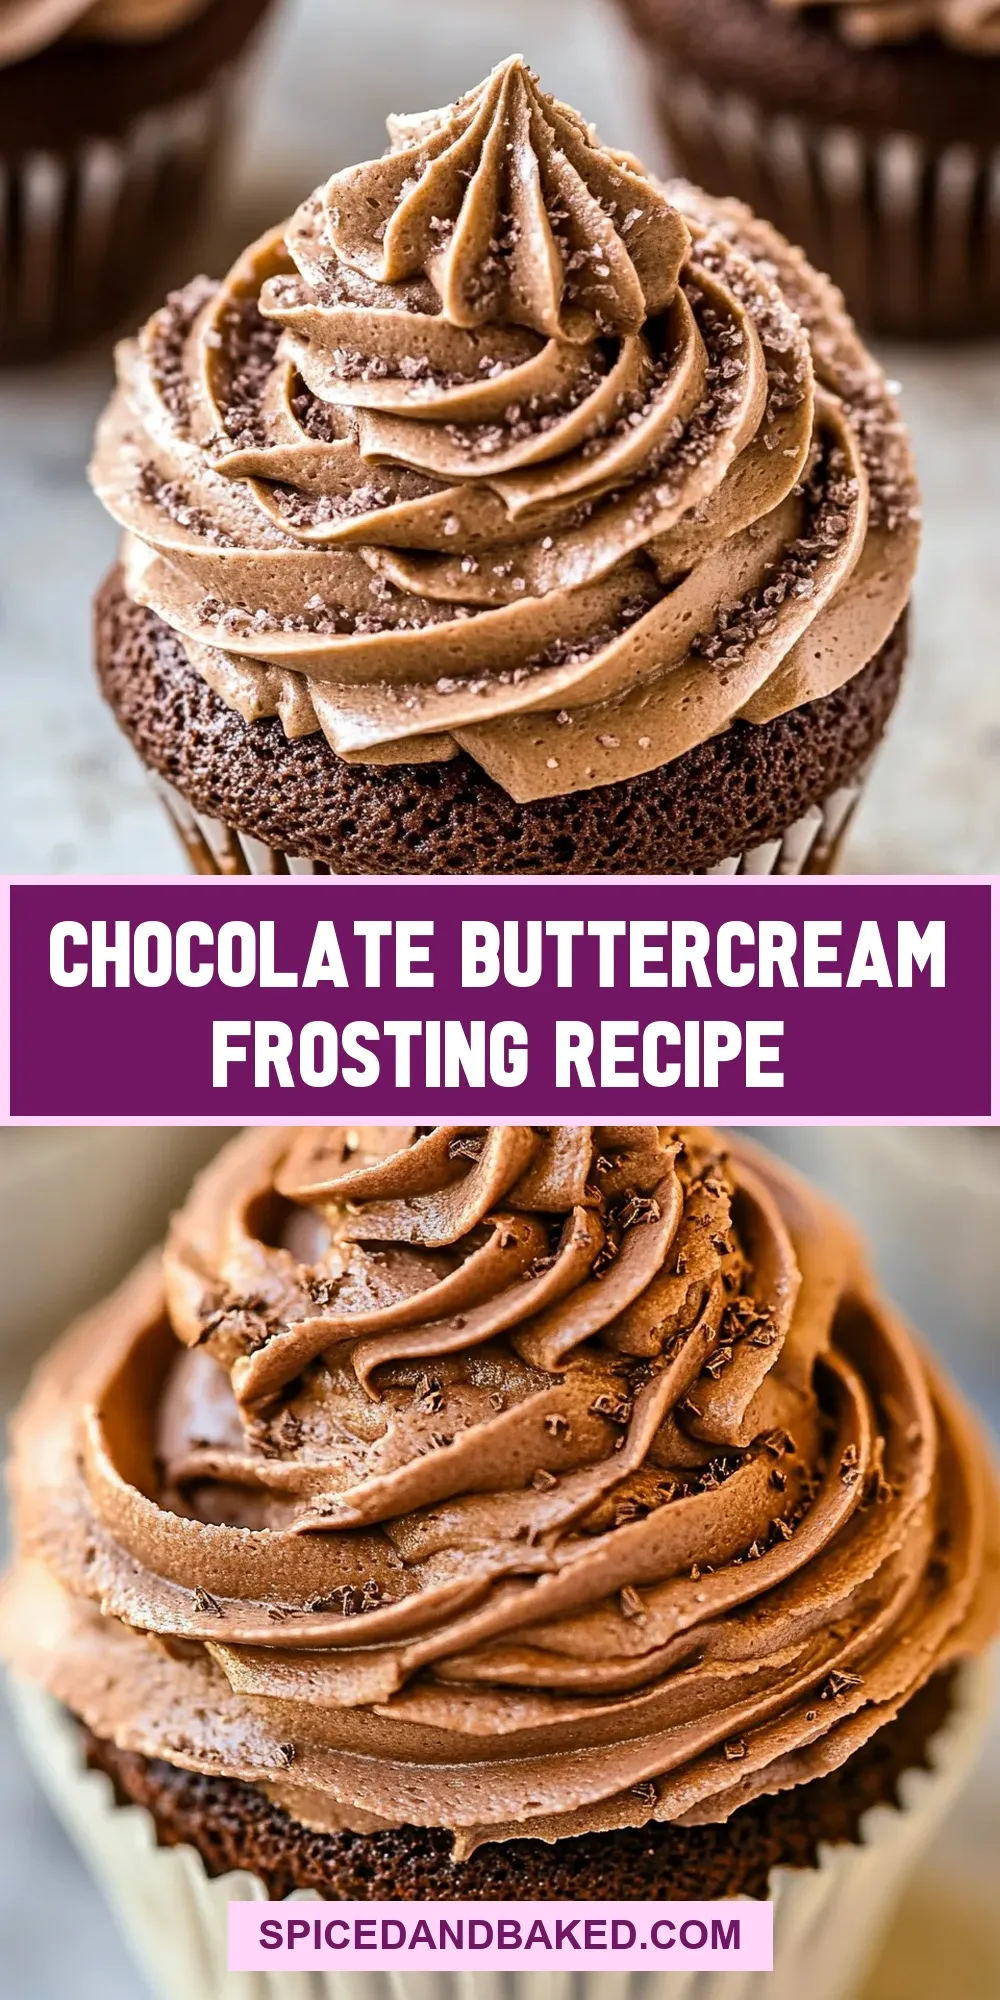
Chocolate Buttercream Frosting Recipe
Ingredients
Ingredients
- 1/2 cup 40 g unsweetened cocoa powder
- 3 1/2 cups 396 g powdered sugar
- 1 cup 226 g unsalted buttersoftened
- 1/4 teaspoonsalt
- 1 teaspoonvanilla extract
- 2-3 tablespoons 30-45 ml heavy whipping cream
Instructions
Instructions
- Place ½ cup (40 g) unsweetened cocoa powder, 3 ½ cups (396 g) powdered sugar, and ¼ teaspoon salt in a large bowl. Sift the cocoa powder into the powdered sugar, then whisk the dry ingredients together until evenly combined.
- Put 1 cup (226 g) softened unsalted butter in the bowl of a stand mixer or in a large mixing bowl if using a hand mixer. Beat the butter on medium speed until smooth and creamy. Scrape down the sides and bottom of the bowl.
- Add the cocoa/powdered sugar mixture to the butter in 2–3 additions. Mix on low speed after each addition until the mixture becomes crumbly. Scrape down the sides of the bowl as needed.
- Add 1 teaspoon vanilla extract and 2 tablespoons (30 ml) heavy whipping cream to the bowl. Increase mixer speed to medium–high and beat until the frosting is smooth and fluffy and reaches your desired spreading consistency. Scrape the bowl once or twice while mixing.
- If the frosting is still too stiff or crumbly, add up to 1 more tablespoon (15 ml) heavy whipping cream (for a total of 2–3 tablespoons / 30–45 ml). Add the extra cream 1 teaspoon at a time, beating briefly after each addition, until the frosting is the consistency you want.
- Use the frosting to frost one 9×13-inch cake, a 9-inch layer cake, or about 24 cupcakes. If you need extra frosting for decorating, make a double batch.
- To store: refrigerate the frosting in an airtight container for up to 3 days. Bring it to room temperature before using and re-whip briefly; you may need to add a little cream to thin if necessary.
- To freeze: freeze the frosting for up to 1 month in an airtight container. Thaw in the refrigerator, then bring to room temperature and re-whip before using.
Equipment
- Stand mixer
- Hand Mixer
- Large Mixing Bowl
- Sifter
- Whisk
- Rubber spatula
Notes
In place of heavy whipping cream you can use whipping cream, half and half, milk, or nonfat milk but the less fat in the milk the thinner the frosting will be, so use less. You can also use Vegan Butter Sticks with nondairy milk to make vegan frosting.
In step 2, a hand mixer will yield a very dry crumbly mixture before you add the cream. A stand mixer will mix it a bit more.
Make sure your butter is perfectly softened – it should be soft but not melty (your finger should slightly indent into the stick but not easily push into it).