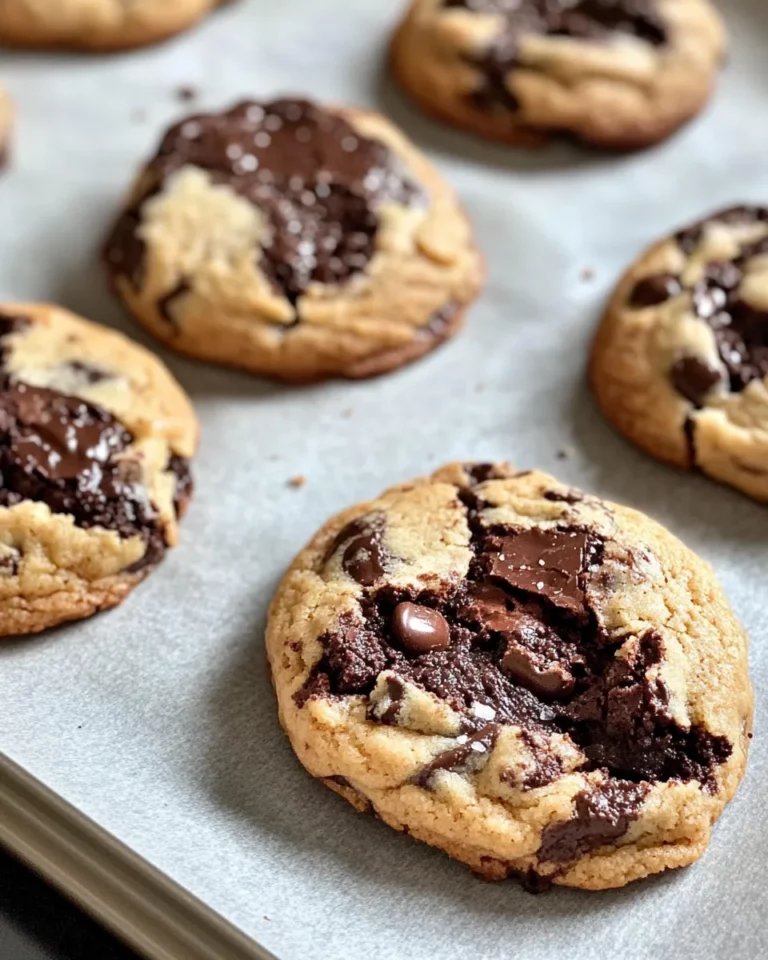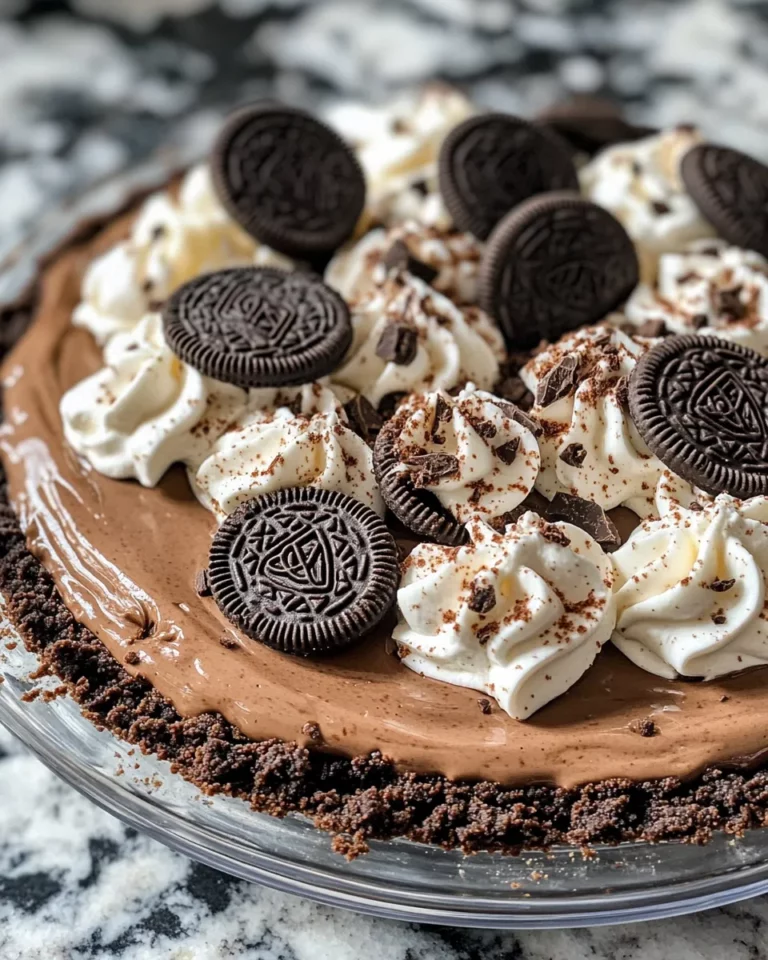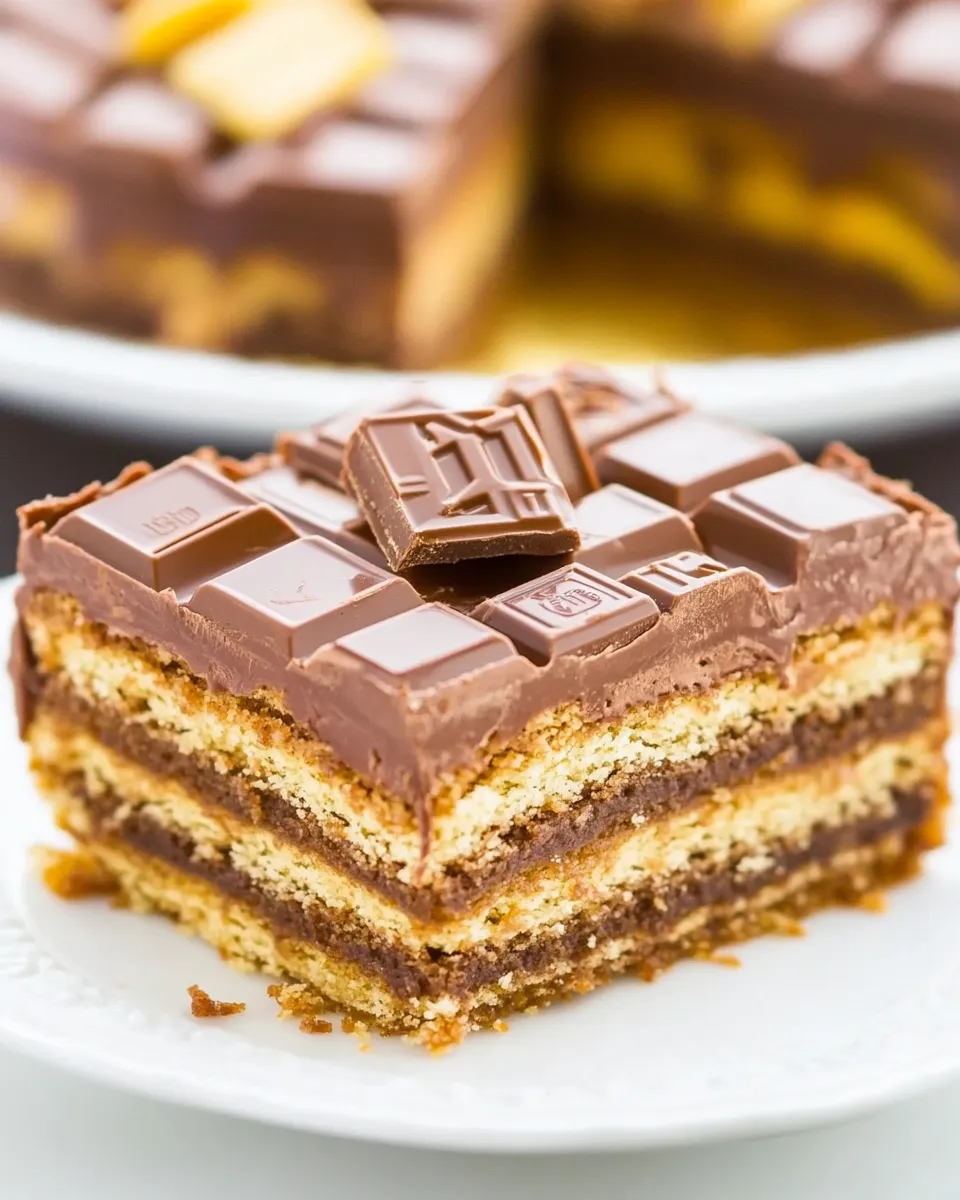
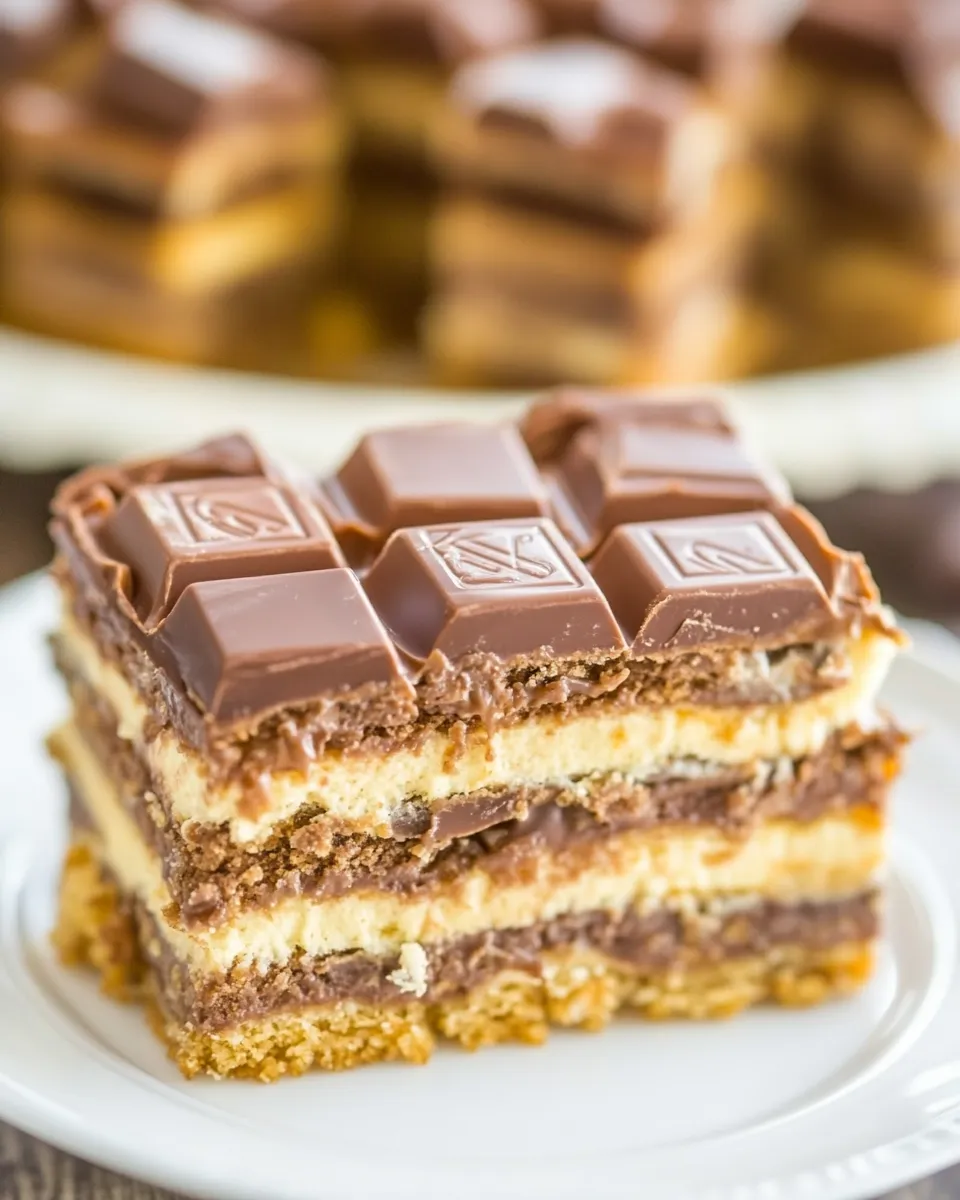
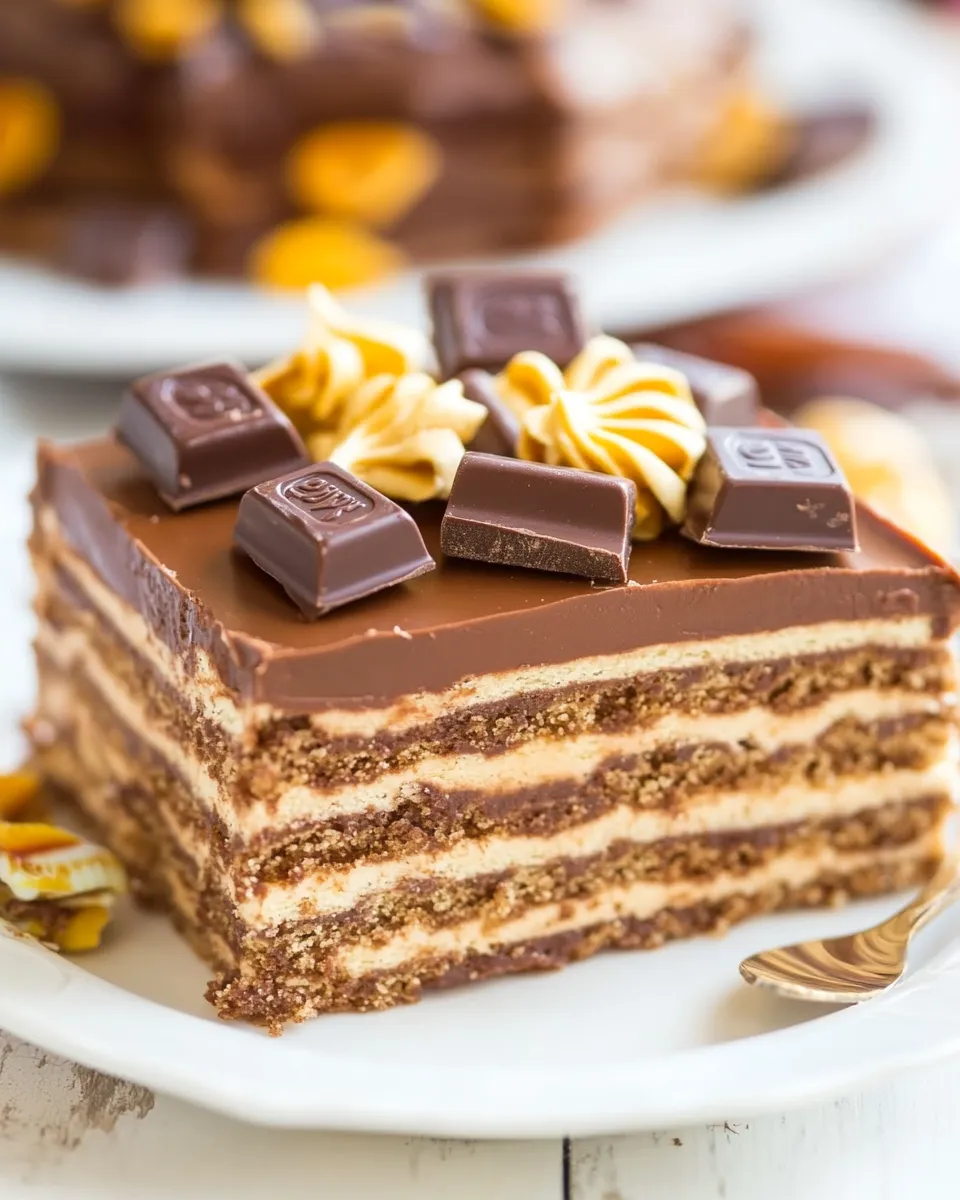
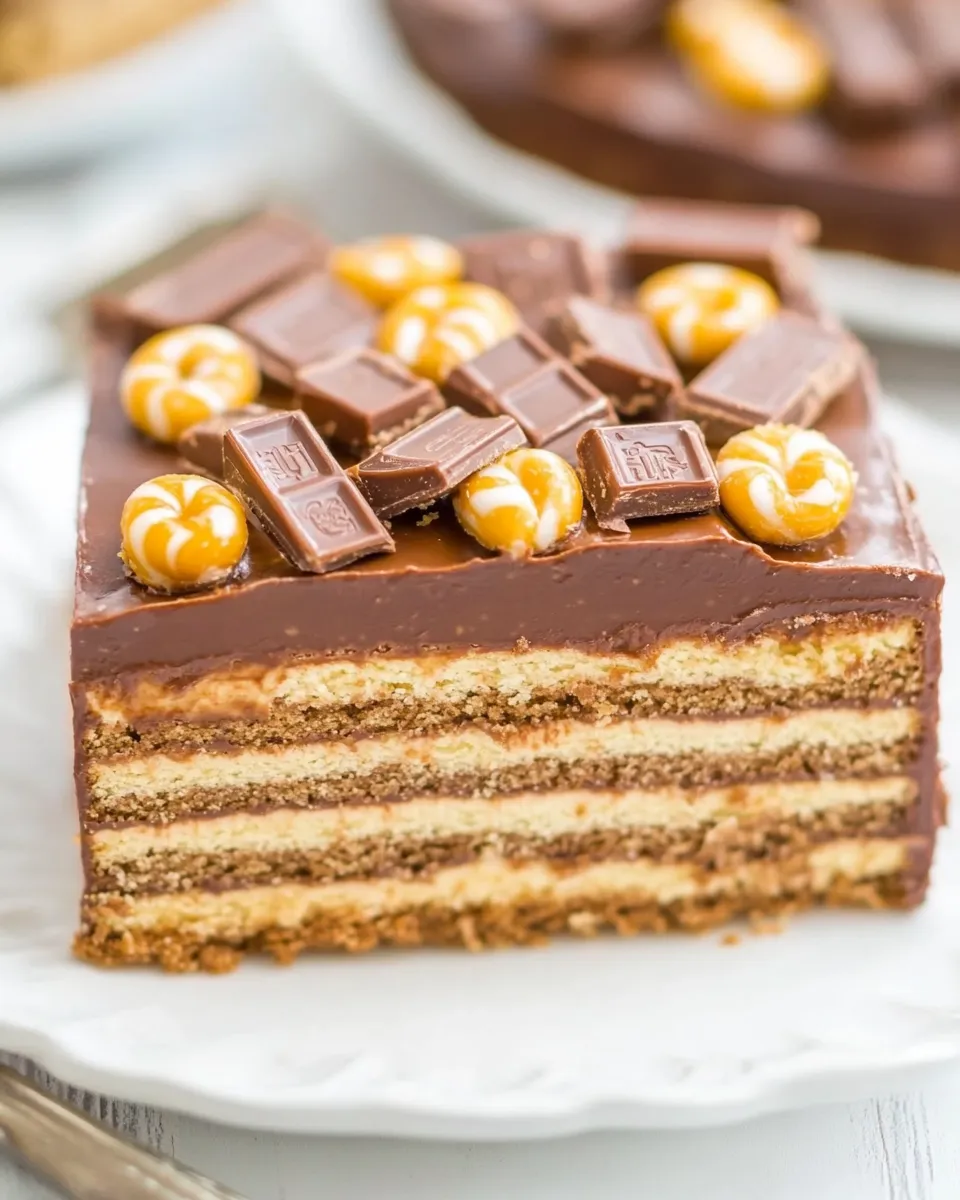
This is the kind of dessert that solves a lot of problems: it’s no-bake, makes a big pan for a crowd, and keeps well in the freezer. It layers instant chocolate pudding, whipped topping, graham crackers and a glossy chocolate pour that gets studded with chopped candy bars. The result is rich, chocolate-forward, and easy to slice straight from the cold.
I test and adapt quick, reliable recipes for the blog so you can make them at home without surprises. This one is very specific about a few things—use cow’s milk, not plant milks, and let the whole thing freeze until firm—so follow those points and you’ll get neat slices that hold together.
Below you’ll find everything: the exact ingredient list with short notes, the step-by-step process (unchanged from the original source of truth), common mistakes to avoid, simple swaps, gear you’ll need, and practical storage guidance. Let’s get to it.
The Essentials
Pan: 9×13-inch—line it with foil and leave an overhang to lift the cake out easily.
Key timing: the chocolate pour gets applied warm, then you add the candy and freeze for at least 4 hours or overnight until firm. Don’t rush that chilling step; it’s what sets the layers into neat slices.
Critical rules to follow: use instant (not cook-and-serve) chocolate pudding mix, use a thawed whipped topping, and use cow’s milk (the pudding won’t set properly with soy, almond, or other plant milks).
Ingredients
- 2 (3.9 ounce) packets instant chocolate pudding, not cook-and-serve, not sugar-free — provides the chocolate filling and needs the cold milk to hydrate and thicken.
- 1 (8-ounce) container whipped topping, thawed (I used fat free) — lightens the pudding for a fluffy, scoopable filling; make sure it’s fully thawed before folding in.
- 3 cups cold milk, I used skim; use cow’s milk and not soy, almond, etc. because pudding won’t set up — the liquid that activates the instant pudding mix; must be cold for proper texture.
- 1 (14.6 ounce) box graham crackers, I used Honeymaid lowfat honey — forms the cake layers; break or trim to fit so the bottom is covered completely.
- ½ cup semi-sweet chocolate chip — melts into the warm chocolate topping for a glossy finish.
- ½ cup unsalted butter — contributes richness and sheen to the chocolate topping.
- ½ cup granulated sugar — sweetens and helps the chocolate topping set with a glossy texture.
- ¼ cup milk — combined with the chocolate, butter, and sugar to create the pourable topping.
- 1 teaspoon vanilla extract — added off-heat to the chocolate topping for flavor lift.
- about 1 cup Snickers, diced small — provides chewy, nutty pockets in the topping layer.
- about 1 cup Reese’s Peanut Butter Cup Minis, halved — adds peanut butter hits and visual contrast on top.
Cooking (Chocolate Candy Bar Icebox Cake): The Process
- Line a 9×13-inch pan with aluminum foil, pressing foil into the corners and leaving an overhang on two opposite sides; set aside.
- In a large bowl, add the 2 (3.9 oz) packets instant chocolate pudding mix and 3 cups cold cow’s milk. Whisk vigorously for 1–2 minutes, until the pudding begins to thicken.
- Fold the thawed 8-ounce container whipped topping into the pudding mixture until evenly combined; set the pudding mixture aside.
- Place an even, flat layer of graham crackers across the bottom of the prepared pan, breaking crackers as needed so the bottom is completely covered.
- Spoon and spread half of the pudding mixture evenly over the first graham cracker layer.
- Add a second full layer of graham crackers to cover the pudding completely.
- Spoon and spread the remaining pudding mixture evenly over the second graham cracker layer.
- Top with a final full layer of graham crackers, covering the pudding.
- In a medium saucepan over low heat, combine 1/2 cup semi-sweet chocolate chips, 1/2 cup unsalted butter, 1/2 cup granulated sugar, and 1/4 cup milk. Whisk continuously over low heat until the chocolate and butter are melted, the sugar is dissolved, and the mixture is smooth and glossy.
- Remove the saucepan from the heat and whisk in 1 teaspoon vanilla extract until incorporated.
- Pour the warm chocolate mixture evenly over the top graham cracker layer and lightly smooth the surface with a spatula as needed.
- Wait about 5 minutes for the chocolate to cool slightly, then evenly sprinkle about 1 cup diced Snickers and about 1 cup halved Reese’s Peanut Butter Cup Minis over the top.
- Cover the pan (fold the foil over the top) and freeze for at least 4 hours or overnight until firm.
- Use the foil overhang to lift the cake from the pan, unwrap, slice, and serve.
Why This Recipe Belongs in Your Rotation
This cake is a dependable party trick. It requires no oven time, so it’s perfect when the kitchen is already in use or when you want to free up stove space. The candy bars turn a simple pudding-and-cracker cake into something celebratory—every forkful gives a mix of cream, crunchy cracker, and chocolate-peanut candy.
It’s also make-ahead friendly: you can assemble it the day before a gathering and remove it from the freezer just before serving. The structure is forgiving—graham crackers soften into a cake-like texture while staying firm enough to slice when properly chilled.
Easy Ingredient Swaps
- Whipped topping: swap fat-free for regular if you prefer richer texture; both fold into the pudding the same way.
- Graham crackers: any plain, mildly sweet cracker or biscuit will work if you need a substitute; trim or break to fill the pan.
- Candy bars: use similar-sized chopped/mini pieces—Twix, Milky Way, or chopped chocolate bars are fine if you prefer different flavors.
- Chocolate chips: semi-sweet is called for, but dark or milk chips will change sweetness; adjust personal preference when melting.
What’s in the Gear List
- 9×13-inch baking pan
- Aluminum foil (for lining and overhang)
- Large mixing bowl and a medium bowl if you like to stage ingredients
- Whisk and a rubber spatula
- Medium saucepan for the chocolate topping
- Measuring cups and spoons
- Chef’s knife and cutting board (for dicing candy)
Mistakes That Ruin Chocolate Candy Bar Icebox Cake
- Using plant-based milk: the recipe warns that pudding won’t set up with soy, almond, etc. Use cow’s milk as specified.
- Not thawing the whipped topping: folding in partially frozen topping will give lumpy texture; ensure it’s fully thawed.
- Pouring piping-hot chocolate right away: let the chocolate cool about 5 minutes before adding candy so pieces don’t sink or melt excessively.
- Skipping the freeze time: slicing before it’s firm yields a messy, collapsing cake—freeze at least 4 hours or overnight.
- Overcrowding the candy on top: piling too much candy can make slices unstable; the recipe’s about 1 cup of each is balanced.
Year-Round Variations
Swap candy bars seasonally to keep this dessert fresh in your rotation. Use peppermint pieces or Andes crunch at winter holidays for a mint twist. In summer, try chopped chocolate-covered strawberries or toasted coconut flakes for a lighter contrast. Fall calls for caramel-centered candies or a drizzle of salted caramel over the chocolate before the candy goes on top.
Behind the Recipe
Icebox cakes are a retro favorite because they rely on chilled layers rather than baking. This version leans into that nostalgia while riffing with modern candy bars to make it feel celebratory. The combination of a whipped chocolate pudding center and a poured chocolate top gives it texture and shine; the candy adds pockets of chew and peanut butter pockets that everyone recognizes.
I like this recipe because it’s precise where it counts—milk type and pudding type matter—yet forgiving in presentation. It’s the kind of dessert you can bring to a potluck and count on everyone sneaking an extra piece.
Meal Prep & Storage Notes
Freeze the assembled cake for at least 4 hours or overnight, per the process. Keep it covered in the freezer; the foil wrap works fine, and for longer storage add an airtight container or a second layer of wrap to minimize freezer burn.
Serve straight from the freezer or let it sit at room temperature for a few minutes to soften slightly—slicing is easiest when the cake is firm. For best texture, consume within 1–2 weeks; the candy pieces and graham layers hold up well in the freezer.
Popular Questions
- Can I use milk alternatives? No—use cow’s milk. The recipe specifically notes that pudding won’t set up with soy, almond, or other plant milks.
- Do I need to bake anything? No. This is a no-bake, icebox-style cake that sets in the freezer.
- How long should I freeze it? At least 4 hours or overnight until firm.
- Can I substitute different candies? Yes. Use similarly sized chopped or mini candies—just keep the total amount reasonable so the top still slices cleanly.
- How do I get clean slices? Use the foil overhang to lift the whole cake onto a cutting board and slice with a sharp knife. If the chocolate top is very hard, run the knife under hot water and dry it between cuts for cleaner edges.
Final Bite
Chocolate Candy Bar Icebox Cake is a dependable, shareable dessert that’s made to be assembled, frozen, and admired. Follow the key rules—use instant chocolate pudding, cow’s milk, fully thawed whipped topping, and let it chill—and you’ll have a glossy, candy-studded cake that’s easy to slice and impossible to ignore. Make it for game day, potlucks, or any time you want a big, nostalgic dessert without turning on the oven.

Chocolate Candy Bar Icebox Cake
Ingredients
Ingredients
- 2 3.9 ouncepackets instant chocolate pudding, not cook-and-serve, not sugar-free
- 1 8-ouncecontainer whipped topping, thawed (I used fat free)
- 3 cupscold milk I used skim; use cow’s milk and not soy, almond, etc. because pudding won’t set up
- 1 14.6 ouncebox graham crackers, I used Honeymaid lowfat honey
- 1/2 cupsemi-sweet chocolate chip
- 1/2 cupunsalted butter
- 1/2 cupgranulated sugar
- 1/4 cupmilk
- 1 teaspoonvanilla extract
- about 1 cup Snickers diced small
- about 1 cup Reese’s Peanut Butter Cup Minis halved
Instructions
Instructions
- Line a 9×13-inch pan with aluminum foil, pressing foil into the corners and leaving an overhang on two opposite sides; set aside.
- In a large bowl, add the 2 (3.9 oz) packets instant chocolate pudding mix and 3 cups cold cow’s milk. Whisk vigorously for 1–2 minutes, until the pudding begins to thicken.
- Fold the thawed 8-ounce container whipped topping into the pudding mixture until evenly combined; set the pudding mixture aside.
- Place an even, flat layer of graham crackers across the bottom of the prepared pan, breaking crackers as needed so the bottom is completely covered.
- Spoon and spread half of the pudding mixture evenly over the first graham cracker layer.
- Add a second full layer of graham crackers to cover the pudding completely.
- Spoon and spread the remaining pudding mixture evenly over the second graham cracker layer.
- Top with a final full layer of graham crackers, covering the pudding.
- In a medium saucepan over low heat, combine 1/2 cup semi-sweet chocolate chips, 1/2 cup unsalted butter, 1/2 cup granulated sugar, and 1/4 cup milk. Whisk continuously over low heat until the chocolate and butter are melted, the sugar is dissolved, and the mixture is smooth and glossy.
- Remove the saucepan from the heat and whisk in 1 teaspoon vanilla extract until incorporated.
- Pour the warm chocolate mixture evenly over the top graham cracker layer and lightly smooth the surface with a spatula as needed.
- Wait about 5 minutes for the chocolate to cool slightly, then evenly sprinkle about 1 cup diced Snickers and about 1 cup halved Reese’s Peanut Butter Cup Minis over the top.
- Cover the pan (fold the foil over the top) and freeze for at least 4 hours or overnight until firm.
- Use the foil overhang to lift the cake from the pan, unwrap, slice, and serve.
Equipment
- 1(9×13 inch) Pan
- 1 Large Bowl
- 1 Medium Saucepan