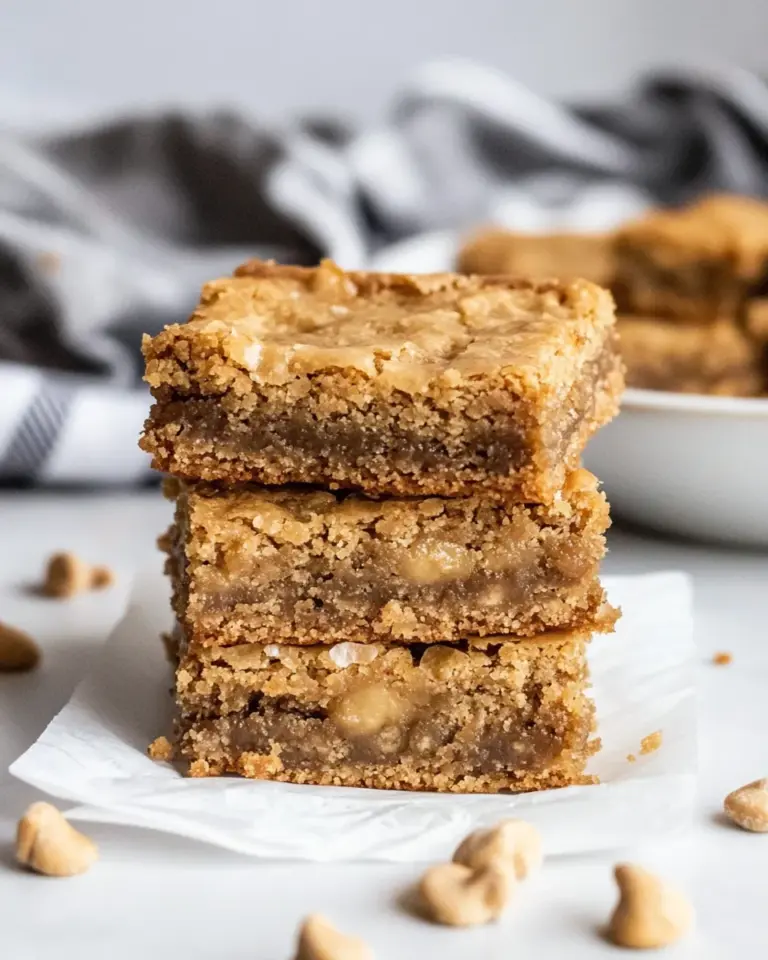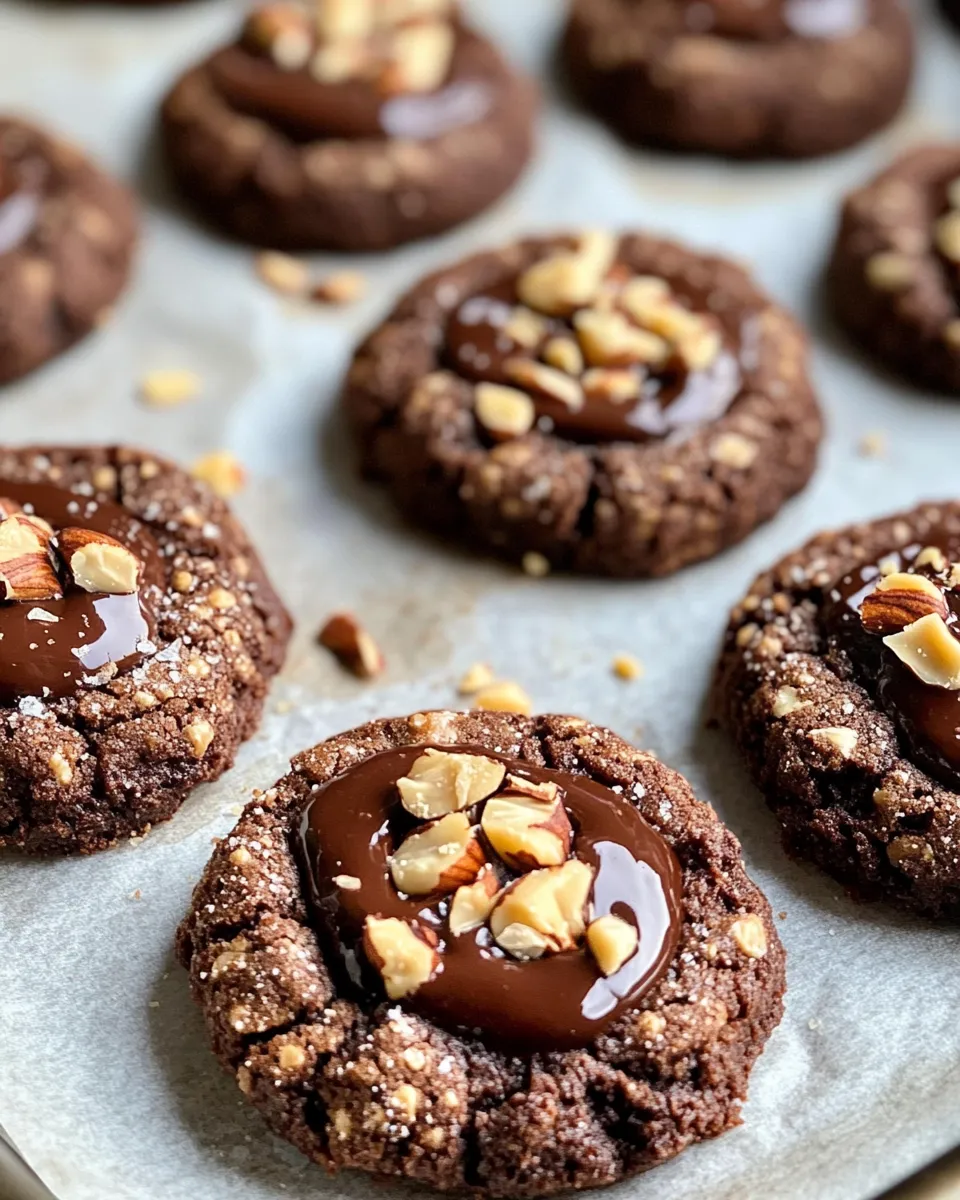
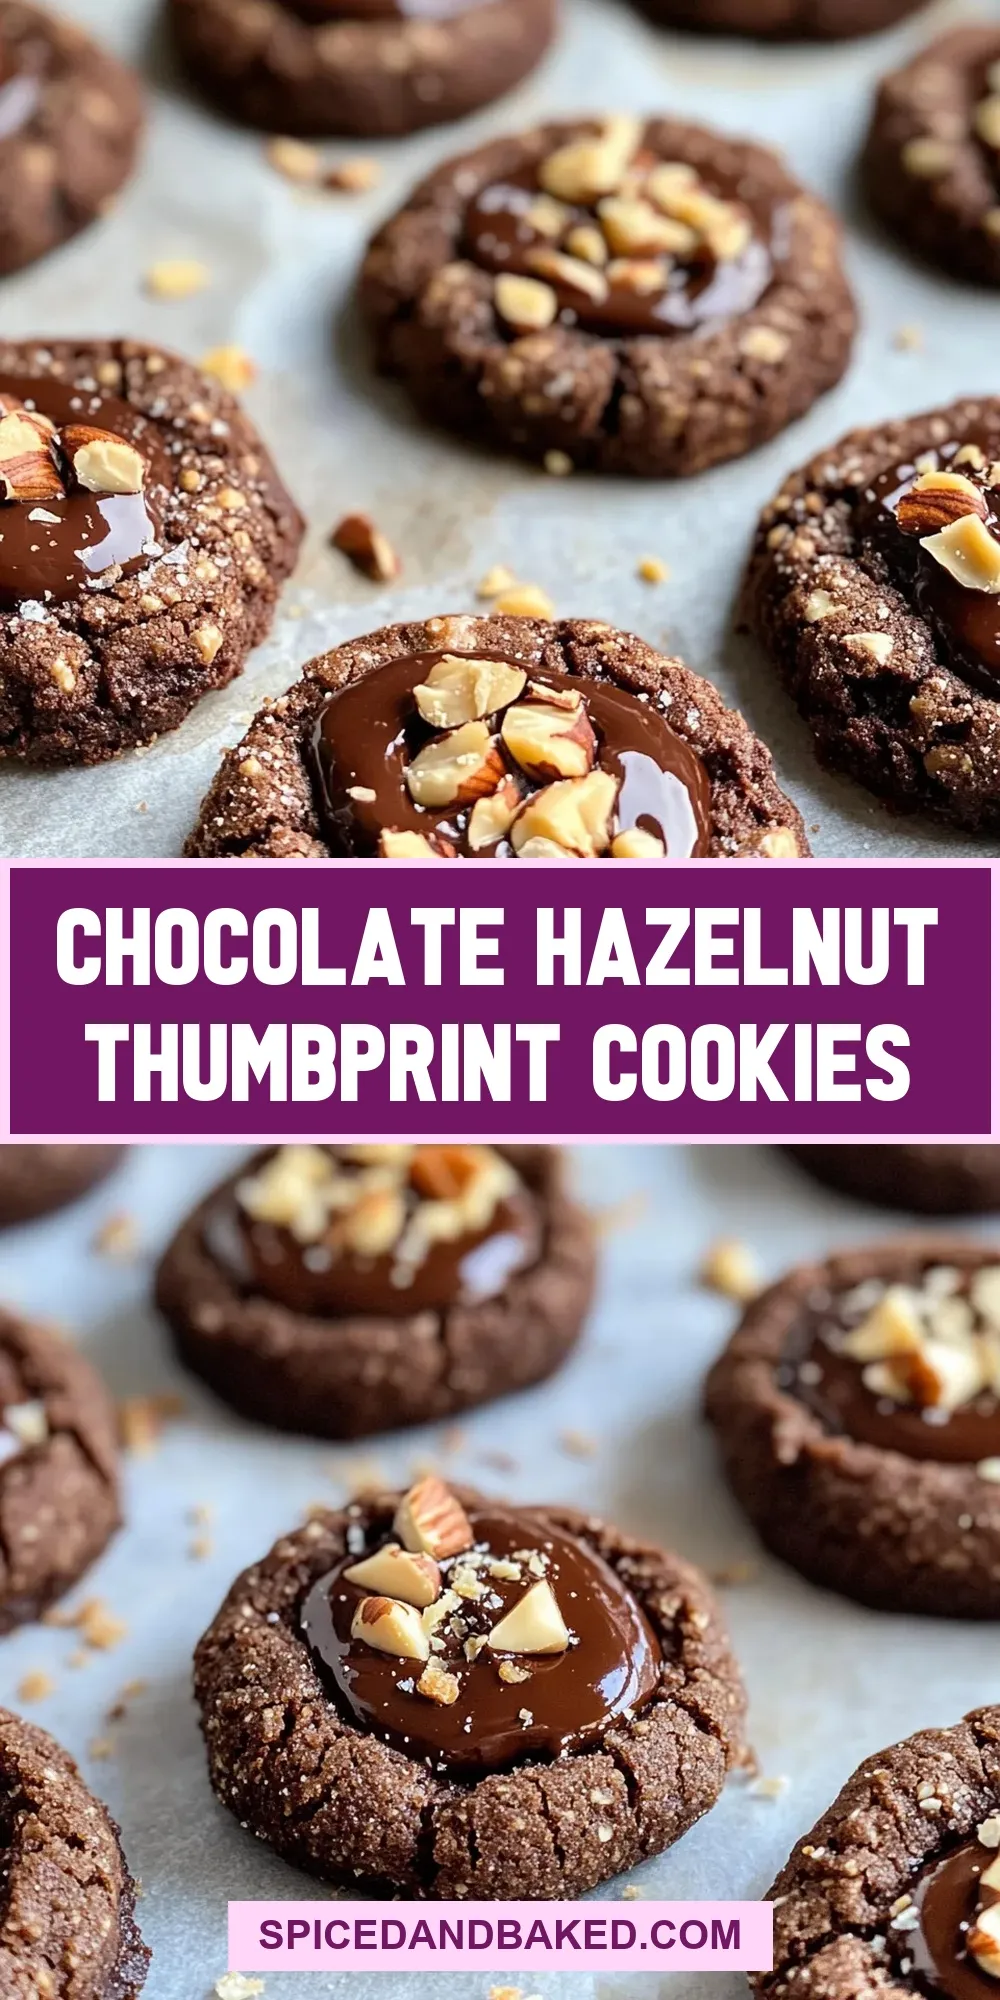
These Chocolate Hazelnut Thumbprint Cookies are exactly the kind of cookie I reach for when I want something small, chewy, and quietly indulgent. They make a great afternoon treat with coffee, and they’re sturdy enough to tuck into a lunchbox. The dough is forgiving and the thumbprint step is oddly satisfying — perfect for baking with friends or kids.
The recipe is built on everyday pantry ingredients, with a nut-forward twist. Dry toasted hazelnuts add crunch and a lightly roasted flavor that pairs perfectly with the chocolate-hazelnut butter filling. If you like a little texture around the edge, roll the tops in more chopped hazelnut before baking.
Below you’ll find a clear ingredient breakdown, exact step-by-step instructions taken from the recipe, practical gear notes, and troubleshooting answers for the common hiccups. Read the ingredient list, gather your tools, and follow the steps in order — these cookies come together reliably every time.
Ingredient Breakdown
Ingredients
- 1 cup salted butter, softened — Provides fat, richness, and a tender crumb; salted butter balances the sweetness.
- 1 tablespoon ground flax seed — Acts as a binder and adds a slight nutty note; thickens when mixed with water.
- 2/3 cup granulated sugar — Sweetens and helps with creaming for a lighter texture.
- 1 teaspoon vanilla — Adds depth and rounds the chocolate notes.
- 1 teaspoon cornstarch — Keeps the cookies tender and helps maintain a soft center.
- 2 cups all-purpose flour, spooned and leveled — The base structure for the cookie; spoon-and-level prevents over-packing.
- 1/4 cup cocoa powder — Gives the cookie its chocolate backbone without extra sweetness.
- 1/2 cup dry toasted and unsalted hazelnuts, roughly chopped — Folded into the dough for crunch and flavor bursts.
- 1/4 cup additional (optional) dry toasted and unsalted hazelnuts, roughly chopped — For coating the cookie edges or tops if you want extra texture.
- 1/3 cup chocolate hazelnut butter (homemade or store-bought) — The filling; a little goes a long way to deliver a rich, creamy center.
- 12–15 hazelnuts, cut in half (optional) — Halved nuts make a pretty, textural garnish on top of each filled thumbprint.
Build (Chocolate Hazelnut Thumbprint Cookies) Step by Step
- Preheat the oven to 350°F. Line two baking sheets with parchment paper and set aside.
- In a small bowl, mix 1 tablespoon ground flax seed with 2 1/2 tablespoons water; let thicken for at least 5 minutes.
- In a large bowl, add 1 cup softened salted butter and 2/3 cup granulated sugar. Using a hand mixer or stand mixer, cream on medium speed until light and fluffy, about 2–3 minutes. Scrape down the sides of the bowl.
- Add the thickened flax mixture and 1 teaspoon vanilla to the butter mixture. Beat until incorporated, then scrape down the bowl again.
- Place a fine sieve over the bowl and sift in 2 cups all-purpose flour, 1/4 cup cocoa powder, and 1 teaspoon cornstarch. Use a spatula to fold and combine the sifted dry ingredients into the butter mixture until a thick, not very sticky dough forms.
- Fold 1/2 cup roughly chopped, dry toasted unsalted hazelnuts into the dough until evenly distributed.
- Using a 1 1/2-tablespoon scoop (or measure), portion the dough into 24 even balls. Roll each portion between your palms into a smooth ball and place 12 balls on each prepared baking sheet, spacing them about 2 inches apart.
- Fill a small bowl with water. Using a rounded 1-teaspoon measuring spoon (lightly dip the spoon in the water between each press to prevent sticking), press the center of each dough ball to form a thumbprint well about 1/4–1/2 inch deep.
- (Optional) If using the additional 1/4 cup chopped hazelnuts for coating, spread them on a plate and gently press the outer edge/top of each cookie into the nuts so pieces adhere. Return cookies to the baking sheet.
- Bake one sheet at a time (or both, rotating position halfway if your oven requires it) at 350°F for 10–12 minutes, until the bottom edges are set but not darkened.
- Remove the baking sheet to a wire rack. The cookies will puff in the oven; immediately press the centers again with the rounded 1-teaspoon to restore the wells. Let the cookies rest on the sheet for 10 minutes to firm up.
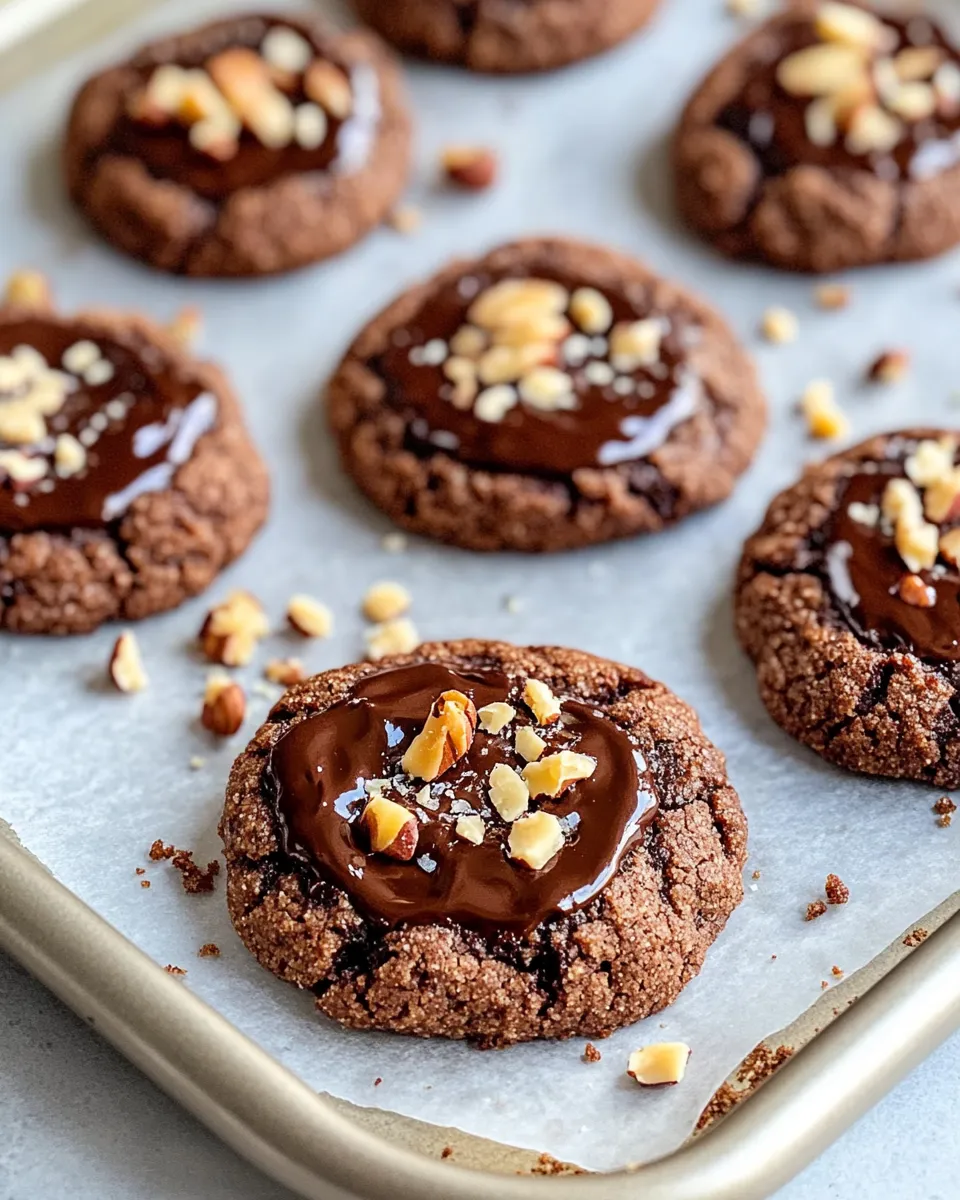
- Divide 1/3 cup chocolate hazelnut butter among the 24 cookies (about 2/3 teaspoon per cookie) and spoon it into each thumbprint. If using, place one halved hazelnut on top of each filled center, pressing lightly.
- Let cookies cool completely before transferring to an airtight container. Store at room temperature up to 3 days. Only fill the cookies you plan to eat immediately if you will need to stack them, to avoid sticking.
Why Cooks Rave About It
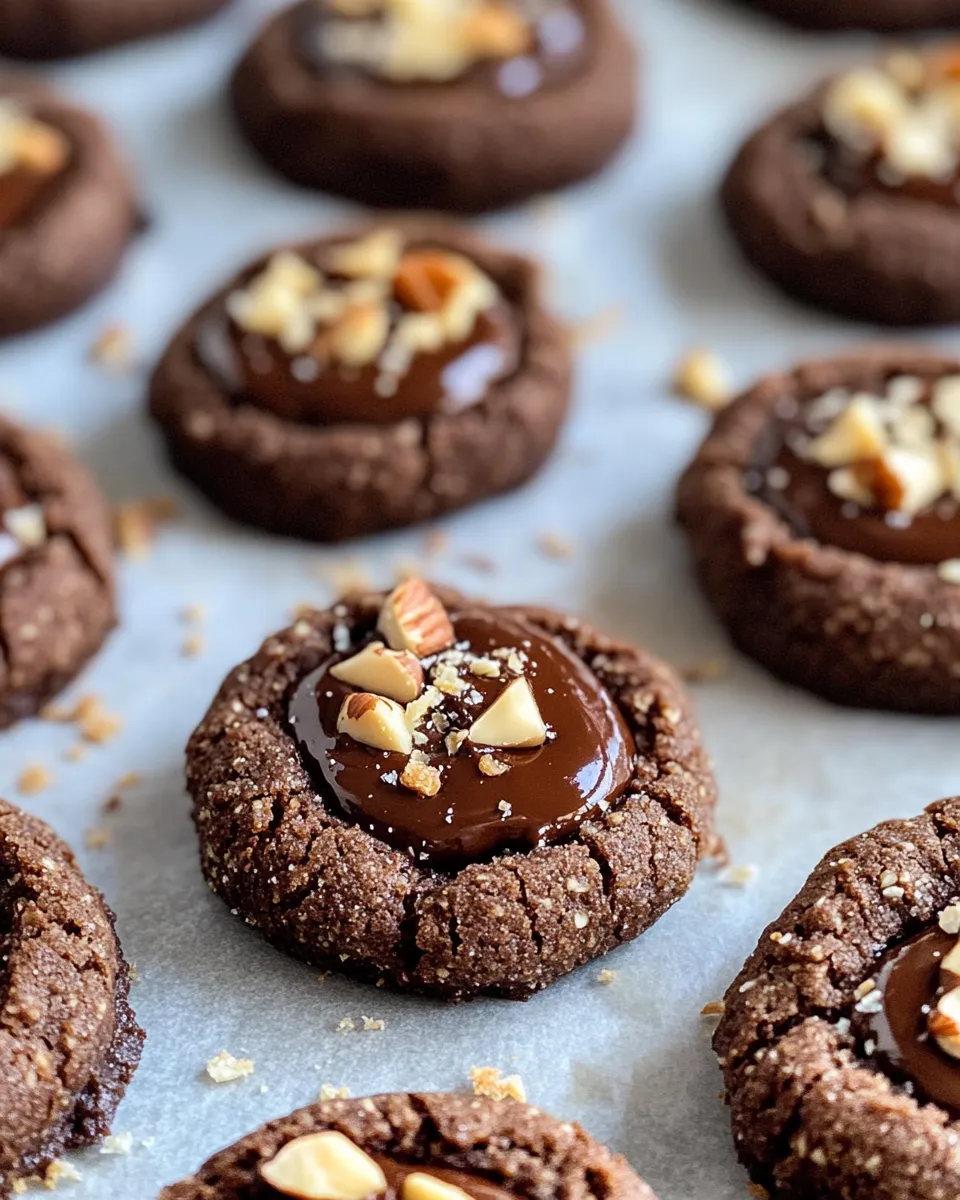
These cookies hit familiar emotional and textural notes: a firm, slightly crisp edge, a tender chocolate cookie, and a creamy, nutty center. Toasting the hazelnuts first concentrates their flavor so the nut pieces in the dough remain lively without needing more fat or sugar.
They’re also flexible: the dough is straightforward and forgiving, so small variations in chill time or oven hot spots won’t ruin the batch. Most importantly, the finished cookie looks like you put in more effort than you did — perfect for gifting or a casual dessert tray.
If You’re Out Of…
If you don’t have the optional topping hazelnuts, skip that step — the cookies are satisfying without them. If you’re out of salted butter, use unsalted butter and add a light pinch of salt to taste when creaming. If you don’t have ground flax seed as the binder, a single large egg can be used in many cookie recipes as a substitute for moisture and binding (note that the texture will change slightly).
No chocolate hazelnut butter? You can swap in a plain chocolate spread or a mixture of nut butter with a dash of cocoa, though flavors and sweetness will vary. If toasted hazelnuts aren’t available, use them untoasted — the flavor will be milder.
What’s in the Gear List
- Mixing bowl (large) — for creaming butter and sugar.
- Hand mixer or stand mixer — speeds up creaming for light texture.
- Small bowl — to hydrate the ground flax seed.
- Fine sieve — for sifting flour and cocoa to avoid lumps.
- Spatula — for folding dough gently.
- 1 1/2-tablespoon scoop or measuring spoon — for even cookies.
- Rounded 1-teaspoon measuring spoon — for forming consistent thumbprints.
- Baking sheets and parchment paper — nonstick surface and easy cleanup.
- Wire rack — cools cookies quickly and evenly.
What Not to Do
- Don’t skip sifting the flour and cocoa. Undersifted lumps lead to uneven mixing and dry pockets.
- Don’t overbake. The bottoms should be set but not darkened; they continue to firm off the sheet.
- Don’t skip pressing the centers right after baking. The cookies puff and you need to restore the wells for the filling.
- Don’t fill all the cookies if you plan to stack them immediately. Filled centers will stick and smudge the presentation.
- Don’t omit the chill time for the flax seed. It needs the 5 minutes to thicken and do its job.
Seasonal Serving Ideas
Winter: Arrange cookies on a platter with whole roasted hazelnuts and orange zest for holiday gatherings. A dusting of powdered sugar adds a snowy look.
Spring: Pair small plates of these cookies with ripe strawberries and a light drizzle of espresso for a simple after-dinner pick-me-up.
Gift season: Stack unfitted cookies in a box with parchment squares between layers. Include a small jar of extra chocolate-hazelnut spread so the recipient can top any cookies that got flattened in transit.
Notes on Ingredients
Ground flax seed: When mixed with water, flax thickens and becomes a binder. Let it rest for at least 5 minutes so it gels properly.
Chocolate hazelnut butter: A little goes a long way. If it’s very thick, warm it briefly to loosen for easier scooping and even distribution.
Hazelnuts: Dry-toasted hazelnuts bring more flavor than raw. Roughly chopping them keeps the dough from becoming too coarse while still adding texture.
Cocoa powder: Use unsweetened cocoa for a balanced chocolate flavor. Dutch-processed will taste smoother; natural cocoa will be brighter and slightly more acidic.
Cornstarch: A small dose keeps the center soft and helps the cookie hold its shape without becoming cakey.
Prep Ahead & Store
You can prepare the dough up to 24 hours ahead and keep it wrapped in the refrigerator. Bring it back to slightly softened before scooping and forming balls so they press easily. Bake from chilled — you may need an extra minute or two.
Store baked, unfilled cookies at room temperature in an airtight container for up to 3 days. If you need to keep them longer, freeze unfilled baked cookies in a single layer on a sheet, then transfer to a freezer bag; they’ll thaw quickly at room temperature. Only fill cookies you plan to eat right away to avoid sticking and smudging.
Troubleshooting Q&A
My dough is too sticky to roll into balls. Chill the dough for 15–30 minutes. Slightly chilled dough is easier to portion and will keep shape better during baking.
The cookies spread too much in the oven. Make sure your flour was measured spoon-and-leveled. Over-soft butter (too warm) will also increase spread; chill dough briefly if your kitchen is warm.
The thumbprints disappear during baking. Press the centers again immediately when the cookies come out of the oven. They puff in the oven and then settle, so restoring the well while still warm is key.
The filling is too runny. Use thicker chocolate-hazelnut butter or chill the spread briefly before filling. If the filling softens quickly at room temperature, fill just before serving.
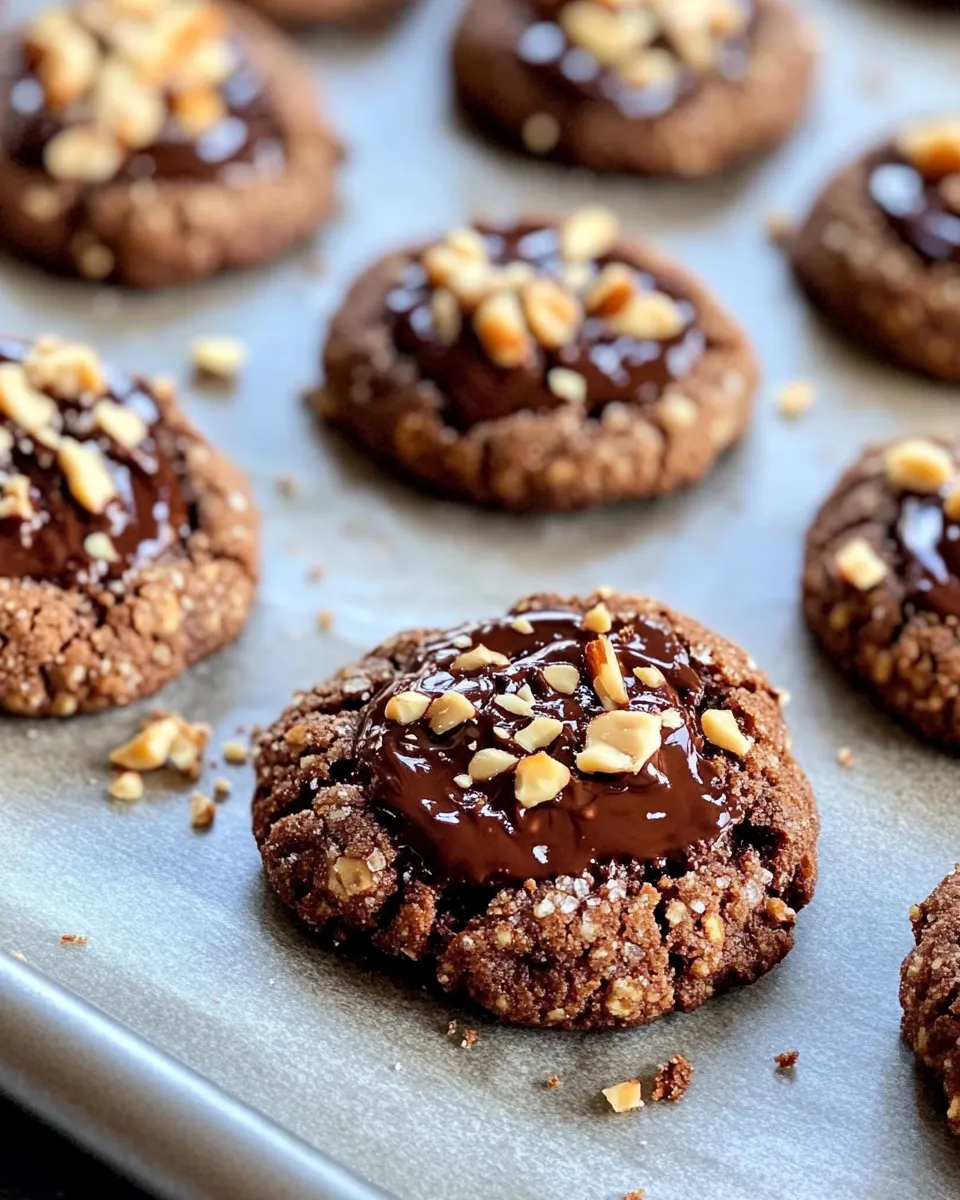
Final Bite
These Chocolate Hazelnut Thumbprint Cookies are straightforward to make and well worth the small hands-on steps. The result is a cookie that feels special, bites easily, and stores neatly for a few days. Make the dough, toast the nuts, and enjoy the little ritual of pressing and filling — it’s a reliably good cookie that’s easy to love.

Chocolate Hazelnut Thumbprint Cookies
Ingredients
Ingredients
- 1 cupsalted buttersoftened
- 1 tablespoonground flax seed
- 2/3 cupgranulated sugar
- 1 teaspoonvanilla
- 1 teaspooncornstarch
- 2 cupsall purpose flourspooned and leveled
- 1/4 cupcocoa powder
- 1/2 cupdry toasted and unsalted hazelnuts*roughly chopped
- 1/4 cupadditional but optional dry toasted and unsalted hazelnuts* roughly chopped; for sprinkling on the cookies
- 1/3 cupchocolate hazelnut butter*homemadeor store-bought
- 12-15 hazelnutscut in half optional
Instructions
Instructions
- Preheat the oven to 350°F. Line two baking sheets with parchment paper and set aside.
- In a small bowl, mix 1 tablespoon ground flax seed with 2 1/2 tablespoons water; let thicken for at least 5 minutes.
- In a large bowl, add 1 cup softened salted butter and 2/3 cup granulated sugar. Using a hand mixer or stand mixer, cream on medium speed until light and fluffy, about 2–3 minutes. Scrape down the sides of the bowl.
- Add the thickened flax mixture and 1 teaspoon vanilla to the butter mixture. Beat until incorporated, then scrape down the bowl again.
- Place a fine sieve over the bowl and sift in 2 cups all-purpose flour, 1/4 cup cocoa powder, and 1 teaspoon cornstarch. Use a spatula to fold and combine the sifted dry ingredients into the butter mixture until a thick, not very sticky dough forms.
- Fold 1/2 cup roughly chopped, dry toasted unsalted hazelnuts into the dough until evenly distributed.
- Using a 1 1/2-tablespoon scoop (or measure), portion the dough into 24 even balls. Roll each portion between your palms into a smooth ball and place 12 balls on each prepared baking sheet, spacing them about 2 inches apart.
- Fill a small bowl with water. Using a rounded 1-teaspoon measuring spoon (lightly dip the spoon in the water between each press to prevent sticking), press the center of each dough ball to form a thumbprint well about 1/4–1/2 inch deep.
- (Optional) If using the additional 1/4 cup chopped hazelnuts for coating, spread them on a plate and gently press the outer edge/top of each cookie into the nuts so pieces adhere. Return cookies to the baking sheet.
- Bake one sheet at a time (or both, rotating position halfway if your oven requires it) at 350°F for 10–12 minutes, until the bottom edges are set but not darkened.
- Remove the baking sheet to a wire rack. The cookies will puff in the oven; immediately press the centers again with the rounded 1-teaspoon to restore the wells. Let the cookies rest on the sheet for 10 minutes to firm up.
- Divide 1/3 cup chocolate hazelnut butter among the 24 cookies (about 2/3 teaspoon per cookie) and spoon it into each thumbprint. If using, place one halved hazelnut on top of each filled center, pressing lightly.
- Let cookies cool completely before transferring to an airtight container. Store at room temperature up to 3 days. Only fill the cookies you plan to eat immediately if you will need to stack them, to avoid sticking.
Equipment
- Oven
- Baking Sheet
- Parchment Paper
- Mixing Bowl
- Small Bowl
- Hand mixer or stand mixer
- Fine sieve
- Spatula
- Measuring Spoons
- 1 1/2-tablespoon scoop or cookie scoop
- Wire Rack
Notes
Gluten-Free:I have only tested this recipe willall-purpose flour, but think it should work well with a 1:1 all-purpose gluten-free flour blend as well Butter: If you are using unsalted butter (or refined coconut oil) add 1/2 teaspoon of kosher salt to the dry ingredients after you sift them into the bowl in step 3.
Make-Ahead:You can prepare the cookie dough up to 3 days in advance before baking. Proceed with the recipe up to step 4, then cover the dough tightly with plastic wrap. Store in the fridge until you are ready to use; let the dough sit on the counter for around 30 minutes to soften before you form the cookies and proceed with the recipe.