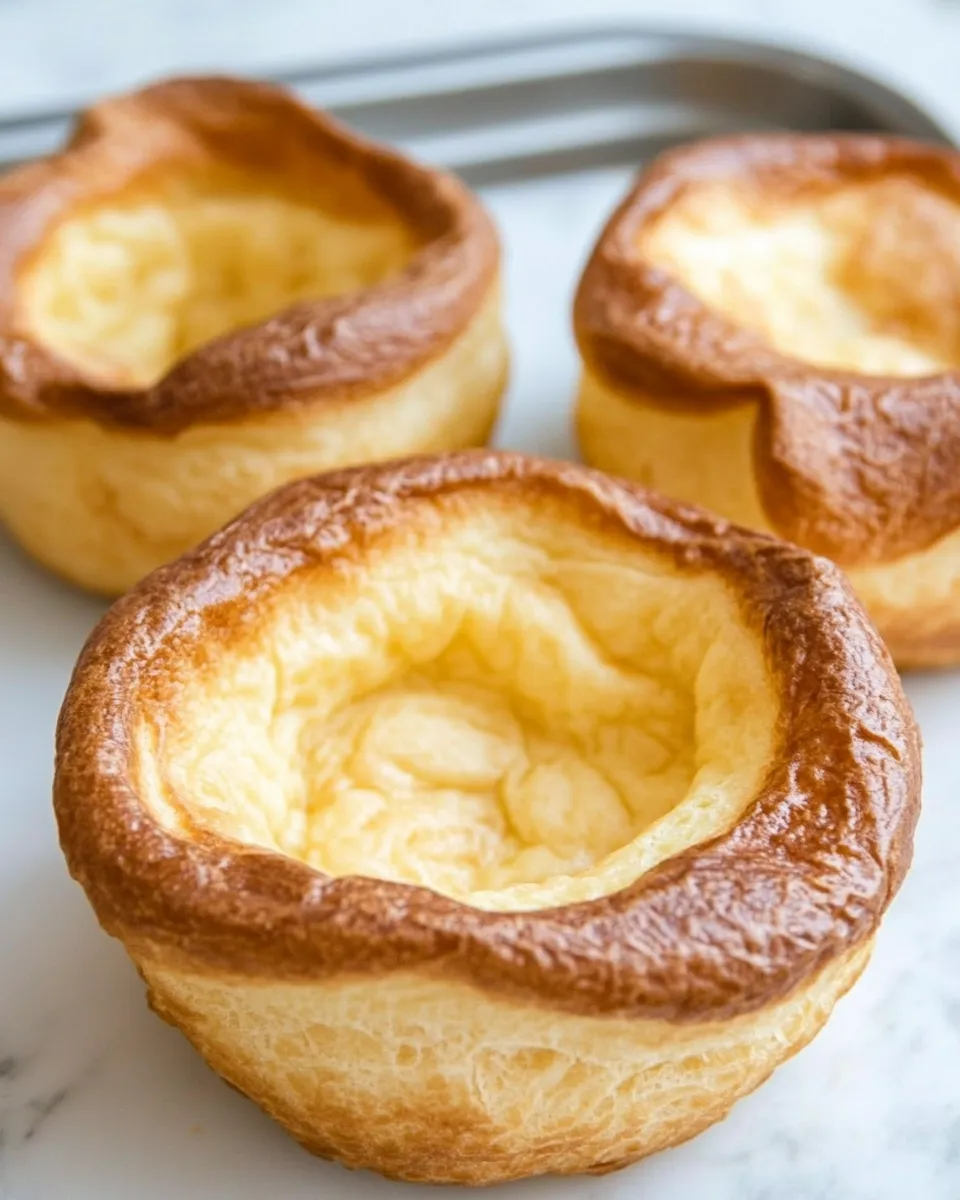
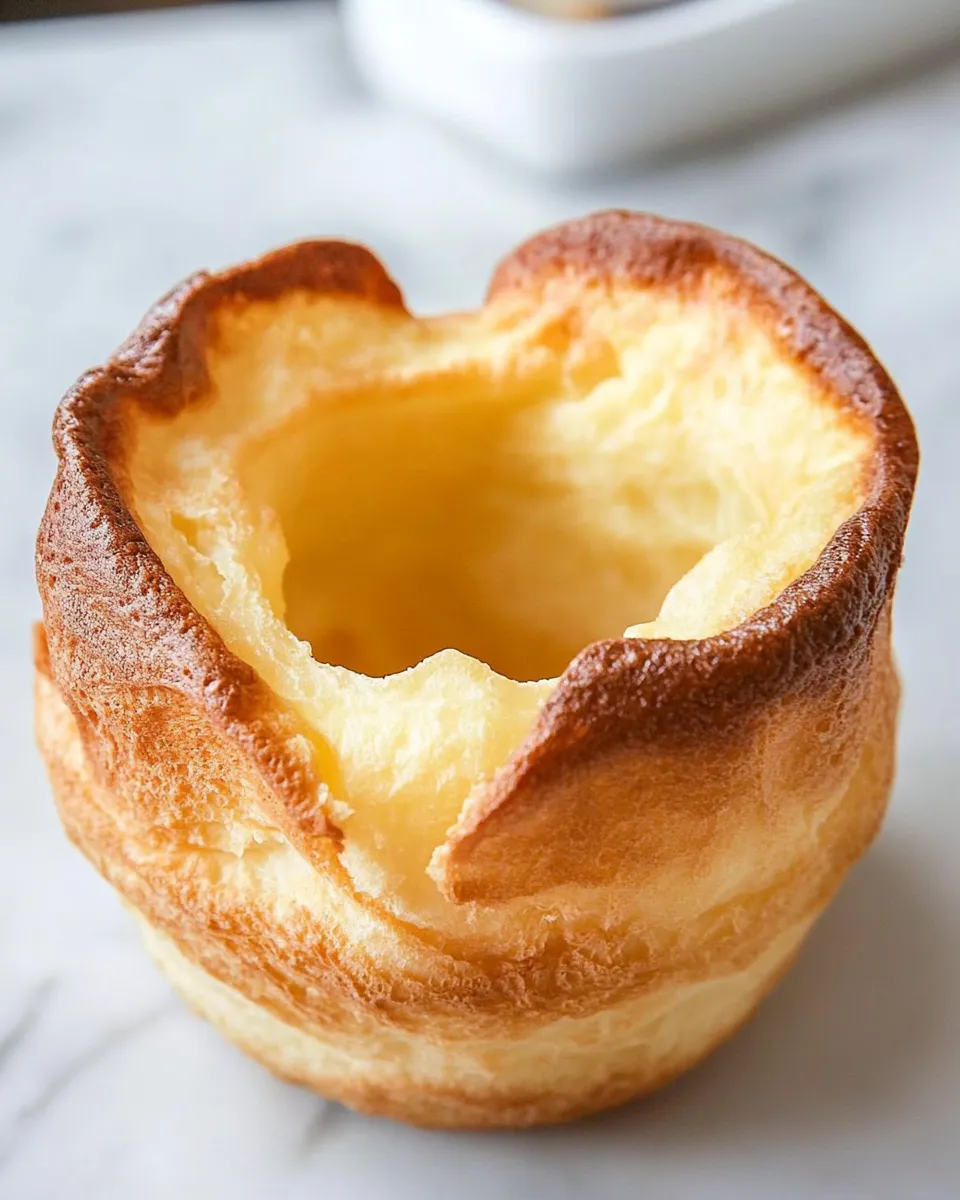
Popovers are one of those impossibly simple things that feel like a small kitchen miracle. A thin, eggy batter, high heat and a bit of patience produce hollow, crisp shells that are perfect with butter, jam, or a spoonful of gravy. They look fancy. They aren’t.
I make these when I want something fresh and fast for breakfast or a casual dinner side. The formula is forgiving: it’s mostly eggs, milk, and flour. The technique—very hot oven, cold batter not necessary, and no door opening—does the rest. You’ll get well-risen, golden popovers most of the time if you follow a few straightforward steps.
Below you’ll find the exact ingredients and the step-by-step directions I use in my own kitchen, plus practical tips, common mistakes to avoid, and ideas to flavor them differently. Keep the oven hot, the pan greased, and resist the urge to peek. That’s the key.
The Essentials
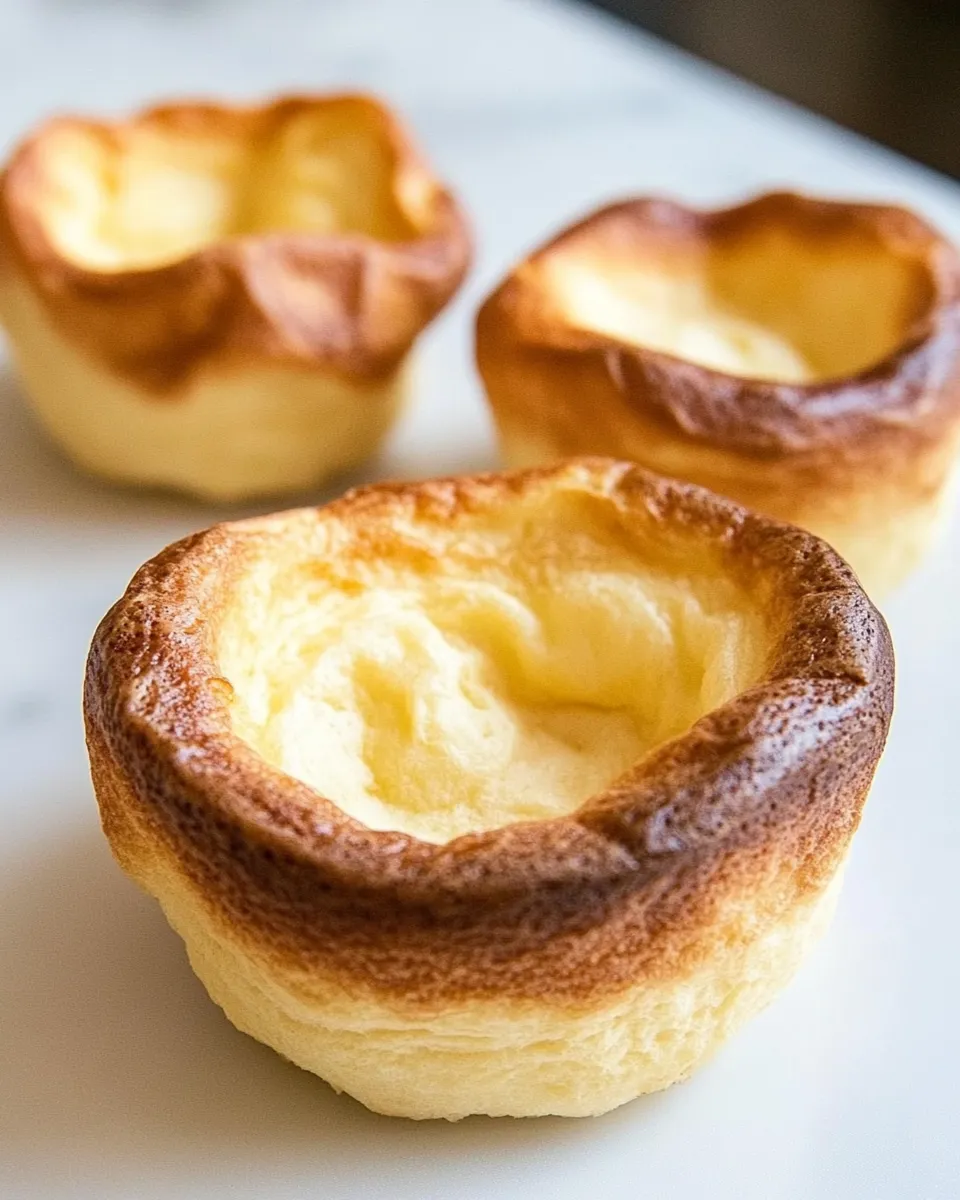
What makes a popover a popover: a runny batter, a very hot oven, and a vessel that holds heat so the batter can puff up. Use a muffin tin or a popover tin; both work, though times vary slightly. Melted butter greases the cups so the edges brown and crisp. Salt is small but essential—don’t skip it.
Expect a contrast of textures: a crunchy exterior and a slightly soft inside. Serve them immediately while they still steam. They are best the day you make them, but I’ll include storage tips if you need to save leftovers.
Ingredients
- 1tablespoonmelted unsalted butter,for greasing the pan — prevents sticking and promotes crisp edges; use a pastry brush or spoon to coat cups.
- 1 1/4cupswhole milk — provides moisture and richness; whole milk gives the best lift and flavor.
- 2largeeggs — structure and lift come from the eggs; room temperature eggs blend more evenly.
- 1cupall purpose flour — the base; measure by spooning into the cup and leveling for accuracy.
- 1/4teaspoonfine sea salt — balances flavor; fine salt distributes easily through the batter.
- 2tablespoonsunsalted butter,melted — folded into the batter for flavor and a silkier texture.
Cook Classic Popovers Like This
- Preheat the oven to 425°F. Place an oven rack in the center or bottom third of the oven. Grease a muffin tin or popover tin with the 1 tablespoon melted unsalted butter and set the tin aside.
- In a blender or a medium bowl, combine 1 1/4 cups whole milk and 2 large eggs. If using a blender (immersion or standard), blend until there are no streaks of whites or yolks. If whisking by hand, whisk until fully combined and smooth.
- Add 1 cup all-purpose flour and 1/4 teaspoon fine sea salt to the milk-and-egg mixture. Pulse in the blender until just combined and smooth, or whisk until no lumps remain. Do not overmix.
- Stir in the 2 tablespoons unsalted butter, melted (cool slightly if it is very hot), and mix until the batter is thoroughly incorporated and smooth.
- Divide the batter among the greased cups, filling each 2/3 to 3/4 full.
- Put the filled tin in the oven (center or bottom third) and bake undisturbed at 425°F for 20 minutes. Do not open the oven door during this time.
- After the initial 20 minutes, continue baking according to the tin you used: bake an additional 13–15 minutes if using a standard muffin tin, or an additional 18–20 minutes if using a popover tin, until the popovers are golden brown and feel light.
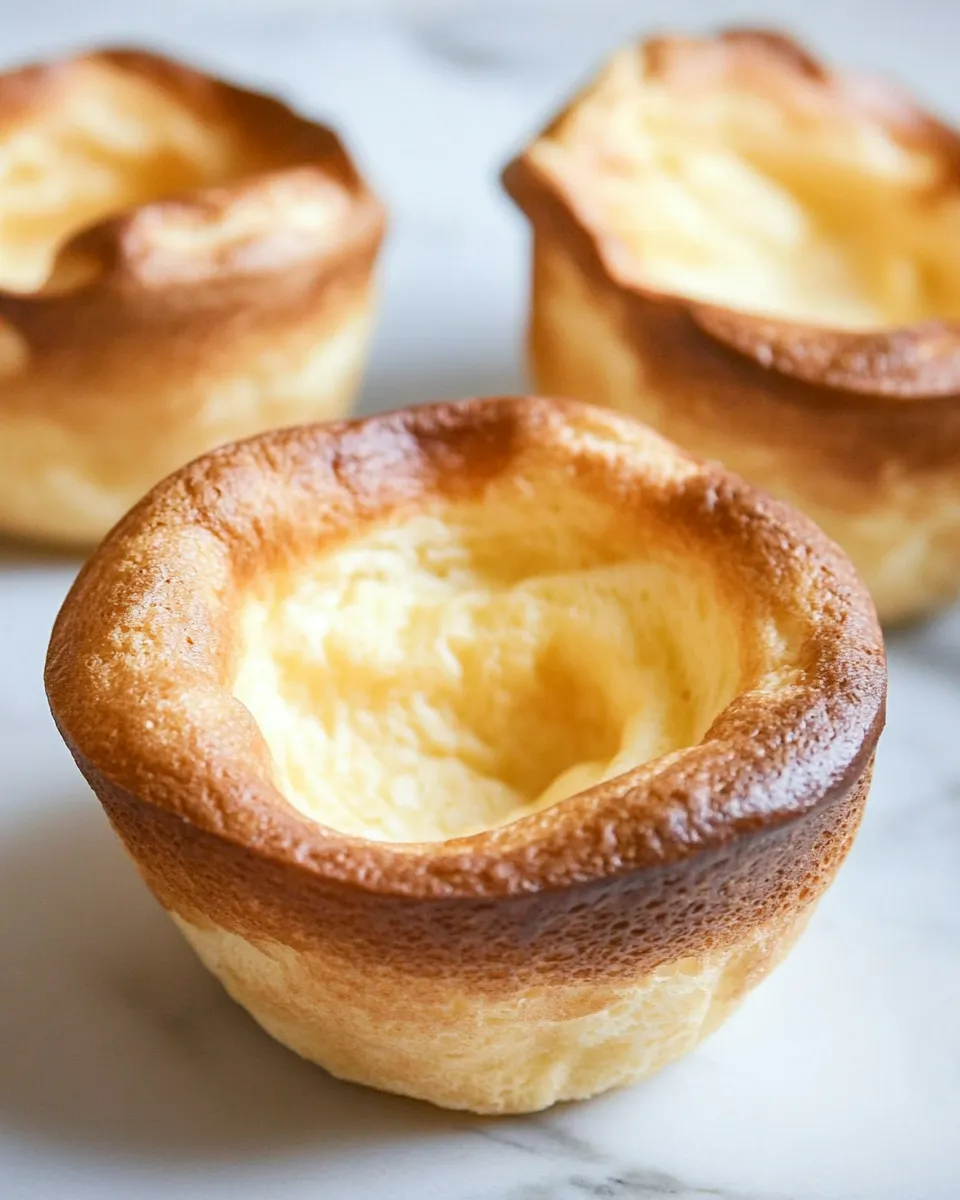
- Remove the popovers from the oven. They should be crisp on the outside and slightly soft inside. Serve warm (they pair well with butter, jam, or gravy/sauce).
Why This Recipe Belongs in Your Rotation
This recipe is fast, dependable, and impressively versatile. The batter comes together in a minute or two, and once the oven does its job you have something that looks elevated with minimal effort. It’s a great weekend brunch item, a showy side for roast chicken, or a quick afternoon bake when you want warm bread without fuss.
The ingredient list is short and pantry-friendly. No yeast, no resting time. That means you can make popovers on a whim and still get great results. If you want an easy crowd-pleaser with a low work-to-impact ratio, this is it.
Flavor-Forward Alternatives
Popovers are blank canvases. Here are a few directions to explore—use sparingly so you don’t weigh the batter down:
- Savory herbs: Fold in 1–2 teaspoons finely chopped fresh herbs (chives, thyme, or rosemary). Add them to the batter at the same time as the melted butter.
- Cheesy twist: Grate in 1/3–1/2 cup sharp cheese like cheddar into the batter or sprinkle on top before the last stage of baking for a golden, cheesy finish.
- Garlic-butter finish: Brush warm popovers with garlic butter before serving; great with roasted meats or stews.
- Sweet options: Add a teaspoon of vanilla and a tablespoon of sugar to the batter for sweet popovers—serve with jam, honey, or whipped cream.
Gear Up: What to Grab
You don’t need fancy equipment. A standard muffin tin works fine and may be more approachable than a specialized popover pan. If you have a popover tin, expect slightly taller crowns and adjust the extra baking time accordingly.
Useful tools:
- Blender or medium bowl and whisk — blender gives the smoothest batter quickly; whisk works fine.
- Muffin tin or popover tin — greased well so edges crisp and release easily.
- Pastry brush or spoon — to spread the melted butter for greasing.
- Oven thermometer — optional but helpful if your oven runs cool or hot; 425°F is key.
What Not to Do
There are a handful of habits that commonly ruin popovers. Avoid these:
- Don’t open the oven door during the first 20 minutes. The sudden drop in temperature will deflate them.
- Don’t overmix the batter. Small lumps are okay. Overworked batter can produce dense popovers.
- Don’t skimp on oven heat. If the oven isn’t hot enough the batter won’t puff.
- Don’t overfill the cups. Filling beyond 3/4 risks spillover and uneven rise.
Better Choices & Swaps
Substitutions are possible, but they change texture or flavor. Make these swaps only if necessary:
- Milk: You can use 2% in a pinch. Whole milk gives the best lift and mouthfeel.
- Butter: Unsalted is preferred so you control salt. If you only have salted butter, reduce added salt slightly in other recipes when applicable—this recipe uses a fixed salt amount in the batter.
- Flour: All-purpose flour is ideal. Using a different flour will alter structure and rise.
Notes from the Test Kitchen
Temperatures and times
We tested both tins. The popover tin produces taller, more dramatic peaks and needs the longer additional bake (18–20 minutes). Standard muffin tins give slightly shorter popovers and take the shorter extra time (13–15 minutes). In both cases, the initial 20 minutes at 425°F is non-negotiable for that initial explosive rise.
Batter consistency
The batter should be pourable and smooth, not thick like cake batter. If it seems too thick, double-check you measured the flour correctly. I prefer using a blender because it ensures a lump-free mix fast, but a whisk works well if you take a little time.
Finishing touches
Remove popovers from the tin as soon as they’re cool enough to handle. They’ll steam inside if left in the tin and soften the crust. For savory service, I brush them with melted butter and a pinch of flaky sea salt. For sweet, a dusting of powdered sugar or a smear of jam works beautifully.
Keep It Fresh: Storage Guide
Popovers are best served the day they’re made. If you need to keep leftovers, store cooled popovers in an airtight container at room temperature for up to 24 hours. To refresh, reheat in a 350°F oven for 5–7 minutes to restore some crispness. Avoid microwaving unless you accept a softer texture—microwaves make them chewy and dense.
If you want to freeze, wrap cooled popovers individually and freeze up to 1 month. Reheat from frozen in a 350°F oven for 10–12 minutes, checking for crispness.
Your Questions, Answered
Can I make the batter ahead?
You can mix the batter and refrigerate for a few hours, but you may see a slight loss in rise. I prefer to make batter just before baking for the best puff.
Why didn’t mine rise?
Most often it’s due to oven temperature (not hot enough) or opening the oven door too early. Also check that you didn’t overfill the cups and that the batter wasn’t too stiff from overmixing.
Can I add fillings?
Heavy fillings will weigh popovers down. Small add-ins—finely grated cheese, a teaspoon of herbs—work. For substantial fillings, consider slicing popovers after baking and filling them like rolls.
Final Bite
Classic popovers are a modest recipe that rewards attention to a few simple details. Keep the oven hot, grease the cups, resist peeking, and you’ll have warm, impressive little puffs in under an hour. They’re quick to make, easy to adapt, and one of my favorite go-to bakes when I want something that feels special without fuss.
Make a batch this weekend. Start with the basic formula here, then nudge it toward savory or sweet depending on what’s in your kitchen. They’re forgiving, and once you get the hang of the rhythm—mix, pour, bake—you’ll find yourself making them again and again.

Classic Popovers
Ingredients
Ingredients
- 1 tablespoonmelted unsalted butter for greasing the pan
- 1 1/4 cupswhole milk
- 2 largeeggs
- 1 cupall purpose flour
- 1/4 teaspoonfine sea salt
- 2 tablespoonsunsalted butter melted
Instructions
Instructions
- Preheat the oven to 425°F. Place an oven rack in the center or bottom third of the oven. Grease a muffin tin or popover tin with the 1 tablespoon melted unsalted butter and set the tin aside.
- In a blender or a medium bowl, combine 1 1/4 cups whole milk and 2 large eggs. If using a blender (immersion or standard), blend until there are no streaks of whites or yolks. If whisking by hand, whisk until fully combined and smooth.
- Add 1 cup all-purpose flour and 1/4 teaspoon fine sea salt to the milk-and-egg mixture. Pulse in the blender until just combined and smooth, or whisk until no lumps remain. Do not overmix.
- Stir in the 2 tablespoons unsalted butter, melted (cool slightly if it is very hot), and mix until the batter is thoroughly incorporated and smooth.
- Divide the batter among the greased cups, filling each 2/3 to 3/4 full.
- Put the filled tin in the oven (center or bottom third) and bake undisturbed at 425°F for 20 minutes. Do not open the oven door during this time.
- After the initial 20 minutes, continue baking according to the tin you used: bake an additional 13–15 minutes if using a standard muffin tin, or an additional 18–20 minutes if using a popover tin, until the popovers are golden brown and feel light.
- Remove the popovers from the oven. They should be crisp on the outside and slightly soft inside. Serve warm (they pair well with butter, jam, or gravy/sauce).
Notes
Alternatively, you can also add herbs and spices to taste.