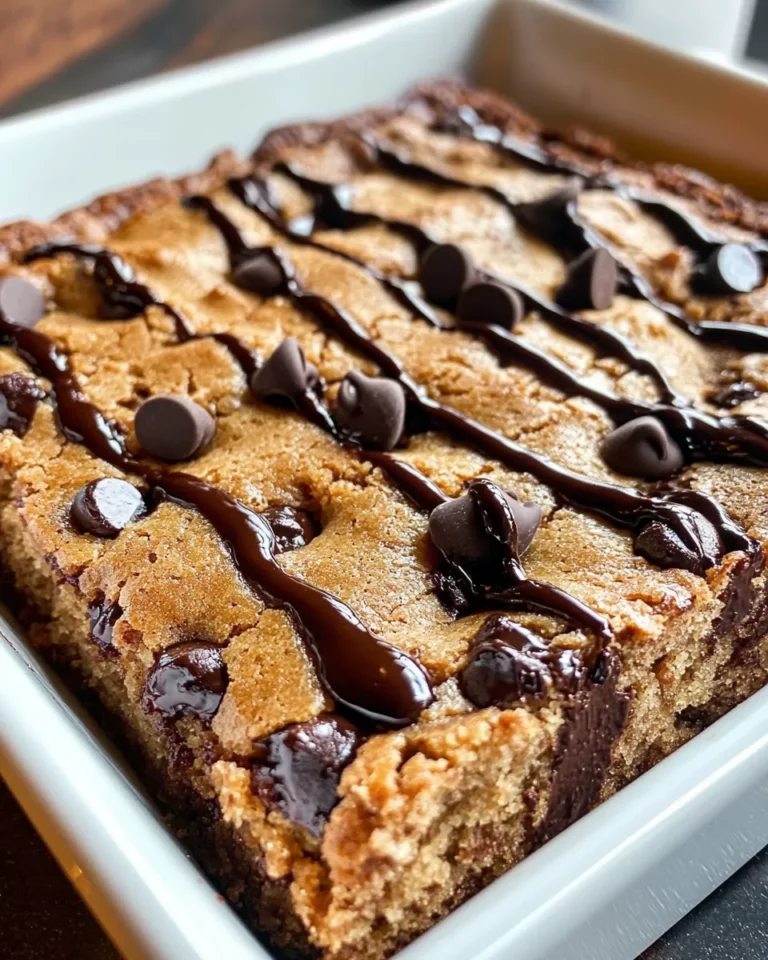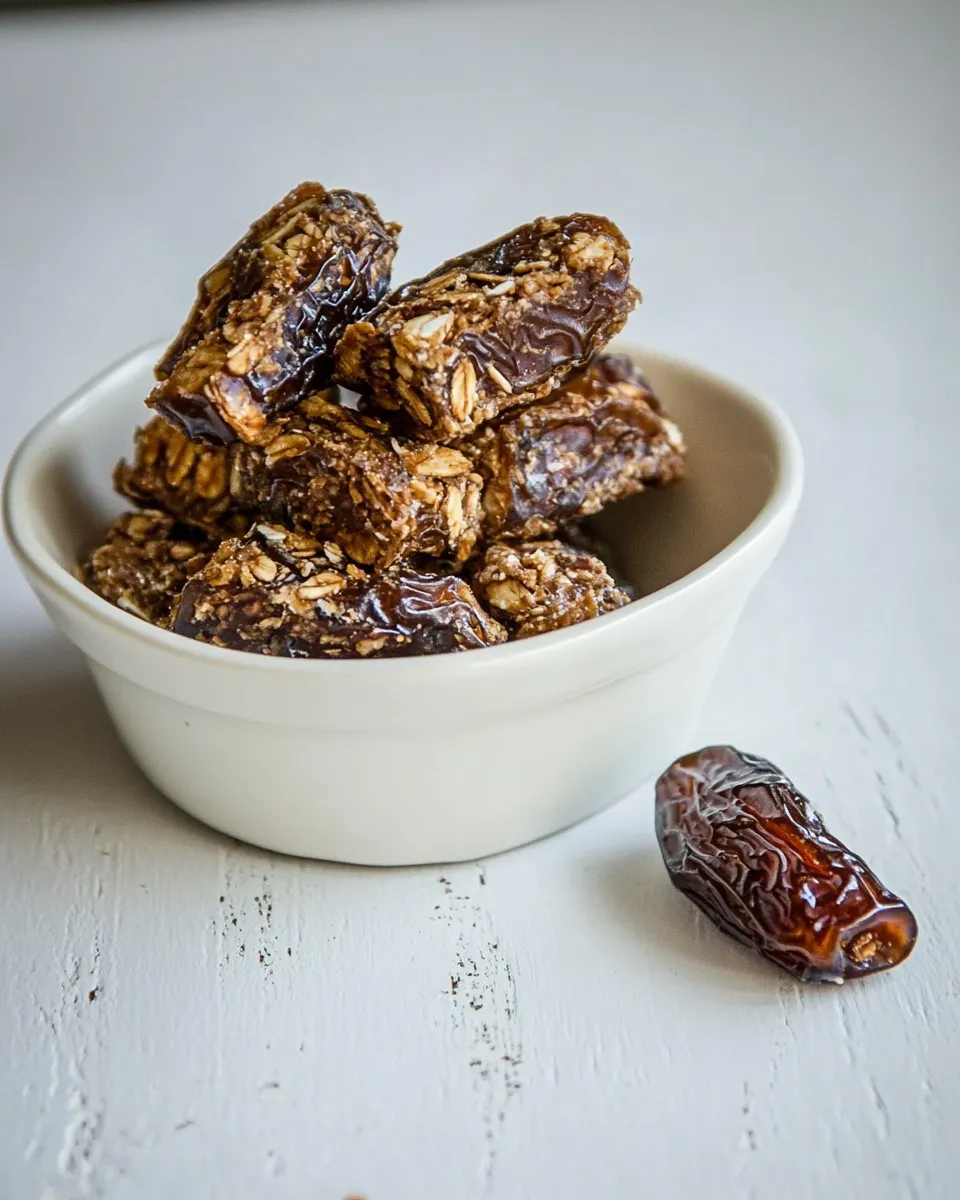
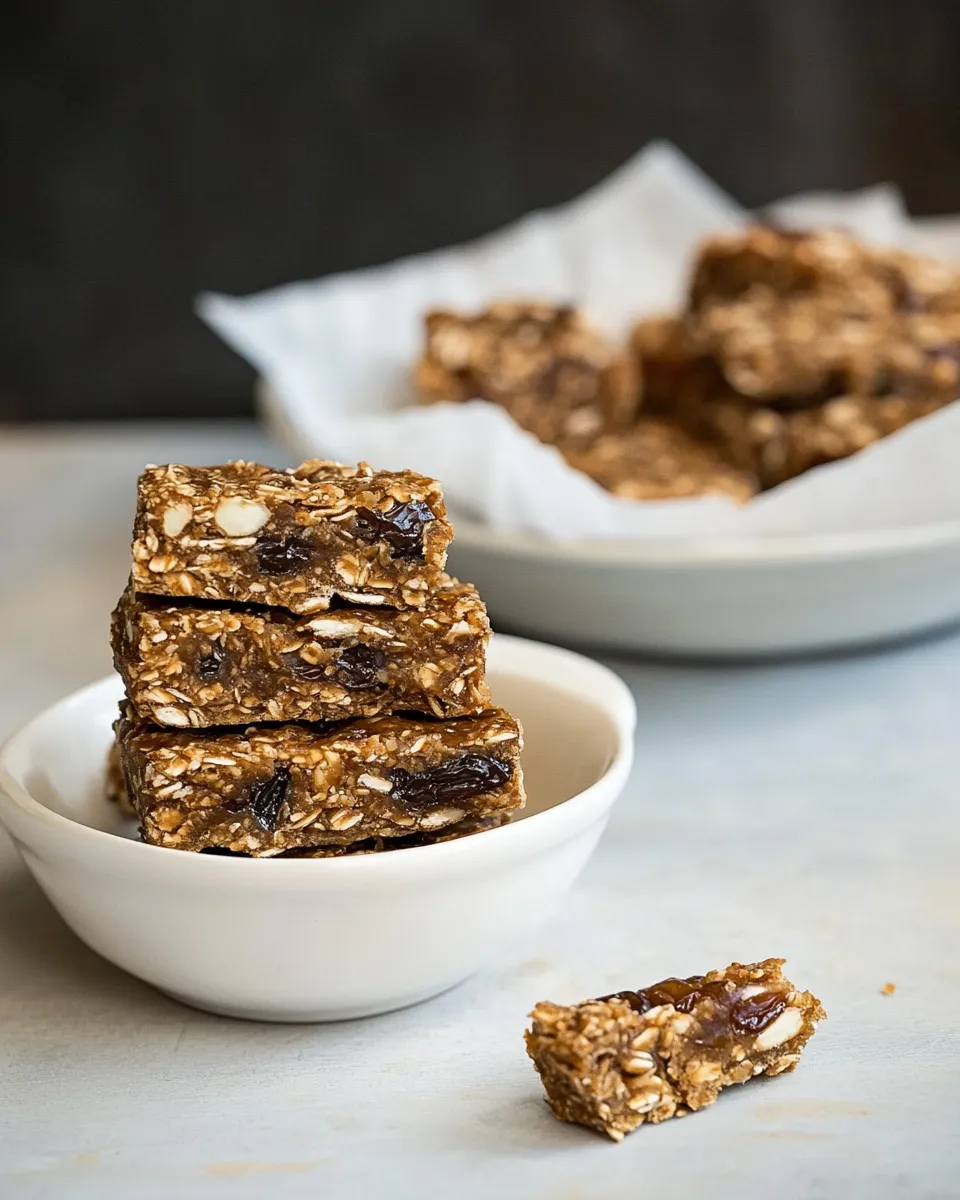
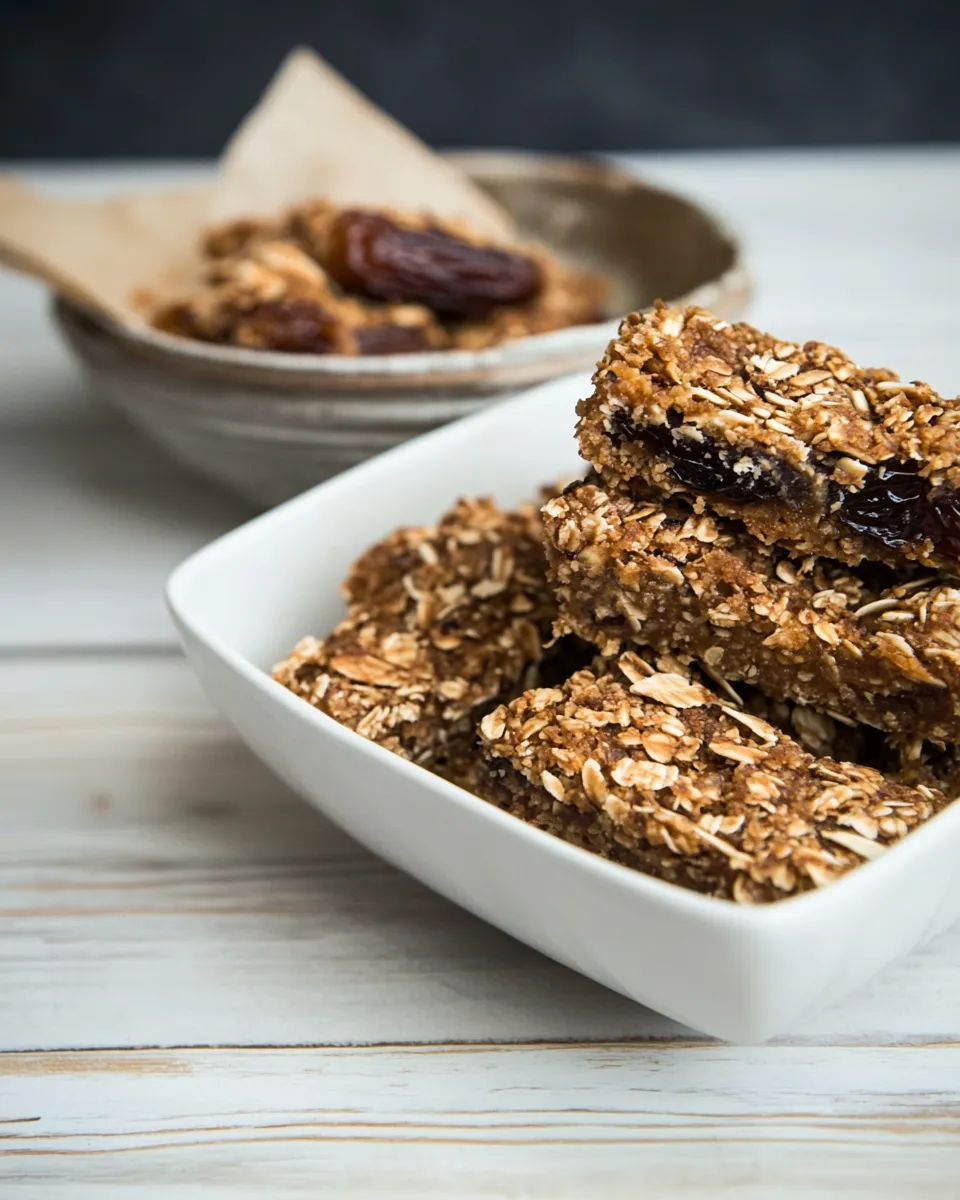
These crunchies are my weeknight hero: simple ingredients, quick make time, and a reliably chewy, golden result. They’re sweet without being cloying, and the chopped dates give the bars a rounded, caramel-like depth that pairs well with a strong cup of tea or a midday coffee. I keep a pan in the cupboard for those afternoons when I need a quick bake that doesn’t demand babysitting.
The method is straightforward: combine dry ingredients, make a hot butter-and-syrup binder, stir, press and bake. The timing is key, and a firm press before baking makes for the right texture—crisp edges, tender center. These crunchies store well and travel even better.
Below you’ll find a clear shopping list, the exact step-by-step recipe, troubleshooting tips and sensible swaps. If you want to scale, store, or adapt these for dietary needs, I’ve included practical options that don’t overcomplicate the process.
Shopping List
Grab everything on the ingredients list below in one trip. Look for good-quality butter and soft, plump dates—those will make the biggest difference. If your golden syrup is hard to find, note the substitutions in the “Easy Ingredient Swaps” section.
Ingredients
- 1 cup flour — provides structure; plain/all-purpose flour works fine.
- 2 cups oats — gives chew and body; rolled oats are best for texture.
- 1 cup desiccated coconut — adds flavor and a bit of dryness to balance the binder.
- 180 gm dates, finely chopped — sweet, caramel notes; chop small so they distribute evenly.
- 230 g butter — the fat and flavor base; use salted or unsalted and adjust taste if needed.
- 1 T golden syrup — helps bind and caramelize; introduces that toffee note.
- 1 cup brown sugar — adds moisture and depth; light or dark brown will both work.
- 1 t bicarbonate of soda — a little lift and tenderness; stir in at the hot stage as directed.
Crunchies with dates: Step-by-Step Guide
- Preheat the oven to 180°C. Grease or line a baking tray (about 30 cm x 20 cm, depending on how thick you want the crunchies).
- In a large bowl, mix the flour, oats, desiccated coconut and the finely chopped dates until evenly combined.
- In a small saucepan over low–medium heat, melt the butter. Add the golden syrup and the brown sugar and stir until the sugar is dissolved and the mixture is hot and beginning to bubble.
- When the butter mixture is bubbling, add the bicarbonate of soda, stir quickly to combine (the mixture may foam), and remove the pan from the heat.
- Pour the butter mixture into the bowl with the dry ingredients and stir until everything is evenly coated and combined.
- Transfer the mixture to the prepared tray and press it down firmly and evenly (use the back of a metal spoon) to compact the mixture.
- Bake at 180°C for 15 minutes. Then reduce the oven temperature to 160°C and bake for a further 10 minutes, or until the top is golden brown—watch closely to prevent burning.
- Remove from the oven and allow the crunchies to cool completely in the pan before slicing into squares.
Why It’s My Go-To
This recipe delivers consistent results every time. The ingredients are pantry staples for most cooks, and the technique doesn’t rely on precise whipping or complicated folds. One pan, minimal washing up, and you have a snack that feels homemade and thoughtful.
Texture is the other reason: the oats plus desiccated coconut create a satisfying chew, while the hot butter-syrup step gives a caramelized edge. Dates add natural sweetness and complexity, so these bars never taste flat or one-note.
Easy Ingredient Swaps
- Golden syrup — if unavailable, use an equal amount of light corn syrup or mild honey. Flavor will shift subtly; honey will add floral notes.
- Desiccated coconut — swap for an equal volume of chopped nuts for crunch instead of coconut, or omit if you prefer.
- Brown sugar — use coconut sugar in a 1:1 ratio for a less molasses-forward flavor, though color and caramelization will differ slightly.
- Butter — for a dairy-free option, use a firm plant-based spread with similar fat content; expect a small flavor change.
Equipment at a Glance
- Mixing bowl — large enough to hold dry and wet ingredients comfortably.
- Small saucepan — to melt butter and dissolve sugar without burning.
- Metal spoon — for pressing the mixture evenly into the tray.
- Baking tray, about 30 cm x 20 cm — choose size depending on desired thickness.
- Knife or bench scraper — to slice the cooled slab into squares.
Pitfalls & How to Prevent Them
Overbaking is the most common mistake. The recipe calls for an initial 15 minutes at 180°C, then a drop to 160°C for 10 more minutes. That two-stage bake gives a nicely browned top without overcooking the center. Watch the tray closely in the last 5 minutes.
Not pressing the mixture firmly will produce loose, crumbly bars. Use the back of a metal spoon and compact the mixture until it feels dense in the pan. That compression helps the sugar-butter binder knit the oats together during baking.
Adding bicarbonate of soda at the wrong temperature or letting it sit too long before baking can reduce its effectiveness. Follow the instruction: add it when the butter mixture is bubbling, stir quickly, then combine and press into the tray right away.
Better Choices & Swaps
If you want to nudge this recipe toward whole-food options, swap half the flour for wholemeal flour. That will give a nuttier flavor and a firmer texture. Another clean swap: choose unrefined brown sugar or evaporated cane juice for a less processed sweetener.
For extra nutrition, fold in a small handful (no more than 1/3 cup) of seeds—like sunflower or pumpkin—at the mixing stage. They add crunch and healthy fats without overwhelming the texture.
Cook’s Notes
Chop the dates small. Large chunks can create soft pockets that disturb the even set of the bars. Finely chopped dates distribute throughout and caramelize slightly against the oats and coconut.
Tray size matters. A smaller tray yields thicker bars and longer bake times; a larger tray gives thinner, crisper squares. The guideline in the recipe is about 30 cm x 20 cm—use that as your baseline.
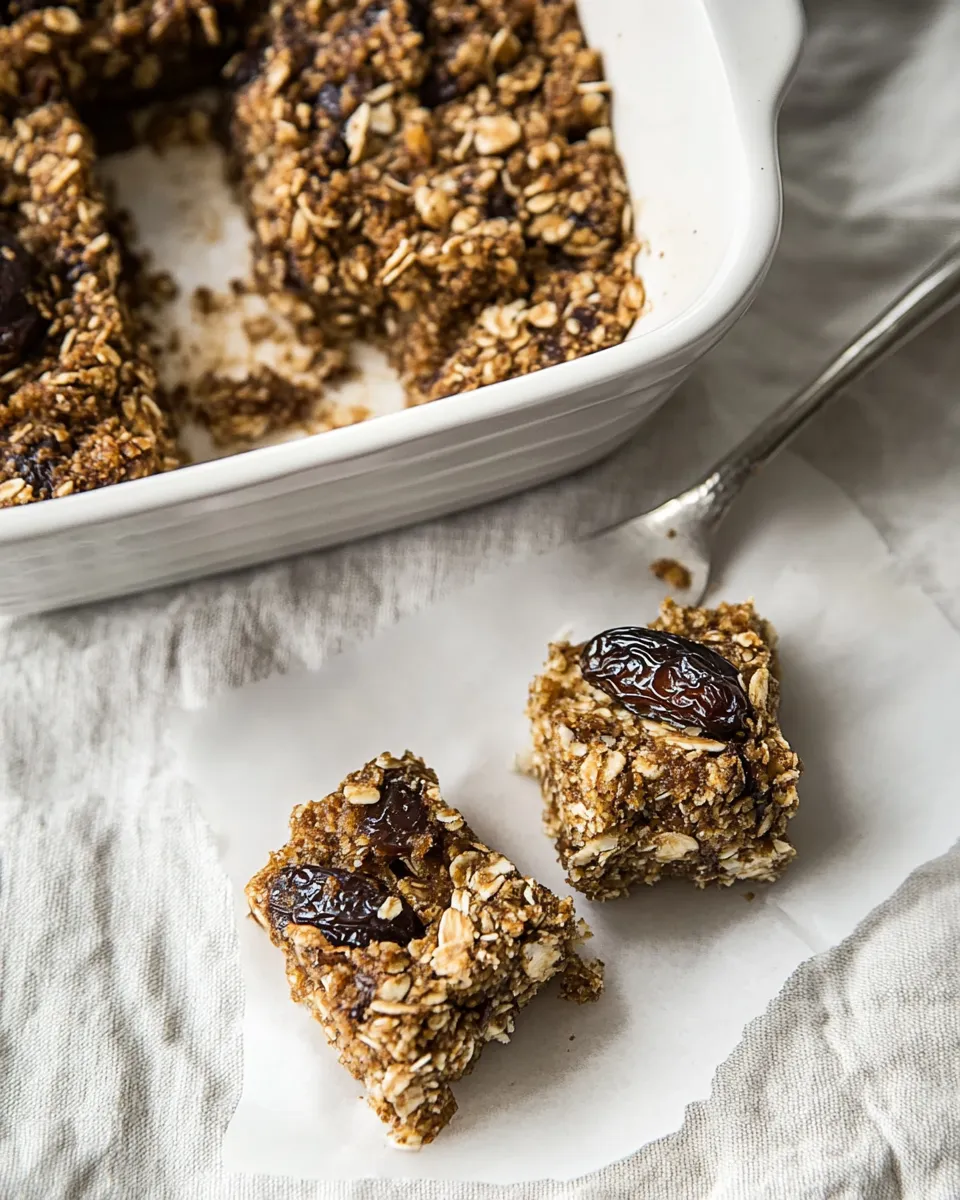
Let the crunchies cool completely before slicing. Cutting while warm will result in ragged edges and crumbling. If you’re impatient, chill the tray 15–20 minutes to firm up the slab, then cut cleanly.
Make Ahead Like a Pro
Storage
Once cooled, store the squares in an airtight container at room temperature for up to 5 days. Place a sheet of baking paper between layers to prevent sticking. For longer storage, freeze individual squares in a sealed bag for up to 3 months.
Reheating
Pop a frozen square in a preheated 150°C oven for 6–8 minutes to refresh the texture. Or microwave a single piece for 10–15 seconds—watch carefully so it doesn’t become too soft.
Frequently Asked Questions
- Can I use medjool dates? — Yes. Medjools are soft and sweet; chop them finely. If your dates are drier, soak them briefly in warm water, drain, and pat dry before chopping.
- What if my top browns too quickly? — Lower the oven racks or reduce the top element if your oven allows. You can also tent lightly with foil toward the end of baking.
- Can I halve the recipe? — Yes. Keep proportions identical and use a smaller tray; watch bake time closely as it will likely finish sooner.
- Are these suitable for lunchboxes? — Absolutely. They pack well and aren’t overly sticky once cooled. Wrap individually for easier transport.
Save & Share
If you try this recipe, save a photo showing the inside texture—those date flecks and coconut bits are the sign of a good bake. Share with friends or leave a note on the recipe card for substitutions you tested. Baking is better when tips travel.
Bookmark this page or print the ingredients list and steps. Keep the method handy for those afternoons when you want a reliable, tasty snack that’s made from simple pantry ingredients.

Crunchies with dates
Ingredients
Ingredients
- 1 cupflour
- 2 cupsoats
- 1 cupdesiccated coconut
- 180 gm datesfinley chopped
- 230 gbutter
- 1 Tgolden syrup
- 1 cupbrown sugar
- 1 tbicarbonate of soda
Instructions
Instructions
- Preheat the oven to 180°C. Grease or line a baking tray (about 30 cm x 20 cm, depending on how thick you want the crunchies).
- In a large bowl, mix the flour, oats, desiccated coconut and the finely chopped dates until evenly combined.
- In a small saucepan over low–medium heat, melt the butter. Add the golden syrup and the brown sugar and stir until the sugar is dissolved and the mixture is hot and beginning to bubble.
- When the butter mixture is bubbling, add the bicarbonate of soda, stir quickly to combine (the mixture may foam), and remove the pan from the heat.
- Pour the butter mixture into the bowl with the dry ingredients and stir until everything is evenly coated and combined.
- Transfer the mixture to the prepared tray and press it down firmly and evenly (use the back of a metal spoon) to compact the mixture.
- Bake at 180°C for 15 minutes. Then reduce the oven temperature to 160°C and bake for a further 10 minutes, or until the top is golden brown—watch closely to prevent burning.
- Remove from the oven and allow the crunchies to cool completely in the pan before slicing into squares.
Equipment
- Oven
- Mixing Bowl
- Saucepan
- Baking tray
- metal spoon
Notes
Store in an airtight container for up to 3 – 4 weeks. You can freeze crunchies too.