There’s something satisfying about mixing a small jar of spice blend that will show up in dinner for weeks. This DIY taco seasoning is exactly that: straightforward, flexible, and built for busy cooks who prefer control over their pantry. You can make it in five minutes, store it on the shelf, and reach for it when you want quick, reliable taco flavor without a bag of mystery salt and additives.
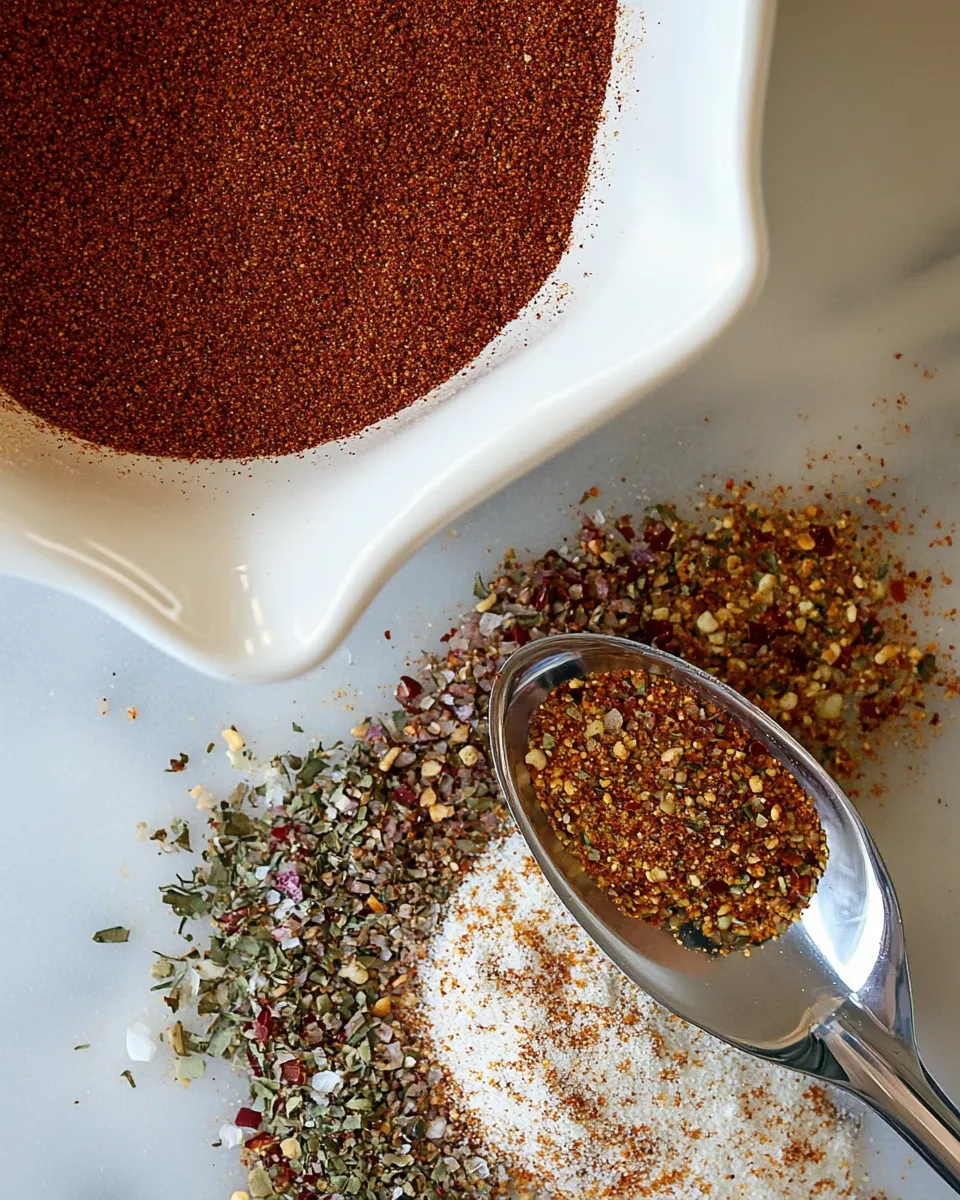
I keep a jar near the stove and use it in so many ways beyond tacos — it brightens beans, seasons roasted vegetables, and wakes up scrambled eggs. The recipe below is intentionally simple: a balance of chili, paprika, cumin, oregano, and a few aromatics. Nothing fussy. Everything practical.
Ingredients
- 1 tablespoon chili powder — the backbone of the blend; adds warmth and the familiar “taco” flavor.
- 2 teaspoons paprika — lends color and mild sweetness; smoked paprika works here if you want a smoky edge.
- 1 teaspoon cumin — earthy and toasty; a little goes a long way in taco blends.
- 1 teaspoon oregano — herbal lift; balances the richer spices.
- 1/2 teaspoon garlic powder — savory depth without fresh garlic’s moisture.
- 1/2 teaspoon onion powder — rounds the flavor and supports the garlic note.
- 1/4 teaspoon kosher salt — brings out the other spices; adjust later to taste when you use the mix.
- 1/4 teaspoon black pepper — ground black pepper gives a gentle bite and complexity.
- 1/4 teaspoon red pepper flakes — provides a touch of heat; leave out if you prefer milder blends.
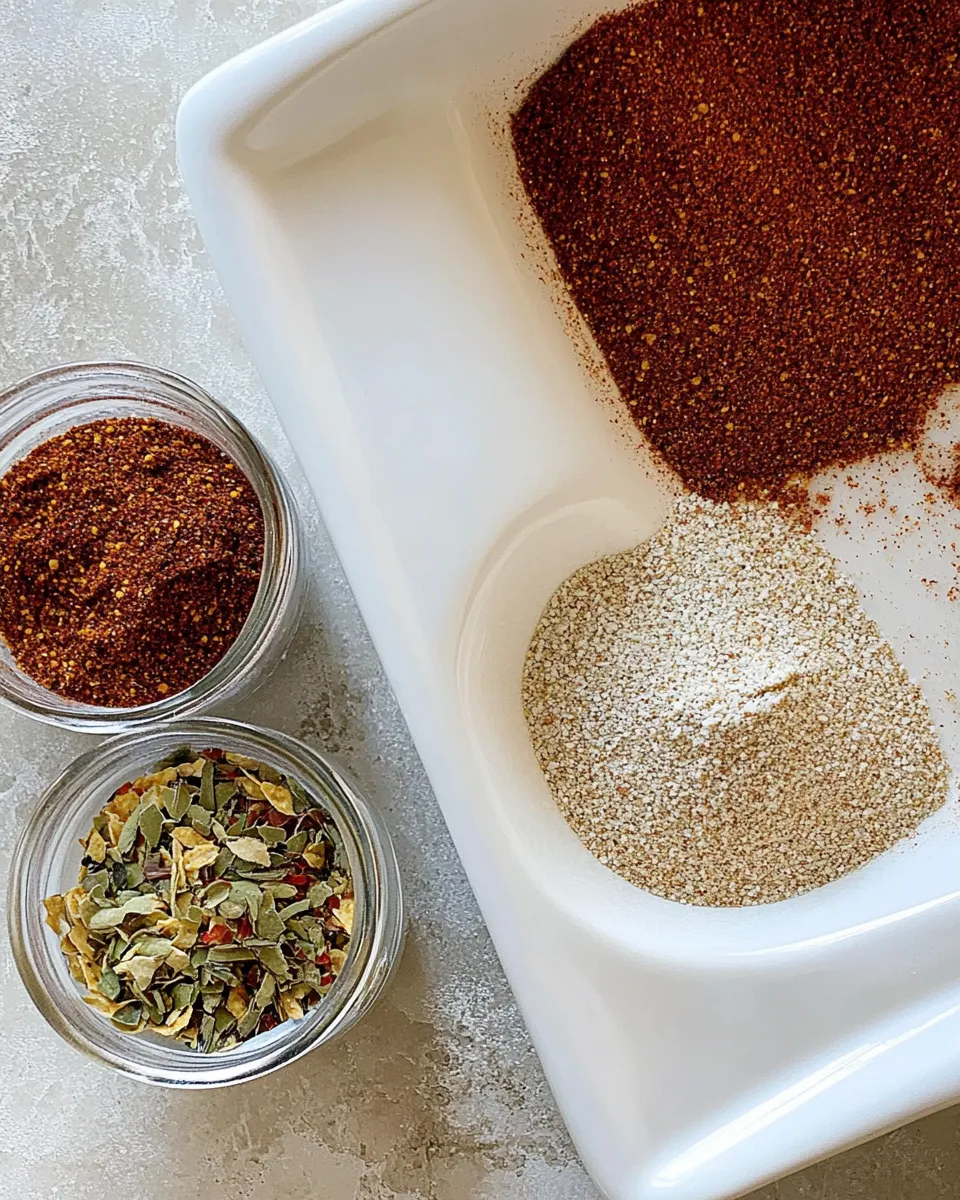
What You’ll Gather
Gather your spices, measuring spoons, and a small bowl or a clean glass jar with a tight-fitting lid. Clear a little counter space and a spoon or whisk. You don’t need anything fancy — a clean jar becomes both your mixing bowl and storage container if you want to keep this truly simple.
Work with fresh spices when you can. They’ll blend more evenly and give a brighter flavor. If the pantry has been quiet for a while, give the jars a sniff; stale spices will make the mix feel flat.
DIY Taco Seasoning: From Prep to Plate
- Gather measuring spoons and a small bowl or a clean glass jar with a tight-fitting lid. Measure out: 1 tablespoon chili powder, 2 teaspoons paprika (smoked paprika optional), 1 teaspoon cumin, 1 teaspoon oregano, 1/2 teaspoon garlic powder, 1/2 teaspoon onion powder, 1/4 teaspoon kosher salt, 1/4 teaspoon black pepper, and 1/4 teaspoon red pepper flakes.
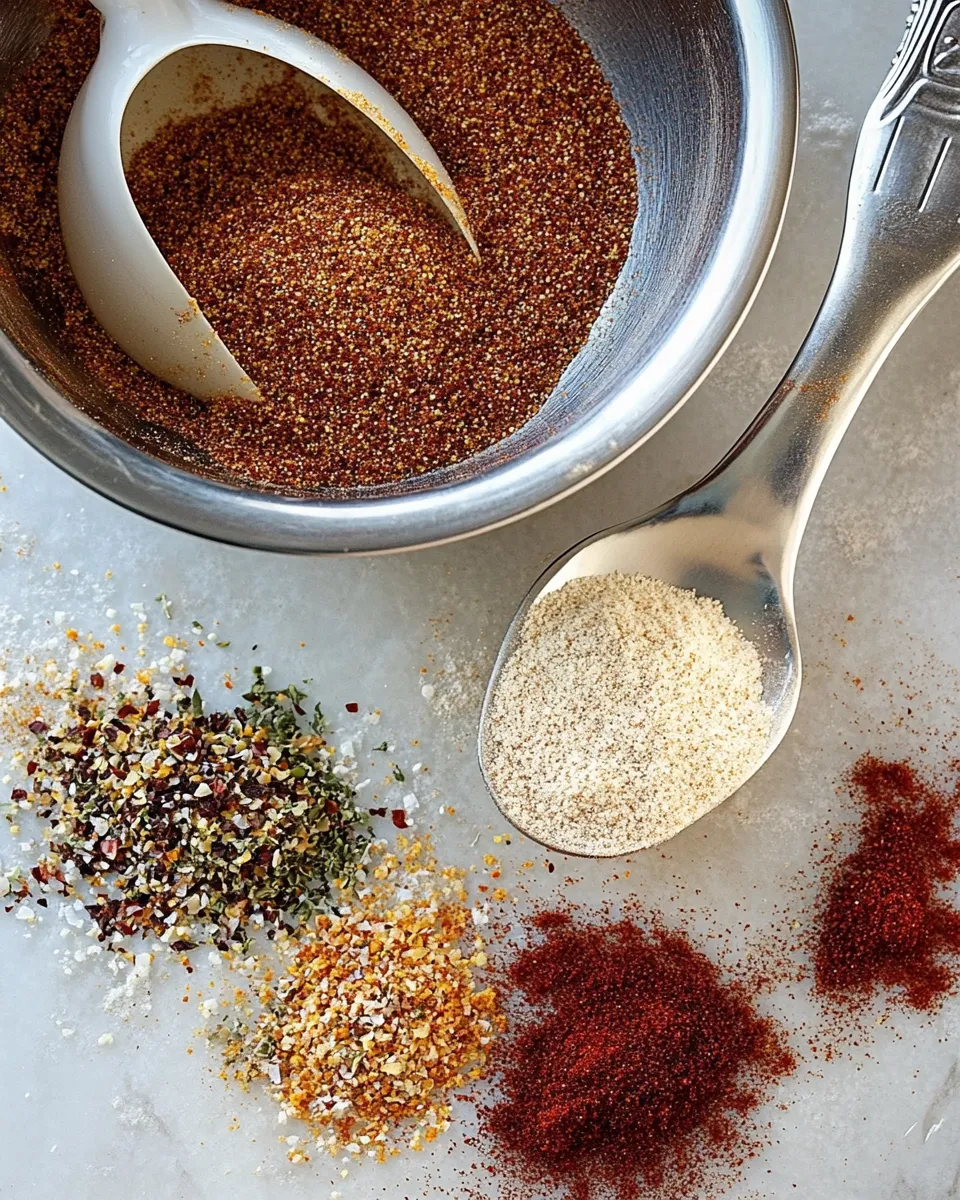
- Add each measured spice to the bowl or directly into the glass jar.
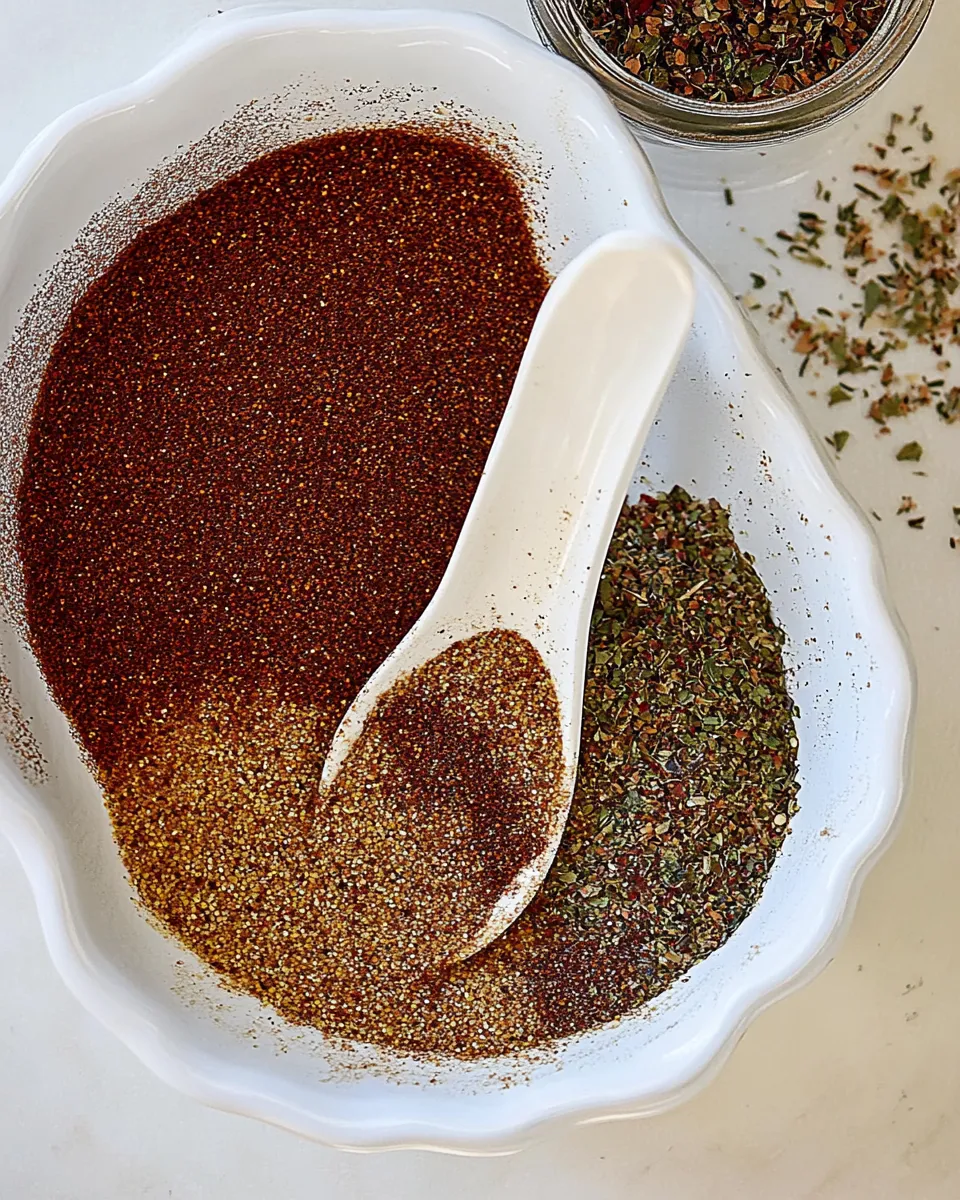
- If using a bowl: stir the spices thoroughly with a spoon or whisk until uniformly blended. If using a jar: secure the lid and shake vigorously for 20–30 seconds until evenly mixed.
- Transfer the blended seasoning into a clean glass container with a lid if you mixed in a bowl.
- Label the container (Taco Seasoning and the date), then store it in a cool, dry place.
- Use the seasoning as desired; shake or stir before each use to redistribute any settled bits.
What Makes This Recipe Special
First, it’s uncomplicated. There are no obscure ingredients and no steps that require special equipment. The proportions are tuned to give a balanced mix where chili powder leads and the other spices play supporting roles. That means the blend works as-is on ground meat and in vegetarian fillings alike.
Second, it’s customizable without being fragile. Switch paprika for smoked paprika if you want smoke. Reduce the red pepper flakes for kids’ plates or increase them for an assertive rub. The recipe is a foundation — a dependable, neutral starting point from which you can tweak to your taste.
If You’re Out Of…
If you find you’re missing one of the spices, the mix can often survive a temporary gap. Miss the paprika? The chili powder still provides color and body. Short on onion or garlic powder? Fresh minced versions will work in the final dish, though they add moisture and a different texture. If you lack oregano, a small pinch of another dried herb will not ruin the mix — just be mindful of stronger herbs that can overwhelm the delicate balance.
The simplest option is to make the blend without the missing ingredient and adjust when you use it. Taste as you cook and add a little of what’s available to reach the profile you want.
Setup & Equipment
Keep the setup minimal: measuring spoons (tablespoon and teaspoon sets), a small bowl or a jar with a lid, a spoon or whisk, and a clean storage jar with a tight lid. A marker or label makes life easier for future-you.
If you’re making a larger batch, a kitchen scale helps for precision, but for this amount, measuring spoons are perfectly sufficient. A jar lets you shake the blend to redistribute settled pieces before using.
Don’t Do This
Do not skip measuring. Spices are potent; a little change in proportion changes the result. Eyeballing can turn a balanced blend into something too salty or too hot. Also, don’t store the mix in a warm spot near the stove or above the oven — heat and humidity speed up degradation.
Finally, don’t assume one jar will last forever. Spices lose aromatics over time. Keep the jar sealed and pull it forward for weekly use so it doesn’t sit forgotten at the back of a cabinet.
Seasonal Serving Ideas
Spring: Brighten roasted asparagus or mushrooms with a light dusting. The seasoning pairs well with lemon and fresh herbs, so it works nicely on spring vegetables.
Summer: Sprinkle over grilled corn or mix into a quick slaw for tacos at the grill. It plays well with tomato and avocado — think pico de gallo topped with a pinch of this blend.
Fall: Use as a dry rub on roasted sweet potatoes or pumpkins. The earthy cumin and chili powder complement the caramelized sweetness of autumn vegetables.
Winter: Add a spoonful to soups and stews to introduce warmth and complexity. It’s also a handy option for one-pan comfort meals where you want a consistent, familiar spice profile.
Cook’s Commentary
I make this mix in small jars and keep one by the stove and another in the pantry. When a jar begins to look paler or the aroma isn’t lively when I open it, I make a fresh batch. Keeping two jars means I always have one ready while the other is in use.
One tip: when you’re seasoning meat, sprinkle a little seasoning early in the cook and a touch more at the end. That layers the flavor and stops it from tasting flat. Also, if you prefer a looser, milder profile, halve the red pepper flakes and the salt and adjust at the pan.
Leftovers & Meal Prep
This blend stores well. Because it’s dry, leftover seasoning doesn’t spoil the way fresh sauces do. Make a double batch if you cook tacos often; the work of mixing is the same and you’ll thank yourself later. If you batch it up, use a clean, airtight container and label it so you know when you made it.
When prepping meals, portion the seasoning in small containers or sprinkle directly into cook-in bags for proteins and vegetables. A small shaker lid on your jar makes it easier to sprinkle evenly when you’re in the middle of a busy weeknight.
Common Questions
Q: Can I reduce sodium?
A: Yes. The recipe includes 1/4 teaspoon kosher salt. Omit it when making the blend if you prefer to control salt at the point of cooking, or use less salt and adjust later.
Q: Is this gluten-free?
A: The individual spices are naturally gluten-free, but always check labels of packaged spices if gluten sensitivity is a concern. Choose certified gluten-free spice brands when needed.
Q: How long does the seasoning last?
A: Stored sealed in a cool, dry place, the seasoning keeps its aroma for months. For the best flavor, make batches that you will use within a reasonable timeframe and replace them when the scent fades.
Q: Can I double or triple the recipe?
A: Absolutely. Simply multiply the measurements and mix in a larger bowl or shaker jar. Larger batches save time, but remember to keep them sealed and labeled.
See You at the Table
Simple, reliable, and ready whenever you need a hit of taco flavor — that’s what this DIY taco seasoning gives you. No mystery additives, no unnecessary salt, and a base that you can adjust to match your family’s preferences. Make a jar, label it, and reach for it when the week gets busy. It’s a small habit that will show up in a lot of dinners.
If you try this blend, tell me how you used it. Did it become your go-to taco rub, or did you discover a new favorite use? I love hearing how pantry staples evolve in real kitchens.
DIY Taco Seasoning
Ingredients
Ingredients
- 1 tablespoonChili Powder
- 2 teaspoonspaprikaI like to use smoked paprika
- 1 teaspooncumin
- 1 teaspoonoregano
- 1/2 teaspoongarlic powder
- 1/2 teaspoononion powder
- 1/4 teaspoonkosher salt
- 1/4 teaspoonblack pepper
- 1/4 teaspoonred pepper flakes
Instructions
Instructions
- Gather measuring spoons and a small bowl or a clean glass jar with a tight-fitting lid. Measure out: 1 tablespoon chili powder, 2 teaspoons paprika (smoked paprika optional), 1 teaspoon cumin, 1 teaspoon oregano, 1/2 teaspoon garlic powder, 1/2 teaspoon onion powder, 1/4 teaspoon kosher salt, 1/4 teaspoon black pepper, and 1/4 teaspoon red pepper flakes.
- Add each measured spice to the bowl or directly into the glass jar.
- If using a bowl: stir the spices thoroughly with a spoon or whisk until uniformly blended. If using a jar: secure the lid and shake vigorously for 20–30 seconds until evenly mixed.
- Transfer the blended seasoning into a clean glass container with a lid if you mixed in a bowl.
- Label the container (Taco Seasoning and the date), then store it in a cool, dry place.
- Use the seasoning as desired; shake or stir before each use to redistribute any settled bits.
Equipment
- Measuring Spoons
- Small Bowl
- glass jar with lid
- spoon or whisk
Notes
Makes about 3 tablespoons.