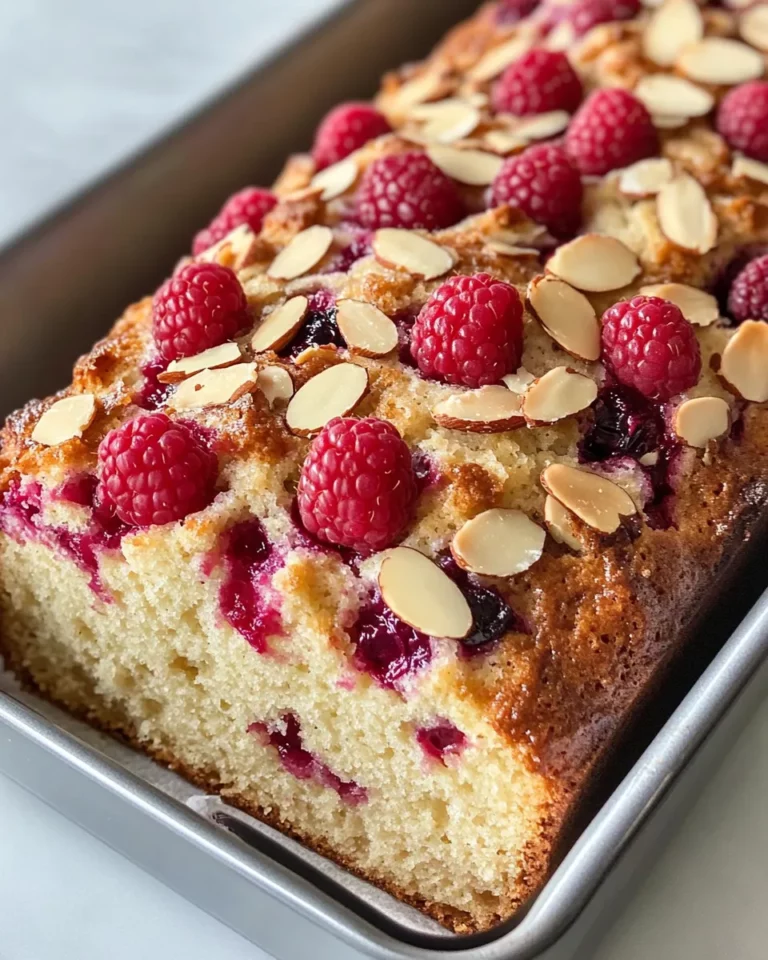
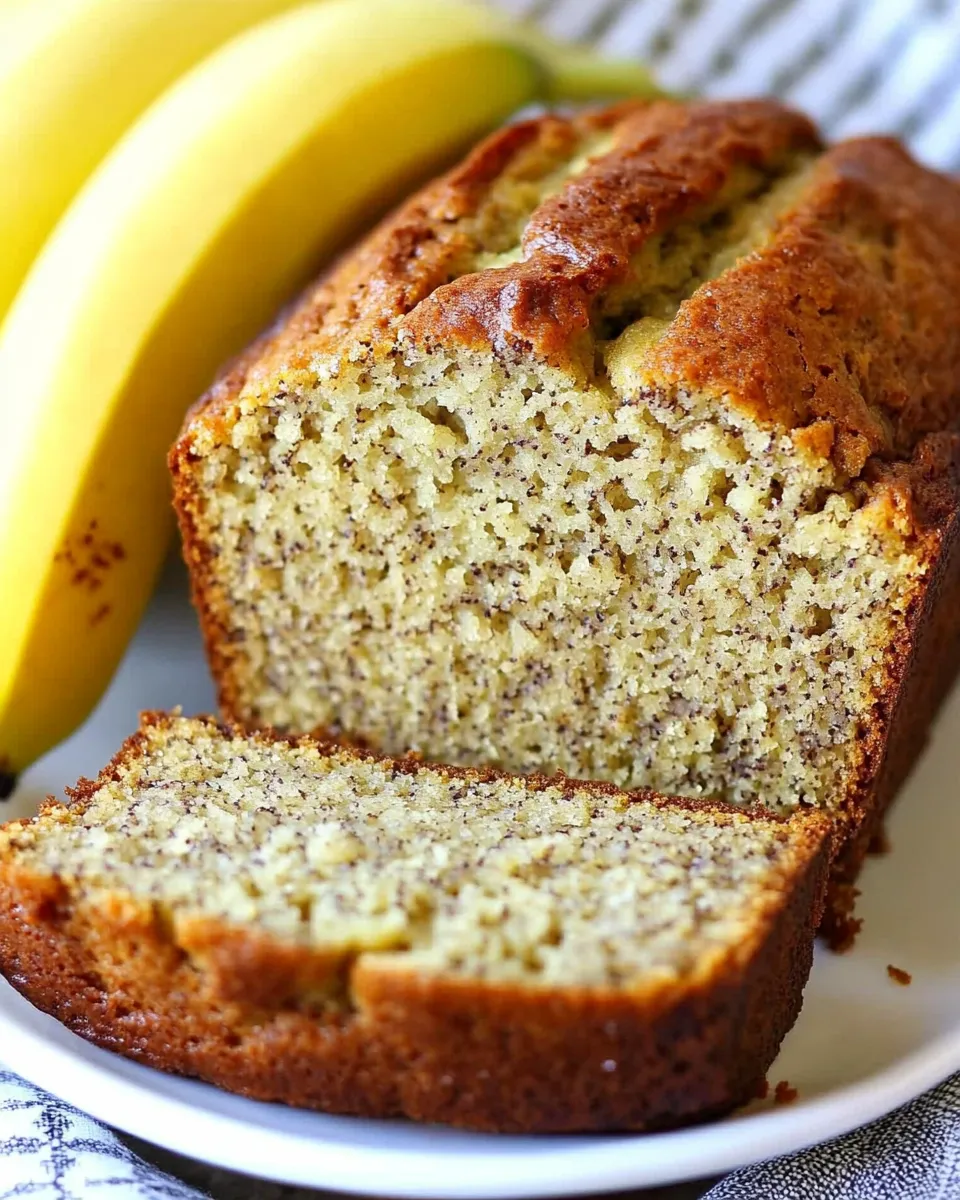
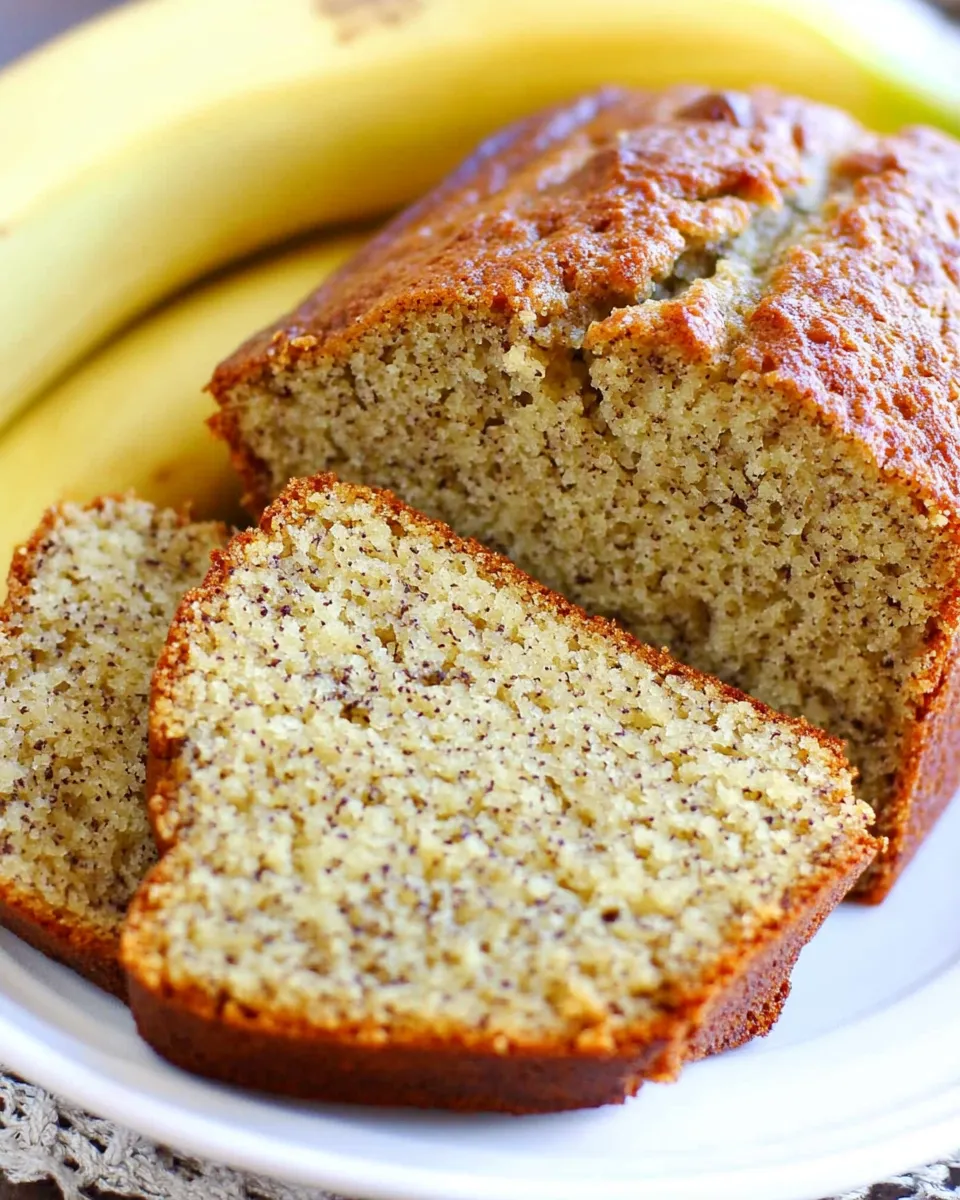
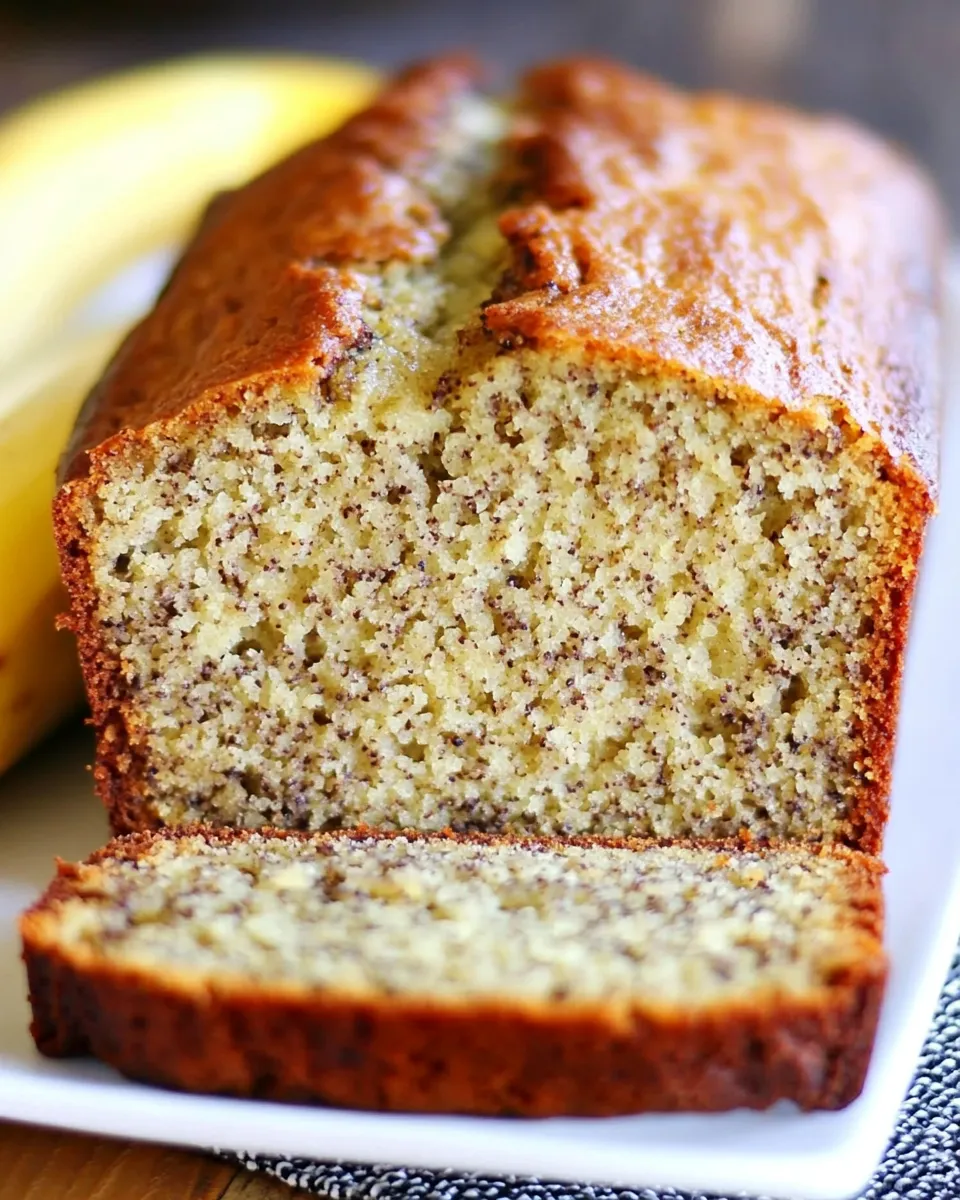
I make this banana bread on lazy Sunday mornings and busy weeknights alike. It’s the kind of recipe that doesn’t demand perfection — overripe fruit and a little patience are enough to turn out something comforting and reliable. No tricks. No fuss. Just a straightforward loaf that smells like home from the moment it goes into the oven.
You’ll find the method below is uncomplicated and forgiving. The texture is tender, the crumb is moist, and the flavor comes from the bananas and brown sugar — simple building blocks doing exactly what they should. If you’re new to baking quick breads, this is a great one to start with.
I’ll walk you through the ingredients, the exact steps to follow, practical swaps, and common slip-ups to avoid. Keep this recipe in your rotation; it’s a dependable fall-back when you need something sweet, simple, and satisfying.
Ingredient Rundown
Ingredients
- ¾ cup brown sugar (packed) — provides sweetness, moisture, and a warm caramel note.
- 1 cup butter (softened) — adds richness and keeps the crumb tender; room temperature is key for creaming.
- 2 eggs — bind the batter and add structure; beat in one at a time for even incorporation.
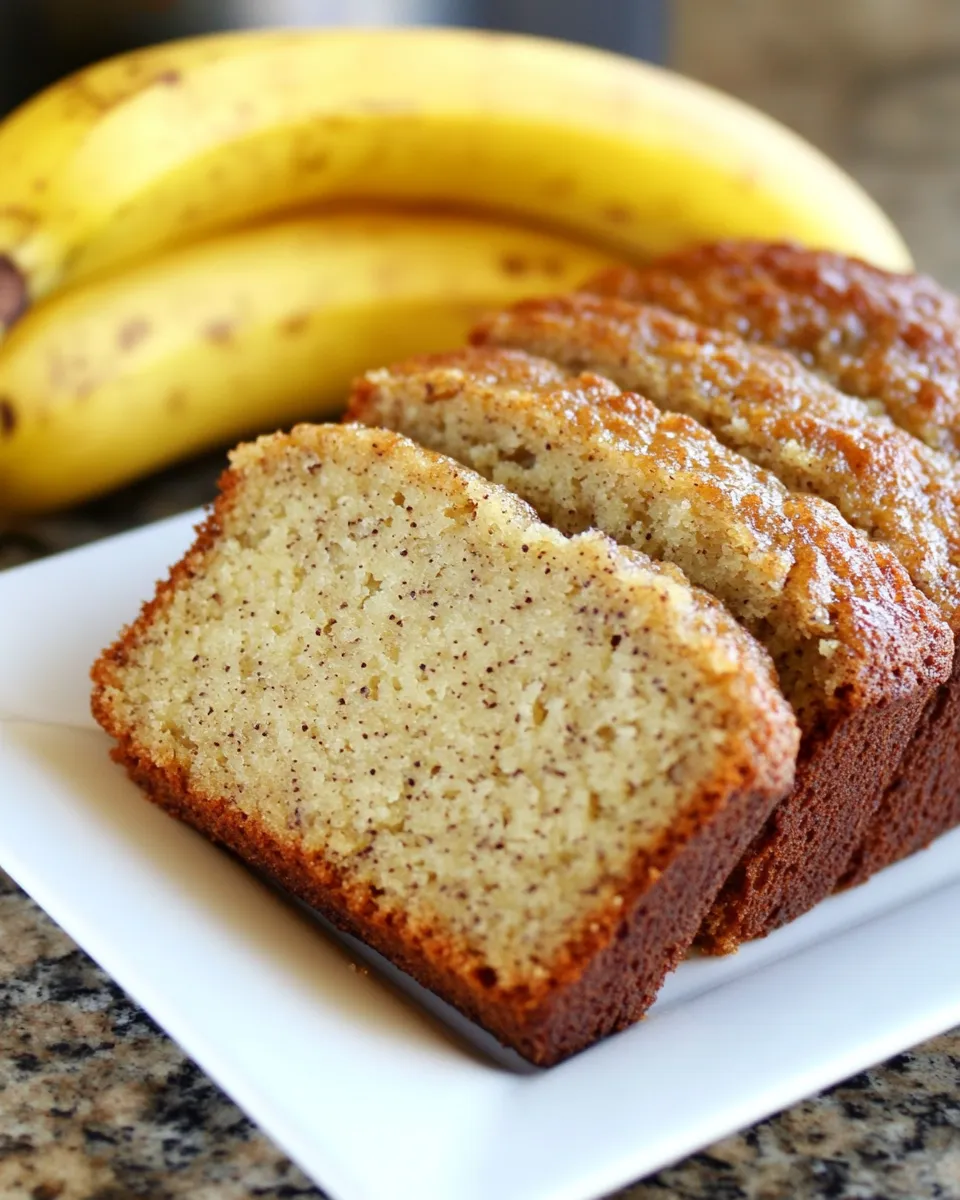
- 4 bananas — the star of the show; ripe with brown spots are best for flavor and moisture.
- 2 cups all-purpose flour — the base; measure by spooning into the cup and leveling for accuracy.
- 1 teaspoon Baking Soda — leavening that reacts with the bananas and sugar to give lift.
- ¼ teaspoon Salt — balances sweetness and enhances overall flavor.
Cook Banana Bread Like This
- Preheat the oven to 350 degrees F. Spray a loaf pan with non-stick spray or grease it and set aside.
- In a large mixing bowl, add ¾ cup packed brown sugar and 1 cup softened butter. Beat until the mixture is light and fluffy.
- Add the 2 eggs, one at a time, beating briefly after each egg until incorporated.
- In a separate bowl, mash the 4 bananas with a fork until mostly smooth. Add the mashed bananas to the butter-sugar-egg mixture and stir until combined.
- In another bowl, whisk together 2 cups all-purpose flour, 1 teaspoon Baking Soda, and ¼ teaspoon Salt.
- Gradually add the dry ingredients to the wet mixture and stir until just combined—do not overmix.
- Pour the batter into the prepared loaf pan and smooth the top.
- Bake at 350 degrees F for about 1 hour, or until a toothpick inserted into the center comes out clean.
- Let the bread cool in the pan for 10–15 minutes, then remove it from the pan and cool on a wire rack until cool enough to slice.
Why This Recipe Belongs in Your Rotation
This banana bread is consistent and low-effort. The ingredient list is short and uses pantry staples, so you can usually put a loaf together without a grocery run. The method — creaming butter and brown sugar, beating in eggs, folding in mashed bananas and dry ingredients — is the classic approach that yields a tender loaf every time.
It’s adaptable. You can make it plain, stud it with nuts, or turn it into a breakfast loaf. It stores well and freezes beautifully. That means you can make a batch, enjoy a few slices, and tuck the rest away for later without losing texture or flavor.
Swap Guide
Want to change things up? Here are reliable swaps and what to expect.
- Butter — Swap for an equal amount of neutral oil (like vegetable or canola) for a slightly denser, moister crumb. The flavor will be less rich but still very pleasant.
- Brown sugar — You can use granulated sugar, but the loaf will lose some of the molasses depth. If you use white sugar, consider adding a teaspoon of molasses if you have it.
- All-purpose flour — You can try 1:1 gluten-free flour blends in many cases, but texture may be a bit crumblier. If you substitute whole wheat flour, swap up to half the amount to avoid a heavy loaf.
- Eggs — For each egg, you can use ¼ cup unsweetened applesauce or ¼ cup mashed banana for an egg-free version, but texture and rise will be reduced.
- Bananas — Use very ripe bananas for best flavor. If you have just-ripe fruit, roast them at 350 degrees F for 15–20 minutes to deepen the flavor and soften them for mashing.
Gear Checklist
- Loaf pan (8×4″ or similar) — to shape the bread properly.
- Mixing bowls — at least two for wet and dry ingredients.
- Mixer or sturdy whisk and wooden spoon — for creaming and combining.
- Measuring cups and spoons — accurate measuring keeps the texture consistent.
- Fork for mashing bananas — quick and perfectly adequate.
- Wire rack — for cooling so the underside doesn’t get soggy.
Slip-Ups to Skip
Simple recipes hide small traps. Avoid these common mistakes.
- Overmixing the batter. Once the dry ingredients go in, stir just until combined. Overmixing develops gluten and yields a dense, chewy loaf.
- Using underripe bananas. Green or firm bananas won’t give the sweet, banana-forward flavor and moisture this loaf needs. Wait until they’re heavily spotted or soft.
- Incorrect oven temperature. Ovens vary. If yours runs hot, the edges will brown before the center cooks. Use an oven thermometer if you suspect this.
- Skipping the cooling step. Pulling the loaf out of the pan too early can cause it to break apart. Let it rest 10–15 minutes, then finish cooling on a rack.
- Not greasing the pan well. Even with non-stick spray, a thorough grease or parchment sling prevents sticking and saves your loaf.
Adaptations for Special Diets
Need to adjust for allergies or preferences? Here are practical ideas.
- Dairy-free — Replace the 1 cup softened butter with 1 cup dairy-free spread at room temperature or 1 cup neutral oil. Expect a slightly different mouthfeel but similar moisture.
- Egg-free — Use ½ cup unsweetened applesauce or mashed banana for the two eggs (¼ cup per egg). The loaf will be denser and more moist; bake time may vary slightly.
- Gluten-free — Use a 1:1 all-purpose gluten-free flour blend that contains xanthan gum. The structure will be comparable, but texture may be a touch crumblier.
- Lower sugar — You can reduce the brown sugar slightly, but remember it contributes to moisture and color. Reducing by more than 25% will change the final texture noticeably.
Chef’s Notes
On banana ripeness
The riper the bananas, the better. When the skins are heavily freckled or nearly black, the interior is sweeter and mashable. That extra sweetness reduces the need for additional sugar and deepens flavor.
On mixing technique
Cream the butter and brown sugar until light and fluffy — that traps air and gives a lighter texture. Add eggs one at a time so the emulsion stays stable. When combining dry and wet, fold with gentle strokes until just blended.
On bake testing
Use a toothpick or thin skewer to test doneness. A clean toothpick means done; a few moist crumbs are okay. If the top is browning too quickly while the center is still wet, tent the loaf loosely with foil for the remaining time.
Best Ways to Store
Let the loaf cool completely before storing. To maintain freshness:
- Wrap the cooled loaf tightly in plastic wrap or foil and keep at room temperature for up to 3 days.
- For longer storage, slice and freeze individual pieces in a single layer on a baking sheet until firm, then transfer to a freezer bag for up to 3 months. Thaw at room temperature or warm gently in a toaster oven.
- If your kitchen is warm and humid, store the wrapped loaf in the refrigerator for up to a week; bring to room temperature before serving for best texture.
FAQ
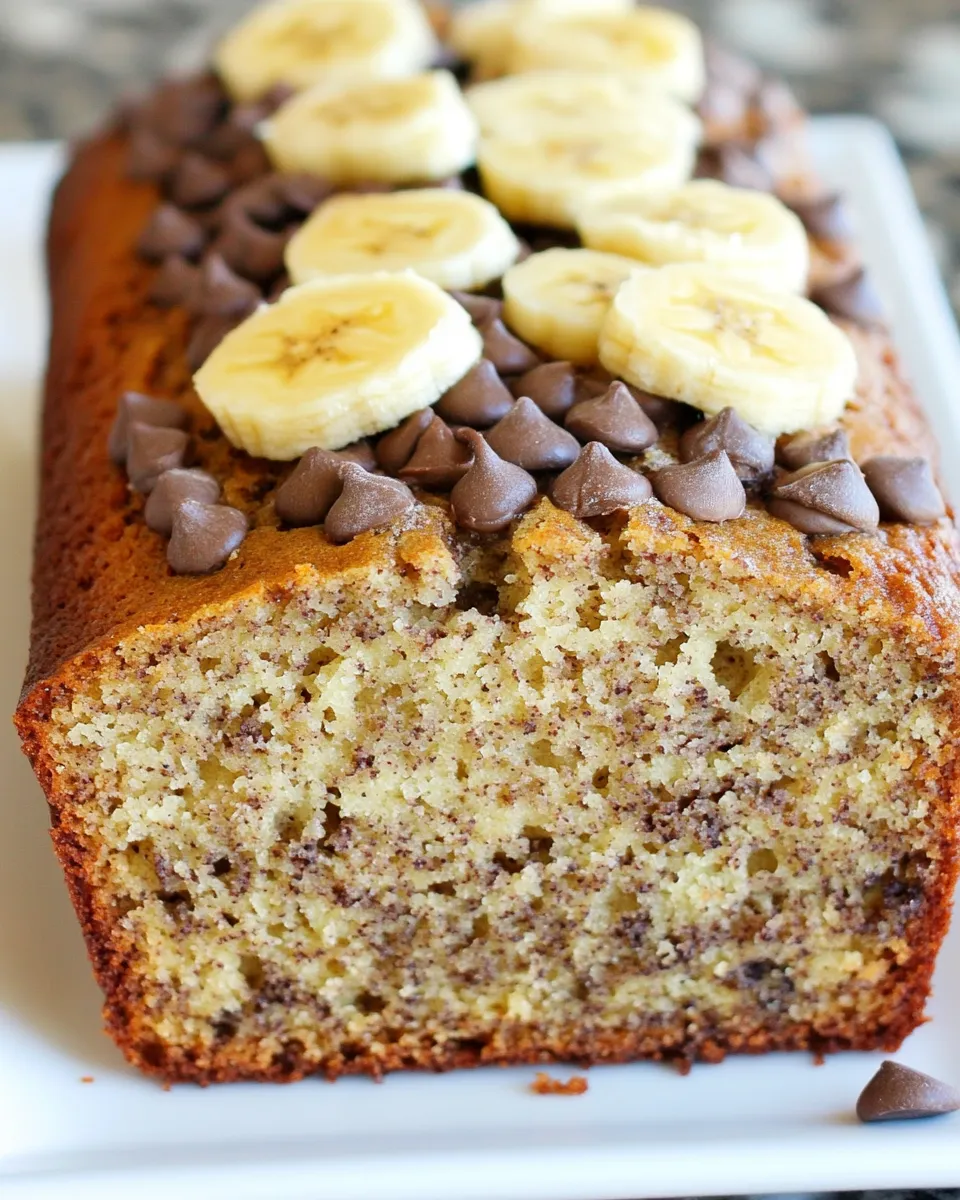
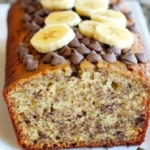
Can I add nuts or chocolate chips?
Yes. Fold in about ½ to 1 cup of chopped nuts, chocolate chips, or dried fruit in step 6 after the batter is mixed. Be gentle so you don’t overmix.
Why did my banana bread sink in the middle?
Sinking can come from underbaking, too much leavening, or opening the oven door too often. Make sure to bake until a toothpick comes out clean and follow the recipe measurements closely.
How can I make the top crack evenly?
A crack along the top is normal and attractive. For a more pronounced central crack, you can score the batter down the center with a spatula before baking, but it isn’t necessary.
Can I halve the recipe?
Yes. Use a smaller loaf pan and reduce baking time; start checking doneness at 35–40 minutes. Keep an eye on the texture to avoid overbaking.
Is it okay to use frozen mashed bananas?
Yes. Thaw fully and drain any excess liquid before using, or fold the extra moisture into the batter carefully and watch baking time.
Final Thoughts
This Banana Bread is one of those recipes that rewards a little patience and a lot of ripe bananas. It’s uncomplicated, forgiving, and dependable. Keep the loaf pan ready and the bananas on the counter — chances are you’ll be baking it again soon.
Try it plain to appreciate the banana flavor. Then experiment: fold in nuts, add a sprinkle of cinnamon, or use part oil for a different texture. No matter how you tweak it, the method here will give you a reliable, delicious loaf every time.
Easy Banana Bread
Ingredients
Ingredients
- 3/4 cupbrown sugarpacked
- 1 cupbuttersoftened
- 2 eggs
- 4 bananas
- 2 cupsall-purpose flour
- 1 teaspoonBaking Soda
- 1/4 teaspoonSalt
Instructions
Instructions
- Preheat the oven to 350 degrees F. Spray a loaf pan with non-stick spray or grease it and set aside.
- In a large mixing bowl, add ¾ cup packed brown sugar and 1 cup softened butter. Beat until the mixture is light and fluffy.
- Add the 2 eggs, one at a time, beating briefly after each egg until incorporated.
- In a separate bowl, mash the 4 bananas with a fork until mostly smooth. Add the mashed bananas to the butter-sugar-egg mixture and stir until combined.
- In another bowl, whisk together 2 cups all-purpose flour, 1 teaspoon Baking Soda, and ¼ teaspoon Salt.
- Gradually add the dry ingredients to the wet mixture and stir until just combined—do not overmix.
- Pour the batter into the prepared loaf pan and smooth the top.
- Bake at 350 degrees F for about 1 hour, or until a toothpick inserted into the center comes out clean.
- Let the bread cool in the pan for 10–15 minutes, then remove it from the pan and cool on a wire rack until cool enough to slice.
Equipment
- Oven
- Loaf Pan
- non-stick spray or grease
- Large Mixing Bowl
- Mixing Bowl
- Fork
- Wire Rack
Notes
To freeze it wrap cooled loaf in plastic and again in foil and then place in the freezer for up to two months!