I love recipes that bake-free, kid-friendly, and quick enough to make between errands. This candy bark hits all three marks: a short list of ingredients, clear steps, and a reliable finish every time. It’s the kind of treat I whip up when I want something festive without fuss.
Read through once, gather the three main ingredients, and you’ll be done before the kids finish a movie. The technique is forgiving — control the heat, spread the chocolate to the suggested thickness, and the rest falls into place.
Below you’ll find a tidy shopping list, the exact ingredient notes, step-by-step directions straight from the tested method, and practical tips for swaps, tools, and storage. No fluff — just what works.
Shopping List
- 1 cup (145 g) chocolate melts
- 1/4 cup (46 g) white chocolate melts
- 1 cup assorted chocolate candy bars
Ingredients
- 1 cup (145 g) chocolate melts (see note) — the base chocolate; choose a flavor you enjoy since it makes up the bulk of the bark.
- 1/4 cup (46 g) white chocolate melts (see note) — for drizzling and contrast; melts smoothly and gives the bark a pretty finish.
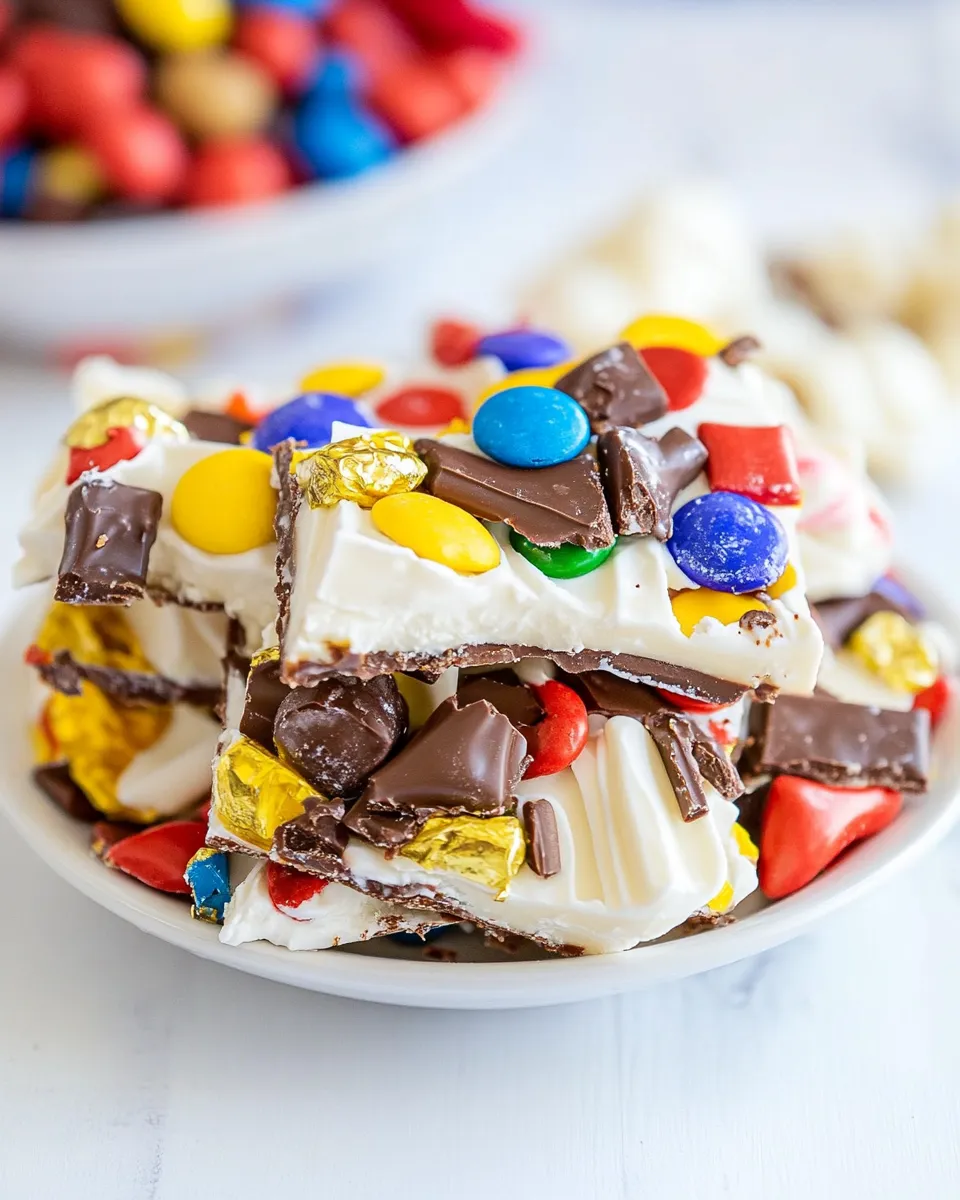
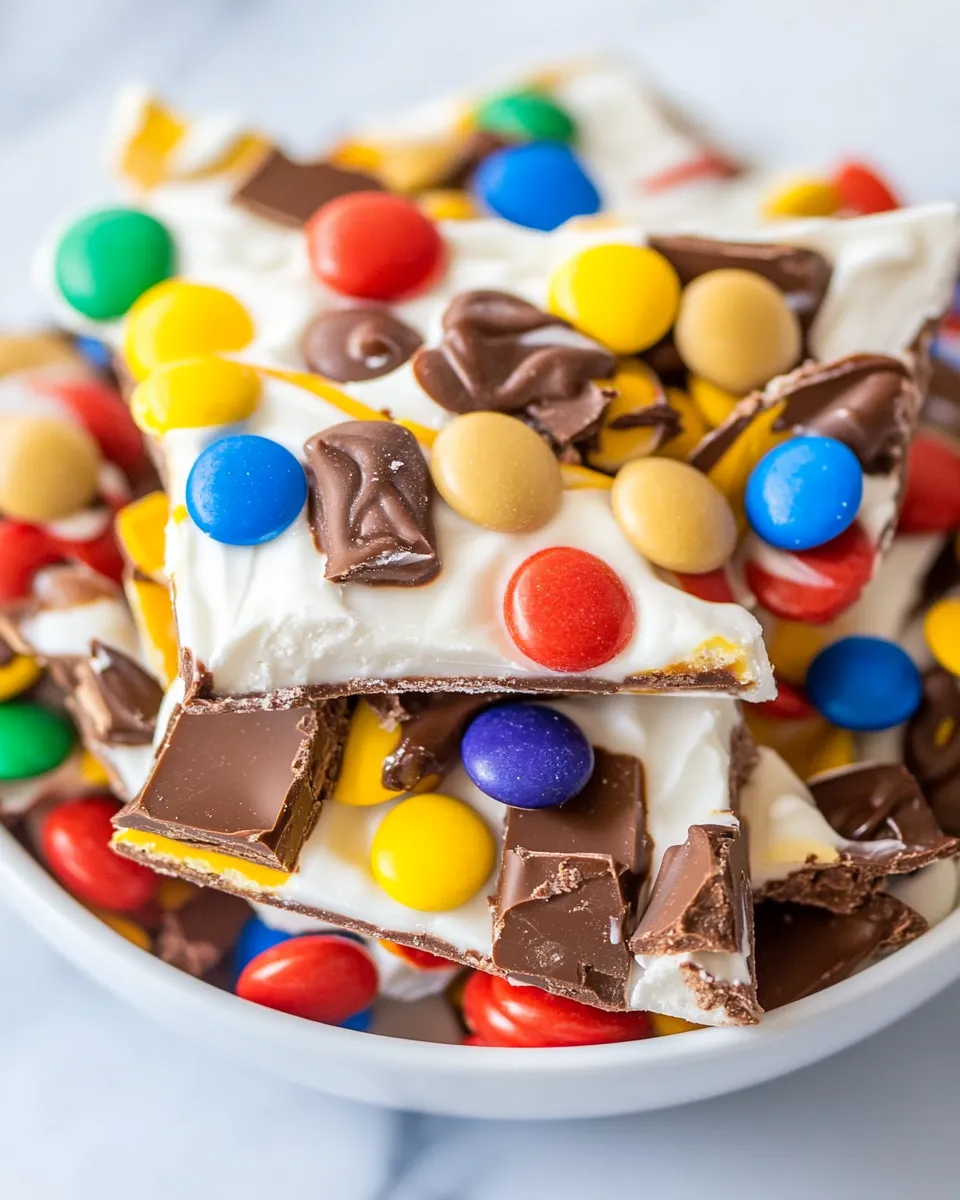
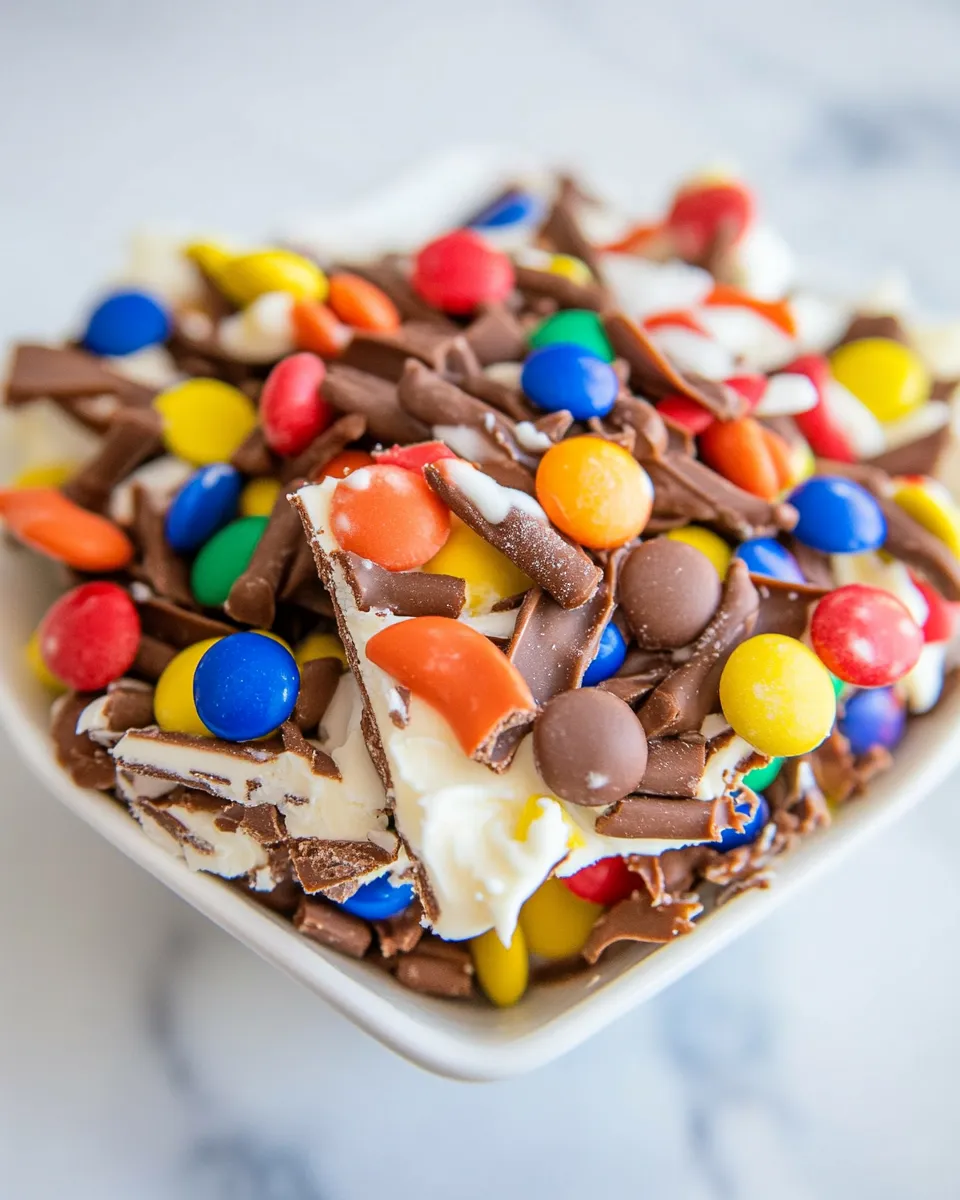
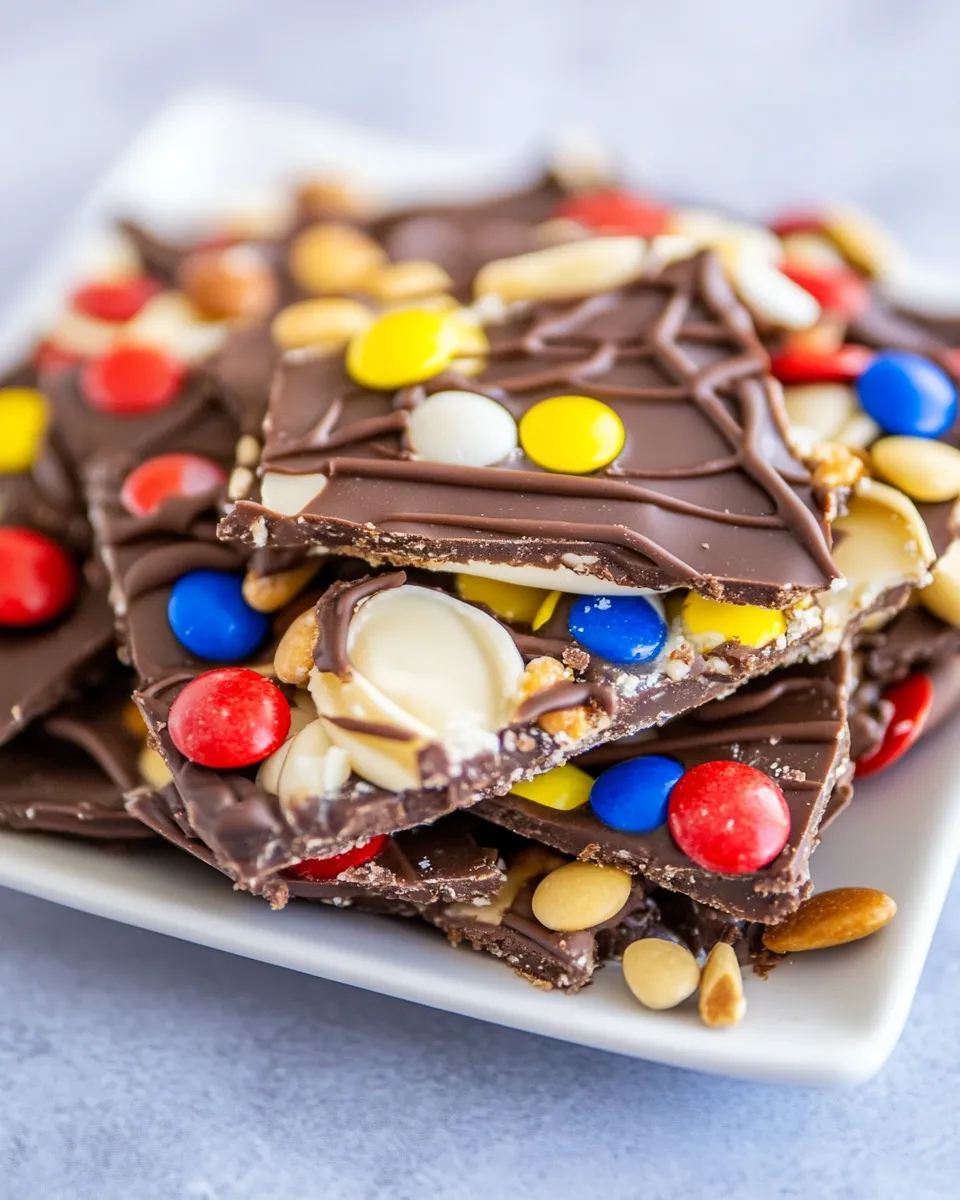
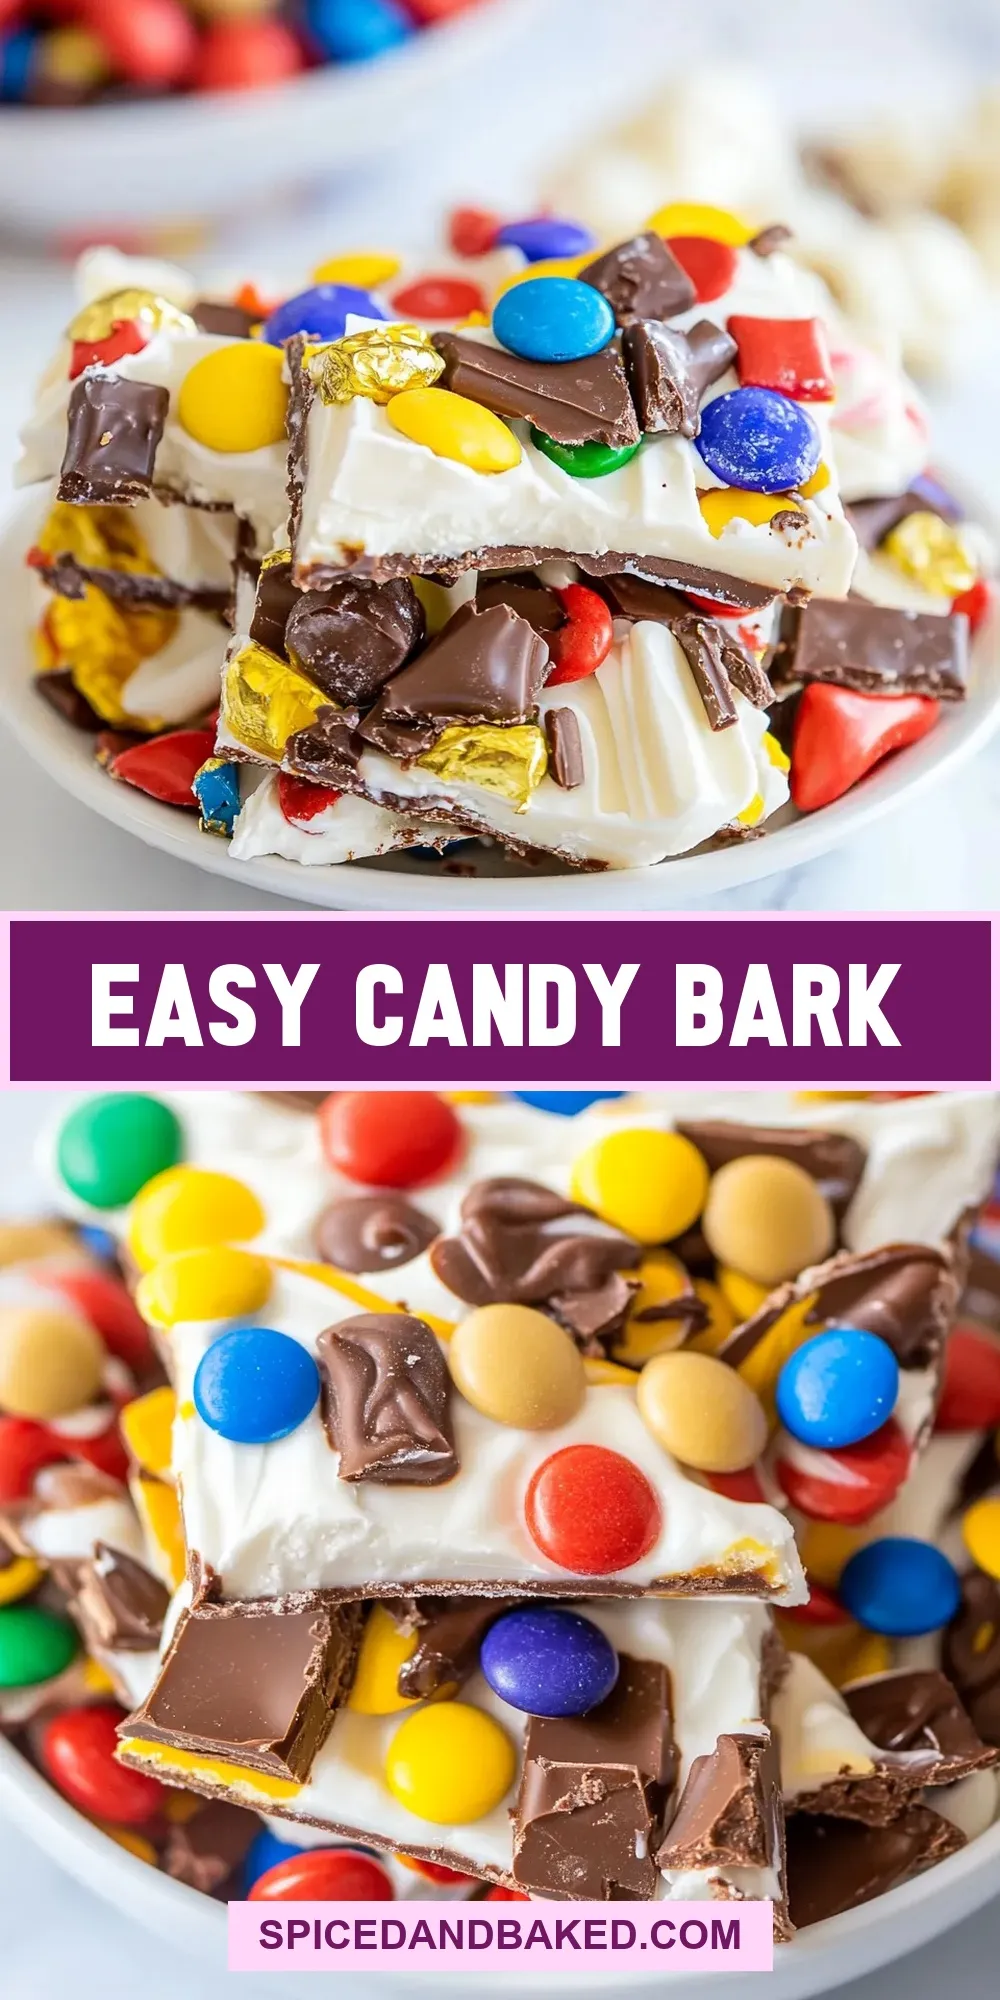
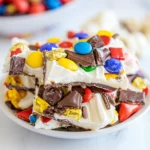
- 1 cup assorted chocolate candy bars — chopped into bite-sized pieces; they add texture, flavor variety, and visual interest.
Candy Bark: From Prep to Plate
- Place 1 cup (145 g) chocolate melts in a microwave-safe bowl. Microwave at 50% power in 30-second increments, stirring between each increment, until the chocolate is fully melted and smooth.
- Line a small cookie sheet with wax paper. Spoon the melted chocolate onto the sheet and spread it into an approximately 7 × 5‑inch rectangle—don’t spread it too thin.
- Chop or break 1 cup assorted chocolate candy bars into bite-sized pieces. Evenly sprinkle the candy pieces over the melted chocolate, then press them lightly so they stick.
- Put 1/4 cup (46 g) white chocolate melts in a microwave-safe bowl. Microwave at 50% power in 30-second increments, stirring between each, until the white chocolate is melted and smooth.
- Transfer the melted white chocolate to a small sandwich bag, snip a tiny corner from one tip, and drizzle the white chocolate over the bark.
- Chill the tray in the refrigerator until the chocolate is completely set (about 20–30 minutes). Remove the wax paper and break the bark into pieces.
Why This Recipe Is Reliable
The method focuses on temperature control and timing — the two biggest variables when working with chocolate. Melting at 50% power in short bursts prevents overheating and seizing. Stirring between increments distributes heat and finishes the melt for a glossy result.
Spreading the chocolate into a roughly 7 × 5-inch rectangle and not making it too thin ensures the bark snaps cleanly when broken. Pressing the candy pieces lightly into warm chocolate keeps them anchored, and the quick fridge chill sets everything uniformly in 20–30 minutes.
Smart Substitutions
Chocolate swaps
- If you prefer darker chocolate, use a dark chocolate melt instead of milk — flavor concentration increases but technique stays the same.
- White chocolate can be swapped for a flavored white melt (peppermint, orange) if you want a seasonal twist; keep the same amount.
Candy mix-ins
- You can use any assortment of chocolate candy bars you have on hand. Combine textures (crispy, nougat, caramel) for interest. Chop into bite-sized pieces so they adhere well.
Recommended Tools
- Microwave-safe bowls — two, one for each chocolate color.
- Small cookie sheet — the size used here keeps the bark thick enough to break cleanly.
- Wax paper — prevents sticking and eases removal.
- Small sandwich bag — for controlled white chocolate drizzling.
- Knife and cutting board — to chop candy bars into bite-sized pieces.
- Rubber spatula or offset spatula — to spread the melted chocolate evenly.
Troubles You Can Avoid
- Seized chocolate: don’t overheat. Use 50% power and stir between 30-second bursts.
- Too-thin bark: spread to about a 7 × 5-inch rectangle and avoid making it paper-thin so pieces snap instead of bend.
- Candy not sticking: press pieces lightly into warm chocolate while it’s still soft.
- White chocolate clogs when drizzling: snip a very small corner from the sandwich bag for fine control; if it gets thick, warm briefly at low power and stir.
- Condensation on the chocolate: avoid moving the tray from warm to cold too often; chill once and then keep it in the refrigerator until set.
Spring to Winter: Ideas
- Spring: use pastel-wrapped candy bars or small pastel sprinkles pressed lightly into the surface after sprinkling the candy pieces.
- Summer: keep it cool and serve chilled — the contrast of chilled chocolate with room-temperature fillings is pleasant.
- Fall: use candy bars with caramel or toffee for warm, rich notes that pair well with fall flavors.
- Winter: add crushed peppermint candy on top of the white chocolate drizzle for a festive touch.
If You’re Curious
Candy bark is essentially a platform: one chocolate base, a mix of add-ins, and a decorative drizzle. It’s not tempering, so it’s simpler, but you still benefit from temperature care. Melts are formulated to melt smoothly without the tempering step required for couverture chocolate, making them ideal for quick barks.
The texture contrast — smooth base, crunchy or chewy pieces on top — is what makes bark so appealing. Keeping the bark relatively thick ensures a satisfying bite rather than a fragile, crumbly sheet.
Storing Tips & Timelines
- Room temperature: store in an airtight container in a cool, dry place away from direct sunlight for up to 3–5 days.
- Refrigerator: for longer life, store in an airtight container in the fridge for up to 2 weeks. Let the pieces come closer to room temperature before serving for best texture.
- Freezer: you can freeze pieces in a sealed freezer bag for up to 1 month; thaw in the refrigerator before bringing to room temperature to avoid condensation.
Candy Bark FAQs
- Can I use chocolate chips instead of melts? — Yes. Chocolate chips will work but may require slightly more careful melting because they sometimes contain stabilizers; follow the same low-power microwave method.
- What if my chocolate seizes? — If a small amount of water got in and it seizes, try adding a tiny bit of neutral oil (a few drops) and stir gently. If it’s severely grainy, start over to avoid a gritty finish.
- How thin or thick should I spread the chocolate? — Aim for the suggested roughly 7 × 5-inch rectangle and avoid spreading too thin. About 1/8–1/4 inch thickness gives a good bite.
- Can I prepare this ahead? — Yes. Make the bark, chill until set, break into pieces, and store as directed above. It keeps well and is great for gifting.
Wrap-Up
Candy Bark is one of those dependable, fast treats that looks like effort but isn’t. Follow the melt-and-chill method exactly, use your favorite candy bars, and you’ll have attractive, snappy pieces in under an hour. It’s perfect for last-minute gifts, party trays, or a simple homemade treat to share.
Easy Candy Bark
Ingredients
Ingredients
- 1 cup 145 g chocolate melts(see note)
- 1/4 cup 46 g white chocolate melts(see note)
- 1 cupassorted chocolate candy bars
Instructions
Instructions
- Place 1 cup (145 g) chocolate melts in a microwave-safe bowl. Microwave at 50% power in 30-second increments, stirring between each increment, until the chocolate is fully melted and smooth.
- Line a small cookie sheet with wax paper. Spoon the melted chocolate onto the sheet and spread it into an approximately 7 × 5‑inch rectangle—don’t spread it too thin.
- Chop or break 1 cup assorted chocolate candy bars into bite-sized pieces. Evenly sprinkle the candy pieces over the melted chocolate, then press them lightly so they stick.
- Put 1/4 cup (46 g) white chocolate melts in a microwave-safe bowl. Microwave at 50% power in 30-second increments, stirring between each, until the white chocolate is melted and smooth.
- Transfer the melted white chocolate to a small sandwich bag, snip a tiny corner from one tip, and drizzle the white chocolate over the bark.
- Chill the tray in the refrigerator until the chocolate is completely set (about 20–30 minutes). Remove the wax paper and break the bark into pieces.
Equipment
- Microwave-safe Bowl
- Microwave
- small cookie sheet
- wax paper
- sandwich bag
- Refrigerator
Notes
I recommend using Ghiradelli chocolate melts (sold in the baking section next to the baking chocolate). These come in bags in milk, semi-sweet, and white flavors. Alternately you can use almond bark or Candiquik.
If you’re using chocolate chips and have trouble with them melting, add about 1 teaspoon vegetable oil or shortening while melting (1/4 teaspoon for the white chocolate).