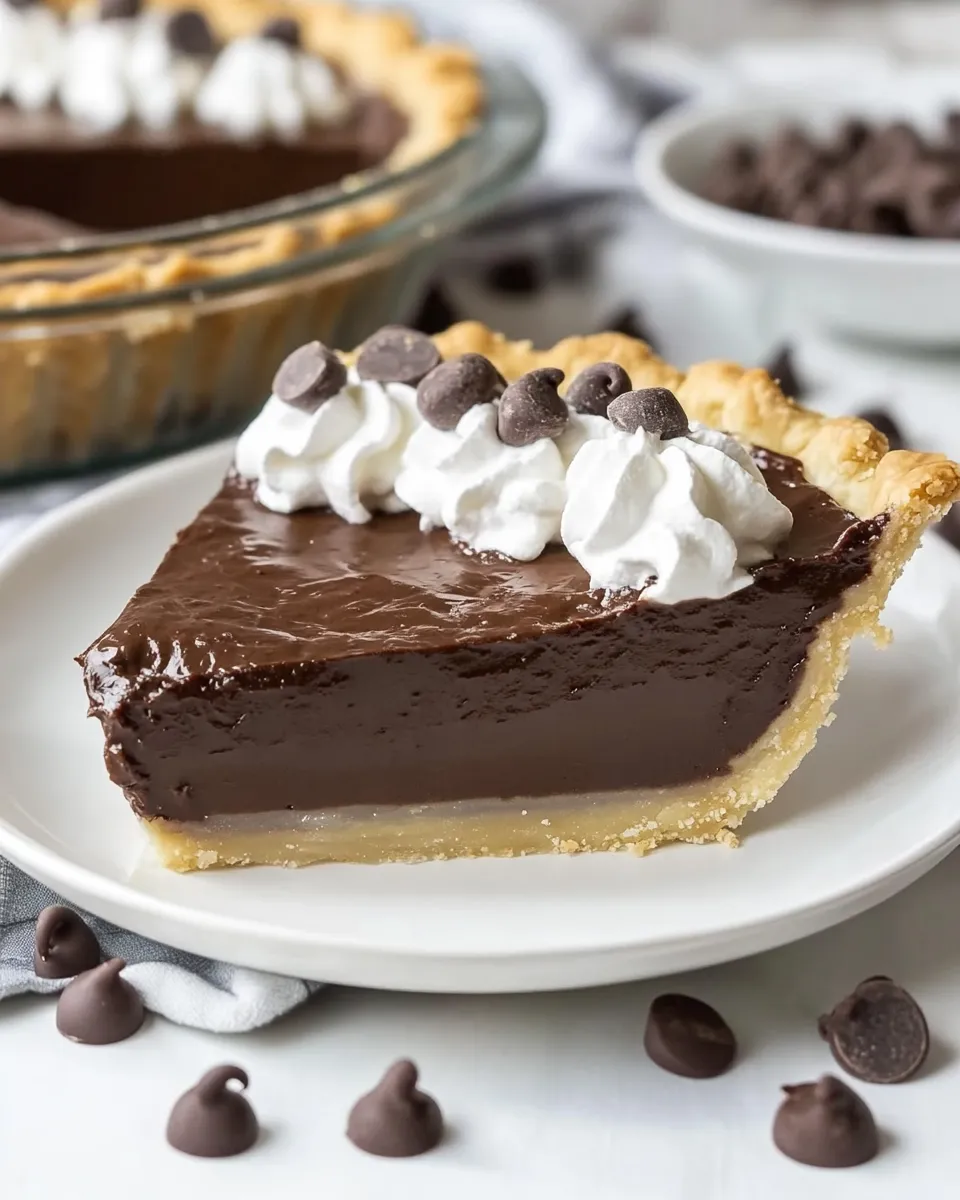
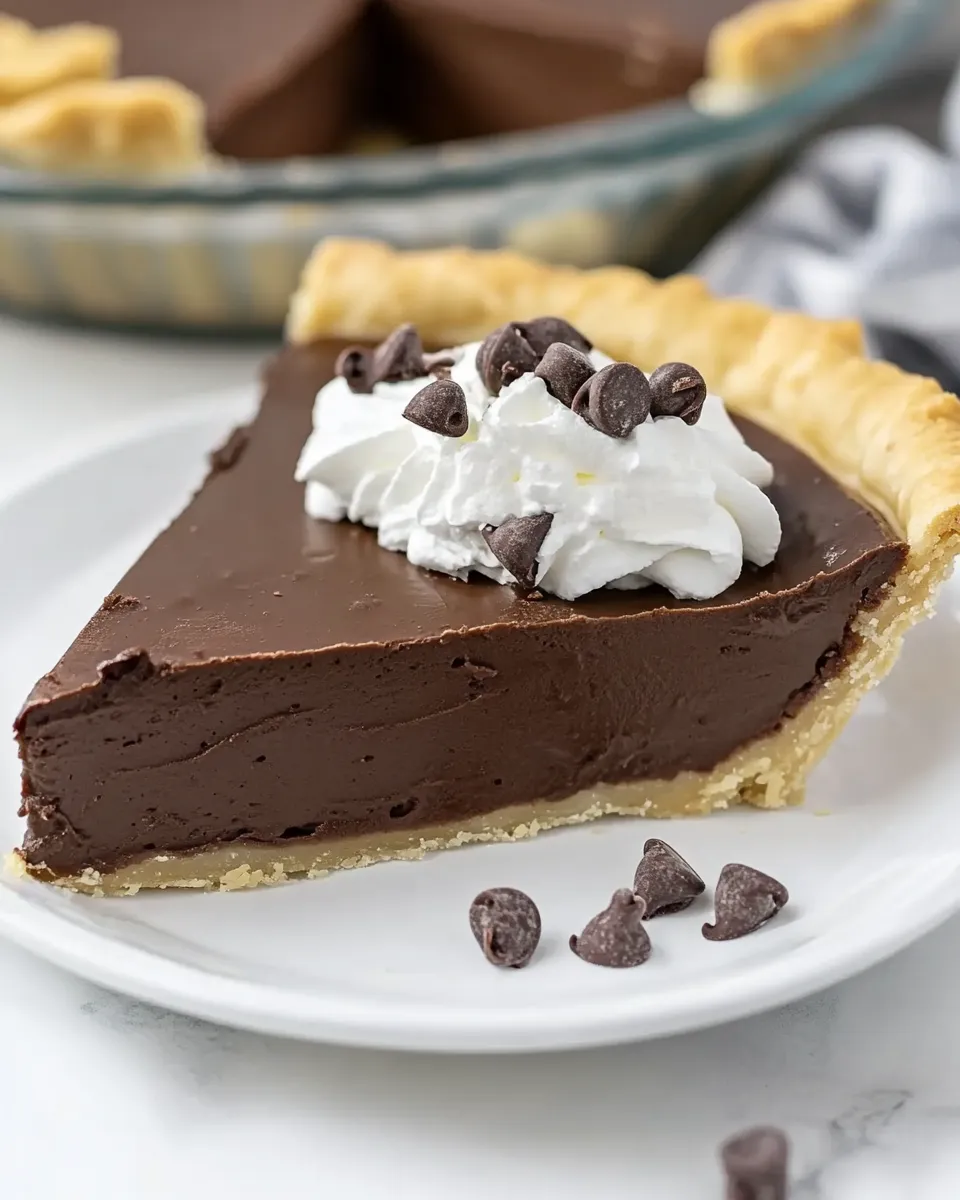
Chocolate pie that actually comes together without drama is one of my favorite weeknight victories. This version is straightforward: a chocolate pudding-like filling cooked on the stovetop, poured into a ready-made baked shell, and finished with whipped cream. It’s rich, reliable, and exactly the kind of dessert I turn to when I want something familiar and comforting without a long list of steps.
I test recipes the way I live—practically. If a technique sounds fiddly, I trim it or explain how to make it foolproof. In this post you’ll find a clear ingredient list, exact cooking steps, and the tips I use when I want a smooth, glossy filling every time. There’s no mysterious pantry magic, just sensible choices that yield great results.
If you’re short on time, a store-bought pie shell and already-whipped topping make this dessert nearly effortless. If you’ve got a little extra patience, chilling and finishing with freshly whipped cream ramps up the homemade feel. Either way, this chocolate pie delivers the indulgence we all crave with minimal fuss.
What We’re Using
Ingredients
- 1 1/2 cups milk — provides the liquid base and creaminess; whole milk is best for a richer texture.
- 1/2 cup sugar — sweetens the filling and helps the mixture set.
- 1/4 teaspoon salt — balances the sweetness and brightens the chocolate flavor.
- 3 tablespoons cocoa powder — delivers the chocolate taste; sift or whisk to remove lumps.
- 3 tablespoons all-purpose flour — acts as the thickening agent; whisk with the dry ingredients first to prevent clumps.
- 2 egg yolks, beaten — add richness and structure; temper them carefully so they don’t scramble.
- 1 teaspoon vanilla extract — amplifies and rounds the chocolate aroma; stir in off the heat.
- 1 baked pie shell — a prebaked shell keeps this recipe quick; use store-bought or blind-bake your own.
- Cool Whip or whipped cream — the light topping contrasts the dense chocolate filling; whip to soft peaks if using fresh cream.
Directions: Chocolate Pie
- Pour 1 1/2 cups milk into a medium saucepan and heat over medium until the milk is hot and steaming and small bubbles form at the edges (do not boil).
- In a bowl, whisk together 1/2 cup sugar, 3 tablespoons cocoa powder, 3 tablespoons all-purpose flour, and 1/4 teaspoon salt until evenly combined.
- Gradually whisk the dry mixture into the hot milk in the saucepan until smooth. Return the pan to medium heat and cook, stirring constantly, until the mixture thickens.
- Remove the pan briefly from the heat. In a separate bowl have the 2 egg yolks, beaten. Add a small amount of the hot chocolate mixture to the beaten yolks while whisking constantly to temper them, then pour the tempered yolks back into the saucepan, stirring constantly.
- Return the pan to medium heat and cook, stirring constantly, for at least two minutes more, until the mixture is thick and smooth.
- Remove from heat and stir in 1 teaspoon vanilla extract.
- Pour the chocolate pudding into the baked pie shell and smooth the top. Let the pie cool to room temperature, then refrigerate until fully chilled and set.
- When the chocolate filling is cooled and set, top with Cool Whip or whipped cream before serving.
The Upside of Chocolate Pie
This Chocolate Pie hits a sweet spot: it’s indulgent but uncomplicated. The filling cooks quickly on the stovetop without a bain-marie, meaning fewer bowls and less babysitting. Using a baked shell speeds things up and keeps the texture contrast you want—crisp crust versus silky filling.
Another advantage: the components are versatile. The filling doubles as a pudding for simple parfaits or can be spooned between layers in a torte. If you enjoy making desserts that feel fancy but actually save time, this one belongs in your regular rotation.
Vegan & Vegetarian Swaps
- Vegetarian note — this recipe is already vegetarian as written (it uses no meat products) but does include eggs and dairy.
- Make it vegan — replace the milk with unsweetened plant milk (soy or oat for creaminess) and swap the egg yolks with a cornstarch slurry or a commercial egg replacer designed for custards; use a vegan pie shell and top with coconut whipped cream or a non-dairy whipped topping.
- Dairy-free whipped topping — canned coconut cream chilled and whipped will provide a rich, stable topping; chill the can overnight and scoop the solids.
Essential Tools for Success
- Medium saucepan — wide-bottomed is best; it heats evenly and reduces the chance of scorching.
- Whisk — a sturdy whisk keeps the mixture lump-free and helps when tempering the egg yolks.
- Mixing bowl — for combining dry ingredients and for beating the yolks.
- Measuring cups and spoons — accurate measures matter for the right texture.
- Rubber spatula — useful for scraping the pan and smoothing the filling into the shell.
- Refrigerator space — the pie needs several hours to chill and set properly.
Avoid These Mistakes
- Boiling the milk — heat to steaming and small bubbles at the edge; a full boil can cause flavor change and scalding.
- Adding dry ingredients too fast — whisk gradually so the cocoa and flour incorporate without forming lumps.
- Skipping tempering — pouring hot chocolate mix straight into the egg yolks will scramble them; temper carefully by adding a small amount first.
- Not stirring constantly — when thickening, constant stirring prevents sticking and creates a smooth finish.
- Rushing the chill — cutting the pie before it’s fully set can lead to a runny center; give it time in the fridge.
Seasonal Ingredient Swaps
Small seasonal additions turn this into a festive pie without changing the core technique. In winter, a pinch of ground cinnamon or a teaspoon of instant espresso added to the dry mix deepens the chocolate notes. For spring and summer, top slices with fresh raspberries or a quick berry compote for a bright counterpoint. During the holidays, scatter chopped toasted pecans on top of the whipped cream, or fold a tablespoon of orange zest into the filling off heat for a citrus-chocolate twist.
Behind the Recipe
This pie is essentially a cooked chocolate pudding stabilized with flour and enriched with egg yolks. The cocoa powder provides flavor but not much structure, so the combination of flour and egg yolks gives the filling body while keeping the texture silky rather than cakey. Tempering the yolks avoids scrambled bits and keeps the custard smooth; it’s a small step that yields a big payoff in texture.
I use a baked crust for two reasons: speed and contrast. A baked shell holds up to the moist filling and offers the crispness that makes a bite interesting. If you prefer a baked-in-from-scratch shell, blind-bake it first so the bottom stays crisp once the filling goes in.
Shelf Life & Storage
Store the pie covered in the refrigerator for up to 3 days. The texture is best within the first 48 hours, when the filling is still glossy and the crust retains some crispness. If the crust softens too much for your liking, consider serving the chilled filling in individual cups with a separate crisp cookie for dipping.
Freezing is not recommended for the finished pie with whipped topping—the texture of the custard changes and whipped cream separates on thawing. If you need to prep ahead, freeze the baked shell and make the filling up to a day in advance; assemble when ready to serve.
Your Top Questions
- Can I use instant pudding mix instead? — Yes, but the homemade method gives better flavor and texture. Instant mixes can be convenient but often taste overly sweet or artificial.
- Why does my filling get grainy? — Graininess can come from undercooked flour pockets or overcooked eggs. Whisk the dry ingredients well and cook to the right thickness while stirring constantly; temper eggs gently.
- How do I know it’s thick enough? — The filling should cling to the back of a spoon and leave a clear path when you run your finger through it. Once it reaches this stage, cook an additional two minutes to ensure the starches have fully gelled.
- Can I make this ahead for a party? — Absolutely. Make the filling and chill it in the baked shell up to a day ahead; add whipped cream right before serving for the best presentation.
- Is there a gluten-free option? — Use a gluten-free flour blend in place of the all-purpose flour and a gluten-free pie shell. Ensure your cocoa and other packaged ingredients are labeled gluten-free.
That’s a Wrap
This Chocolate Pie is the sort of recipe that earns a permanent spot in the dessert rotation: quick enough for weeknights, flexible enough for company. Follow the steps carefully—especially the tempering—and you’ll end up with a glossy, creamy filling and a dessert that looks and tastes like you spent more time on it than you did. Chill it, top it, slice it, and enjoy what feels like a small celebration at the end of the day.
If you try it, tell me how you topped yours—berries, orange zest, nuts, or classic whipped cream? I love hearing the small tweaks that make a recipe unmistakably yours.
Easy Chocolate Pie
Ingredients
Ingredients
- 1 1/2 cupsmilk
- 1/2 cupsugar
- 1/4 teaspoonsalt
- 3 tablespoonscocoa powder
- 3 tablespoonsall-purpose flour
- 2 egg yolksbeaten
- 1 teaspoonvanilla extract
- 1 baked pie shell
- Cool Whip or whipped cream
Instructions
Instructions
- Pour 1 1/2 cups milk into a medium saucepan and heat over medium until the milk is hot and steaming and small bubbles form at the edges (do not boil).
- In a bowl, whisk together 1/2 cup sugar, 3 tablespoons cocoa powder, 3 tablespoons all-purpose flour, and 1/4 teaspoon salt until evenly combined.
- Gradually whisk the dry mixture into the hot milk in the saucepan until smooth. Return the pan to medium heat and cook, stirring constantly, until the mixture thickens.
- Remove the pan briefly from the heat. In a separate bowl have the 2 egg yolks, beaten. Add a small amount of the hot chocolate mixture to the beaten yolks while whisking constantly to temper them, then pour the tempered yolks back into the saucepan, stirring constantly.
- Return the pan to medium heat and cook, stirring constantly, for at least two minutes more, until the mixture is thick and smooth.
- Remove from heat and stir in 1 teaspoon vanilla extract.
- Pour the chocolate pudding into the baked pie shell and smooth the top. Let the pie cool to room temperature, then refrigerate until fully chilled and set.
- When the chocolate filling is cooled and set, top with Cool Whip or whipped cream before serving.
Equipment
- Saucepan
- Mixing Bowl
- Whisk
- Spatula