I make these pancakes on sleepy weekend mornings and on busy weekday breakfasts. They come together fast, use pantry-stable staples, and give you that tender, slightly bouncy bite everyone argues over. I like them because they’re forgiving—small changes won’t ruin the batter, and you can adjust on the fly.
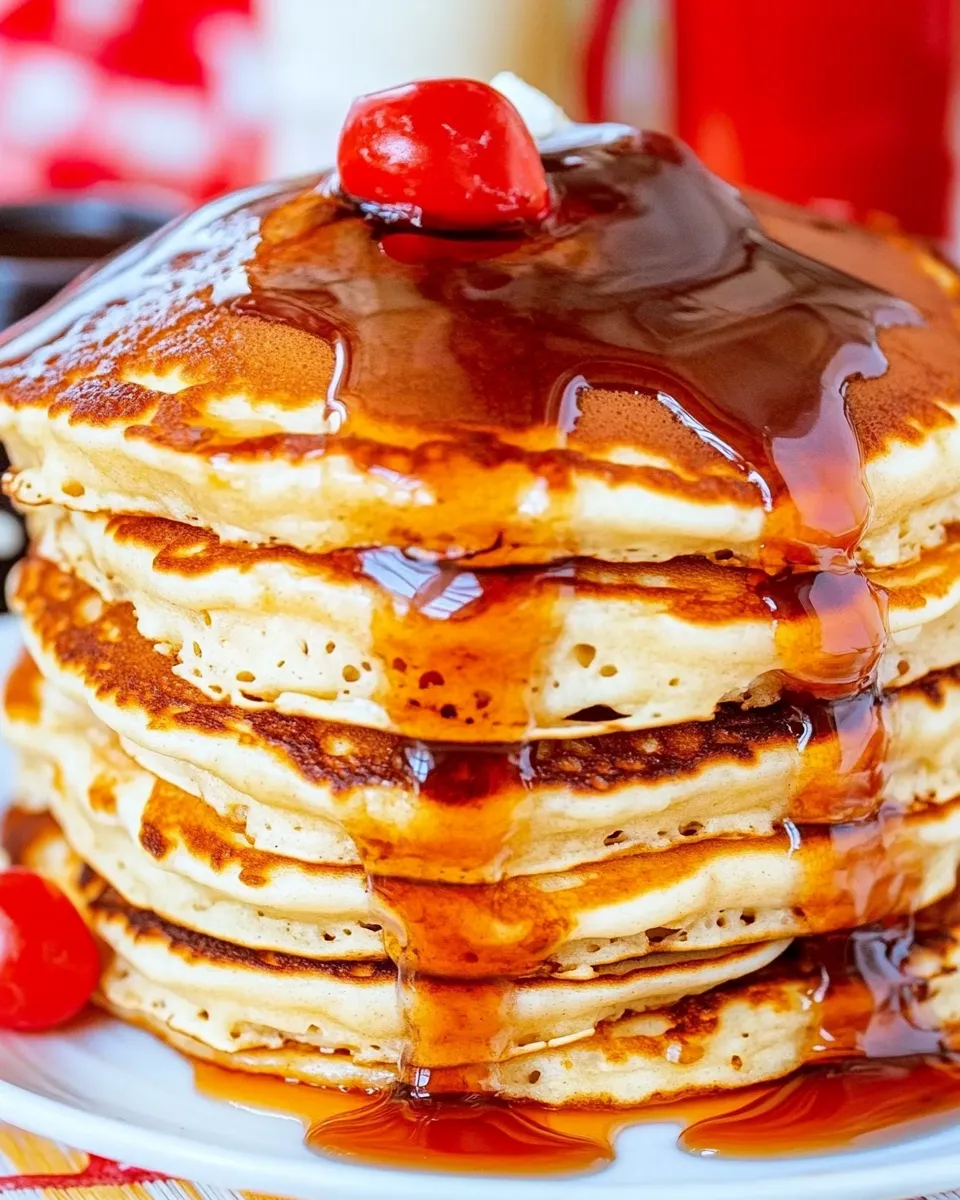
You’ll find the method below is direct and repeatable. No expensive equipment. No special ingredients. Just plain, honest pancakes that brown beautifully and eat well with a pat of butter and maple syrup.
What We’re Using
I keep the approach practical. Measure the flour by spooning it into the cup and leveling; that small habit saves you from dense pancakes. Use melted butter for the batter when you can—it adds richness—but neutral oil also works if you need a dairy-free option. Heat control is more important than a perfect griddle; medium-low is your friend.
Ingredients
- 1½ cups all-purpose flour, spooned and leveled — Provides structure; spoon into the cup and level for accurate measurement.
- 2 tablespoons cane sugar — Adds a touch of sweetness and helps with browning.
- 1 tablespoon baking powder — The leavening that makes these pancakes lift and feel light.
- ½ teaspoon sea salt — Balances sweetness and enhances flavor; use a fine grind if possible.
- 1¼ cups milk, plus more as needed — Gives the batter its proper thickness; adjust by the tablespoon if necessary.
- 1 large egg — Binds and enriches the batter.
- 3 tablespoons unsalted butter, melted and cooled slightly, or neutral oil, plus more for the pan — Fat for tenderness and flavor; use melted butter for richer flavor or neutral oil for a lighter profile.
- Maple syrup, for serving — The classic finishing touch; warm it slightly before drizzling if you like.
From Start to Finish: Homemade Pancakes
- In a large bowl, whisk together 1½ cups all-purpose flour (spooned and leveled), 2 tablespoons cane sugar, 1 tablespoon baking powder, and ½ teaspoon sea salt.
- In a medium bowl, whisk 1¼ cups milk, 1 large egg, and 3 tablespoons melted (and slightly cooled) unsalted butter, or whisk in a neutral oil if using that option.
- Pour the wet ingredients into the dry ingredients and gently fold with a spatula until just combined; a few small lumps are fine. Do not overmix. If the batter is very thick, add additional milk 1 tablespoon at a time until the batter is thick but pourable.
- Heat a nonstick skillet or griddle over medium-low heat until warm (a few drops of water should sizzle gently). Lightly brush the pan with extra butter or oil.
- Use a ⅓-cup scoop to pour batter onto the hot skillet, leaving space between pancakes.
- Cook until bubbles form on the surface and the edges look set, about 1 to 2 minutes, then flip and cook the other side until golden brown and cooked through, about 1 to 2 minutes more. Lower the heat if the outsides are browning too quickly before the centers are cooked.
- Transfer cooked pancakes to a plate and keep warm while you cook the remaining batter. Serve with maple syrup.
Why It’s My Go-To
This recipe hits the sweet spot between speed and reliability. The ratio of flour to leavening and liquid is forgiving, so even when I eyeball a little extra milk, the result stays tender. It’s simple enough for kids to help with and predictable enough to make a weekday routine feel special.
I also love the control it gives: you can make thicker or thinner pancakes by small milk adjustments. The melted butter in the batter delivers a subtle richness that comes through even when you top only with syrup. And because the steps are short and straightforward, you spend less time at the stove and more time eating.
Flavor-Forward Alternatives

– Swap the melted butter for neutral oil in the batter when you want a lighter flavor or need a dairy-free option; the texture will be virtually the same.
– Increase the cane sugar slightly if you prefer a sweeter pancake that caramelizes more on the surface. A tablespoon more gives a noticeable difference without overwhelming.
– For a more golden crust, make sure the pan is properly warmed and give it a light brush of butter or oil before each batch. That small layer of fat encourages even browning.
Tools of the Trade
- Nonstick skillet or griddle — Prevents sticking and promotes even browning.
- Measuring cups and spoons — Accurate flour and leavening measurements are key; spoon and level the flour.
- Whisk and spatula — Whisk for combining wet ingredients; a spatula for gentle folding and flipping.
- ⅓-cup scoop — Keeps pancakes uniform in size so they cook evenly.
- Plate and oven-safe spot — To keep cooked pancakes warm while the rest finish.
Troubles You Can Avoid
Batter and texture issues
- Dense pancakes: Likely from packing flour into the cup or overmixing. Spoon the flour into the cup and level it; fold batter only until combined.
- Flat or gummy centers: Batter that’s too thick or the pan too hot causes undercooked middles. Thin the batter by 1 tablespoon of milk at a time until it’s thick but pourable. Lower the heat and cook a touch longer.
Cooking and browning problems
- Too-browned outsides, raw inside: The heat is too high. Drop to medium-low and wait for the skillet to stabilize.
- Pancakes sticking: Use a nonstick surface and brush the pan with butter or oil before pouring. If you use a cast-iron pan, ensure it’s well-seasoned and give it a light coating of fat between batches.
Seasonal Twists
Even without adding new ingredients, small adjustments make a seasonal feel. In colder months, let the batter rest briefly while you preheat and the kitchen warms; that gives the baking powder a chance to start working so pancakes feel liftier. In warmer months, keep the batter slightly thinner and serve immediately so the texture stays springy.
For a heartier weekend batch, cook the pancakes a touch longer to get a deeper golden color and a slightly crisper edge—those edges hold syrup beautifully and feel comforting on cool mornings.
If You’re Curious
If you wonder about substitutions or little technique notes: yes, you can use a neutral oil in place of the melted butter in the batter without changing the amounts. The end result will be slightly less rich but still tender. Also, flipping early or too often disrupts rise; flip once when you see bubbles and the edges set.
If your batter seems to thin as it sits, whisk it gently before scooping. If it thickens, stir in milk a tablespoon at a time. Temperature changes and time can shift consistency slightly, and that’s normal.
Save for Later: Storage Tips
– Cool pancakes completely before storing to avoid sogginess. Stack with a sheet of parchment or paper towel between them if you’re worried about sticking.
– Refrigerate for up to 3 days in an airtight container. Reheat gently in a skillet over low heat with a little butter or in a toaster oven to revive edges.
– For longer storage, freeze in a single layer on a baking sheet, then transfer to a freezer bag once firm. Reheat from frozen in a 300°F (150°C) oven until warmed through, or toast gently if your toaster fits the pancake size.
Common Qs About Homemade Pancakes
– Will changing the milk affect the recipe? The recipe lists milk without specifying type. Use what you have, but thicker milks (like whole milk) give a slightly richer result; thinner milks may make you reach for an extra tablespoon or two to get the batter to the right pourable consistency.
– Can I mix the batter ahead? You can mix the dry ingredients ahead and keep them sealed at room temperature. Once wet and dry are combined, cook within a short window for best lift; baking powder starts working once hydrated.
– Why are my pancakes not fluffy? Check your baking powder—if it’s old, it won’t provide adequate lift. Also avoid overmixing and measure flour accurately.
– How do I keep pancakes warm without drying them out? Keep cooked pancakes on a plate in a warm oven (about 200°F / 95°C) covered loosely with foil. The gentle warmth holds them without making them rubbery.
Bring It Home
These pancakes are a reliable base. They don’t demand special ingredients or fussy technique. A few practice rounds, and you’ll know the look and feel of perfectly mixed batter and the sound of the pan when it’s at the right temperature. Make them for a quiet morning or a house full of hungry people—either way, they deliver comfort and familiarity.
If you keep the pantry stocked with the basics listed above, you’ll always be a short whisk and a warm griddle away from a good breakfast. Serve with maple syrup and a little patience at the pan, and you’ve got yourself a morning win.

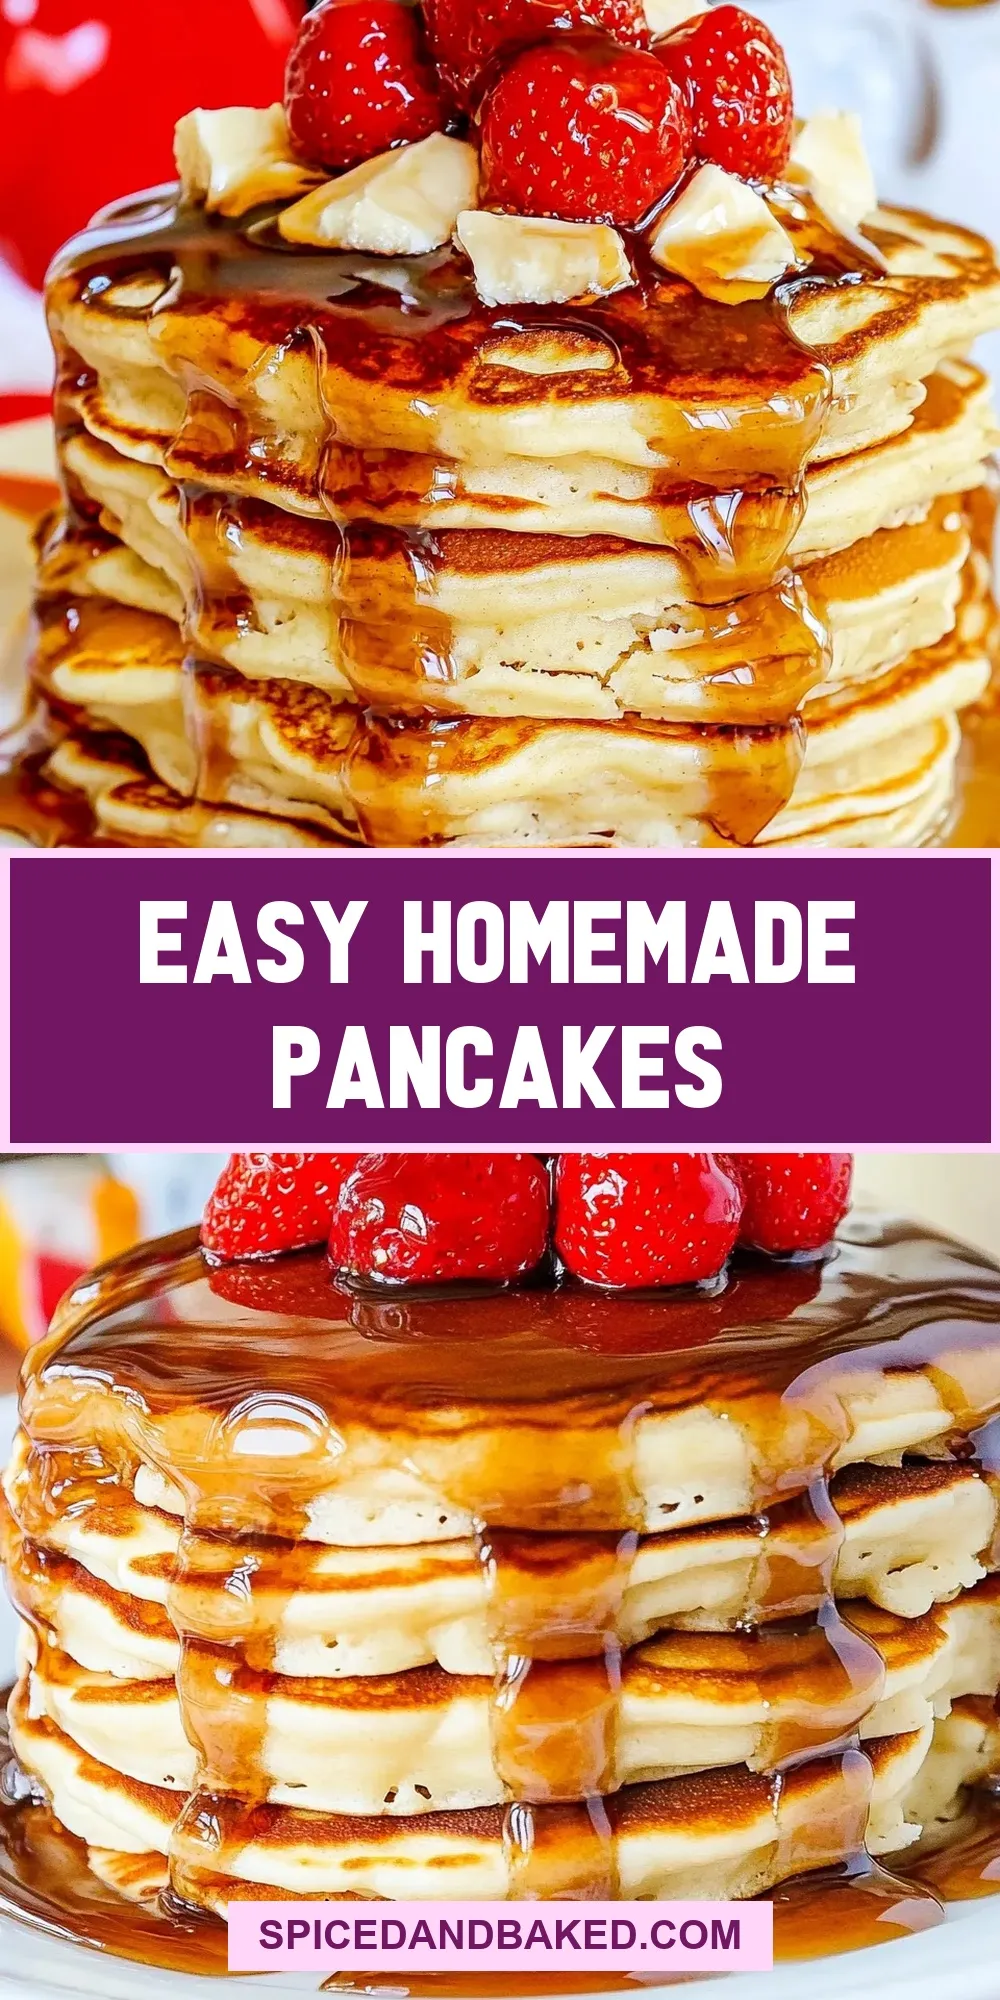
Easy Homemade Pancakes
Ingredients
Ingredients
- 1 1/2 cupsall-purpose flour spooned and leveled
- 2 tablespoonscane sugar
- 1 tablespoonbaking powder
- 1/2 teaspoonsea salt
- 1 1/4 cupsmilk plus more as needed
- 1 large egg
- 3 tablespoonsunsalted butter melted and cooled slightly, or neutral oil, plus more for the pan
- Maple syrup for serving
Instructions
Instructions
- In a large bowl, whisk together 1½ cups all-purpose flour (spooned and leveled), 2 tablespoons cane sugar, 1 tablespoon baking powder, and ½ teaspoon sea salt.
- In a medium bowl, whisk 1¼ cups milk, 1 large egg, and 3 tablespoons melted (and slightly cooled) unsalted butter, or whisk in a neutral oil if using that option.
- Pour the wet ingredients into the dry ingredients and gently fold with a spatula until just combined; a few small lumps are fine. Do not overmix. If the batter is very thick, add additional milk 1 tablespoon at a time until the batter is thick but pourable.
- Heat a nonstick skillet or griddle over medium-low heat until warm (a few drops of water should sizzle gently). Lightly brush the pan with extra butter or oil.
- Use a ⅓-cup scoop to pour batter onto the hot skillet, leaving space between pancakes.
- Cook until bubbles form on the surface and the edges look set, about 1 to 2 minutes, then flip and cook the other side until golden brown and cooked through, about 1 to 2 minutes more. Lower the heat if the outsides are browning too quickly before the centers are cooked.
- Transfer cooked pancakes to a plate and keep warm while you cook the remaining batter. Serve with maple syrup.
Equipment
- Zwilling Madura Nonstick Skillet(my favorite for eggs and pancakes)