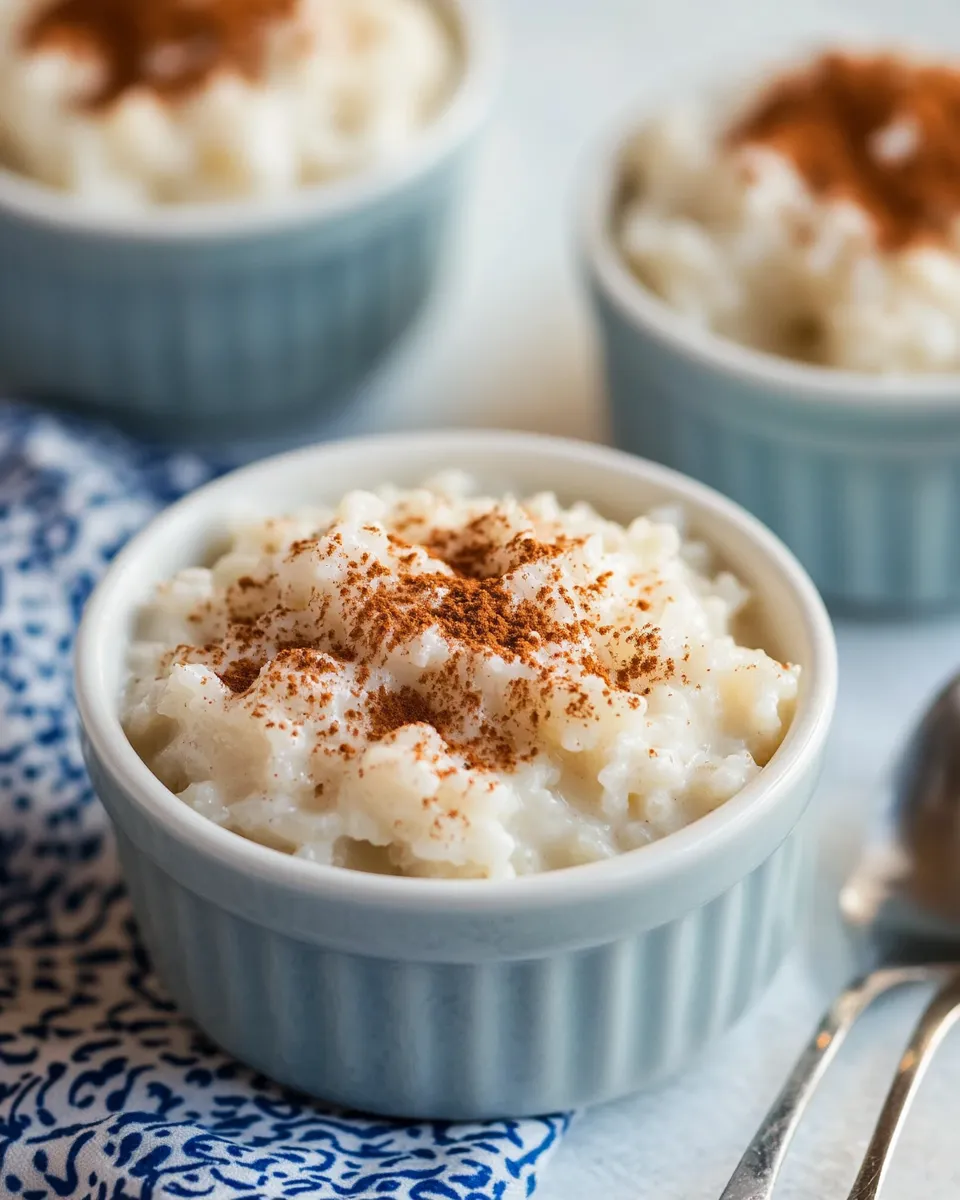
Rice pudding is the kind of dessert that feels like home in a bowl: comforting, forgiving, and quietly impressive. It’s one of those recipes you can pull together with a few staples and still end up with something silky, gently sweet, and universally loved. This version keeps the technique simple and the flavors classic—milk, sugar, vanilla, and a dusting of cinnamon.
I make this when I want a dessert that doesn’t demand last-minute grocery runs or complicated steps. The method is patient more than fussy: we let the rice absorb, then simmer slowly in milk until everything is soft and luscious. The payoff is a pudding that clings to a spoon and tastes warm and satisfying whether you serve it right away or chill it for later.
Below you’ll find the exact ingredients and the step-by-step method I follow every time. I include practical notes on texture, equipment, and storage so the results are predictable—no guessing, no stress.
Ingredients

- 2 cups water — used to start the rice; brings it to a gentle steam before the milk goes in.
- 1 cup long-grain white rice (see note 1) — the base; long-grain keeps the grains distinct while still softening into pudding.
- 1/4 teaspoon salt — balances sweetness and enhances flavor.
- 4 cups milk (see note 2) — creates the creamy body of the pudding; heat until steaming but do not boil.
- 2/3 cup granulated sugar — sweetens evenly without overpowering; adjust slightly to taste if needed.
- 1 1/4 teaspoons vanilla extract — added at the end to preserve aroma and round out the flavor.
- ground cinnamon for garnish — simple, classic finish; dust lightly when serving.
What’s in the Bowl
At first glance the ingredient list is short and familiar. That’s the point. Water and rice start the cooking so the rice can absorb without scorching. Steaming milk completes the cooking and builds the creamy texture. Sugar and a touch of salt give sweetness and balance. Vanilla lifts the whole thing at the finish and cinnamon is the traditional, aromatic finish.
This recipe relies on technique—temperature control and time—more than special ingredients. Use the items listed above, and you’ll get a reliable, cozy pudding every time.
Rice Pudding Recipe, Made Easy
- In a large saucepan, bring 2 cups water to a boil over high heat.
- Stir in 1 cup long-grain white rice and 1/4 teaspoon salt. Reduce heat to low, cover, and simmer, stirring occasionally, until most of the water is absorbed, about 15–20 minutes.
- While the rice cooks, heat 4 cups milk until steaming (about 140–160°F). You can heat it in a large microwave-safe bowl or in a separate saucepan on the stove; do not let the milk boil.
- When the rice has absorbed most of the water, add the heated milk and 2/3 cup granulated sugar to the rice. Stir to combine and bring the mixture to a gentle simmer over low to medium-low heat.
- Cook the pudding uncovered, stirring every few minutes to prevent sticking, until the mixture is thick and the rice is very tender, about 45 minutes. It should be thick enough to coat a spoon or for a spoon to stand up in the pudding.
- Remove from heat and stir in 1 1/4 teaspoons vanilla extract.
- Cool slightly if serving warm, or refrigerate until chilled, about 2 hours, before serving cold.
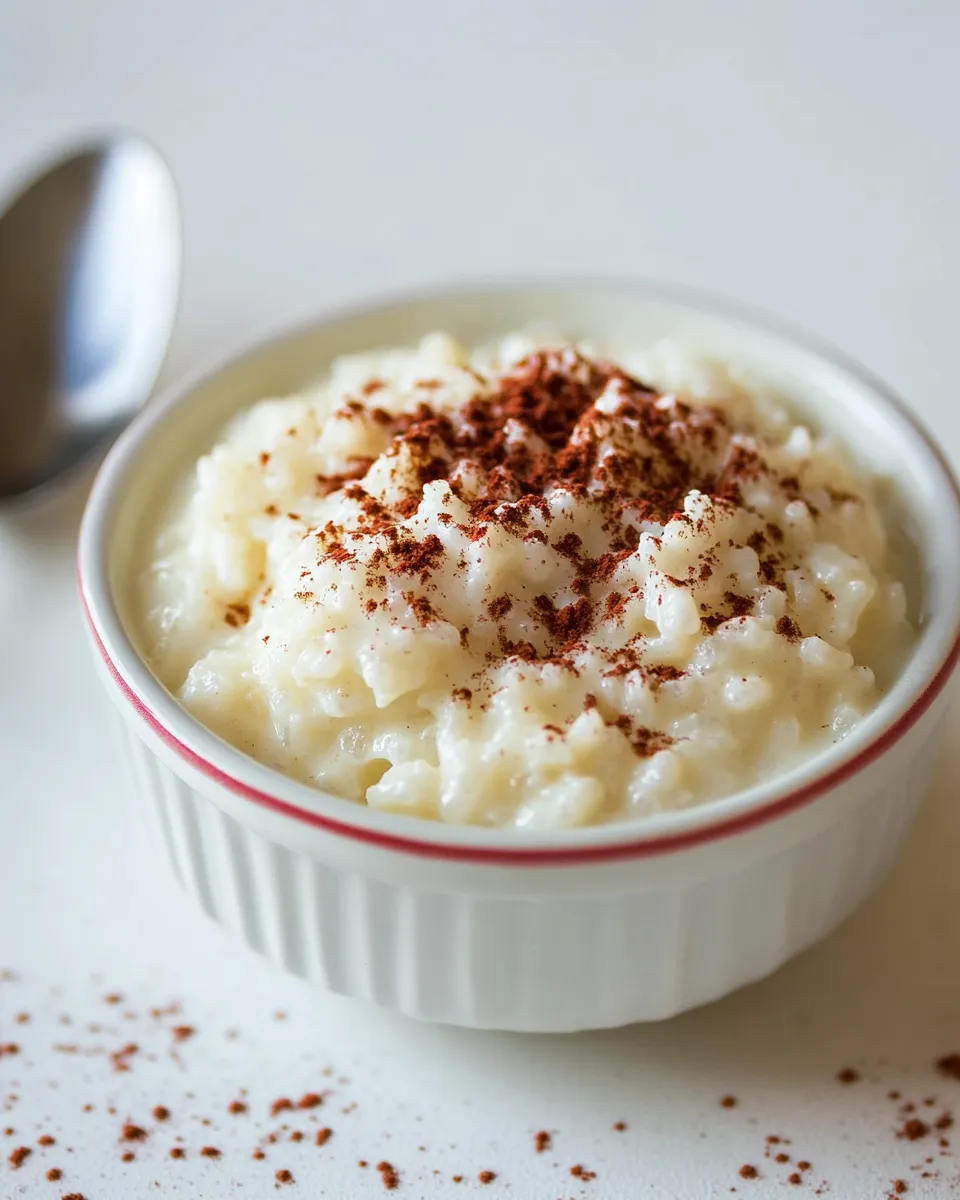
- Serve and dust with ground cinnamon as a garnish.
Why This Rice Pudding Recipe Stands Out
This recipe stands out because it’s straightforward and forgiving. There’s no heavy cream or specialized rice required—long-grain white rice works beautifully when cooked patiently. The two-stage cooking (first with water, then with warm milk) avoids boiling the milk from the start, which reduces the risk of curdling and burning. That warming step also shortens the active simmer time.
The texture aim is clear: tender rice with a creamy, spoon-coating consistency. The recipe’s long, gentle simmer allows starches to release and thicken the mixture naturally. The result is a pudding that feels both light and rich—comforting without being cloying.
No-Store Runs Needed

One of the best things about this pudding is that you almost always have everything on hand. Water, rice, salt, milk, sugar, vanilla, and cinnamon are pantry and fridge staples. Before you start, check the milk and vanilla; if you’re low on vanilla, a little extra cinnamon can help carry the flavor, but try to stick with vanilla if you have it for the classic aroma.
If you do need to improvise, remember the method is more important than exactness: heat the liquid, don’t boil it, and simmer until tender. Small tweaks in timing are forgiving as long as you stir regularly to prevent sticking.
Appliances & Accessories
- Large saucepan — wide base helps evaporation and even cooking.
- Wooden spoon or heatproof spatula — for stirring without scratching the pan.
- Measuring cups and spoons — to keep proportions right.
- Thermometer (optional) — helpful for checking milk temperature; steaming is about 140–160°F.
- Serving bowls and a mesh sieve (optional) — for dusting cinnamon evenly.
Frequent Missteps to Avoid
1) Letting the milk boil. Once the milk reaches steaming, keep it below a full boil. Boiling can cause scalding and change the texture.
2) Cooking at too high a heat after adding milk. A slow, gentle simmer is essential. Higher heat can scorch the bottom and leave undercooked rice on top.
3) Not stirring often enough. Stir every few minutes during the long simmer so the bottom doesn’t stick or burn. Frequent stirring also helps achieve a uniformly creamy texture.
4) Rushing the final texture check. The pudding looks quite loose at first; it will thicken as it cools. Remove from heat when the rice is very tender and the mixture coats a spoon.
Spring to Winter: Ideas
Serve this pudding warm in colder months for a cozy dessert; the steam and cinnamon feel like a hug. In warmer months, chill it for a refreshing, creamy treat—its gentle sweetness and dusting of cinnamon make it versatile across seasons.
Presentation is simple: a shallow bowl, a dusting of cinnamon, and perhaps a spoonful served with a hot beverage in the morning. The texture holds up whether you spoon it into small bowls for individual servings or let guests help themselves from a larger dish.
Behind-the-Scenes Notes
I prefer starting the rice in water because it gives the grains a chance to hydrate without the risk of scorching milk. The separate warming of the milk also prevents temperature shock and helps everything come together smoothly. The slow simmer extracts starch from the rice, which is the natural thickener here—no cornstarch needed.
If the pudding gets thicker than you like after refrigeration, stir in a splash of milk to loosen it before serving. The vanilla is added at the end to preserve its fragrance; adding it too early will reduce its fresh aroma.
Prep Ahead & Store
You can make the pudding ahead and refrigerate it. After cooking, cool it slightly, then cover and chill for about 2 hours or until cold. It will firm up in the fridge. Stored in an airtight container, it keeps for up to 4 days.
Reheat gently on the stove over low heat, stirring and adding a little milk if needed to reach your desired consistency. For single portions, microwave briefly and stir midway through reheating so heat distributes evenly.
Reader Q&A
Q: Can I use a different rice? A: This recipe uses long-grain white rice. Short-grain or medium-grain rice will yield a creamier, stickier texture; if you use those, expect a slightly shorter cook time and a denser pudding. Adjust the simmer time and watch texture closely.
Q: What if my pudding is too thin? A: Continue simmering uncovered, stirring frequently, until more liquid reduces and the rice is very tender. Remember it will thicken further as it cools.
Q: Can I make this dairy-free? A: Yes—you can substitute a plant-based milk. Heat the milk gently as instructed and proceed the same way. Different milks will affect final richness and thickness.
Q: How can I tell the rice is done? A: The rice should be very tender and the mixture thick enough to coat a spoon. If you can tilt a spoon and the pudding clings to it, you’re there.
In Closing
This rice pudding is dependable, modest, and very forgiving. It’s exactly the kind of dessert you reach for when you want something homemade without fuss. Follow the steps, watch the pot, and you’ll end up with a creamy, gently sweet pudding that feels like a small celebration in a bowl.
Make it when you want something comforting. Keep the technique in mind and you’ll be able to adapt without losing the reliable results. Enjoy the rhythm of stirring, the warmth of vanilla, and the simple pleasure of cinnamon on top.

Easy Rice Pudding Recipe
Ingredients
Ingredients
- 2 cupswater
- 1 cuplong-grain white rice see note 1
- 1/4 teaspoonsalt
- 4 cupsmilk see note 2
- 2/3 cupgranulated sugar
- 1 1/4 teaspoonsvanilla extract
- ground cinnamonfor garnish
Instructions
Instructions
- In a large saucepan, bring 2 cups water to a boil over high heat.
- Stir in 1 cup long-grain white rice and 1/4 teaspoon salt. Reduce heat to low, cover, and simmer, stirring occasionally, until most of the water is absorbed, about 15–20 minutes.
- While the rice cooks, heat 4 cups milk until steaming (about 140–160°F). You can heat it in a large microwave-safe bowl or in a separate saucepan on the stove; do not let the milk boil.
- When the rice has absorbed most of the water, add the heated milk and 2/3 cup granulated sugar to the rice. Stir to combine and bring the mixture to a gentle simmer over low to medium-low heat.
- Cook the pudding uncovered, stirring every few minutes to prevent sticking, until the mixture is thick and the rice is very tender, about 45 minutes. It should be thick enough to coat a spoon or for a spoon to stand up in the pudding.
- Remove from heat and stir in 1 1/4 teaspoons vanilla extract.
- Cool slightly if serving warm, or refrigerate until chilled, about 2 hours, before serving cold.
- Serve and dust with ground cinnamon as a garnish.
Notes
Milk:For the best flavor, use whole milk if you have it. For even richer Rice Pudding, opt for a combination of milk and butter or half-and-half.
Yield:This recipe makes about 4 cups of rice pudding, enough for 8 servings ½ cup each.
Storage:Store leftovers covered in the refrigerator for up to 4 days.