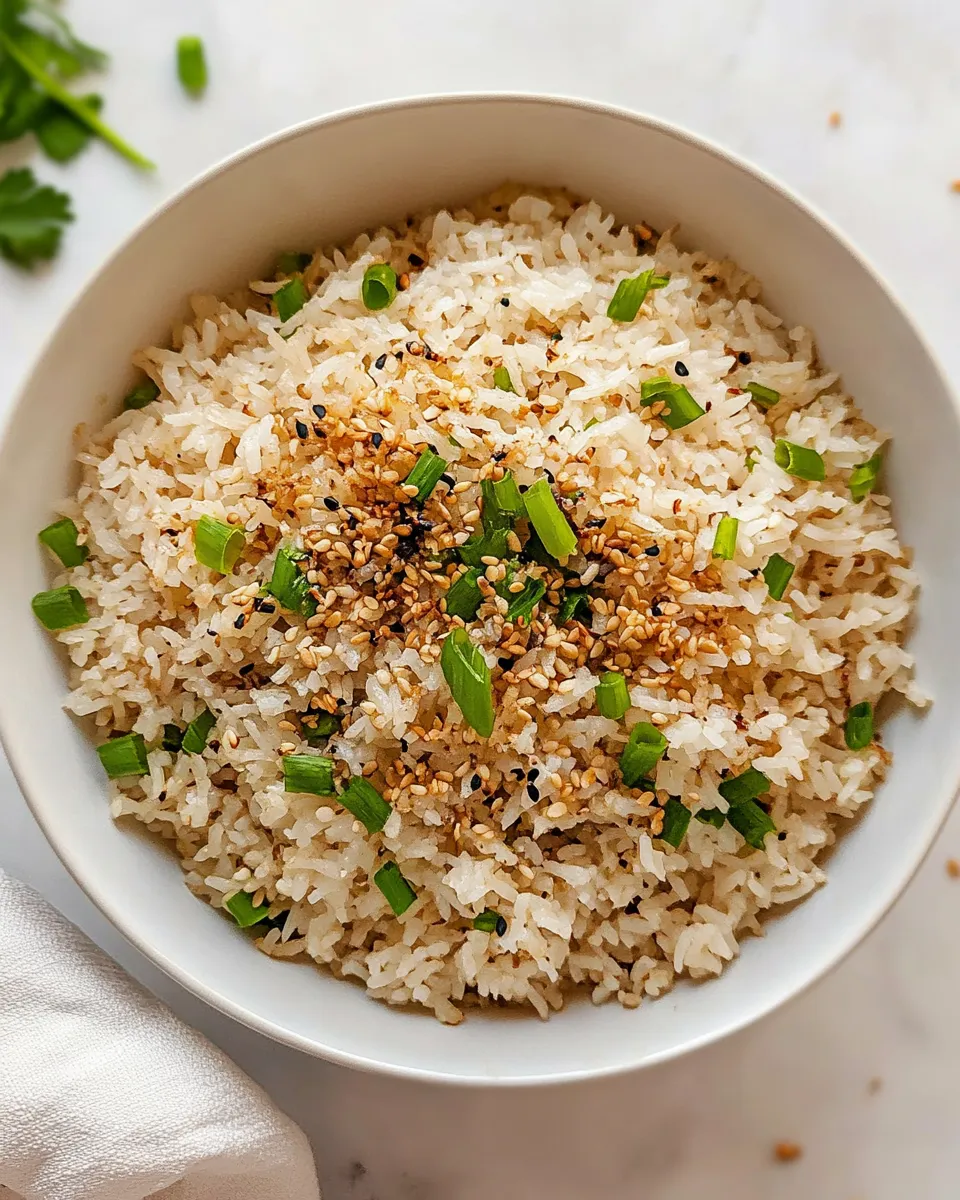
I grew up with sinangag as an anchor: simple, honest, and unfussy. This version keeps the focus where it belongs — on deeply toasted garlic, hot oil that carries flavor, and rice that picks up just enough crisp. It’s the kind of thing you make when you want comfort with no drama and great results fast.
This recipe is built from a few clear moves: brown the garlic until it crisps, add cold cooked rice, season, and finish with green onions. It sounds small, but each step nudges the rice toward that toasty, savory place we all love. I’ll show you why the timing and temperature matter, and how to rescue the dish if something goes sideways.
Ingredient Notes
Before you cook, glance over the ingredients and set them up. The garlic is the star — more than an additive, it perfuses the oil and turns each grain of rice into something richly aromatic. The oil carries that flavor through the rice, so pick a neutral one you trust. Cold rice is not negotiable if you want separate grains and some crispness.
Ingredients
- 8 garlic cloves, peeled and minced, about ¼ cup — the primary flavor; mince small for even browning and crisp pieces throughout.
- 3 tablespoons vegetable oil — releases the garlic flavor and crisps the rice; enough to coat without making it greasy.
- 4 cups cooked rice, cold — day-old or thoroughly chilled rice gives the best texture; prevents mushy sinangag.
- ½ teaspoon onion powder — adds a subtle savory layer; light-handed here so garlic stays dominant.
- ½ teaspoon salt, or more to taste — seasons the whole dish; start with this amount and adjust after tasting.
- ¼ teaspoon pepper, or more to taste — a gentle background heat; freshly cracked is ideal if available.
- 2 tablespoons sliced green onions, for garnish — brightens the finished rice and adds a fresh snap.
Garlic Fried Rice (Sinangag), Made Easy
- Heat a large wok or non-stick pan over medium-high heat and add 3 tablespoons vegetable oil; heat until the oil shimmers.
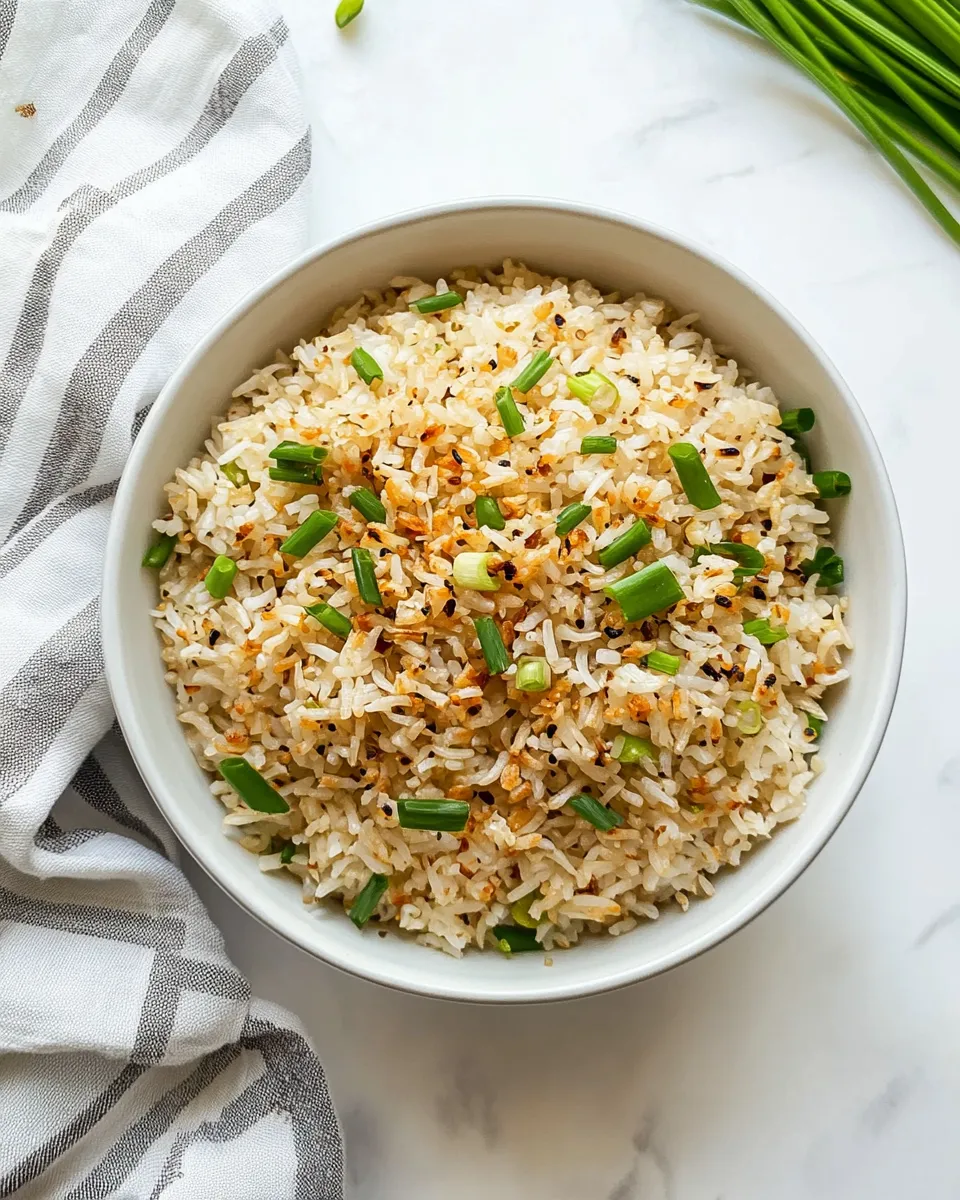
- Add the minced 8 garlic cloves to the hot oil. Stir constantly and cook 2–3 minutes until the garlic is golden brown and crispy, lowering heat to medium if it browns too quickly to avoid burning.
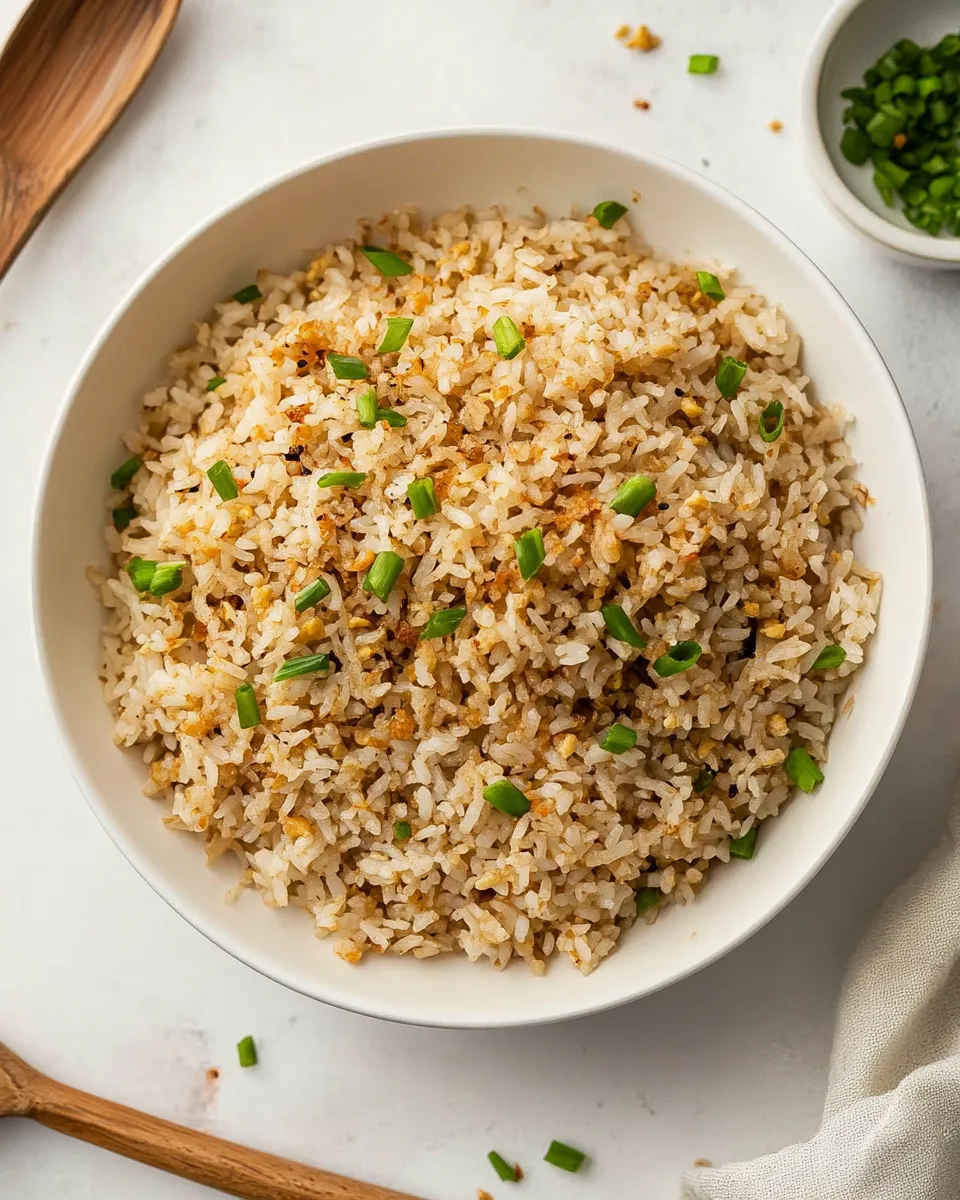
- Add 4 cups cooked rice (cold) to the pan. Break up any clumps with your spatula and stir so the rice is evenly coated with the garlic and oil.
- Sprinkle ½ teaspoon onion powder, ½ teaspoon salt, and ¼ teaspoon pepper over the rice. Stir to distribute the seasonings.
- Cook, stirring frequently, for 3–5 minutes until the rice is heated through and some grains become slightly crispy; adjust heat as needed to prevent burning.
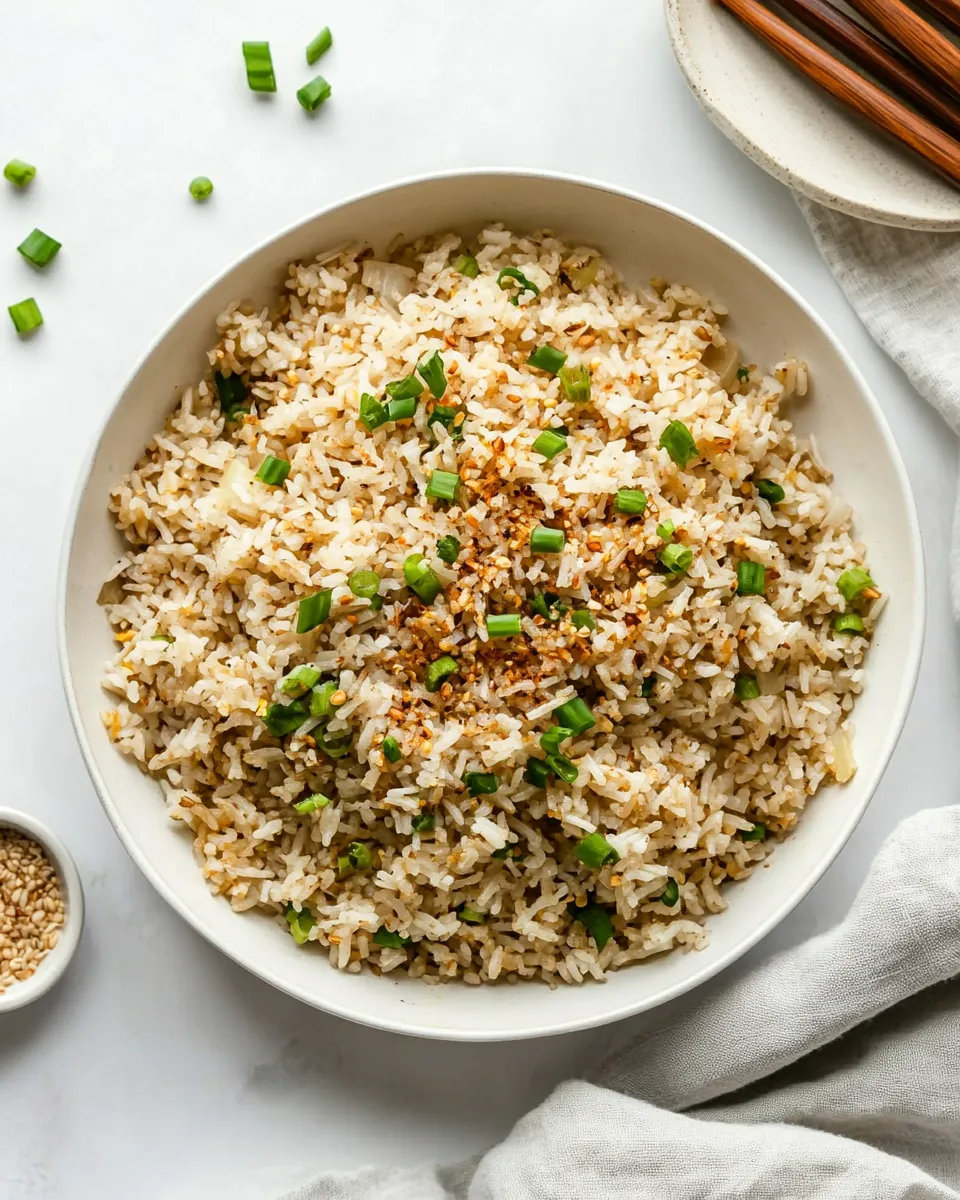
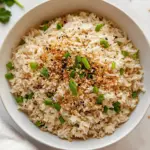
- Remove from heat, garnish with 2 tablespoons sliced green onions, and serve warm.
What You’ll Love About This Recipe
It’s fast. It’s forgiving. The ingredient list is minimal but the payoff is big: crisped garlic gives the rice a roasted, nutty note that feels special without being fussy. You can serve it with eggs, grilled fish, quick protein, or enjoy it on its own. The method scales up easily for a crowd and reheats well for leftovers.
If You’re Out Of…
If you don’t have perfectly cold rice, spread freshly cooked rice on a tray to cool quickly in a thin layer and refrigerate for a short while — the goal is to remove surface steam and let the grains firm up. If you’re without onion powder or green onions, the garlic-forward profile still carries the dish; omit those elements rather than subbing something that will overpower the delicate toasty garlic. If salt or pepper runs low, adjust the other seasoning slowly and taste as you go.
Tools of the Trade
- Large wok or non-stick pan — gives you space to toss and crisp the rice evenly.
- Spatula — a flat spatula or wok spatula helps break clumps and scrape the pan.
- Sharp knife and cutting board — for mincing garlic and slicing green onions cleanly.
- Measuring spoons — to keep the seasoning balanced.
- Heat-safe bowl or tray — useful if you need to cool rice quickly or hold the finished sinangag.
Steer Clear of These
Burned garlic is the most common misstep. Garlic turns bitter quickly once it goes past golden; remove the pan from high heat if it’s racing toward dark brown. Don’t add steaming-hot rice — it wets the oil and makes the dish soggy. Overcrowding the pan prevents any grain from crisping; cook in batches if necessary. Finally, avoid heavy-handed seasoning at the start; flavors concentrate as the rice cooks.
Fresh Seasonal Changes
Sinangag is versatile. In spring or summer, a light scattering of fresh herbs after cooking can feel bright. In cooler months, serve alongside heartier proteins and roasted vegetables for a fuller plate. The core remains the same: garlic-forward rice that complements whatever seasonal produce you pair with it.
Little Things that Matter
Use cold rice for the best texture. Mince the garlic finely so it browns evenly without burning. Heat the oil until it shimmers but isn’t smoking — that’s the window where it crisps garlic without scorching it. While cooking, keep the rice moving enough to prevent hot spots, but let it sit a few seconds at a time so a few grains can brown and develop that lovely texture contrast.
Keep-It-Fresh Plan
Store cooled sinangag in an airtight container in the fridge for up to 3–4 days. To reheat, toss the rice in a hot pan with a splash of oil over medium-high heat until warmed through and slightly revived — this restores the texture better than microwaving. Freezing isn’t ideal for texture, but if you must, freeze in a shallow layer and use within a month; thaw in the fridge before pan-frying to refresh.
Top Questions & Answers
Can I use freshly cooked rice? Yes, but let it cool and dry somewhat first. Hot, steaming rice releases moisture and makes the dish gluey. If you only have freshly made rice, spread it thinly on a tray to cool quickly.
What if my garlic browns too fast? Lower the heat and stir immediately. Garlic burns quickly; a short adjustment in temperature prevents bitterness. If a few pieces go dark, scoop them out so the rest of the batch isn’t tainted.
How do I get more crispiness? Use a hot pan and give the rice a few moments without stirring so contact with the surface creates a slight crust. Don’t overcrowd; crispy bits need space.
Is this a vegetarian dish? As written, yes. It’s simply rice, garlic, oil, and seasonings. You can serve it with other toppings or proteins depending on your meal plan.
Can I scale the recipe up? Absolutely. If you double the ingredients, use a larger pan or cook in batches. Maintaining heat control is the trick to even cooking when you increase volume.
Ready to Cook?
Gather the garlic, oil, cold rice, and seasonings, and set your pan on medium-high. Follow the steps: brown the garlic, add rice, season, and finish with green onions. The whole process takes minutes, but the result feels like you spent time coaxing flavor out of simple things. Serve immediately and enjoy the little reward that sinangag always delivers — straightforward, aromatic, and reliably comforting.
Garlic Fried Rice (Sinangag)
Ingredients
Ingredients
- 8 garlic cloves peeled and minced, about 1/4 cup
- 3 tablespoonsvegetable oil
- 4 cupscooked rice cold
- 1/2 teaspoononion powder
- 1/2 teaspoonsalt or more to taste
- 1/4 teaspoonpepper or more to taste
- 2 tablespoonssliced green onions for garnish
Instructions
Instructions
- Heat a large wok or non-stick pan over medium-high heat and add 3 tablespoons vegetable oil; heat until the oil shimmers.
- Add the minced 8 garlic cloves to the hot oil. Stir constantly and cook 2–3 minutes until the garlic is golden brown and crispy, lowering heat to medium if it browns too quickly to avoid burning.
- Add 4 cups cooked rice (cold) to the pan. Break up any clumps with your spatula and stir so the rice is evenly coated with the garlic and oil.
- Sprinkle ½ teaspoon onion powder, ½ teaspoon salt, and ¼ teaspoon pepper over the rice. Stir to distribute the seasonings.
- Cook, stirring frequently, for 3–5 minutes until the rice is heated through and some grains become slightly crispy; adjust heat as needed to prevent burning.
- Remove from heat, garnish with 2 tablespoons sliced green onions, and serve warm.
Equipment
- large wok or non-stick pan
- Spatula