These grain-free waffles are my go-to weekend breakfast when I want something crisp on the outside, tender inside, and naturally nutty without any wheat. They hit the sweet spot between indulgent and wholesome—rich hazelnut flour gives them depth, tapioca keeps them light, and a touch of honey and cinnamon rounds everything out. They take under 30 minutes from start to finish when your waffle iron is warmed up.
They’re forgiving, too. The batter is blended smooth so you don’t need to fuss with separate dry and wet bowls, and a quick rest lets the flours hydrate so the texture comes together. Whether you keep them soft and pillowy or push the iron a little longer for extra crunch, the method is easy to repeat.
If you follow a paleo or grain-free diet, these waffles are a simple way to enjoy a weekend breakfast that feels special without a long ingredient list. Below I walk through the ingredients, exact directions, troubleshooting tips, and a few variations so you can make them your own.
Ingredient Breakdown
- 3 large eggs — Provide structure, lift, and a rich mouthfeel; they’re the primary binder here.
- 1/3 cup unsweetened almond milk — Thins the batter; use unsweetened to control sweetness level.
- 3 tablespoons coconut oil or ghee, melted — Adds fat for tenderness and helps the waffles brown; use the melted form so it blends easily.
- 2 tablespoons honey — Sweetener and color; contributes to browning and a gentle caramel note.
- 1 teaspoon pure vanilla extract — Flavor enhancer; rounds out the nuttiness of the hazelnut flour.
- 1.5 cups hazelnut flour — The base of the batter; gives a distinct toasted, nutty flavor and a denser crumb than grain flours.
- 1/4 cup tapioca flour — Adds elasticity and lightness; helps create crisp edges when cooked longer.
- 1/4 teaspoon baking soda — A small lift agent to help with a lighter texture.
- 1/4 teaspoon sea salt — Balances sweetness and enhances the other flavors.
- 1/2 teaspoon ground cinnamon (optional) — Warm spice that complements hazelnut; optional if you prefer a plain profile.
Directions: Grain-Free Waffles (Paleo)
- Preheat your waffle iron according to the manufacturer’s instructions until fully hot. Lightly grease the cooking surfaces with a thin layer of the melted coconut oil or ghee (use a pastry brush or a folded paper towel).
- In a blender add: 3 large eggs, 1/3 cup unsweetened almond milk, 3 tablespoons melted coconut oil or ghee, 2 tablespoons honey, 1 teaspoon pure vanilla extract, 1.5 cups hazelnut flour, 1/4 cup tapioca flour, 1/4 teaspoon baking soda, 1/4 teaspoon sea salt, and 1/2 teaspoon ground cinnamon (optional). Blend until the batter is smooth, about 20–30 seconds.
- Let the batter rest 1–2 minutes to allow the flours to hydrate.
- Pour enough batter into the center of the preheated waffle iron to just cover the waffle surface (amount depends on your iron). Close the lid and cook until the waffle iron’s ready/indicator light signals done; then cook an additional 1–2 minutes for a firmer texture (or up to 2–5 minutes extra if you prefer very crunchy waffles).
- Transfer the cooked waffle to a wire rack to keep it crisp. Re-grease the waffle iron if needed and repeat with the remaining batter.
- Serve the waffles warm.
Why You’ll Love This Recipe
First, the texture balances tenderness and crispness in a way that most grain-free waffles don’t. Hazelnut flour delivers a buttery, toasted bite while tapioca flour keeps them from feeling too dense. That combination gives you waffles that are substantial without being heavy.
Second, the flavor is naturally interesting. You get nutty richness up front, a hint of vanilla and honey, and the option of cinnamon for warmth. They don’t taste like a low-quality substitute for wheat waffles—these have their own identity.
Third, the process is streamlined. Blending everything into a smooth batter means fewer bowls and less fuss. The quick rest is forgiving: even if you’re not precise, the batter will hydrate and come together, and the extra cooking time lets you dial in the crisp level you love.
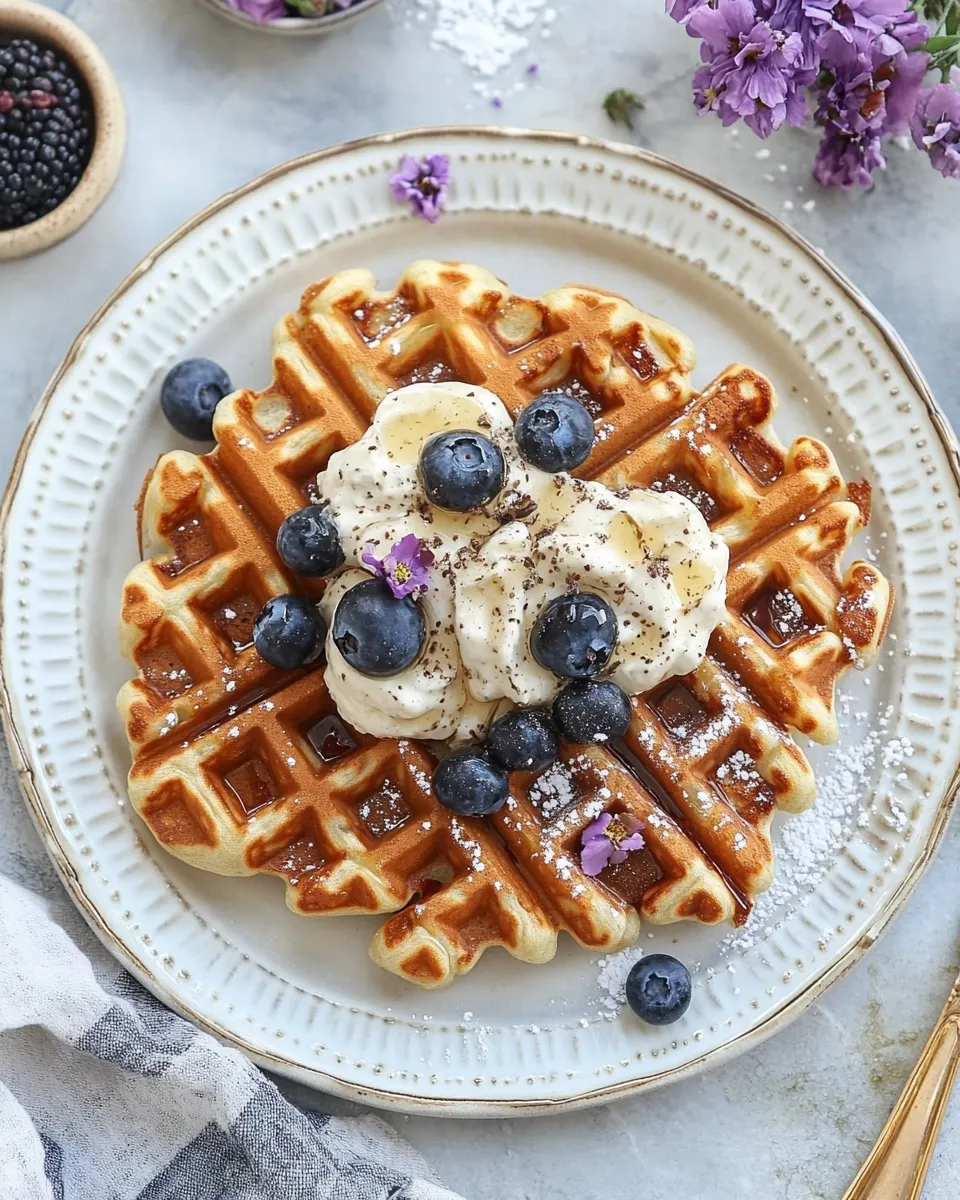
Finally, they’re versatile. Keep them simple with butter and a drizzle of honey, top with fruit and cream, or use them as a base for savory toppings. They work for breakfast, brunch, or a cozy dessert when you want something that feels a little special but not complicated.
Flavor-Forward Alternatives
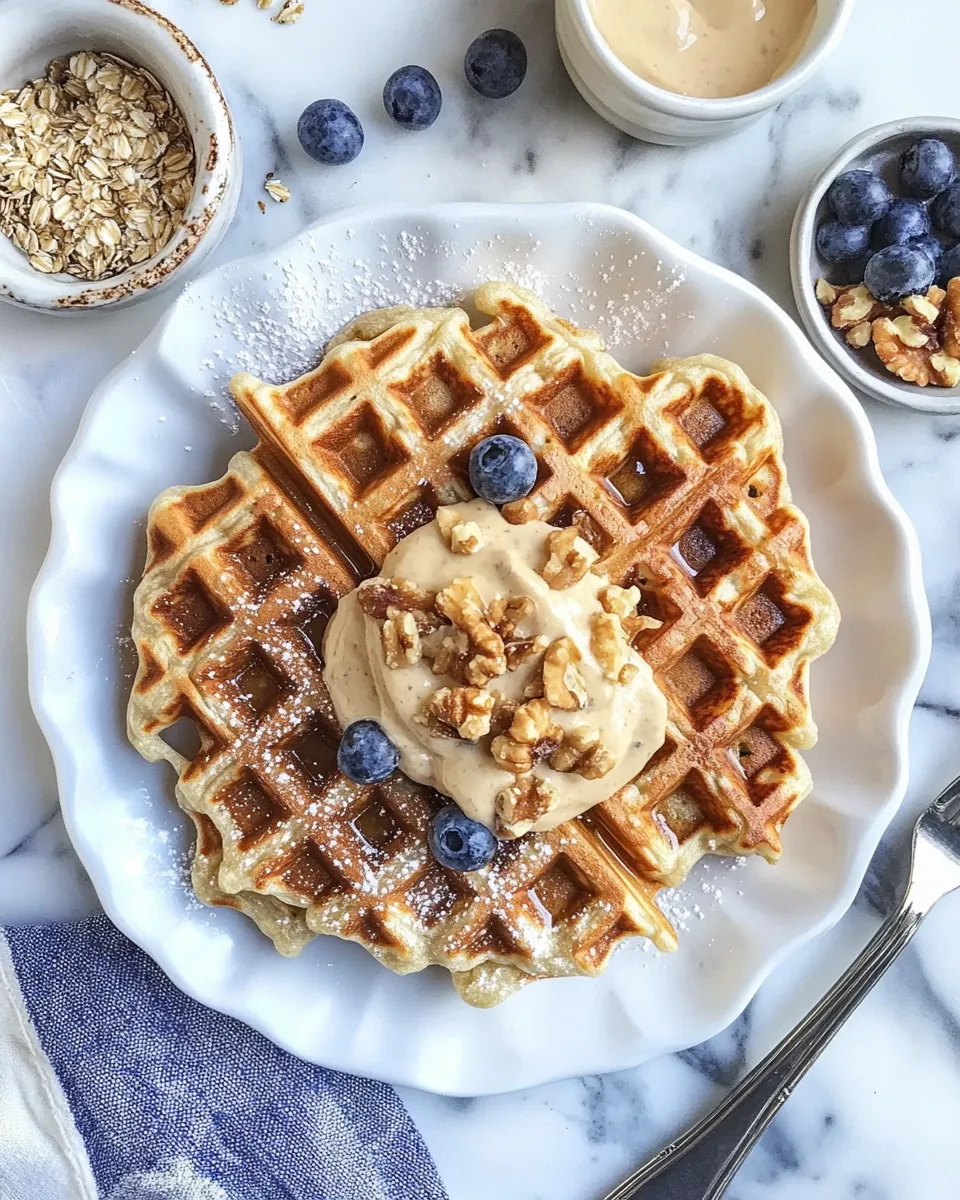
- Chocolate-hazelnut: Stir 1–2 tablespoons of cocoa powder into the batter and serve with sliced bananas and a smear of nut butter.
- Apple-cinnamon: Fold small chunks of firm apple into the batter (or top after cooking) and bump the cinnamon up slightly for a warm profile.
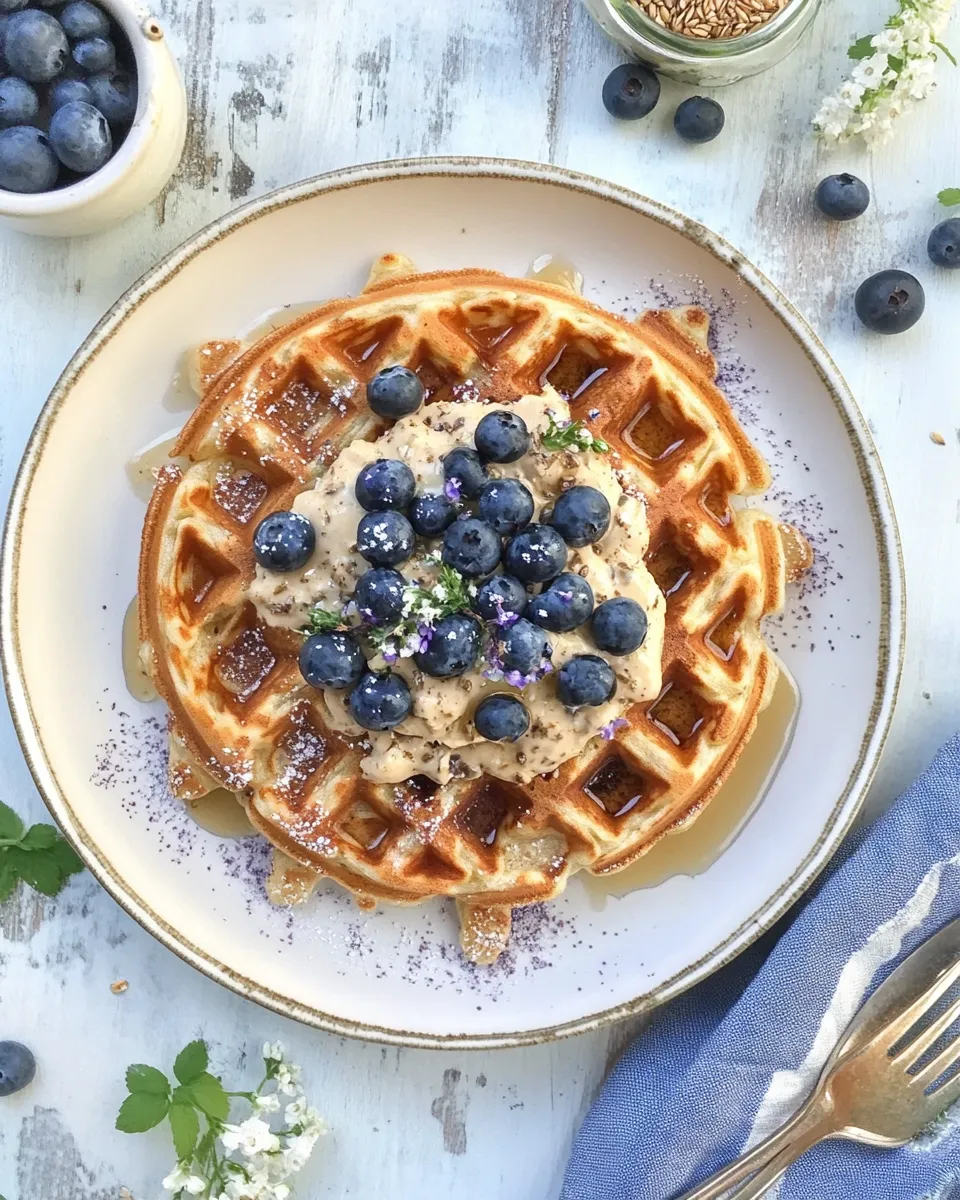
- Maple & berries: Swap honey for maple syrup and top with warm berries for a classic pairing.
- Savory twist: Omit honey and cinnamon, add a pinch more salt, and top with smoked salmon and crème fraîche or avocado and a poached egg.
- Nut swap: If you want a different base flavor (see Smart Substitutions), almond flour will make them milder and slightly lighter in color.
Tools & Equipment Needed
- Waffle iron — Any standard waffle iron will do; a Belgian iron creates deeper pockets while a classic iron makes thinner waffles.
- Blender — Needed to emulsify the batter so the hazelnut flour mixes smoothly with the eggs and fats.
- Measuring cups and spoons — The recipe uses small quantities of leavener and salt, so measuring accurately matters for balance.
- Wire rack — Keeps cooked waffles crisp while you finish the batch.
- Pastry brush or folded paper towel — For greasing the waffle iron with melted coconut oil or ghee.
Problems & Prevention
- Waffles stick to the iron — Make sure the iron is fully hot before adding batter and apply a thin, even coat of melted coconut oil or ghee. Re-grease between batches if needed.
- Waffles turn out soggy — Cook until the indicator shows done, then add an extra 1–2 minutes for a firmer texture. Transfer to a wire rack immediately; stacking traps steam and softens them.
- Batter too thick or thin — The blender should yield a pourable batter. If it seems too thick after resting, add a splash of almond milk; if too thin, the batter may be over-blended—let it sit 1–2 minutes to thicken as the hazelnut flour hydrates.
- Uneven browning — Some irons have hot spots. Rotate placement or adjust cook time. Use the extra cook time recommendation to achieve the color you like.
- Texture too dense — Ensure the baking soda is fresh; it provides a small lift. Also avoid overfilling the iron which can compress the waffle and make it heavy.
Smart Substitutions
- Hazelnut flour — Almond flour can be used for a milder, more neutral nut flavor. The texture will be similar but the taste will change.
- Tapioca flour — Arrowroot or cassava starch can provide similar elasticity and chew; note that different starches can slightly alter crispness.
- Coconut oil or ghee — Use whichever fat you prefer for flavor and dietary needs; ghee gives a buttery note while coconut oil adds a subtle coconut aroma.
- Honey — Maple syrup or a mild liquid sweetener can replace honey if you prefer a vegan-friendly option; expect slight flavor differences.
- Unsweetened almond milk — Any neutral, unsweetened plant milk works (macadamia, cashew) or dairy milk if you’re not avoiding dairy.
Method to the Madness
Why blend everything? Hazelnut flour has fine particles and oil that can clump; blending with the wet ingredients ensures a silky batter and even distribution of the leavener. The eggs provide structure and lift, while the tapioca contributes bounce and crisp edges when the waffles get extra cooking time.
The rest period is short but important: it lets the nut flour absorb some moisture, preventing a gummy interior. Cooking on a hotter iron and finishing with an extra minute or two dries the exterior and encourages Maillard browning—this is where the flavor deepens and the edges crisp.
Finally, transferring waffles to a wire rack instead of stacking keeps them from steaming themselves soft. Little habits like that make the difference between an okay waffle and a great one.
Save It for Later
Store cooled waffles in an airtight container in the refrigerator for up to 2 days. For longer storage, freeze cooked waffles in a single layer on a baking sheet until solid, then transfer to a freezer bag for up to 1–2 months. Reheat from frozen in a toaster or toaster oven until hot and crisp, or warm in a 350°F (175°C) oven for 8–12 minutes.
Questions People Ask
- Can I make the batter ahead? You can blend and refrigerate the batter for a few hours, but it’s best used the same day. The batter may thicken as the flours absorb liquid; give it a quick stir before cooking.
- Are these waffles nut-free? No. They rely on hazelnut flour as the main ingredient. If you need nut-free, other flours and adjustments are required and will change texture and flavor.
- Can I skip the honey? Yes. Omitting it yields a less sweet waffle; you can add a touch more vanilla or a sugar substitute if desired.
- Will these work in a stovetop griddle? You can make pancakes with this batter on a griddle, though the ratio is designed for waffles and results will vary—expect a denser pancake.
- Why is tapioca included? Tapioca adds chew and helps create crisp edges when cooked thoroughly. It balances the heavier nut flour.
Next Steps
Make a batch this weekend and test two finish times: one at the minimum cook time for a tender waffle and one extended for a crunchy edge. Compare and see which you prefer—small tweaks in cook time make a big difference with this batter. If you liked the hazelnut profile, try the chocolate-hazelnut idea for a dessert-style breakfast.
If you have questions about swapping flours or want troubleshooting help with your specific waffle iron, leave a note and I’ll help you troubleshoot the next batch. Happy cooking—and enjoy the crisp, nutty goodness!

Grain-Free Waffles (Paleo)
Ingredients
Ingredients
- 3 largeeggs
- 1/3 cupunsweetened almond milk
- 3 tablespoonscoconut oilor ghee melted
- 2 tablespoonshoney
- 1 teaspoonpure vanilla extract
- 1.5 cupshazelnut flour
- 1/4 cuptapioca flour
- 1/4 teaspoonbaking soda
- 1/4 teaspoonsea salt
- 1/2 teaspoonground cinnamonoptional
Instructions
Instructions
- Preheat your waffle iron according to the manufacturer’s instructions until fully hot. Lightly grease the cooking surfaces with a thin layer of the melted coconut oil or ghee (use a pastry brush or a folded paper towel).
- In a blender add: 3 large eggs, 1/3 cup unsweetened almond milk, 3 tablespoons melted coconut oil or ghee, 2 tablespoons honey, 1 teaspoon pure vanilla extract, 1.5 cups hazelnut flour, 1/4 cup tapioca flour, 1/4 teaspoon baking soda, 1/4 teaspoon sea salt, and 1/2 teaspoon ground cinnamon (optional). Blend until the batter is smooth, about 20–30 seconds.
- Let the batter rest 1–2 minutes to allow the flours to hydrate.
- Pour enough batter into the center of the preheated waffle iron to just cover the waffle surface (amount depends on your iron). Close the lid and cook until the waffle iron’s ready/indicator light signals done; then cook an additional 1–2 minutes for a firmer texture (or up to 2–5 minutes extra if you prefer very crunchy waffles).
- Transfer the cooked waffle to a wire rack to keep it crisp. Re-grease the waffle iron if needed and repeat with the remaining batter.
- Serve the waffles warm.
Equipment
- Waffle Iron
- Blender
- Pastry Brush
- Wire Rack