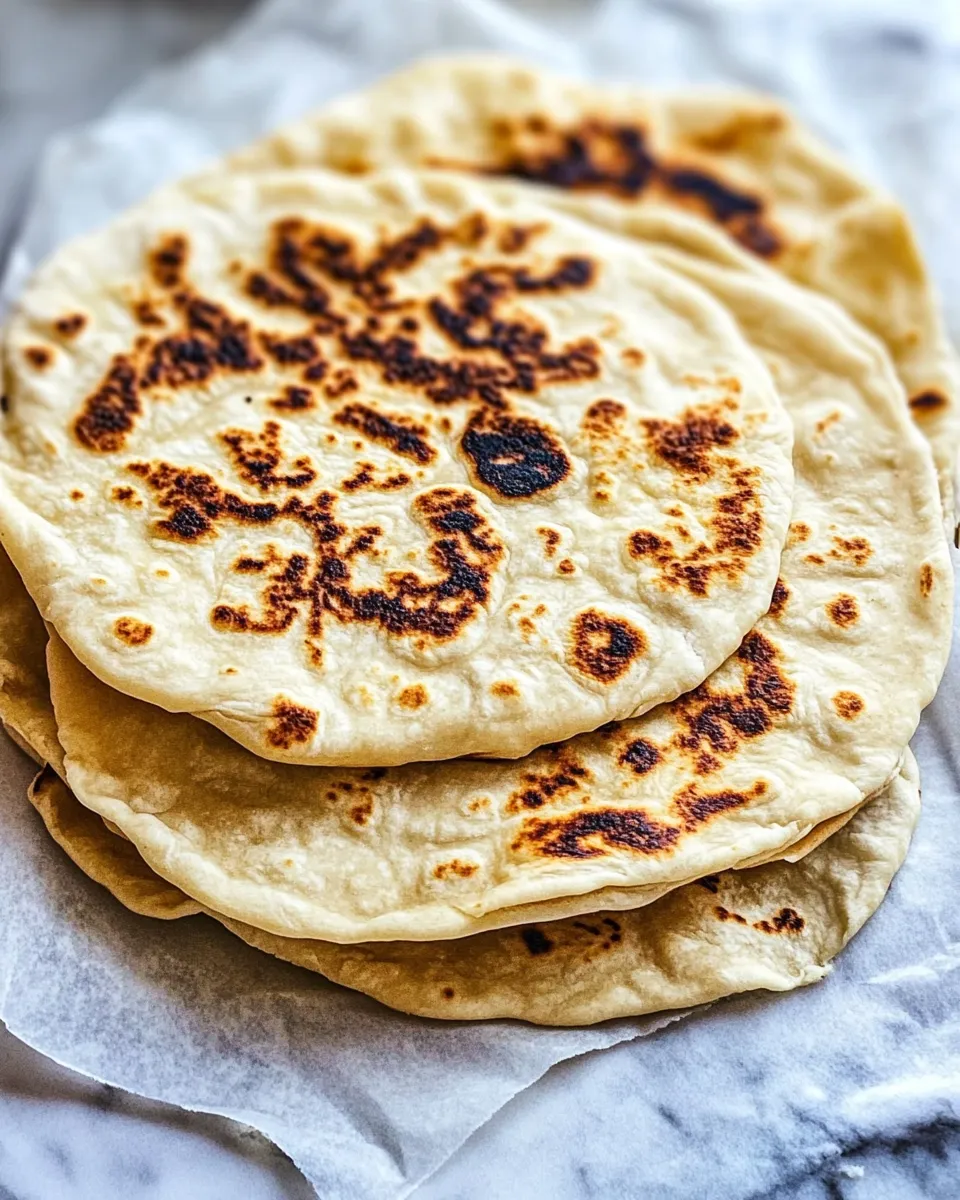
Soft, slightly chewy flatbreads are one of those kitchen projects that pay off immediately. They take a handful of pantry staples, a little technique, and twenty minutes of active work. Better still, they stretch across meals: wraps at lunch, scoops for dinner, a warm companion at breakfast. I keep this recipe in heavy rotation because it’s forgiving and quick.
There’s comfort in a dough you can handle without fuss. The method below is straightforward: mix, knead, divide, roll, cook. No proofing times, no special equipment, and no leaning on exotic ingredients. You’ll get soft rounds you can stack, fold, and fill.
If you’re short on time, this recipe still fits. It’s built to be practical: the dough comes together in one bowl, cooks on a dry skillet, and stays pliable under a towel. Read the ingredient notes, follow the stepwise instructions, and use the troubleshooting tips if your first batch needs a tweak.
Ingredient Checklist
Ingredients
- 3 cups (375 g) all-purpose flour — the structure and chew come from the gluten in the flour; measure by spooning into the cup and leveling for accuracy.
- 1 teaspoon baking powder — gives the breads a light lift and helps with a softer crumb.
- 1 teaspoon salt — seasons the dough; balance is subtle but essential.
- 80 ml vegetable oil — adds tenderness and helps the dough stay soft; room temperature is fine.
- 1 cup (235 ml) warm water — hydrates the flour and activates the baking powder; warm means comfortable to the touch, not scalding.
Homemade Soft Flatbread Made Stepwise
- In a large mixing bowl, combine 3 cups (375 g) all-purpose flour, 1 teaspoon baking powder, and 1 teaspoon salt; stir or whisk to blend the dry ingredients evenly.
- Add 80 ml vegetable oil and 1 cup (235 ml) warm water to the dry ingredients. Stir with a spoon until a shaggy dough forms.
- Turn the dough out onto a lightly floured surface and knead by hand until the dough is smooth and elastic, about 5–8 minutes. Form the dough into a single ball.
- Use a dough scraper (or a knife/bench scraper) to divide the dough ball into 16 equal pieces. Roll each piece briefly between your palms to make small balls and flatten them slightly with your hand. Cover the shaped pieces with a clean towel and let them rest for 15 minutes.
- After resting, work one piece at a time on a lightly floured surface. Using a rolling pin, roll each ball into a disk about 7 inches in diameter. Keep the remaining dough balls covered while you roll.
- Heat a dry griddle or nonstick skillet over medium heat until hot (a few drops of water should sizzle on contact). Do not add oil.
- Cook each rolled disk on the hot griddle, one at a time. Cook until small bubbles form and the underside has light brown spots, about 30–60 seconds, then flip with tongs and cook the other side until lightly browned and cooked through, another 30–60 seconds. Adjust heat if they brown too quickly or too slowly.
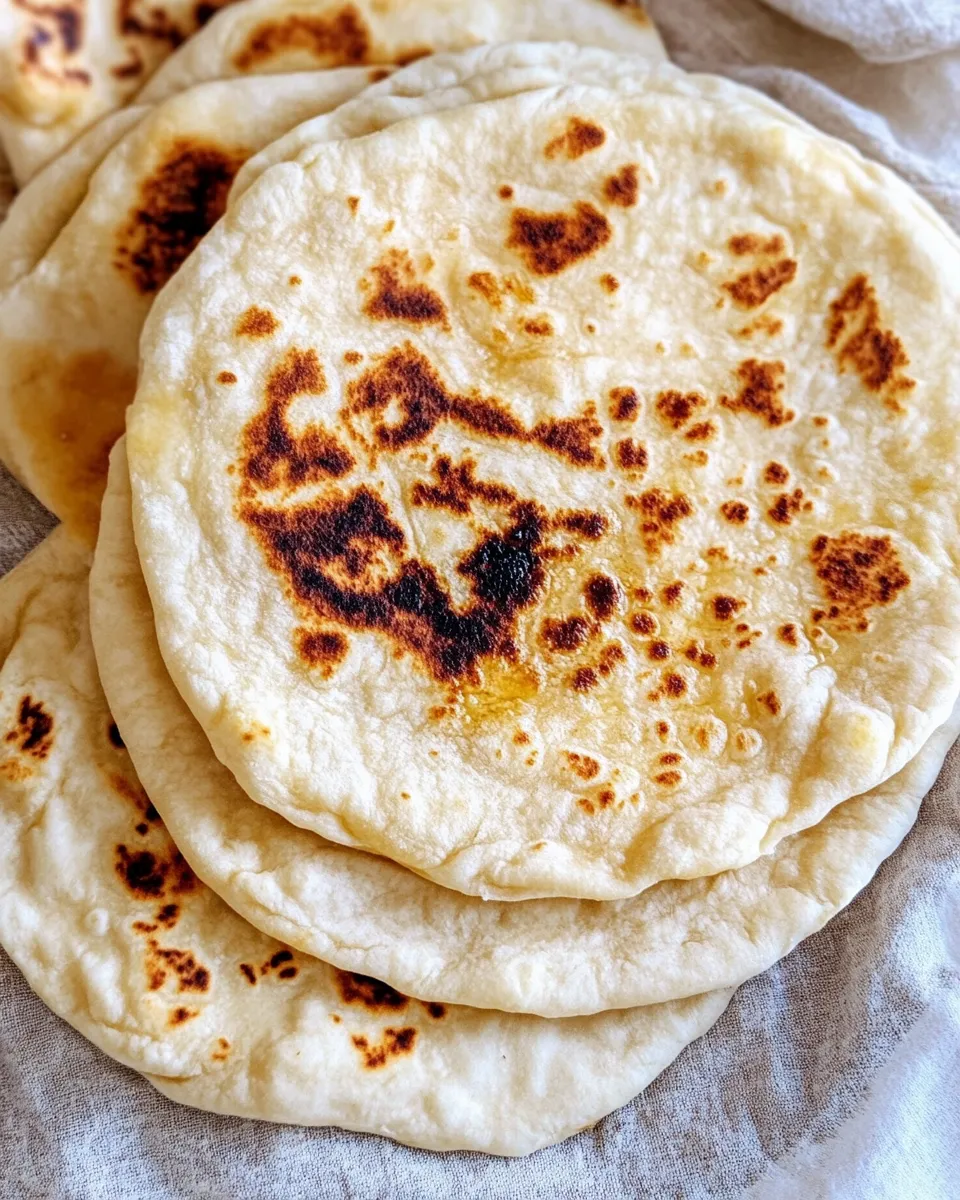
- Stack cooked flatbreads on a plate and cover with a towel to keep them soft while you cook the rest. Expect the first flatbread to look different as the griddle temperature stabilizes. If you want more air pockets, try rolling slightly thicker or adjusting heat.
- Serve the flatbreads immediately, or store them covered at room temperature for up to 2 days.
Why This Recipe Works
This formula balances flour, fat, and liquid to create a dough that is easy to work with and stays soft after cooking. The baking powder gives a small lift, which keeps the interior light and helps prevent dense, pancake-like results. Vegetable oil replaces butter or other fats to create pliability and a tender bite without altering flavor noticeably.
The method is intentionally simple: a short knead for gluten development, a brief rest to relax the dough, and quick cooking on a hot, dry surface. Those short steps build structure without adding time. Rolling thinner creates more surface area for light browning and some blistering; rolling a touch thicker encourages more pronounced air pockets.
No-Store Runs Needed
This recipe is built from pantry basics. If you have flour, a leavening agent, salt, oil, and water, you’re set. The quantities are forgiving; a slight measurement variance in flour or water mostly affects dough stickiness and requires a touch more kneading or dusting with flour. If you keep these core items stocked, a flatbread batch is always within reach.
If you’re running low on any item, prioritize the flour and water first—small tweaks to oil or salt are easier to tolerate than missing flour. The method doesn’t require special fresh produce or dairy, so you can put a meal on the table without a grocery trip.
Before You Start: Equipment
- Large mixing bowl — for combining dry and wet ingredients in one place.
- Whisk or spoon — to blend the dry ingredients and stir in the liquid.
- Rolling pin — for rolling each ball into a uniform disk about 7 inches wide.
- Dry griddle or nonstick skillet — a flat, heavy-bottomed surface ensures even heat and good browning.
- Dough scraper or bench scraper — speeds up dividing the dough into 16 equal pieces.
- Kitchen towel — to cover dough pieces and keep cooked breads soft while you finish the batch.
Slip-Ups to Skip
Here are the common mistakes I see and how to avoid them.
- Overflouring the work surface — too much flour when rolling makes the disks dry and stiff. Use just enough to prevent sticking and flour your pin lightly instead.
- Under-kneading — skip the 5–8 minute knead and you’ll get a fragile dough that tears when you roll. Knead until smooth and elastic.
- Griddle too hot or too cool — a shallow sizzle is right. If the flatbreads brown instantly, lower the heat. If they take too long and dry out, raise it a touch.
- Not resting the dough pieces — the 15-minute rest relaxes the gluten and reduces springback while rolling. Don’t skip it.
- Stacking without a cover — uncovered cooked breads form a dry crust. Keep them under a towel to retain softness.
Dietary Swaps & Alternatives
If you need to tweak texture or richness, you can adjust technique and amounts without changing the recipe’s spirit. Reduce the oil slightly if you want leaner breads; add a teaspoon or two of oil if you prefer extra tenderness. If the dough feels sticky, dust with a bit more flour while kneading and rolling rather than adding a large amount all at once.
Adjust your rolling thickness to control chew and air pockets. Thinner discs cook faster and are more pliable for wraps; slightly thicker discs give more interior softness and may puff a bit more. Temperature control on the griddle is a simple way to change texture without altering ingredient lists.
Author’s Commentary
I make a batch of these flatbreads when I want something fast that feels homemade. The dough is forgiving; it will forgive a hurried knead or imperfect roll. I like to keep mine covered and warm, then split them for sandwiches or serve alongside a hearty stew. They’re also great when you want something neutral that can carry strong, flavorful fillings.
Don’t worry if your first round looks different from the last. A new pan, room humidity, and how much you flour the surface will change the result. Learn what your tools do and you’ll get consistent bread in every try.
Keep-It-Fresh Plan
These flatbreads keep best when stacked and covered. At room temperature, covered on a plate or in an airtight container, they remain soft for up to 2 days. Reheat gently on a warm skillet for 20–30 seconds per side to refresh their texture. You can also wrap a stack in foil and warm in a low oven for a few minutes.
If you need longer storage, quickly cool the breads to room temperature, then wrap tightly and freeze. Thaw overnight at room temperature and warm before serving. Reheating straight from frozen on a dry skillet with low heat works fine but take care not to overcook.
Questions People Ask
Q: Can I make the dough ahead of time?
A: Yes. After forming the single dough ball, wrap it tightly and refrigerate for up to 24 hours. Bring to room temperature before dividing and rolling to make handling easier.
Q: Why didn’t my flatbreads puff up?
A: Puffing depends on rolling thickness and correct heat. Slightly thicker pieces and a hot, even griddle encourage the air pockets. Also, avoid pressing them down while cooking; let the steam form naturally.
Q: Can I use less oil?
A: Yes. Reducing the oil slightly will make the breads leaner but may affect tenderness. If the dough feels dry, add a teaspoon of water at a time while kneading.
Q: How do I know the water is warm enough?
A: Warm water should feel comfortably warm to the touch—think bath temperature, not hot. Too-cold water slows hydration; too-hot can affect handling and the fat.
Make It Tonight
Plan for about 40–50 minutes from start to finish: 10 minutes to mix and knead, 15 minutes of dough rest, and 15–25 minutes to roll and cook the batch depending on pan size and how quickly you work. Set a timer for the rest so you don’t skip it. Get your griddle heating while you roll the last pieces so it’s ready.
Follow the stepwise instructions and keep the cooked breads covered. If you have guests, cook in batches and stack under a towel. Serve warm and let people fold, fill, or dunk as they like. It’s an approachable, useful recipe to keep on hand—and it rewards simple, practical attention more than precision.
Homemade Soft Flatbread
Ingredients
Ingredients
- ?3 cups 375 gramsall purpose flour
- ?1 teaspoonbaking powder
- ?1 teaspoonsalt
- ?? cup 80 mlvegetable oil
- ?1 cup 235 mlwaterwarm
Instructions
Instructions
- In a large mixing bowl, combine 3 cups (375 g) all-purpose flour, 1 teaspoon baking powder, and 1 teaspoon salt; stir or whisk to blend the dry ingredients evenly.
- Add 80 ml vegetable oil and 1 cup (235 ml) warm water to the dry ingredients. Stir with a spoon until a shaggy dough forms.
- Turn the dough out onto a lightly floured surface and knead by hand until the dough is smooth and elastic, about 5–8 minutes. Form the dough into a single ball.
- Use a dough scraper (or a knife/bench scraper) to divide the dough ball into 16 equal pieces. Roll each piece briefly between your palms to make small balls and flatten them slightly with your hand. Cover the shaped pieces with a clean towel and let them rest for 15 minutes.
- After resting, work one piece at a time on a lightly floured surface. Using a rolling pin, roll each ball into a disk about 7 inches in diameter. Keep the remaining dough balls covered while you roll.
- Heat a dry griddle or nonstick skillet over medium heat until hot (a few drops of water should sizzle on contact). Do not add oil.
- Cook each rolled disk on the hot griddle, one at a time. Cook until small bubbles form and the underside has light brown spots, about 30–60 seconds, then flip with tongs and cook the other side until lightly browned and cooked through, another 30–60 seconds. Adjust heat if they brown too quickly or too slowly.
- Stack cooked flatbreads on a plate and cover with a towel to keep them soft while you cook the rest. Expect the first flatbread to look different as the griddle temperature stabilizes. If you want more air pockets, try rolling slightly thicker or adjusting heat.
- Serve the flatbreads immediately, or store them covered at room temperature for up to 2 days.
Equipment
- Large Mixing Bowl
- spoon or whisk
- dough scraper or bench scraper
- Rolling Pin
- griddle or nonstick skillet
- Tongs
- clean towel
Notes
Store in the fridge for up to 3-4 days covered. Reheat over the stovetop, place directly over the flame and keep flipping.
Store in the freezer for up to 2 months.
There are 2 smart points per flatbread on Weight Watchers FreeStyle plan.