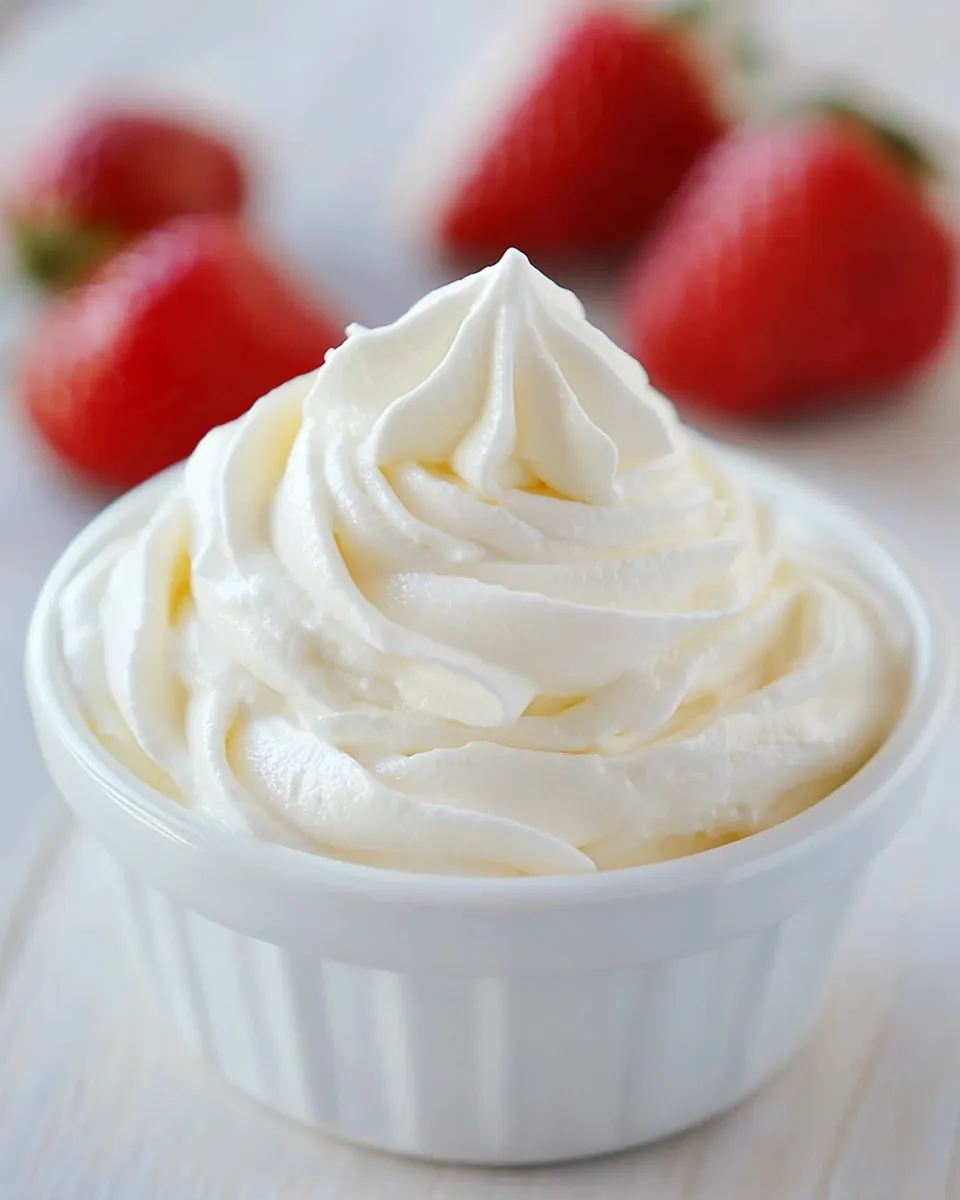
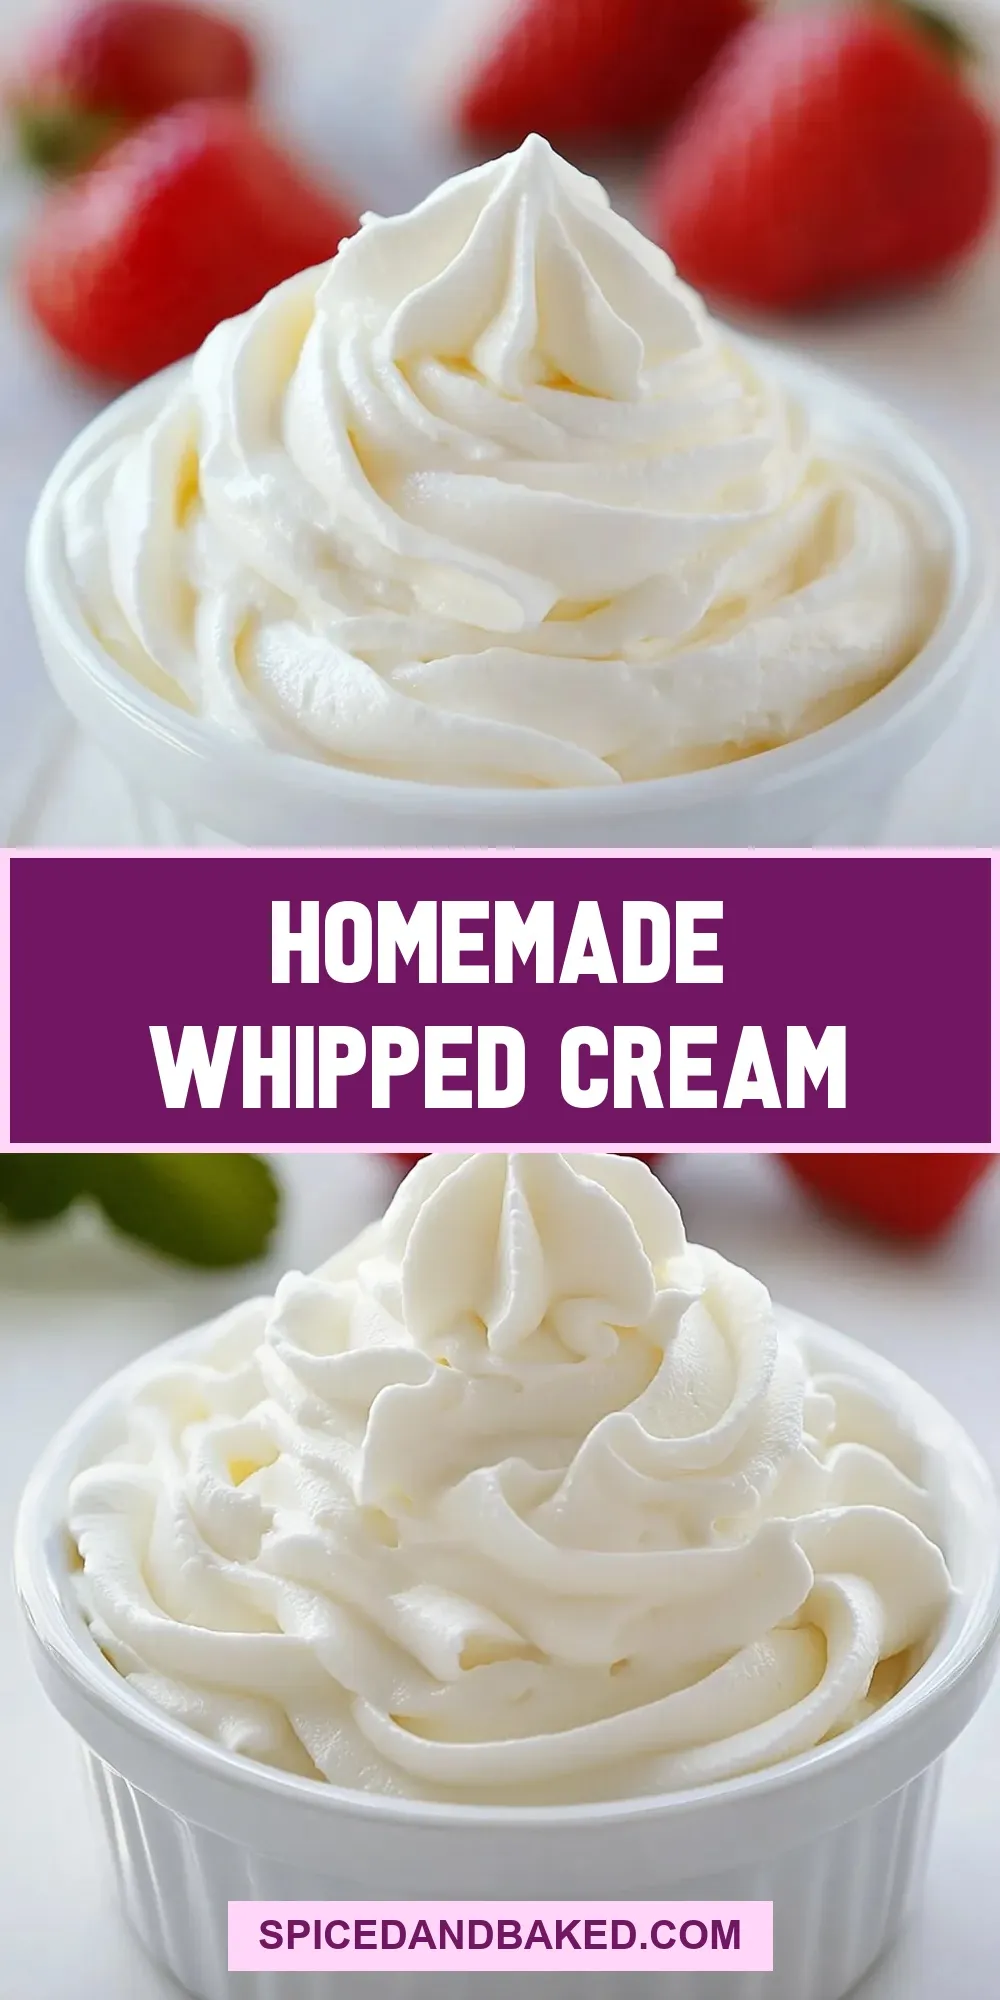
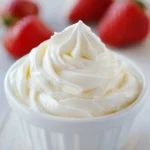
Light, glossy, and way easier than most people expect. Homemade whipped cream lifts ordinary desserts—fruit, pies, hot chocolate—into something momentary and bright. It takes minutes and a tiny bit of attention, and the payoff is immediate.
I keep a jar of freshly whipped cream for weekends and midweek treats. Once you know the handful of simple rules that make it reliably smooth and not grainy or greasy, it becomes a habit. This post covers the exact ingredients and step-by-step method I use, common mistakes and fixes, swaps for dietary needs, and little cook’s notes that save time and frustration.
No fancy equipment is required, though a stand mixer shortens the work. Read through the tips if you want firmer peaks for piping or a softer finish for dolloping. Either way, you’ll get better results faster with just a few small habits.
Ingredients at a Glance
- 1 cup cold heavy whipping cream — the base; cold cream whips up with more volume and better stability.
- 2–4 Tbsp powdered sugar or granulated sugar — sweetens and stabilizes slightly; choose amount to taste within the range.
- 1/2–1 tsp vanilla extract — adds flavor; adjust to taste within the range.
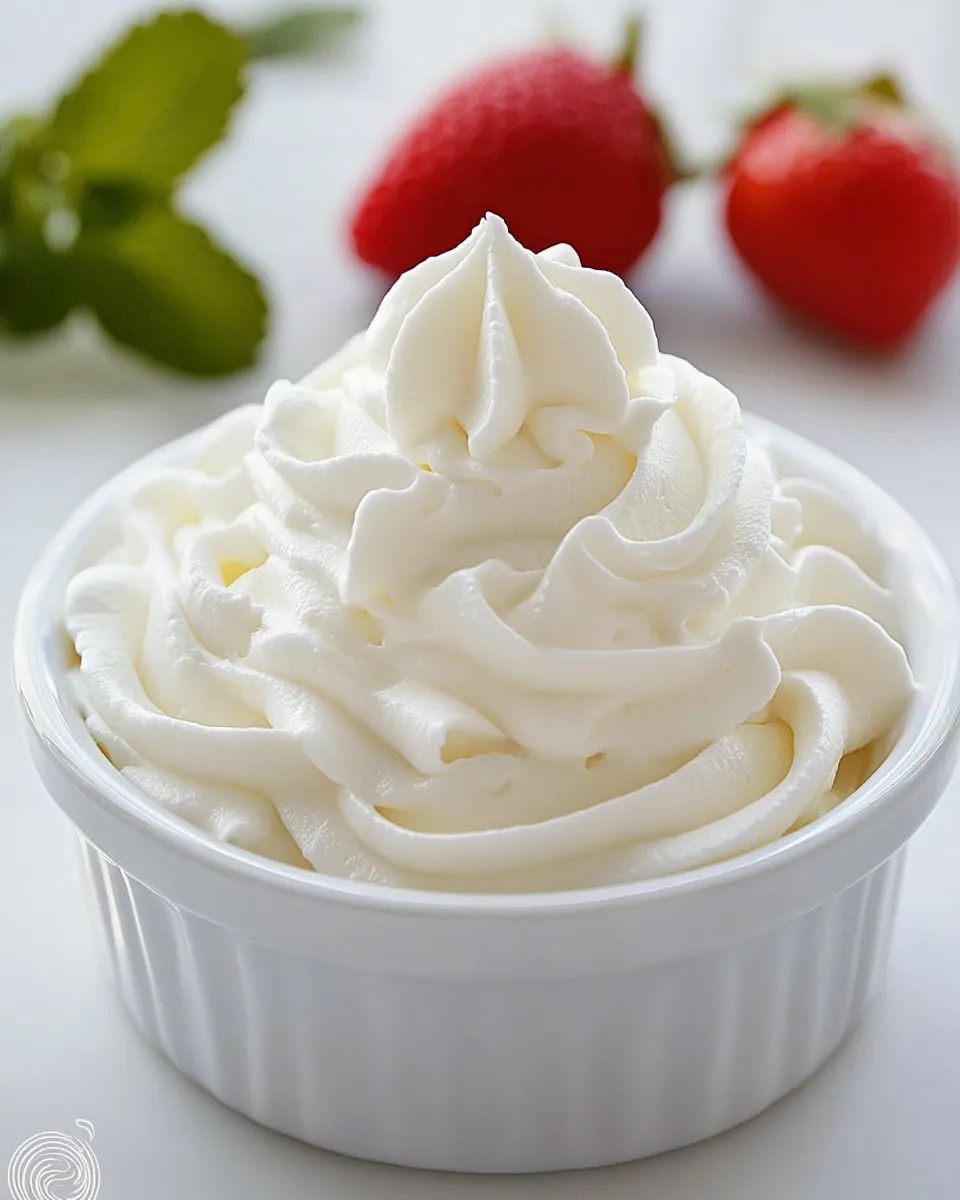
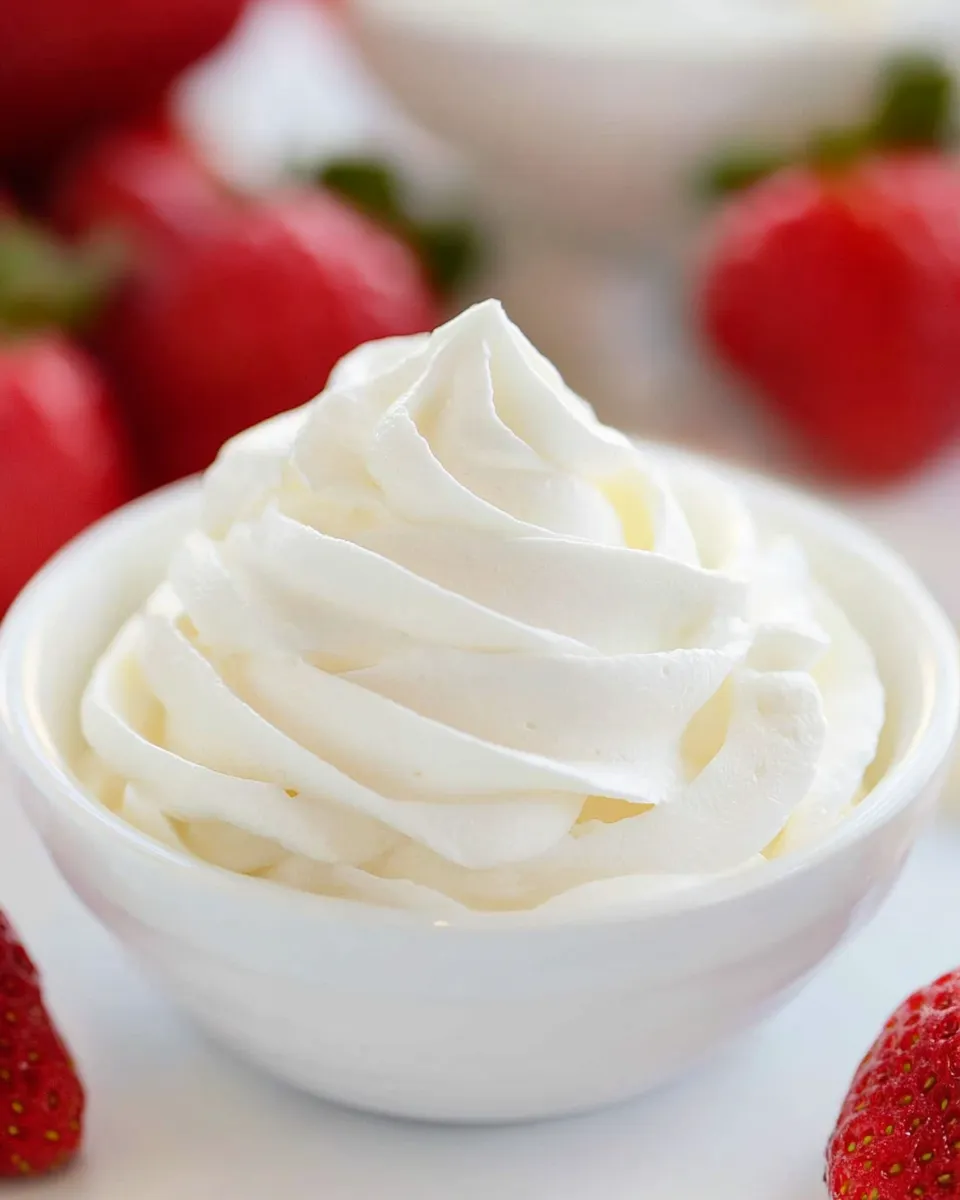
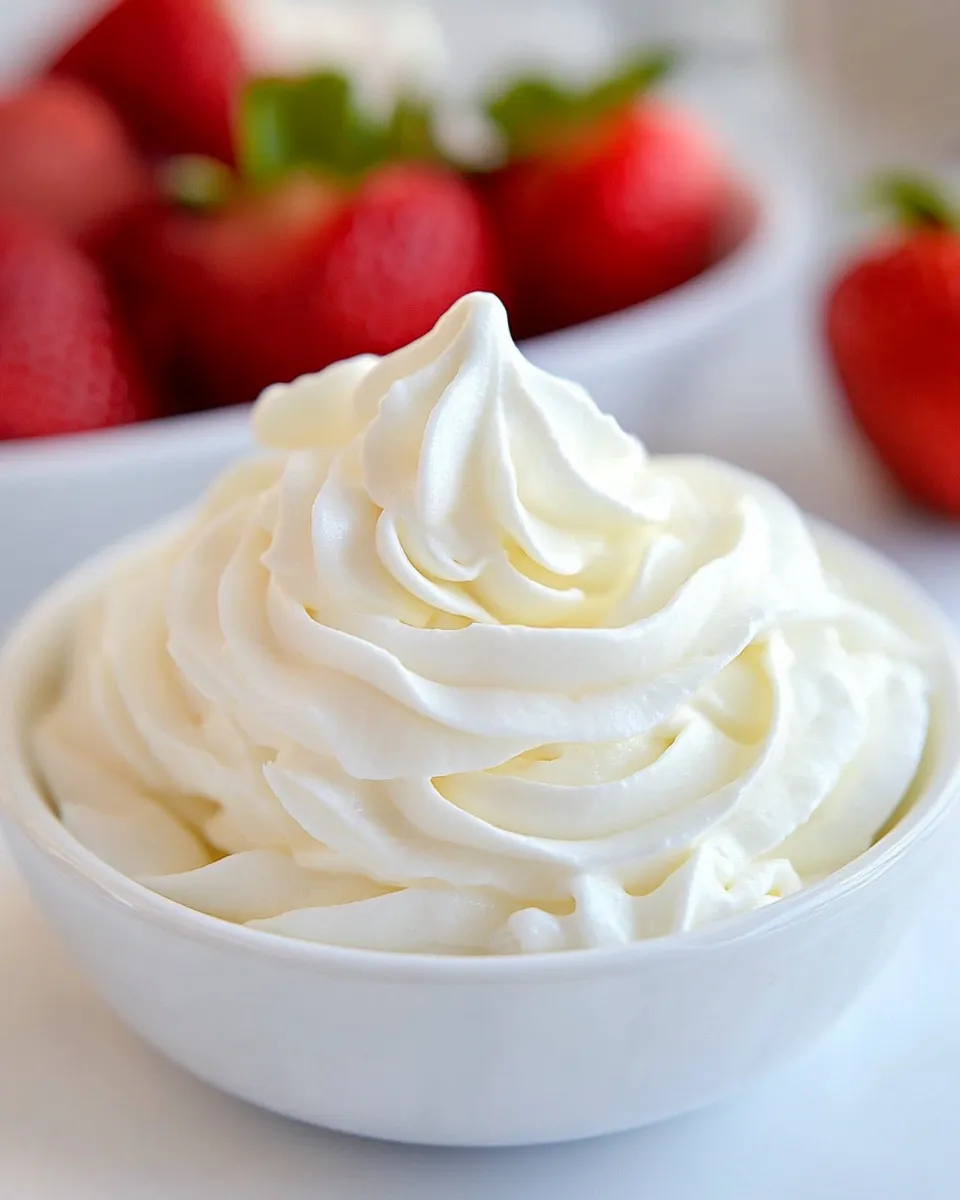
Homemade Whipped Cream, Made Easy
- Put 1 cup cold heavy whipping cream into a large mixing bowl or the bowl of a stand mixer. (Optional: chill the bowl and beaters/whisk for a firmer result.)
- Add 2–4 Tbsp powdered sugar or granulated sugar and 1/2–1 tsp vanilla extract; use the amounts you prefer within those ranges.
- Fit the mixer with the whisk attachment (or use a hand whisk). Begin whipping on medium speed (or whisk steadily by hand).
- As soon as the cream begins to thicken and hold some shape, increase the mixer to medium-high speed.
- Watch the peaks as you whip:
- For soft peaks: stop when the cream looks soft and fluffy and a peak gently curves over when you lift the whisk.
- For stiff peaks: stop when peaks are firm and stand straight without collapsing.
- Stop immediately when you reach the desired consistency. Do not continue whipping past stiff peaks or the cream will over‑mix, separate, and become buttery.
- Use the whipped cream right away, or cover and refrigerate. If it loses some volume after chilling, gently re-whisk briefly to restore texture.
What Sets This Recipe Apart
This is a short, classic formula: cream, sugar, vanilla. Its strength lies in precision and timing rather than secret ingredients. The recipe uses a 1-cup base, which is just the right amount for topping a 9-inch pie or serving eight modest dollops for cakes or fruit. It also leaves room for personalization: the sugar and vanilla ranges let you dial sweetness and aroma without changing texture.
I favor powdered sugar if I want the cleanest texture without any faint grittiness. Granulated sugar works fine when it’s dissolved in the cream during whipping. The optional step to chill the bowl is the single move that yields firmer peaks if you plan to pipe rosettes or cover a cake.
Dairy-Free/Gluten-Free Swaps
Whipped cream is naturally gluten-free. For dairy-free versions, swap in a non-dairy whipping cream labeled as “whippable” (often made from coconut, soy, or oat). Use the same sugar and vanilla ranges, and follow the same whipping stages. Non-dairy creams can whip differently: they sometimes need added stabilizer (like a tiny amount of powdered sugar with stabilizer or a commercial product), and chilling the bowl helps.
Note: flavors will differ. Coconut-based creams carry a coconut note; oat-based creams are more neutral. Always check the product label for “whips up” or “suitable for whipping” to avoid disappointment.
Before You Start: Equipment
- Large mixing bowl or stand mixer bowl — room for the cream to increase in volume.
- Whisk attachment or hand whisk — the whisk attachment is fastest; a balloon whisk works if you don’t mind the arm workout.
- Measuring cup and spoons — for accurate cream and flavoring amounts.
- Spatula — to transfer the whipped cream gently without deflating it.
- Optional: shallow metal bowl and beaters chilled in the freezer for 10–15 minutes for firmer peaks.
Common Errors (and Fixes)
- Error: Whipping too long. Fix: Stop immediately at desired peaks. Past stiff peaks the emulsion breaks and you’ll begin to make butter.
- Error: Using warm cream. Fix: Chill cream and bowl. Cold ingredients whip faster and trap air better.
- Error: Undissolved granulated sugar causing slight graininess. Fix: Use powdered sugar or add sugar gradually and let it dissolve; finish whipping to smooth texture.
- Error: Over-whipped but not quite butter. Fix: If you catch it early, gently fold in a tablespoon of cold cream to bring it back to the right density. If it’s clearly breaking into butter solids and buttermilk, start over.
- Error: Weak volume. Fix: Use a cold bowl, a clean whisk, and ensure the cream is at least 30–40% fat; low-fat creams won’t whip well.
Dietary Customizations
Sweetness and flavor are personal. Use 2 Tbsp sugar and 1/2 tsp vanilla for a lightly sweetened cream that complements very sweet pies. Use 4 Tbsp and 1 tsp vanilla when you need the cream to stand up to stronger flavors like dark chocolate or gingerbread.
If you need a more stable cream for layered cakes, try adding 1–2 tsp of cornstarch or 1 tsp of instant powdered gelatin dissolved in a little cold water (bloomed and then warmed slightly) before whipping. Those are optional stabilizers; they change texture slightly but help retention. For a cleaner label, powdered sugar with cornstarch does a mild stabilizing job already.
Cook’s Commentary
I make whipped cream three ways depending on need: quick dollops for a bowl of berries, piped rosettes for cupcakes, or a sturdier layer for cakes. The technique is the same, but I alter chilling and sugar. For rosettes, I chill the bowl and beaters, use the higher sugar amount, and stop at firm peaks so the shapes hold. For dollops, I use the lower sugar and soft peaks. For cakes, I sometimes stabilize with a touch of gelatin or use powdered sugar with cornstarch.
Watch the cream, not the clock. Speed and time vary by mixer. Electric mixers whip faster; hand whisking takes stamina but gives control. I use medium speed to start, then bump up once the cream begins to thicken—this two-speed approach brings in more air evenly and reduces splatter. I also scrape the bowl once or twice to ensure even whipping.
Leftovers & Meal Prep
Fresh whipped cream is best the day you make it, but you can refrigerate it up to 24–48 hours. Cover it tightly. If it loses volume, a few quick whisks (10–20 seconds) with a whisk or mixer on low will restore texture. For longer storage, you can freeze small dollops on a tray, then transfer to a container; thaw briefly in the fridge and re-whip very lightly to refresh texture.
Make-ahead strategy: whip to soft peaks if you know you’ll need to re-whip later; this reduces the chance of over-whipping when you refresh it. For parties, whip fresh the same day when possible—there’s nothing quite like the taste and texture of cream just whipped.
Ask & Learn
Q: Can I use light cream or half-and-half? A: No—those are too low in fat to whip into stable peaks. Use heavy whipping cream with at least 30–36% fat.
Q: My whipped cream is runny after refrigeration. What happened? A: Likely under-whipped or the cream warmed while being stored. Re-whisk briefly and chill before serving. If it was made with a non-stabilized non-dairy alternative, check that product’s directions; some require stabilizers.
Q: How can I flavor it beyond vanilla? A: Fold in a small amount of citrus zest, a splash of liqueur, or a spoonful of cocoa powder for chocolate cream. Add these in small amounts and taste as you go. If adding wet flavors (like liqueur), reduce liquid elsewhere slightly or whip to firmer peaks.
Final Bite
Homemade whipped cream is one of those small kitchen victories that improves so many desserts. Keep your ingredients cold, watch the peaks, and stop at the right moment. With the simple ingredients and steps here, you’ll get consistent, delicious results every time.
Make it a little sweeter, a little stronger in vanilla, or stabilize it when you need to—this basic technique adapts. Try it tonight on pie, and you’ll see how a tiny addition can change the whole experience.
Homemade Whipped Cream
Ingredients
Ingredients
- 1 cupheavy whipping cream cold
- 2-4 Tbsppowdered sugar or granulated sugar* adjust to taste
- 1/2-1 tspvanilla extract adjust to taste
Instructions
Instructions
- Put 1 cup cold heavy whipping cream into a large mixing bowl or the bowl of a stand mixer. (Optional: chill the bowl and beaters/whisk for a firmer result.)
- Add 2–4 Tbsp powdered sugar or granulated sugar and 1/2–1 tsp vanilla extract; use the amounts you prefer within those ranges.
- Fit the mixer with the whisk attachment (or use a hand whisk). Begin whipping on medium speed (or whisk steadily by hand).
- As soon as the cream begins to thicken and hold some shape, increase the mixer to medium-high speed.
- Watch the peaks as you whip: - For soft peaks: stop when the cream looks soft and fluffy and a peak gently curves over when you lift the whisk. - For stiff peaks: stop when peaks are firm and stand straight without collapsing.
- Stop immediately when you reach the desired consistency. Do not continue whipping past stiff peaks or the cream will over‑mix, separate, and become buttery.
- Use the whipped cream right away, or cover and refrigerate. If it loses some volume after chilling, gently re-whisk briefly to restore texture.
Equipment
- large mixing bowl or stand mixer bowl
- stand mixer with whisk attachment or hand whisk
Notes
*How to fix whipped cream that has curdled (over-whipped)
– sometimes if it’s not too separated and far gone, you can save it by adding 1-2 Tbsp of cream at a time and fold gently with a spatula until smooth again.
*Storage:
Whipped cream stores better when beaten to stiff peaks. Store in an airtight container in the fridge for 2 to 3 days.
*Stabilized Whipped Cream:
For a more stiff whipped cream, add up to 1/2 tsp of cream of tartar to the ingredients.
*Granulated sugar
can feel grainy when making larger batches of whipped cream. Powdered sugar contains cornstarch which also helps stabilize the cream.