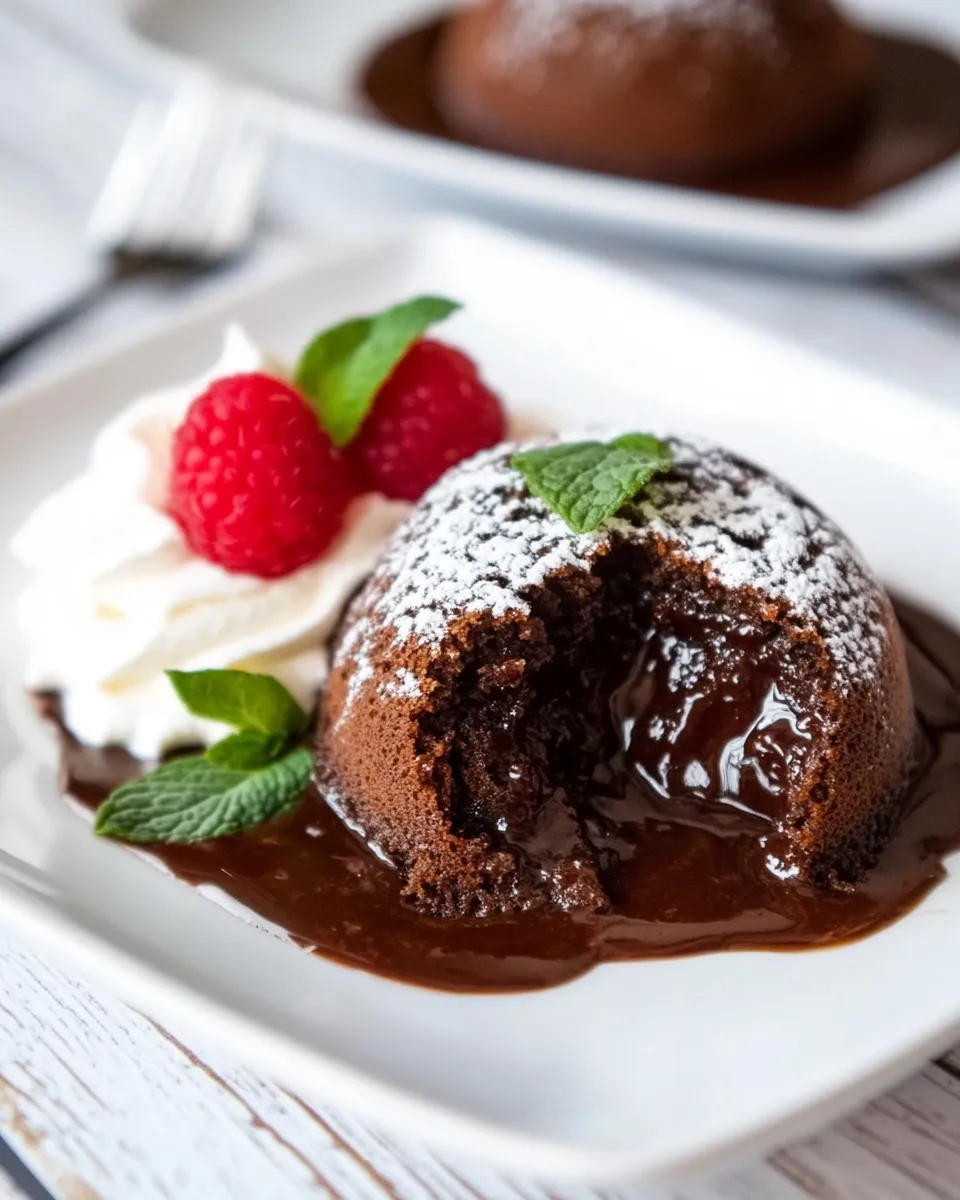
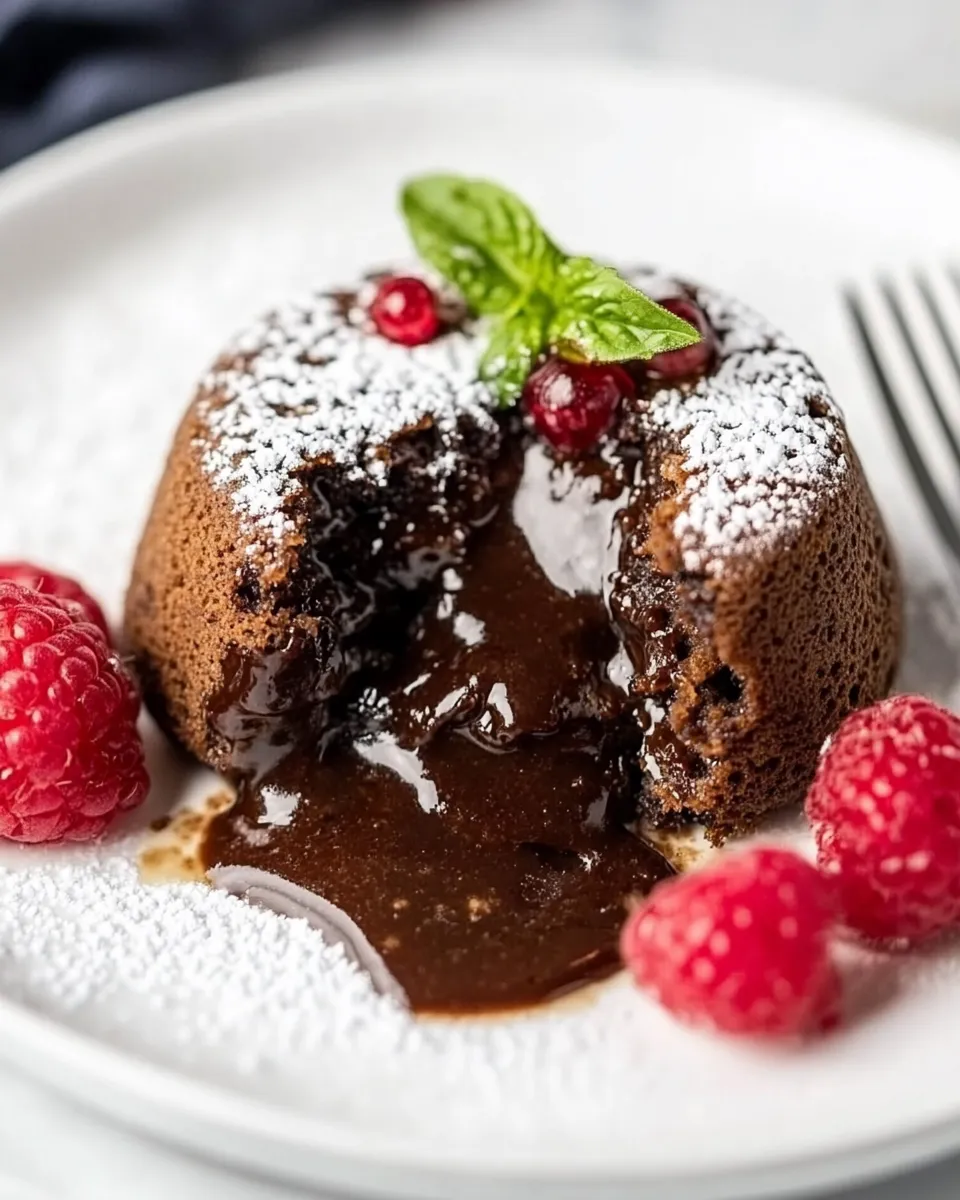
I love a dessert that feels impressive but behaves like a weekday trick. These Instant Pot lava cakes give you molten centers without babysitting ribbons of chocolate in the oven. They steam in the pot, stay moist, and come out with that irresistible collapse-right-when-you-cut-into-it runny core.
There’s a compact list of ingredients and a short rhythm to the method. You don’t need exotic tools or tempering skills—just an Instant Pot, four ramekins, and a little patience on the release. I’ll walk you through exact steps, what each ingredient does, and how to avoid the classic soggy vs. overcooked trade-offs.
If you like chocolate and you like fast wins, this recipe is for weeknights, last-minute company, or whenever you want a restaurant-style finish without setting a full dessert perimeter. Let’s get into the details so your first batch is also your best.
What Goes Into Instant Pot Lava Cakes
These lava cakes are built around melted chocolate and butter, a disciplined egg base, a touch of flour, and sugar to balance. The Instant Pot changes timing and texture slightly compared to oven methods: it creates steam and gentle, consistent heat that keeps the outer cake set and the center fluid.
Below I list what you need and a short note about why each item matters. Read the notes so you know what to watch for—especially if you plan to tweak the flavors or the serving method.
Ingredients
- cooking spray — for an easy unmolding; prevents sticking on the ramekin walls.
- granulated sugar — used to coat the ramekins so edges release cleanly and get a slight crunch.
- 6 ounces semi-sweet chocolate, chopped — the core flavor and the source of the molten center.
- ½ cup unsalted butter — provides richness and helps create a glossy, flowing center.
- ½ teaspoon espresso powder, optional — intensifies chocolate flavor if you choose to use it.
- 2 large eggs — structure and lift; they help the cake set while keeping the center soft.
- 2 large egg yolks — extra silk and richness, key for that custardy middle.
- ½ cup powdered sugar — dissolves smoothly into the egg mixture and sweetens without grittiness.
- pinch of salt — sharpens the chocolate and balances sweetness.
- 1 teaspoon vanilla extract — rounds and brightens the chocolate notes.
- 2 tablespoons flour — just enough to give the cake edges some body without making the center cakey.
Build Instant Pot Lava Cakes Step by Step
- Prepare four 6-ounce heat-safe ramekins: coat the inside of each ramekin with cooking spray, sprinkle with granulated sugar, rotate to coat all sides, and tap out any excess sugar.
- Pour 1.5 cups of cold tap water into the Instant Pot inner pot and place the trivet or rack inside.
- Chop the 6 ounces of semi-sweet chocolate into small pieces and slice the ½ cup unsalted butter. Place chocolate and butter in a medium heat-safe bowl. Microwave for 45 seconds, stir, then microwave in additional 15-second intervals, stirring between intervals, until the mixture is fully melted and smooth.
- Stir the ½ teaspoon espresso powder (if using) into the melted chocolate mixture. Let the chocolate sit until it is warm but not hot to the touch (about 3–5 minutes).
- In a large mixing bowl, whisk together 2 large eggs, 2 large egg yolks, ½ cup powdered sugar, a pinch of salt, and 1 teaspoon vanilla extract until the sugar is dissolved and the mixture is smooth.
- Temper the egg mixture by whisking in a small spoonful of the warm chocolate, then slowly whisk in the remaining melted chocolate until fully combined.
- Gently fold in 2 tablespoons flour until just incorporated; do not overmix.
- Divide the batter evenly among the four prepared ramekins (an ice cream scoop can help with even portions). Cover each ramekin with a piece of foil.
- Place the covered ramekins on the trivet in the Instant Pot. If all four do not fit on one layer, you may carefully stack the second layer on top of the first or use an additional rack if you have one—be careful to keep the ramekins stable.
- Close the Instant Pot lid, set the valve to Sealing, and use the Manual/Pressure Cook function to cook on High pressure for 5 minutes.
- When the cook time ends, allow the pressure to release naturally for 5 minutes. After 5 minutes of natural release, perform a quick release for any remaining pressure by carefully switching the valve from Sealing to Venting (use a long wooden spoon or other utensil to keep your hand away from the steam).
- Open the lid, carefully remove the ramekins with oven mitts or tongs, and let them sit at room temperature for 2–5 minutes.
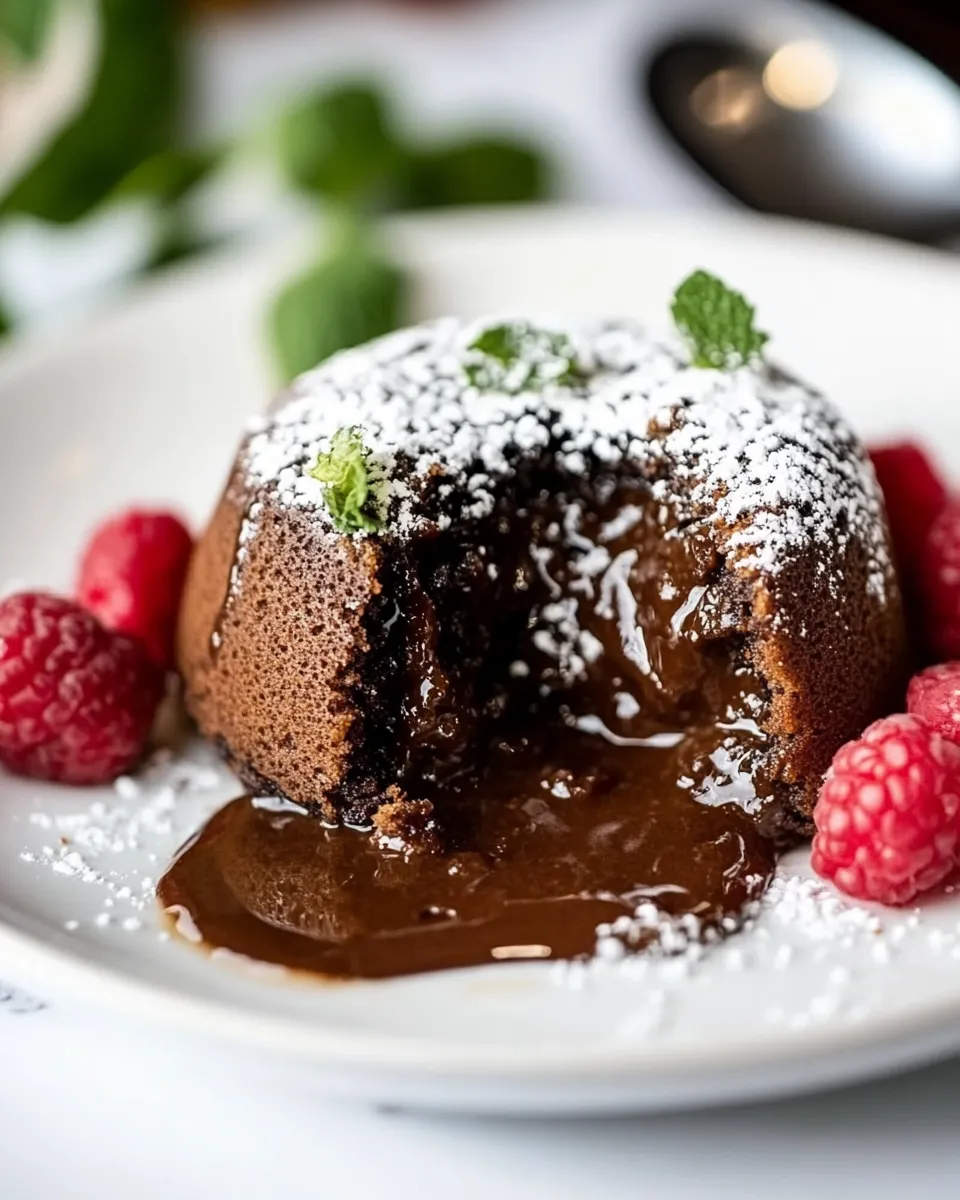
- To serve, run a knife around the edge of each ramekin and invert onto a plate (or serve in the ramekin). Dust with powdered sugar and serve immediately.
Why It’s Crowd-Pleasing
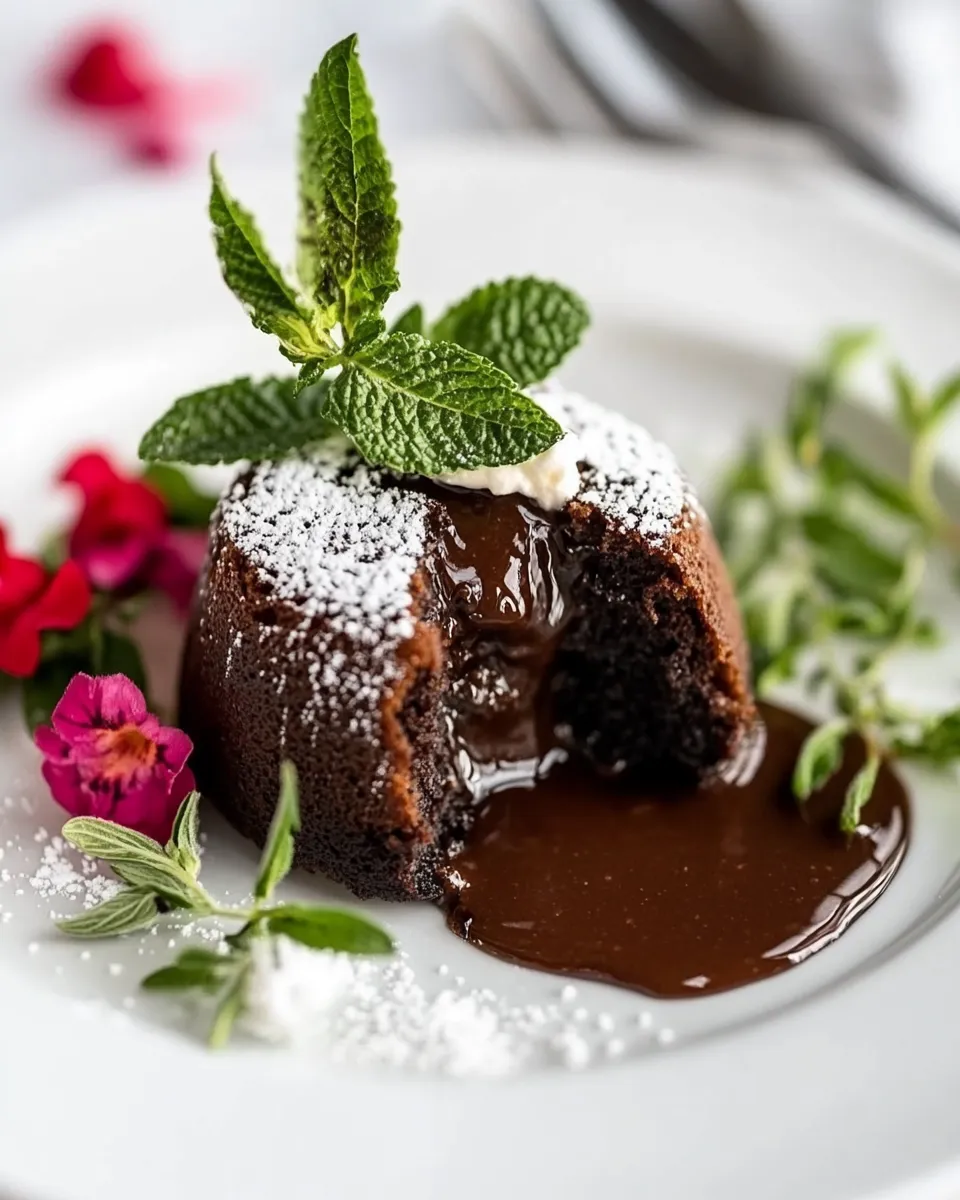
Molten chocolate feels indulgent and celebratory, yet the method strips away a lot of fuss. Guests see a familiar, pretty dessert and taste a rich, warm center—two quick wins. Because the cakes are portioned, you don’t have to slice or fuss; each person gets their own dramatic reveal.
The texture contrast matters: slightly firm outer cake with a flowing middle. It hits the comfort-dense-and-elegant sweet spot. Also, the Instant Pot’s steam keeps them reliably moist, which is forgiving for varied skill levels in the kitchen.
Budget & Availability Swaps
When an ingredient is missing, small swaps keep the dessert intact without needing a full recipe rewrite.
- If you don’t have semi-sweet chocolate, use bittersweet or a dark chocolate bar of similar cocoa percentage—flavor will shift slightly but still be rich.
- Unsalted butter can be swapped for salted butter; omit any added pinch of salt if you prefer less saltiness.
- Espresso powder is optional—skip it if you don’t have it. It’s a flavor booster, not a necessity.
- If powdered sugar is unavailable, you can pulse granulated sugar briefly in a blender to approximate powdered sugar; use cautiously since texture matters in the egg mixture.
Setup & Equipment
You need four 6-ounce heat-safe ramekins, an Instant Pot with a trivet or rack, a microwave-safe bowl (or a double boiler if you prefer stovetop melting), foil to cover ramekins, and basic mixing bowls and whisk. Oven mitts or tongs are essential for safe removal.
Space-wise, make sure the ramekins sit stable on the trivet. If you stack, lock them into place by nesting foil or using a secondary rack. A silicone sling or small towel under the trivet is sometimes helpful when lifting the rack out of the water, but be careful with wet fabric near hot steam.
Errors to Dodge
There are a few predictable mistakes that turn these into either soup or dry cake. Avoid them:
- Don’t overheat the chocolate. If it becomes too hot when you temper the eggs, the eggs will scramble. Let the melted chocolate cool slightly before whisking it into the eggs.
- Avoid overmixing once the flour goes in. Overdeveloping gluten makes a cakier texture and kills the lava.
- Don’t skip the sugar coating in the ramekins. It helps the cake release cleanly and gives a subtle texture at the edge.
- Be precise with cook time and follow the pressure/rlease steps. Extending the pressurized time will firm up the center; too short and the outer edge may be undercooked.
- When doing the quick release after the 5-minute natural release, keep hands and face away from the steam—use a utensil to flip the valve if needed.
Fit It to Your Goals
Need a lower-sugar version? Consider reducing the powdered sugar slightly, but remember that sweetness balances the chocolate; taste the batter if you must. Want a richer center? Use a higher percentage chocolate or add an extra egg yolk (then the texture will shift and time may need adjustment).
For a gluten-free option, experiment with 2 tablespoons of almond flour or a 1:1 gluten-free flour—results vary, so keep an eye on set and texture. For a dairy-free version, use a plant-based butter alternative and dairy-free chocolate, but note texture and melting points will change.
Pro Tips & Notes
Timing and heat
Five minutes at high pressure with a 5-minute natural release is calibrated for four 6-ounce ramekins. If you change ramekin size or batter volume, expect to test and adjust by 30–60 second increments in future runs.
Melting chocolate
Microwave in short bursts and stir thoroughly between intervals. If you prefer a stovetop approach, melt chocolate and butter together over a gentle simmer in a double boiler and remove when smooth and warm, not hot.
Serving
Let the cakes rest 2–5 minutes out of the pot before unmolding so the outer edge firms slightly. Serve immediately after inverting or right in the ramekin. A dusting of powdered sugar is classic; a scoop of vanilla ice cream or a spoonful of whipped cream is excellent if you have guests.
Make Ahead Like a Pro
You can prepare the batter up to the point of filling the ramekins, then cover each with foil and refrigerate for up to 24 hours. Bring them closer to room temperature (about 15–20 minutes on the counter) before placing them in the Instant Pot. Cooking times usually remain the same, but chilled batter may need an additional 30–60 seconds in future batches if you find centers too set.
Alternatively, bake and cool fully, then store the cakes in the fridge for 2–3 days. To refresh the molten middle, warm gently in the microwave for 10–20 seconds.
Quick Q&A
What if my center is too runny? If the center is almost raw and very liquid, increase cook time by small increments (30–60 seconds) next time and use the same release method.
What if my center is fully set? Reduce cooking time by 30 seconds next batch or shorten the natural release slightly—just enough to keep some residual heat inside without finishing the center.
Can I double the recipe? Yes, but space and height matter. If you cook more ramekins, arrange them in a single stable layer if possible or use an extra rack. If stacking, keep them stable and check that the pot seals properly and that the trivet holds the weight.
Make It Tonight
Set a 30–40 minute window: prep the ramekins and batter (15–20 minutes), heat the pot and cook (about 15 minutes including pressure and release), then a few final minutes for resting and plating. The result is a concentrated, luxurious dessert that feels like effort but behaves like a shortcut.
Follow the steps in order, respect the timings, and you’ll have four restaurant-worthy lava cakes straight from your Instant Pot. Invite someone, or don’t—the first one is always the best test. Enjoy every molten bite.

Instant Pot Lava Cakes
Ingredients
Ingredients
- cooking spray for coating ramekins
- granulated sugar for coating ramekins
- 6 ouncessemi-sweet chocolate chopped
- 1/2 cupunsalted butter
- 1/2 teaspoonespresso powder optional
- 2 largeeggs
- 2 largeegg yolks
- 1/2 cuppowdered sugar
- pinch of salt
- 1 teaspoonvanilla extract
- 2 tablespoonsflour
Instructions
Instructions
- Prepare four 6-ounce heat-safe ramekins: coat the inside of each ramekin with cooking spray, sprinkle with granulated sugar, rotate to coat all sides, and tap out any excess sugar.
- Pour 1.5 cups of cold tap water into the Instant Pot inner pot and place the trivet or rack inside.
- Chop the 6 ounces of semi-sweet chocolate into small pieces and slice the ½ cup unsalted butter. Place chocolate and butter in a medium heat-safe bowl. Microwave for 45 seconds, stir, then microwave in additional 15-second intervals, stirring between intervals, until the mixture is fully melted and smooth.
- Stir the ½ teaspoon espresso powder (if using) into the melted chocolate mixture. Let the chocolate sit until it is warm but not hot to the touch (about 3–5 minutes).
- In a large mixing bowl, whisk together 2 large eggs, 2 large egg yolks, ½ cup powdered sugar, a pinch of salt, and 1 teaspoon vanilla extract until the sugar is dissolved and the mixture is smooth.
- Temper the egg mixture by whisking in a small spoonful of the warm chocolate, then slowly whisk in the remaining melted chocolate until fully combined.
- Gently fold in 2 tablespoons flour until just incorporated; do not overmix.
- Divide the batter evenly among the four prepared ramekins (an ice cream scoop can help with even portions). Cover each ramekin with a piece of foil.
- Place the covered ramekins on the trivet in the Instant Pot. If all four do not fit on one layer, you may carefully stack the second layer on top of the first or use an additional rack if you have one—be careful to keep the ramekins stable.
- Close the Instant Pot lid, set the valve to Sealing, and use the Manual/Pressure Cook function to cook on High pressure for 5 minutes.
- When the cook time ends, allow the pressure to release naturally for 5 minutes. After 5 minutes of natural release, perform a quick release for any remaining pressure by carefully switching the valve from Sealing to Venting (use a long wooden spoon or other utensil to keep your hand away from the steam).
- Open the lid, carefully remove the ramekins with oven mitts or tongs, and let them sit at room temperature for 2–5 minutes.
- To serve, run a knife around the edge of each ramekin and invert onto a plate (or serve in the ramekin). Dust with powdered sugar and serve immediately.
Equipment
- Electric Pressure Cooker (6 or 8 quart)
- 6-ounce custard cups
Notes
Chocolate
: Use high-quality semi-sweet chocolate for the best flavor. If using a large chocolate bar, chop up the chocolate into small pieces.
Espresso Powder
: This is optional! The espresso powder helps to intensify the overall chocolate flavor, it does not add a coffee flavor to the dessert itself.
Preparing in Advance:
You can prepare the batter up to 2 days in advance. Cover tightly and refrigerate for up to 2 days. Allow the batter to come to room temperature before scooping into greased ramekins and pressure cooking.
Storage
: While Molten Lava Cakes are best served immediately, leftover cakes can be stored in the refrigerator for up to 3 days after they have been baked and cooled. Reheat for 1-2 minutes in the microwave before enjoying. You can also freeze unmolded cooled cakes for up to 3 months.
Timing
: This recipe only works with 6-ounce ramekins and COLD tap water, if you use lukewarm or warm water or a different size ramekin, the recipe will not turn out as desired. If you typically need to add time to recipes for success, cook for 6 minutes on high pressure.
Gluten-Free Modifications
: Swap out the all-purpose flour for a 1:1 gluten-free flour blend.
What if the lava cake is not cooked through?
If when you peel back the foil your lava cakes do not look solid on the sides or do have a jiggly set in the center, recover with foil and place back in the inner pot. Cook for an additional 1 minute on high pressure with a 2-minute pressure release. There is no need to change out the water in the bottom of the inner pot.
High-Altitude Adjustment
: If you live at a high altitude, be sure to adjust the recipe accordingly, using my
High Altitude Instant Pot Guide
.
Baking Directions
: You can use this same recipe and bake the ramekins in a 425 Fahrenheit degree oven for 12-14 minutes until the sides appear solid.