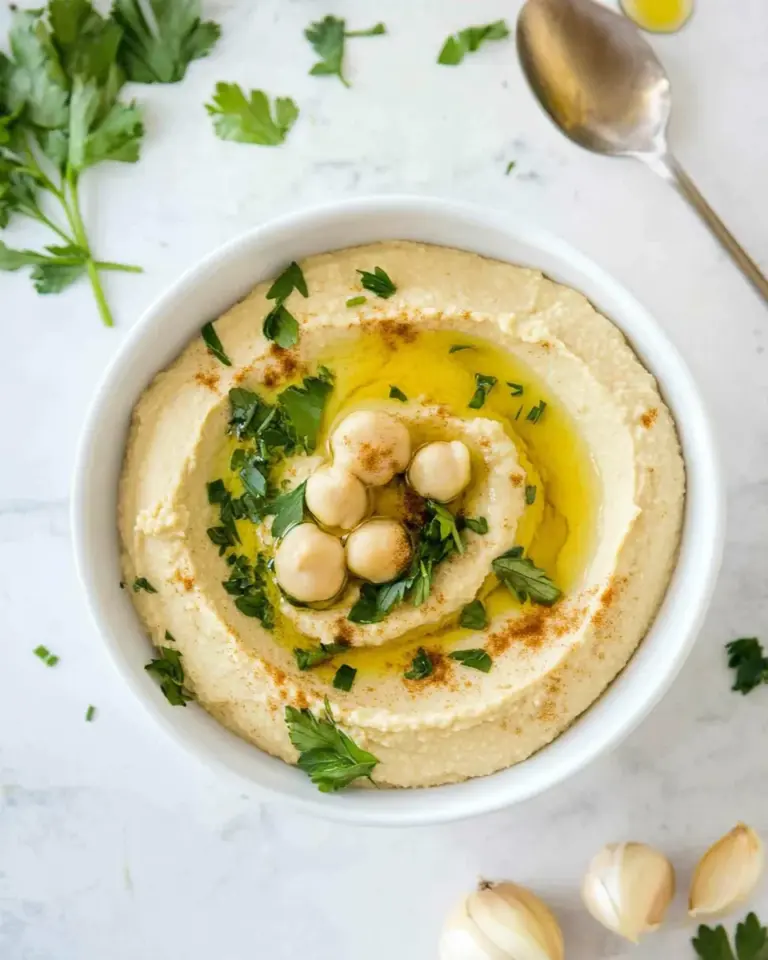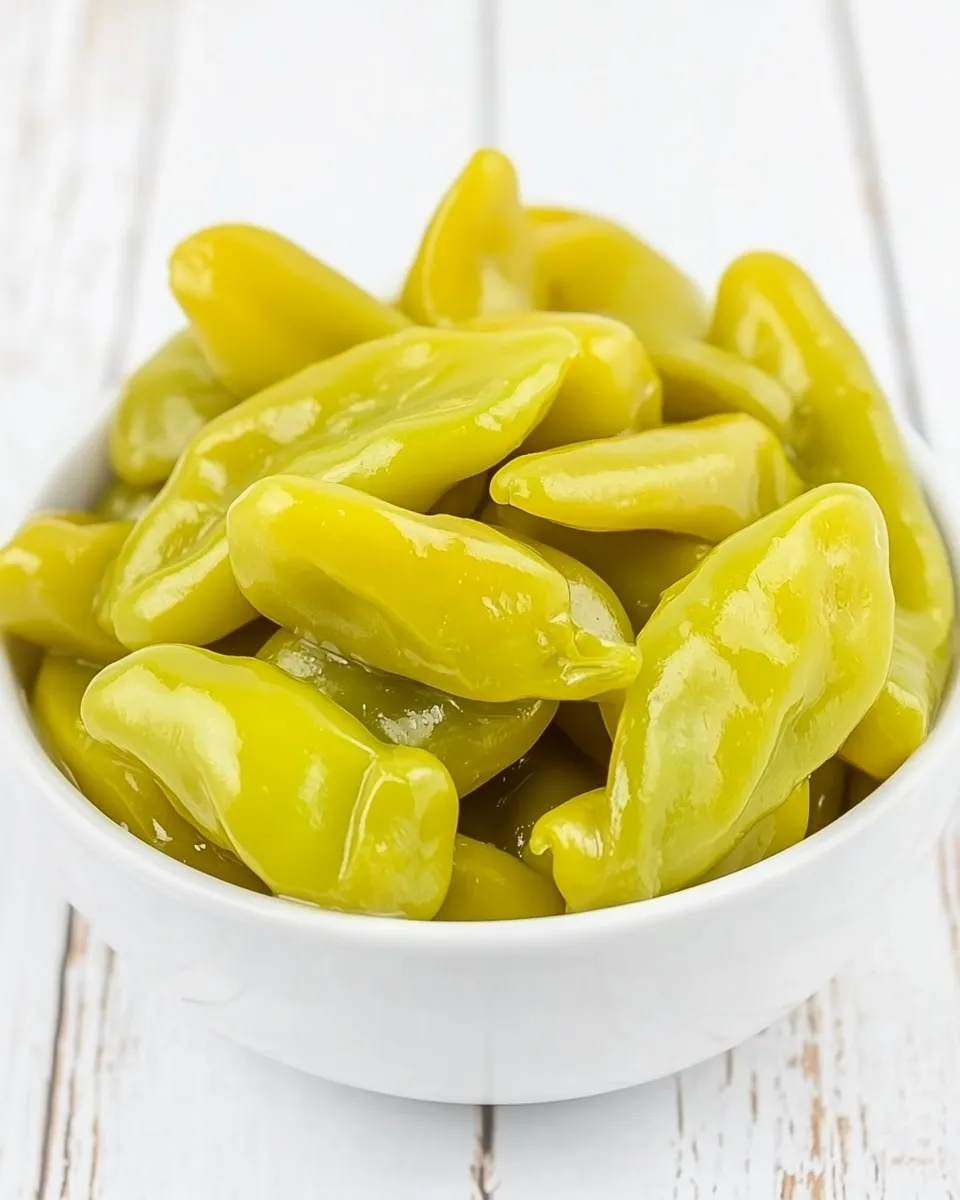
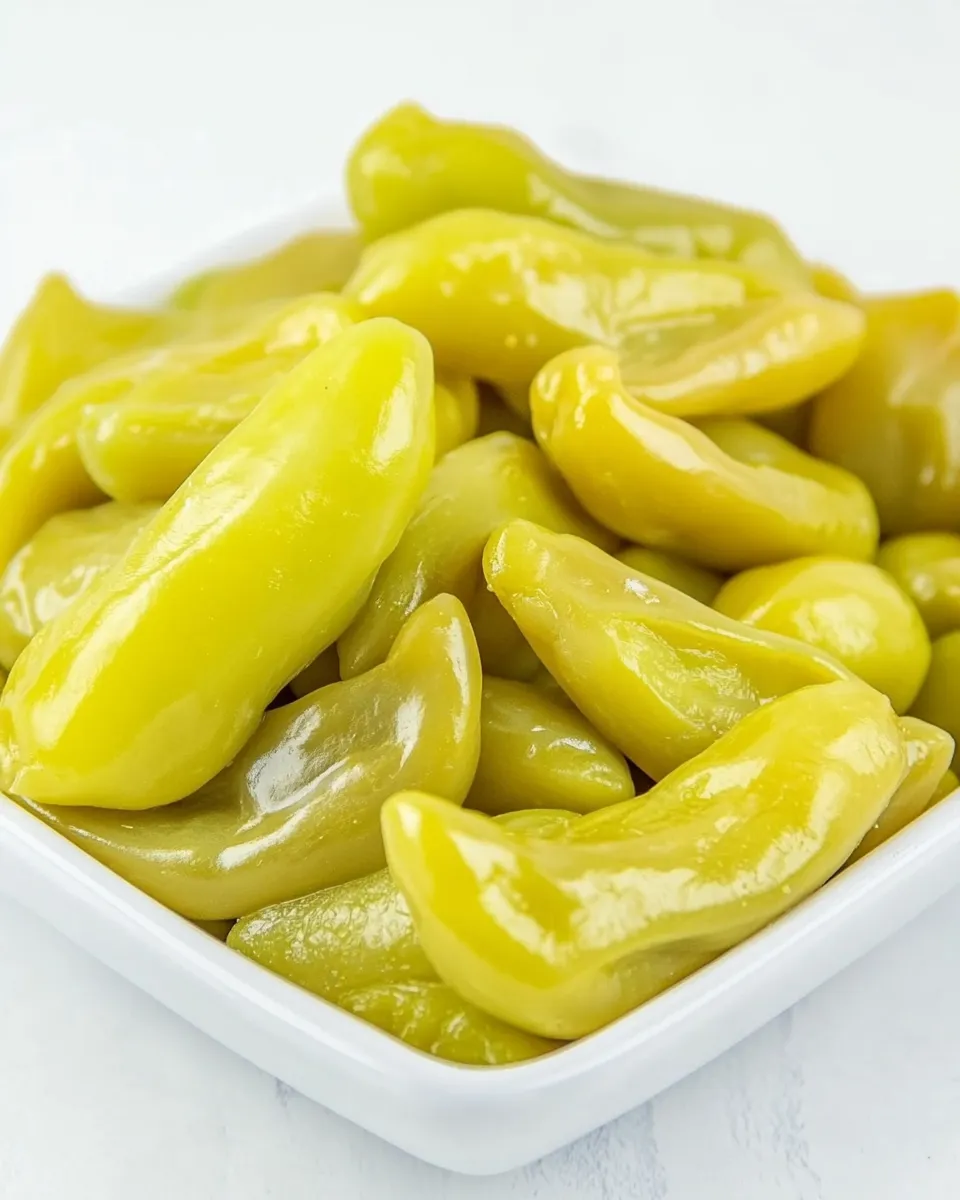
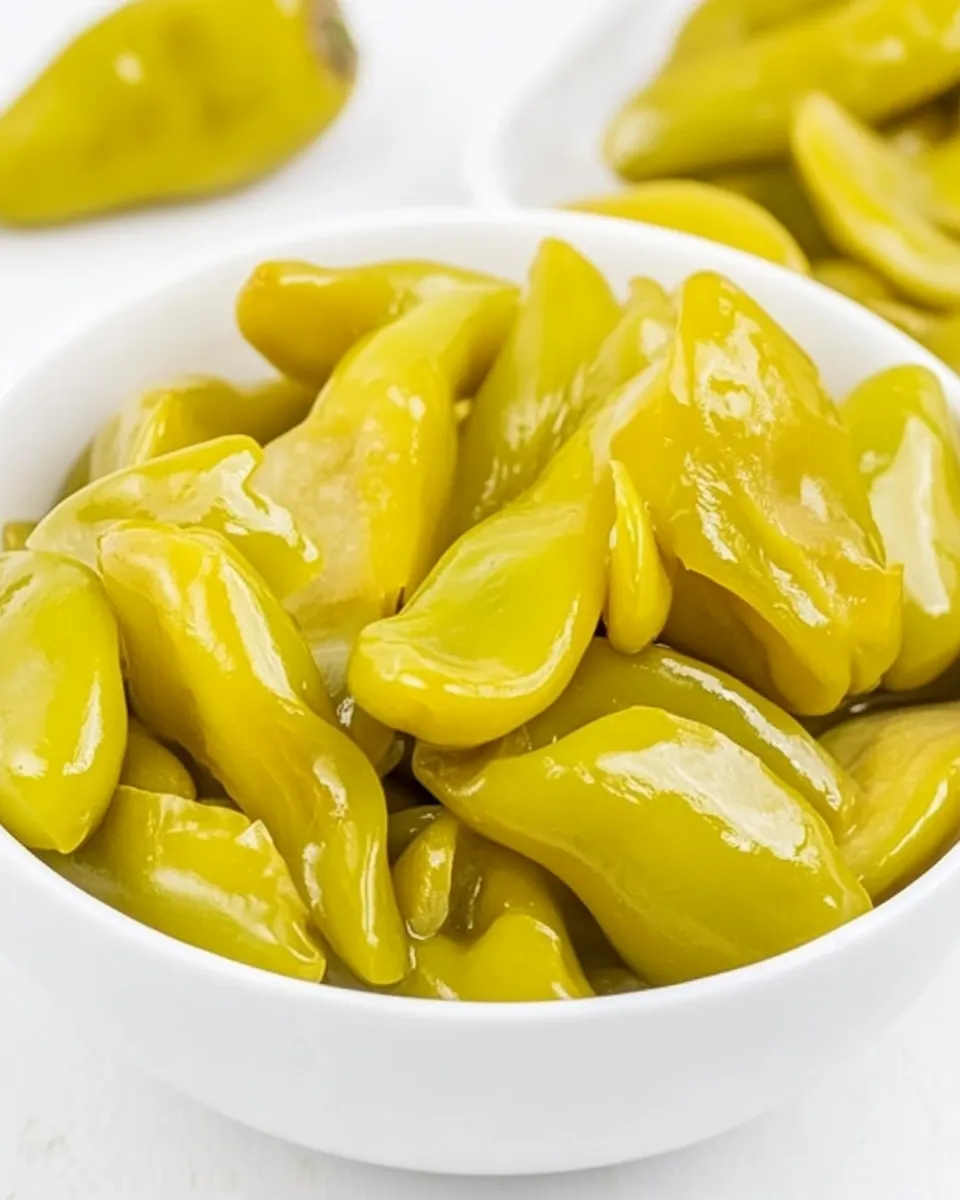
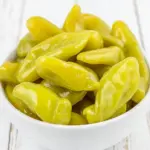
These pickled pepperoncini peppers are a small, sharp project that rewards you fast: bright, tangy, and slightly sweet peppers ready for sandwiches, salads, antipasti plates, or a snack straight from the jar. The recipe is straightforward, uses pantry staples, and gives you the control—heat level, brine balance, and preservation method—so you get the exact result you want.
I make a batch the minute I see pepperoncini or banana peppers at the market. They’re forgiving: if the skins wrinkle a bit over time, the flavor deepens instead of spoiling. You can quick-pickle them for the fridge or process them in a water bath if you want shelf-stable jars for gifts or the pantry.
This post lays out the ingredients, the exact steps to follow, useful substitutes, equipment notes, and troubleshooting tips so your jars come out reliably. I’ll also explain how long to wait, what to expect as the peppers age, and simple flavor variations you can try without changing the basic ratios.
Ingredients at a Glance
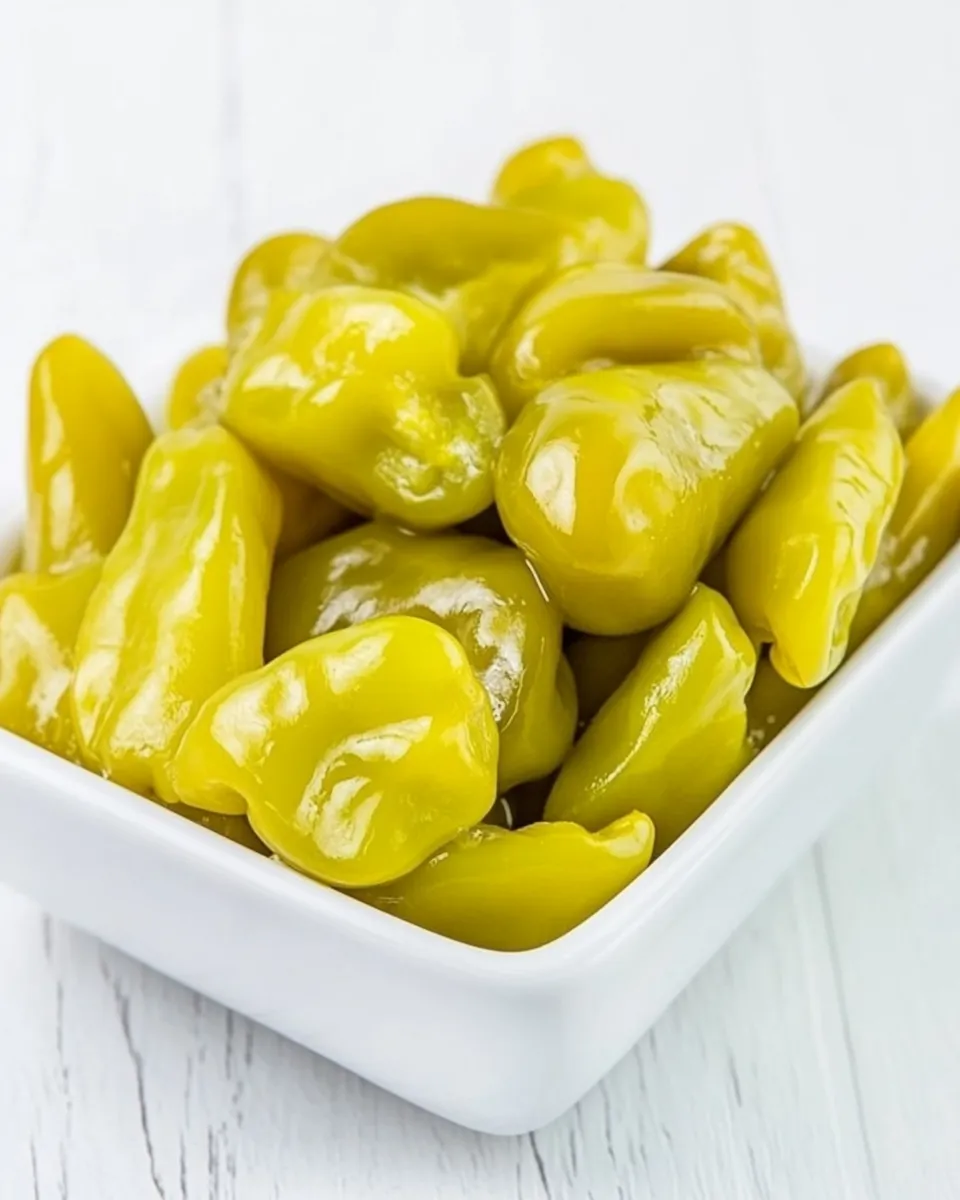
- 1 1/2 pounds fresh pepperoncini or banana peppers, washed — the star ingredient; choose firm peppers without soft spots for best texture.
- 2 cups white vinegar — provides the acidity that preserves and brightens the peppers.
- 2 cups water — dilutes the vinegar to a balanced brine; keeps the acid from overwhelming the peppers.
- 2 tablespoons kosher or pickling salt — essential for flavor and proper preservation; use measured salt, not table salt by volume.
- 2 tablespoons granulated sugar — softens the sharpness of the vinegar and rounds the flavor.
- 3 cloves garlic, smashed — adds aromatic depth; smash to release oils but keep the cloves whole so you can remove them if desired.
- 2 teaspoons black peppercorns — little pops of spice that complement the peppers without adding heat.
- 2 bay leaves — earthy, slightly floral background note; one per jar if using two quarts, two if using a half-gallon.
Pickled Pepperoncini Peppers — Do This Next
- Choose one clean half‑gallon jar or two clean quart jars. Place the 3 smashed garlic cloves, 2 teaspoons black peppercorns, and 2 bay leaves in the bottom of the jar(s).
- If the peppers are not already washed, rinse and dry the 1 1/2 pounds of fresh pepperoncini or banana peppers. Use a small, sharp knife to cut a single slit down one side of each pepper so the brine can penetrate.
- Pack the peppers into the jar(s) as tightly as you can without crushing them.
- In a small pot, combine 2 cups white vinegar, 2 cups water, 2 tablespoons kosher or pickling salt, and 2 tablespoons granulated sugar. Bring the mixture to a full boil, stirring so the salt and sugar dissolve.
- For refrigerator pickles: carefully pour the boiling brine over the packed peppers until they are fully covered. Screw the lids on the jars. Let the jars cool to room temperature, then transfer them to the refrigerator. Make sure the peppers remain submerged under the brine; add more cooled brine or a weight if necessary.
- Refrigerated pickles: wait at least 3 days before using. For best flavor, let them sit 1–2 weeks. These will keep in the refrigerator for several months.
- If you prefer to water‑bath can: after step 4, pour the boiling brine into the packed jars leaving 1/4 inch headspace. Insert a non‑sharp utensil (a butter knife) down the side of each jar to release any trapped air bubbles.
- Wipe the jar rims clean, place lids and screw bands on fingertip tight, and process in a boiling water bath canner for 10 minutes (use 15 minutes if you are over 1,000 feet elevation).
- After processing, carefully remove the jars and let them sit undisturbed at room temperature for 24 hours. Remove the screw bands and check seals. Any jar that did not seal should be refrigerated and used within 2 months. Properly sealed jars can be stored in a cool, dark place for up to 1 year.
- Note: over time the peppers may become slightly shriveled and their color may darken; this is normal.
Why Cooks Rave About It
Pickled pepperoncini are versatile. They add acid and brightness to rich foods, cut through fatty flavors, and bring texture to dishes without a lot of fuss. The brine here balances tartness with a touch of sugar, which keeps the peppers lively instead of flat. The garlic, peppercorns, and bay leaves build complexity without masking the pepper’s brightness.
Another reason cooks love this method is speed. The refrigerator-style pickles are ready to eat in a few days and peak in a week or two. If you’re prepping for a party or building a pantry, the water-bath option gives you shelf-stable jars you can hand out or keep on a shelf for months. Either way, the result is much better than the jars you find in most grocery aisles.
Smart Substitutions
- Vinegar: you can swap some or all white vinegar for apple cider vinegar for a milder, fruitier tang. Keep the total volume the same (2 cups).
- Salt: if you only have table salt, reduce the measured volume slightly because table salt is denser by volume; better yet, weigh the salt (2 tablespoons kosher ≈ 30–36 grams depending on brand).
- Peppers: if pepperoncini are unavailable, banana peppers are listed and work the same. Mild hot peppers can be used for more heat, but the recipe’s brine ratio should remain unchanged.
- Sweetness: taste the brine before pouring it over the peppers; if you prefer less sweet, reduce the granulated sugar by up to half, but don’t omit entirely if you’re water-bath canning—the sugar balances the acidity.
Setup & Equipment
Minimal gear is required, but a few items make the process clean and safe.
- Jars: one half-gallon jar or two quart jars, cleaned and hot-rinsed.
- Small pot: to bring the brine to a full boil so salt and sugar dissolve completely.
- Water-bath canner (optional): only required if you plan to process jars for shelf stability. A large stockpot with a rack works in a pinch.
- Non-sharp utensil: a butter knife to release trapped air bubbles when canning.
- Lid and bands: new lids recommended for water-bath canning; bands may be reused if not rusty.
- Jar lifter or tongs: for safely moving hot jars if you water-bath can.
Problems & Prevention
Common issues and how to avoid them
- Soft or mushy peppers: usually the result of overcooking or choosing older peppers. Use firm, fresh peppers and avoid blanching them before packing.
- Cloudy brine: can happen with mineral content or dissolved spices; if the brine tastes fine, cloudiness is usually aesthetic. Use filtered water if this bothers you.
- Floating peppers: make sure peppers are packed tight and covered with brine. Use a small weight (a clean fermentation weight or a folded piece of parchment) if necessary to keep them submerged.
- Seals failing after canning: ensure jar rims are absolutely clean before placing lids. Process for the full recommended time and account for elevation adjustments.
- Too sour or too salty: taste the brine before packing. If it’s off, adjust sugar or salt but keep track of any changes when canning—preservation depends on acidity and proper salt levels.
Holiday & Seasonal Touches
Pickled peppers make excellent small gifts or stocking-stuffer-size treats when canned. Dress jars up with simple labels and twine. For seasonal variations, add:
- Winter: a few slices of orange peel and a cinnamon stick for a warm citrus note (use sparingly so it doesn’t overpower the peppers).
- Summer: a sprig of fresh dill tucked into each jar for a bright, herbaceous lift.
- Holiday charcuterie: jarred pepperoncini are a natural foil for rich pâtés, cheeses, and cured meats—add a few jewel-red pepper slices to the platter for color contrast.
If You’re Curious
Here are concise answers to questions I often get from readers who are trying this for the first time.
- Why cut a slit in each pepper? The slit lets the hot brine penetrate the flesh quickly, ensuring even flavor and faster pickling.
- Can I leave the seeds in? Yes. Seeds add a little heat and visual interest. If you want milder pickles, remove the seeds before packing.
- Will these be crunchy? Refrigerator pickles retain more snap. Properly processed canning will soften them over time, though they’ll still have a pleasant bite.
- Why not use table salt? Table salt often contains additives that can cloud brine or affect flavor. Kosher or pickling salt is purer for preserving.
Freezer-Friendly Notes
Freezing pickled peppers is not recommended. The brine and freeze/thaw cycle will break down the pepper flesh, leaving a watery, mushy texture after thawing. If you need longer storage than the refrigerator but do not want to can, consider making multiple small jars and rotating through them, or follow the water‑bath canning steps to make shelf-stable jars that last up to a year.
Reader Q&A
Below are concise, practical answers to probe questions that have come up from readers trying similar recipes.
- Q: Can I reuse the brine after I eat some peppers? A: It’s okay to top off the jar with fresh boiled brine for refrigerator pickles, but once used and refrigerated many times, the brine can ferment. For water-bath canned jars, do not reopen and reuse that brine for canning again.
- Q: How long do the flavors keep improving? A: Refrigerated jars reach good flavor at 1–2 weeks and remain enjoyable for several months. Shelf-stable jars continue to develop complexity and are fine up to one year.
- Q: My peppers darkened—are they safe? A: Yes. Slight shriveling and color change are normal with time. Smell and taste should be your guide; discard if there’s an off odor or visible mold.
Wrap-Up
Pickled Pepperoncini Peppers are a fast, low-effort way to boost weeknight meals and build a flavorful pantry. Follow the steps exactly for reliable refrigeration jars or a safe water-bath canning routine. Start with fresh, firm peppers, keep the brine proportions the same, and choose the storage method that fits your needs—quick pickles for immediate use, or water-bath canning for gifts and long-term storage.
Make a batch, taste after a few days, and adjust your next jar with any tweaks you prefer—more sugar, a splash of apple cider vinegar, or an extra bay leaf. They travel well to parties, cheer up leftovers, and save you from reaching for store-bought jars. Enjoy the bright, tangy lift they add to your cooking.
Pickled Pepperoncini Peppers
Ingredients
Ingredients
- 1 1/2 poundsfresh pepperoncini or banana peppers washed
- 2 cupswhite vinegar
- 2 cupswater
- 2 tablespoonskosher or pickling salt
- 2 tablespoonsgranulated sugar
- 3 clovesgarlic smashed
- 2 teaspoonsblack peppercorns
- 2 bay leaves
Instructions
Instructions
- Choose one clean half‑gallon jar or two clean quart jars. Place the 3 smashed garlic cloves, 2 teaspoons black peppercorns, and 2 bay leaves in the bottom of the jar(s).
- If the peppers are not already washed, rinse and dry the 1 1/2 pounds of fresh pepperoncini or banana peppers. Use a small, sharp knife to cut a single slit down one side of each pepper so the brine can penetrate.
- Pack the peppers into the jar(s) as tightly as you can without crushing them.
- In a small pot, combine 2 cups white vinegar, 2 cups water, 2 tablespoons kosher or pickling salt, and 2 tablespoons granulated sugar. Bring the mixture to a full boil, stirring so the salt and sugar dissolve.
- For refrigerator pickles: carefully pour the boiling brine over the packed peppers until they are fully covered. Screw the lids on the jars. Let the jars cool to room temperature, then transfer them to the refrigerator. Make sure the peppers remain submerged under the brine; add more cooled brine or a weight if necessary.
- Refrigerated pickles: wait at least 3 days before using. For best flavor, let them sit 1–2 weeks. These will keep in the refrigerator for several months.
- If you prefer to water‑bath can: after step 4, pour the boiling brine into the packed jars leaving 1/4 inch headspace. Insert a non‑sharp utensil (a butter knife) down the side of each jar to release any trapped air bubbles.
- Wipe the jar rims clean, place lids and screw bands on fingertip tight, and process in a boiling water bath canner for 10 minutes (use 15 minutes if you are over 1,000 feet elevation).
- After processing, carefully remove the jars and let them sit undisturbed at room temperature for 24 hours. Remove the screw bands and check seals. Any jar that did not seal should be refrigerated and used within 2 months. Properly sealed jars can be stored in a cool, dark place for up to 1 year.
- Note: over time the peppers may become slightly shriveled and their color may darken; this is normal.
Equipment
- Small, sharp knife(I love my Wusthof knives)
- Quart sized mason jars, or larger according to preference
Notes
If jars do not seal after water-bath canning, refrigerate and use within 2 months.