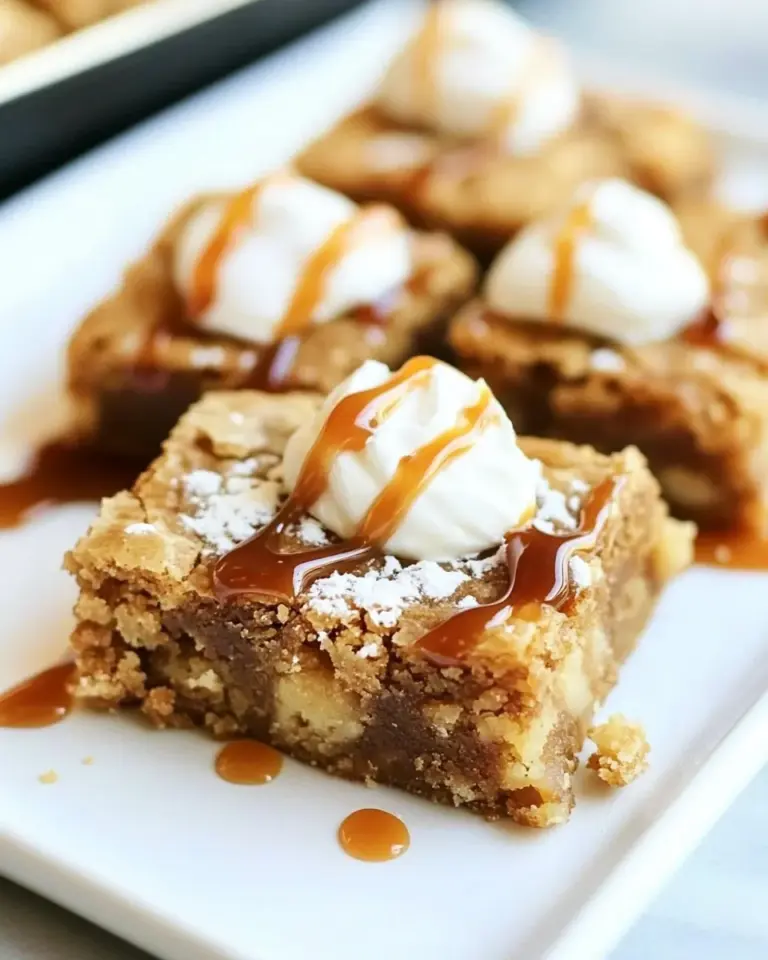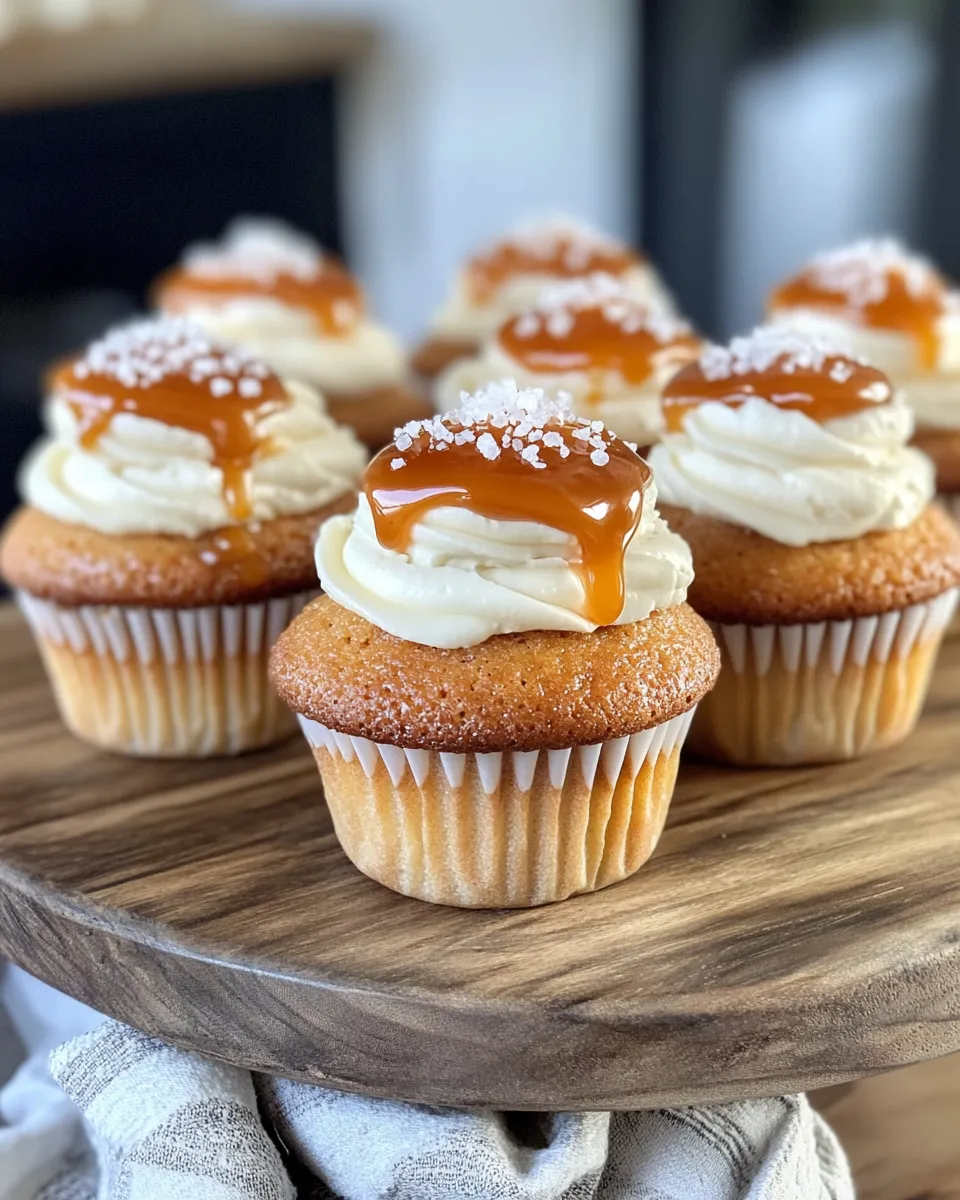
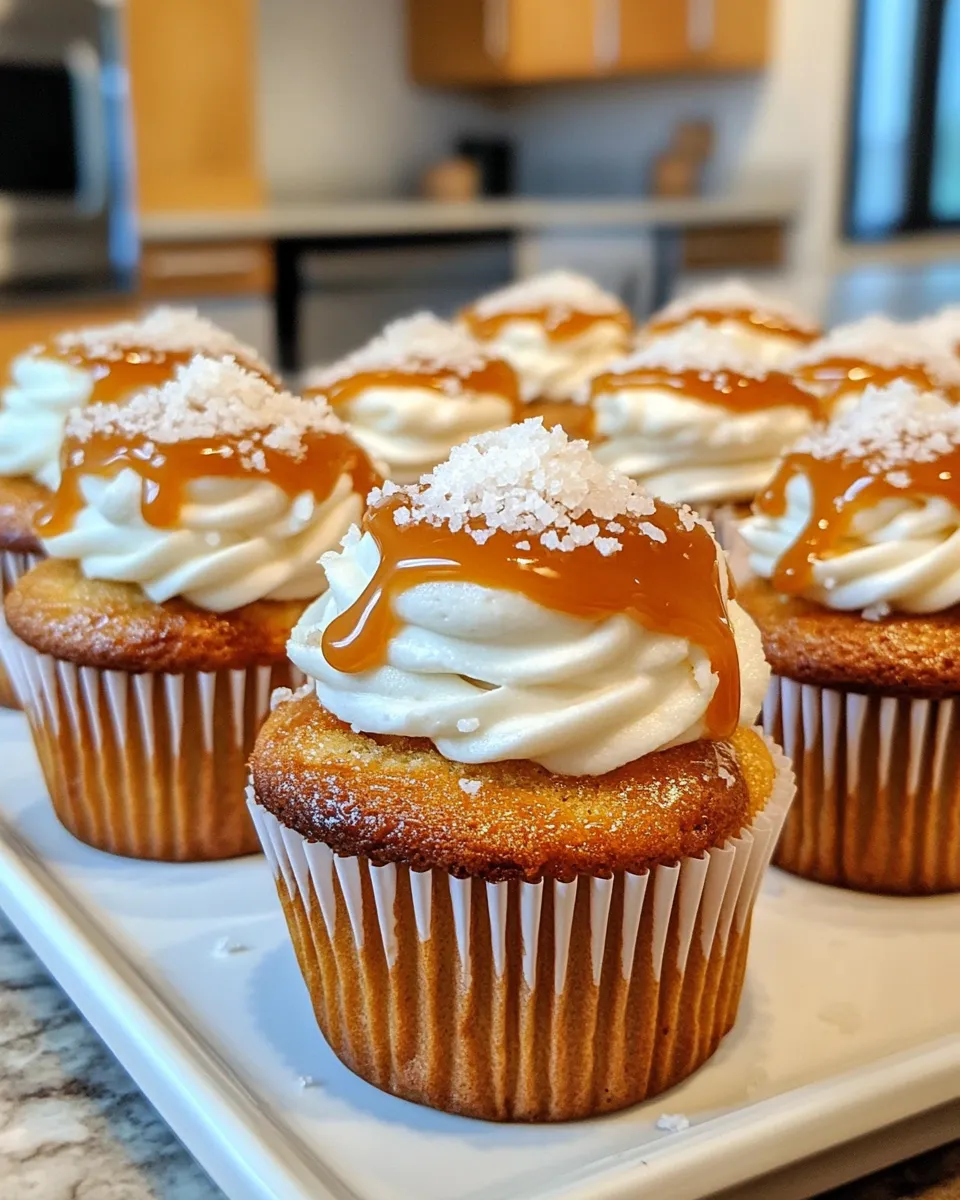
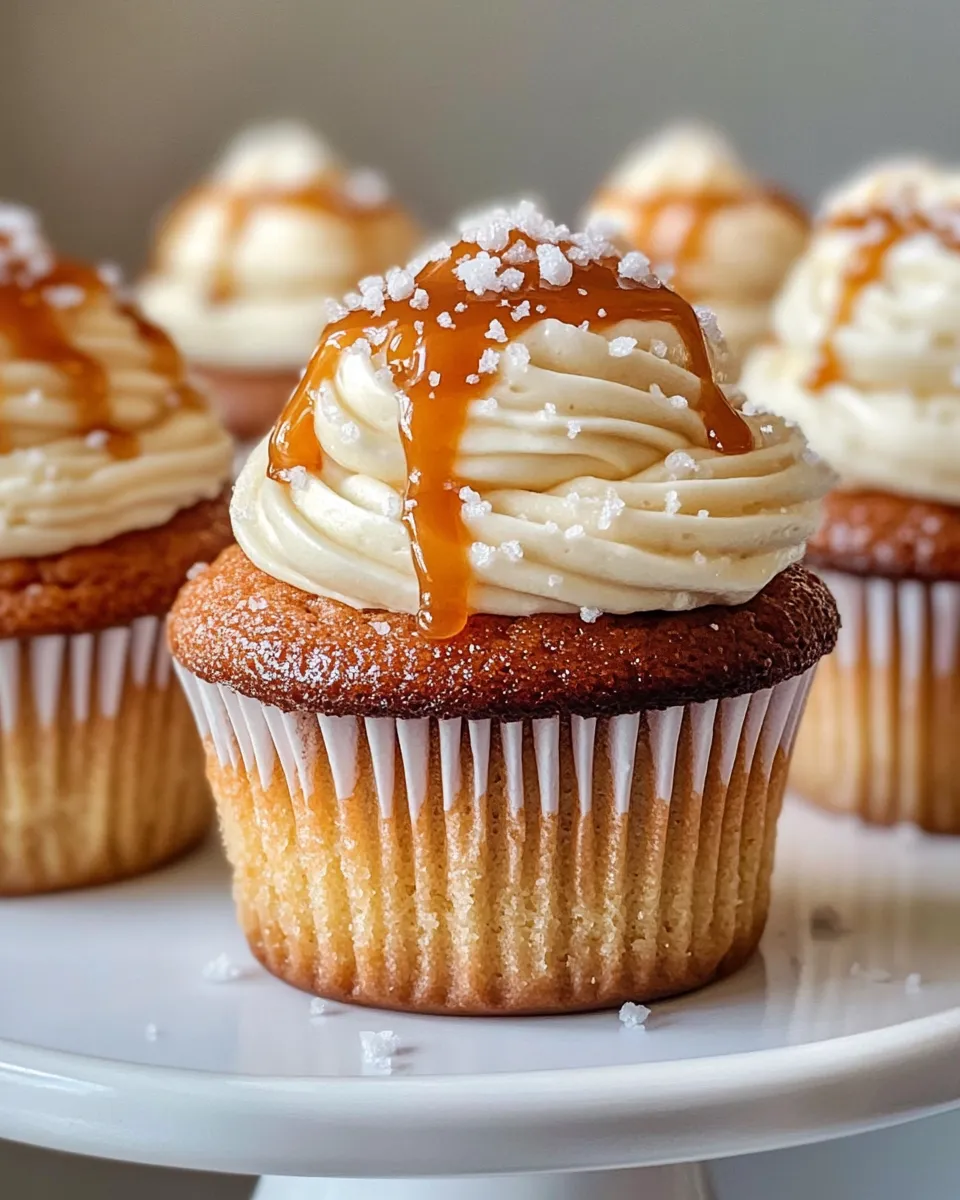
These Salted Caramel Cupcakes balance the deep, buttery sweetness of caramel with a whisper of salt and a classic vanilla buttercream. They’re the kind of thing you bring to a weekend gathering when you want to impress without fuss. The assembly is straightforward, and the payoff is reliably celebratory.
I make these when I want something familiar but elevated. Start with a sturdy cupcake base—chocolate or yellow—and fill it with a soft vanilla buttercream before frosting. The secret is not dramatic technique but small details: don’t overfill the cavity, leave a thin cake bottom, pipe carefully, and taste as you go.
Below I walk through what goes in, exactly how to assemble them with the source instructions I used, and practical notes that save time and headaches. No fluff. Just clear steps, realistic swaps, and the troubleshooting you’ll actually use at the counter.
What Goes In
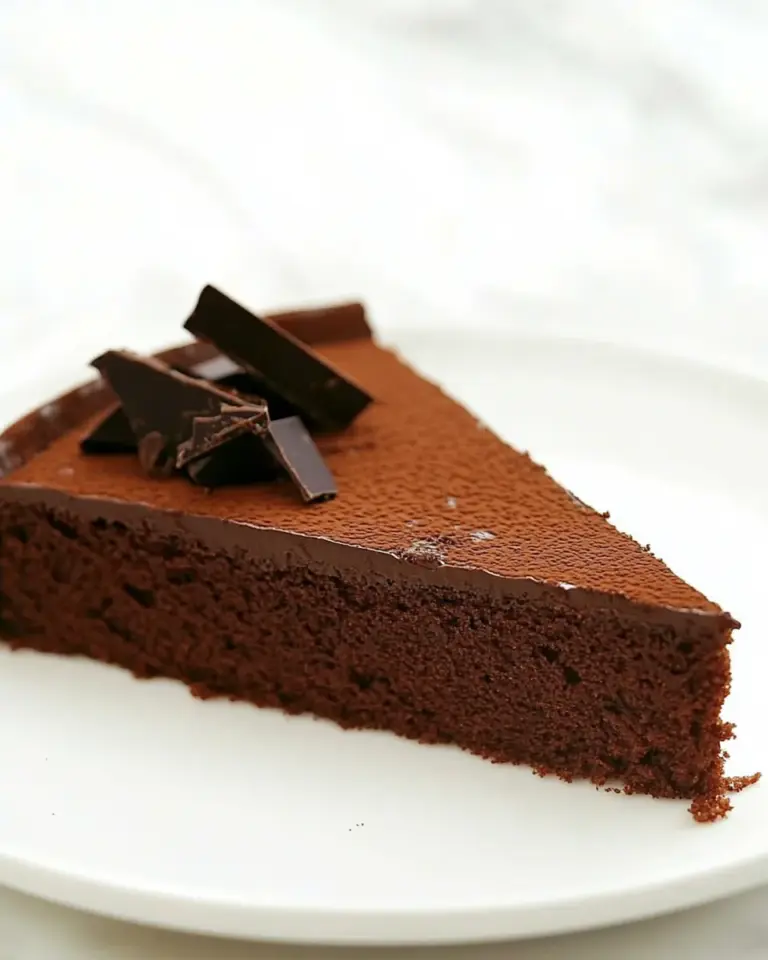
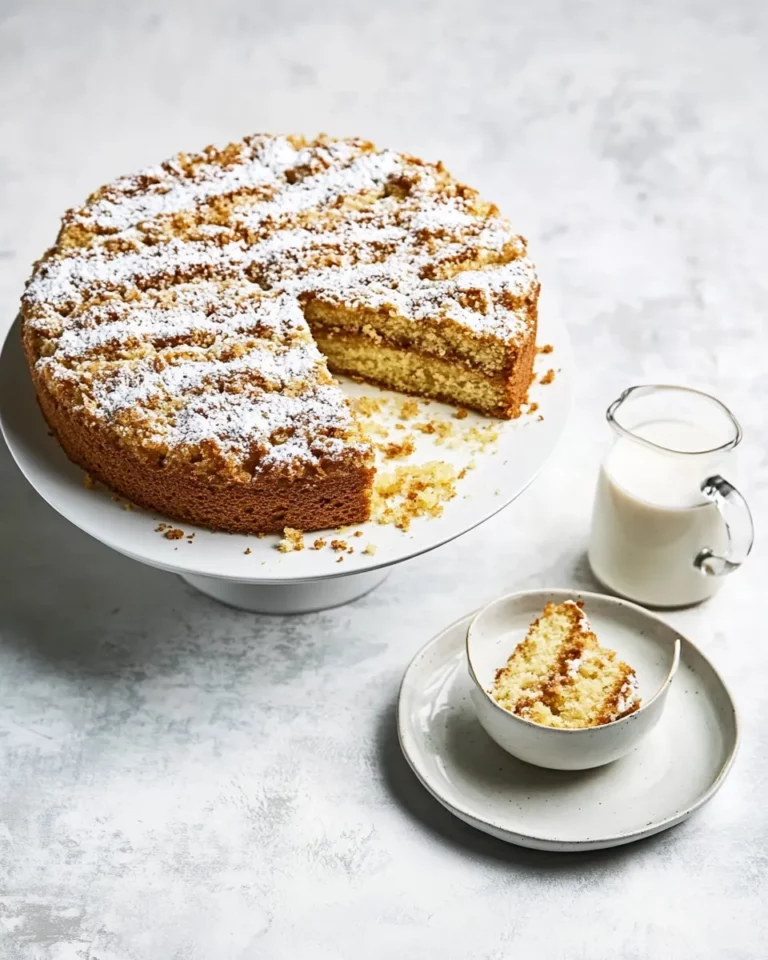
- made one of my favorite chocolate cupcake recipes according to the recipe directions (you’ll see my fave in an upcoming fundamentals post). Use whatever recipe floats your boat. Yellow cake would be equally as amazing. — This is your cupcake base; choose a dependable chocolate or yellow batter. Consistent bake times and a level top make coring and filling easier.
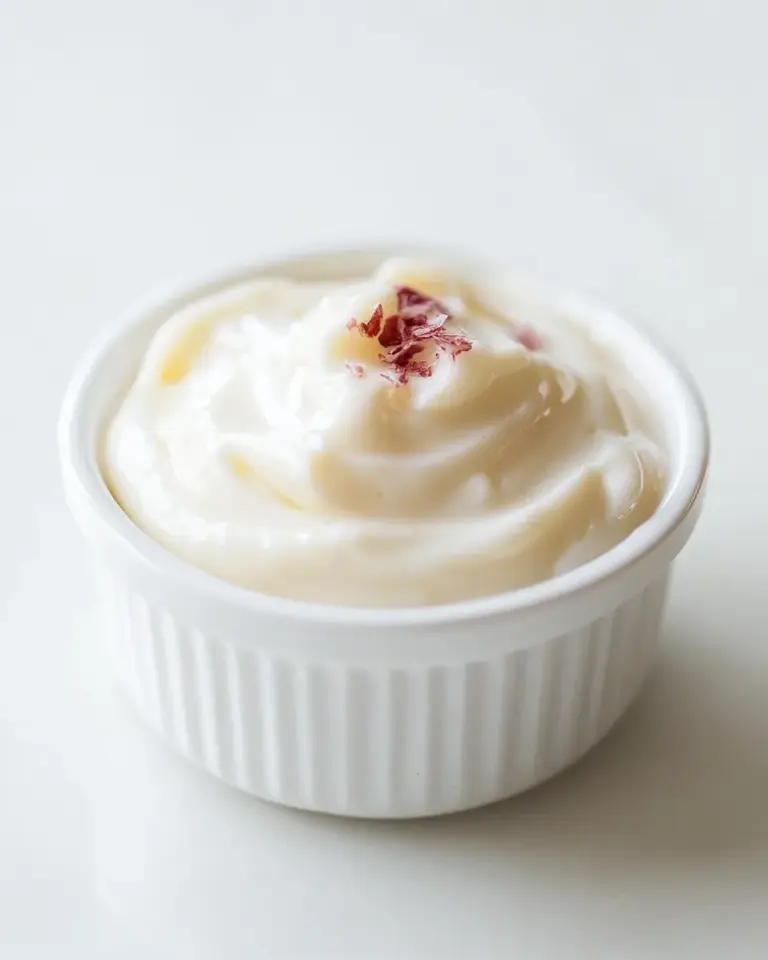
- find a basic vanilla buttercre — This is your fill and your frosting base. Use a vanilla buttercream that holds shape; chill briefly if it feels too soft for piping.
Salted Caramel Cupcakes: From Prep to Plate
- Bake the cupcakes using the chocolate (or yellow) cupcake recipe you chose. Cool the cupcakes completely on a wire rack before proceeding.
- Make the basic vanilla buttercream according to the recipe you found. Transfer the buttercream to a piping bag fitted with a small round tip; if you don’t have a piping bag, use a zip-top bag and snip a small corner.
- Using an apple corer, a small round cutter, or a paring knife, remove a small circular plug from the center of each cooled cupcake. Remove about two-thirds of the way down (leave a thin layer of cake at the bottom so the filling won’t leak).
- Fill the cavity in each cupcake by inserting the piping tip into the hole and gently piping buttercream until the cavity is nearly full but not overflowing.
- If you removed a plug that can be replaced, press it gently back onto the filled cavity so the top is level. If the removed piece is crumbly, you can discard it or use it as a snack.
- Frost the top of each cupcake with the remaining vanilla buttercream. Use an offset spatula for a smooth finish or a piping tip to create swirls.
- Store frosted cupcakes at room temperature for up to one day (if your buttercream recipe permits) or refrigerate according to your buttercream recipe’s guidance.
Why It’s Crowd-Pleasing
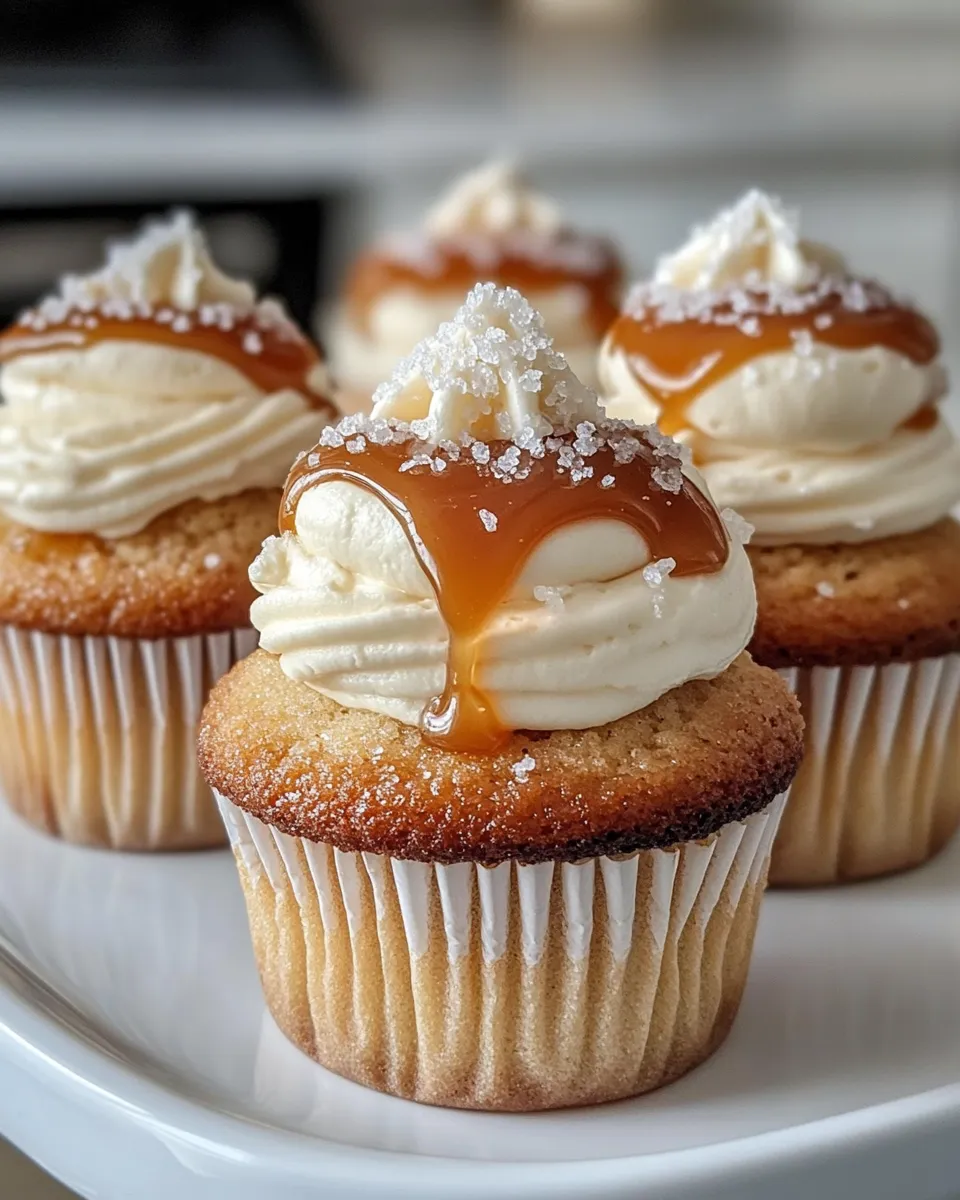
Salted caramel has broad appeal because it hits both sweet and savory notes—people recognize it instantly and it often triggers a “that’s grown-up and familiar” response. These cupcakes offer comfort (the cake) and a little theatrics (the filled center). Each bite has texture: tender cake, creamy filling, and a smooth frosting layer. Salted caramel also photographs well, which helps if you’re bringing them to a party or snapping a quick post for friends.
They’re forgiving to make. Use a reliable cupcake batter and a steady buttercream and the rest is assembly. Even novice bakers can produce consistent results with the coring-and-filling method. The technique gives you a surprise in the middle that elevates a standard cupcake into something people remember.
Easy Ingredient Swaps
- Cupcake base: Swap chocolate for yellow or vice versa. If you want a neutral backdrop for caramel, choose yellow cake; if you want contrast, use chocolate.
- Buttercream: If you prefer a lighter filling, whip a Swiss or Italian meringue buttercream instead of a standard American buttercream. Both pipe well and taste less sweet.
- Salted caramel: If you don’t have homemade caramel, use store-bought thick caramel sauce and stir in flaky sea salt to taste. A little goes a long way.
- Filling tool: No apple corer? Use a small round cookie cutter or carefully use a melon baller. A paring knife works—just go slow and steady.
Equipment Breakdown
Keep this list compact. You don’t need a pastry lab—just a few reliable tools:
- Muffin tin and liners: Standard 12-cup pan and paper liners keep cupcakes tidy and transferable.
- Wire rack: Essential for cooling completely before coring. Warm cake will compress and crumble.
- Apple corer or small round cutter: The cleanest way to remove a plug. A paring knife substitutes in a pinch.
- Piping bags and tips: A small round tip for filling and a larger round or star tip for topping make the process efficient. Use a zip-top bag if you don’t own a disposable bag.
- Offset spatula: For smoothing frosting if you prefer a flat top rather than piped swirls.
Problems & Prevention
Crumbling cake when coring
Prevention: Cool cupcakes fully. Warm crumbs tear. Use a sharp corer or a steady paring knife. Remove a small plug rather than hacking into the center.
Filling leaks or seeps
Prevention: Don’t remove too much cake from the bottom—leave a thin layer so the buttercream won’t escape. Stop piping when the cavity is nearly full, not overflowing.
Buttercream too soft to pipe
Prevention: Chill the buttercream briefly in the fridge—10 to 20 minutes—so it firms up. If it’s still soft, add a little more sifted powdered sugar, a tablespoon at a time, until it holds shape.
Frosting slides off
Prevention: Make sure the buttercream you use for the outer frosting is stable. An American-style buttercream (butter + powdered sugar) will hold better at room temperature than a very soft whipped cream-style frosting.
Dietary Swaps & Alternatives
- Dairy-free: Use plant-based butter and a dairy-free milk to make both cake and buttercream dairy-free. Choose a butter substitute formulated for baking to maintain structure and mouthfeel.
- Lower sugar: Reduce sugar slightly in the cupcake batter if your buttercream will be sweet. Note: reducing sugar can change texture, so only reduce by small amounts.
- Gluten-free: Substitute a 1:1 gluten-free flour blend for the cake. Add a tablespoon of xanthan gum if your blend doesn’t already contain it to help with structure.
- Nuts: If you need a nut-free recipe, avoid any caramel recipes that use nut extracts or nut butters. Always check store-bought sauces for cross-contamination warnings.
What Could Go Wrong
There are a few predictable culprits that derail cupcakes: under-baked or over-baked cake, too-soft frosting, and sloppy coring. Under-baked cupcakes sink when disturbed and won’t support layering or filling. Over-baked cakes dry out and crumble during coring. Too-soft buttercream will not hold in the cavity and can cause leakage.
Fixes: If a batch is under-baked, return them to the oven briefly and watch closely—work fast and carefully. If they’re dry, use a simple syrup brushed on the tops before coring to add moisture. If you get a crumbly plug, skip replacing it and top as usual; taste will still be excellent.
Save for Later: Storage Tips
Frosted cupcakes stored at room temperature (in a covered box or cake carrier) will be fine for up to 24 hours if your buttercream recipe permits. Beyond that, refrigerate. Cold cupcakes firm up and travel well, but chilling can dull the buttercream’s spread and change texture slightly. Let refrigerated cupcakes sit at room temperature 30–60 minutes before serving for the best flavor and mouthfeel.
If you’ve filled the cupcakes and aren’t frosting yet, keep the filled, unfrosted cupcakes in an airtight container at room temperature for a few hours or in the refrigerator overnight. Frost just before serving for the freshest appearance. Freeze unfrosted cupcakes wrapped individually for up to two months; thaw in the fridge and bring to room temperature before frosting.
Reader Q&A
Q: Can I use store-bought frosting to fill and top?
A: Yes. Choose a thicker buttercream-style store frosting rather than a pourable glaze. If it’s too soft, chill it to firm up before piping.
Q: How much caramel should I add to the center?
A: The source directions call for filling the cavity with vanilla buttercream, not liquid caramel. If you want caramel in the center, mix a small amount into the buttercream or pipe a spoonful of thick caramel and seal it with a thin layer of cake so it doesn’t ooze.
Q: Will the cake collapse if I remove a large plug?
A: Removing about two-thirds of the way down as suggested leaves enough structure. If you remove too much, the top may collapse when you replace the plug. Work conservatively.
Q: Can I make these a day ahead?
A: Yes. You can bake the cupcakes a day ahead and store them airtight at room temperature. Fill and frost the day you plan to serve for the freshest texture and presentation.
Time to Try It
Start by choosing your cupcake recipe and a dependable vanilla buttercream. Bake a test batch and cool completely. Follow the source steps for coring and filling exactly. Take your time while piping—gentle, steady pressure yields the cleanest fills. If you run into trouble, revisit the prevention tips above rather than forcing a quick fix.
These Salted Caramel Cupcakes are approachable but memorable. With a reliable base, a stable buttercream, and careful filling, you’ll have a batch that looks homemade and tastes like you spent more time than you did. Make them for friends, family, or quiet weekend indulgence. Then do me a favor: taste-test one while still slightly warm—just to make sure everything went well.
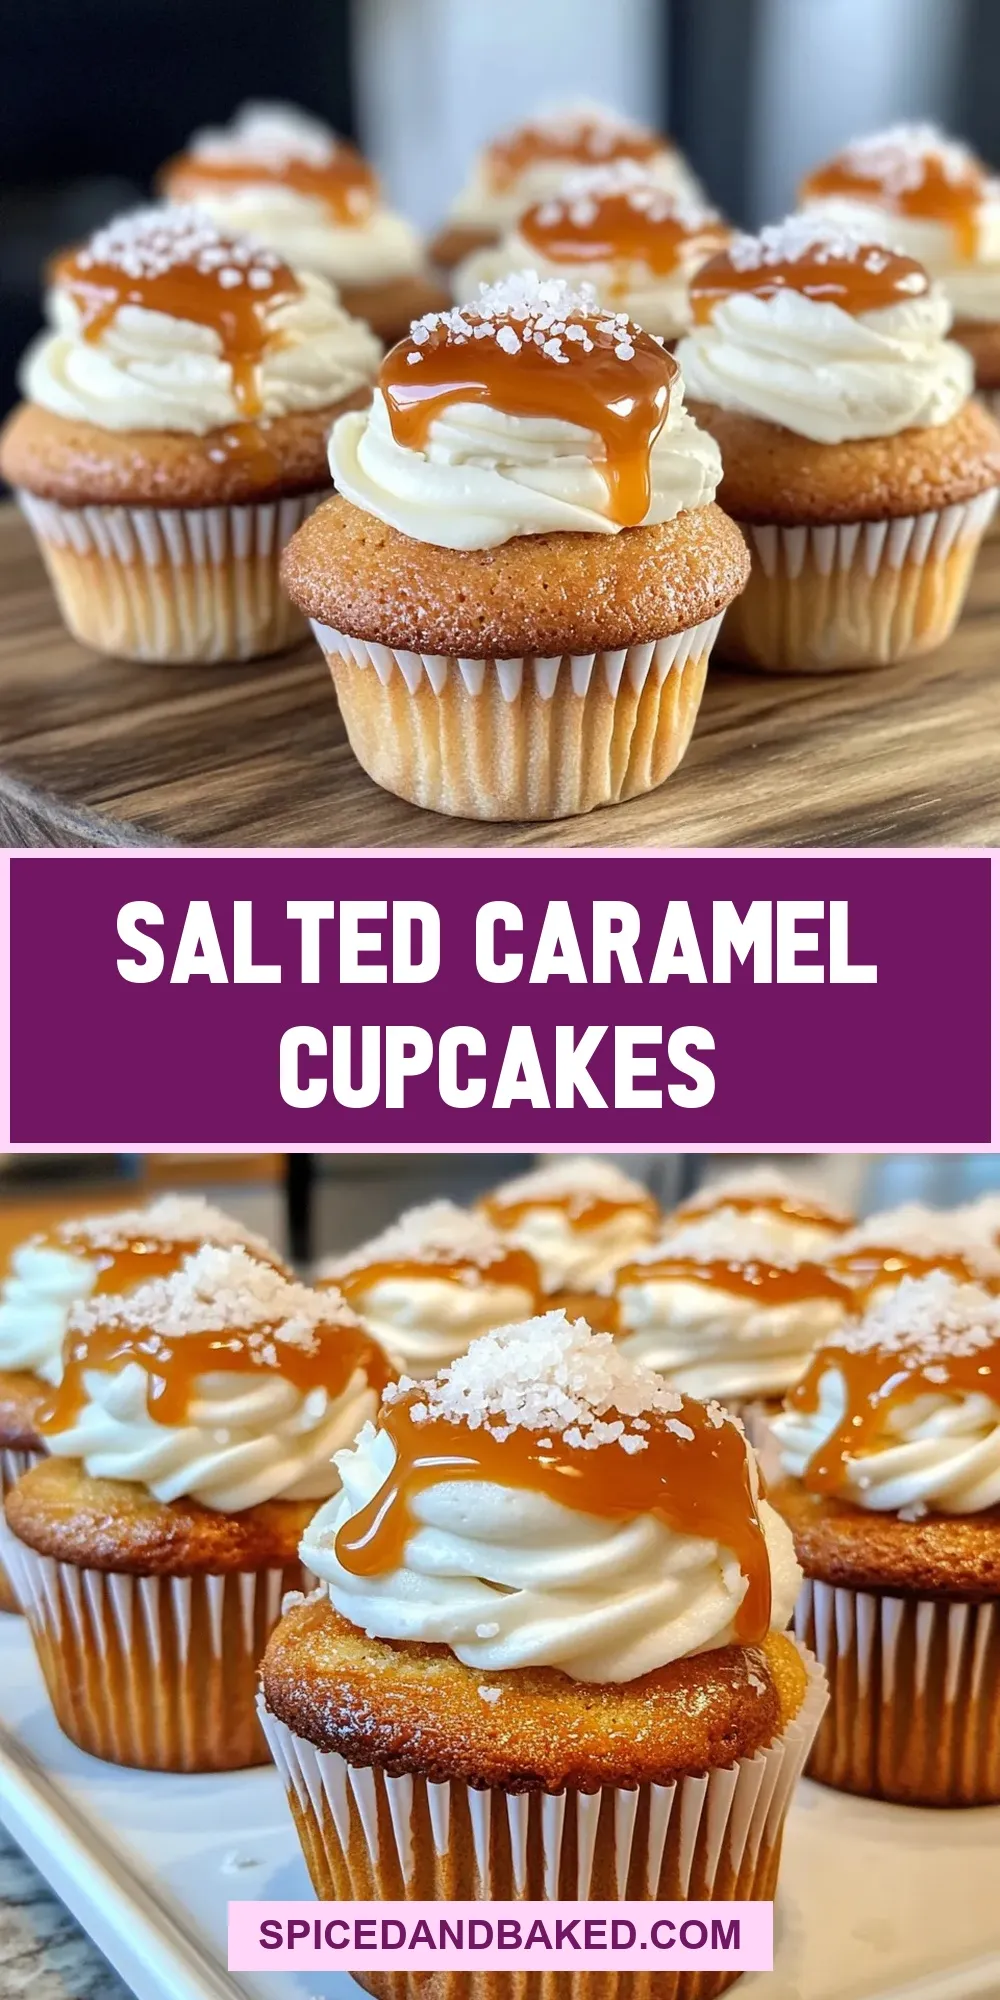
Salted Caramel Cupcakes
Ingredients
Ingredients
- made one of my favorite chocolate cupcake recipes according to the recipe directions you’ll see my fave in an upcoming fundamentals post. Use whatever recipe floats your boat. Yellow cake would be equally as amazing.
- find a basic vanilla buttercre
Instructions
Instructions
- Bake the cupcakes using the chocolate (or yellow) cupcake recipe you chose. Cool the cupcakes completely on a wire rack before proceeding.
- Make the basic vanilla buttercream according to the recipe you found. Transfer the buttercream to a piping bag fitted with a small round tip; if you don’t have a piping bag, use a zip-top bag and snip a small corner.
- Using an apple corer, a small round cutter, or a paring knife, remove a small circular plug from the center of each cooled cupcake. Remove about two-thirds of the way down (leave a thin layer of cake at the bottom so the filling won’t leak).
- Fill the cavity in each cupcake by inserting the piping tip into the hole and gently piping buttercream until the cavity is nearly full but not overflowing.
- If you removed a plug that can be replaced, press it gently back onto the filled cavity so the top is level. If the removed piece is crumbly, you can discard it or use it as a snack.
- Frost the top of each cupcake with the remaining vanilla buttercream. Use an offset spatula for a smooth finish or a piping tip to create swirls.
- Store frosted cupcakes at room temperature for up to one day (if your buttercream recipe permits) or refrigerate according to your buttercream recipe’s guidance.
Equipment
- Wire Rack
- Piping bag
- small round piping tip
- Zip-top Bag
- apple corer
- small round cutter
- paring knife
- Offset spatula