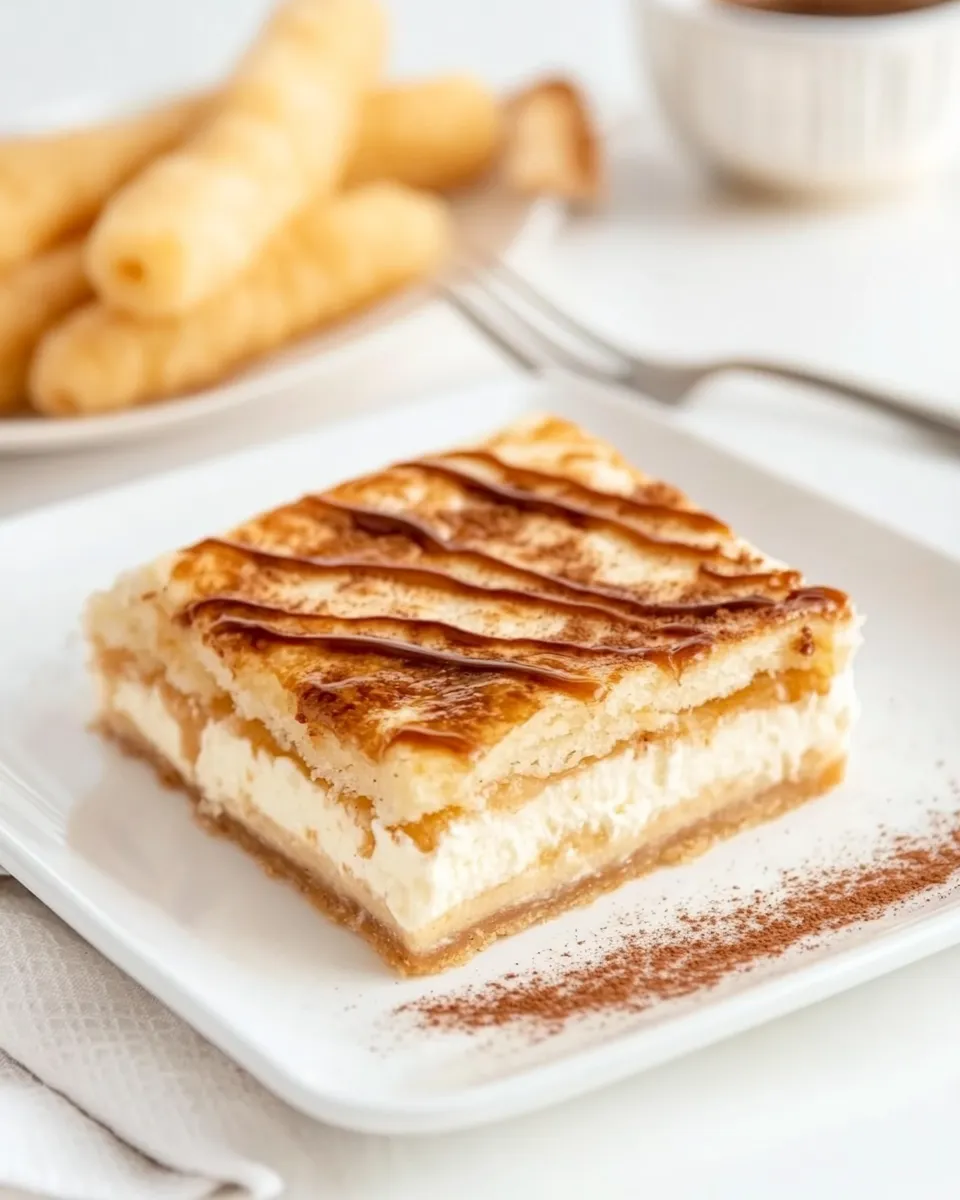
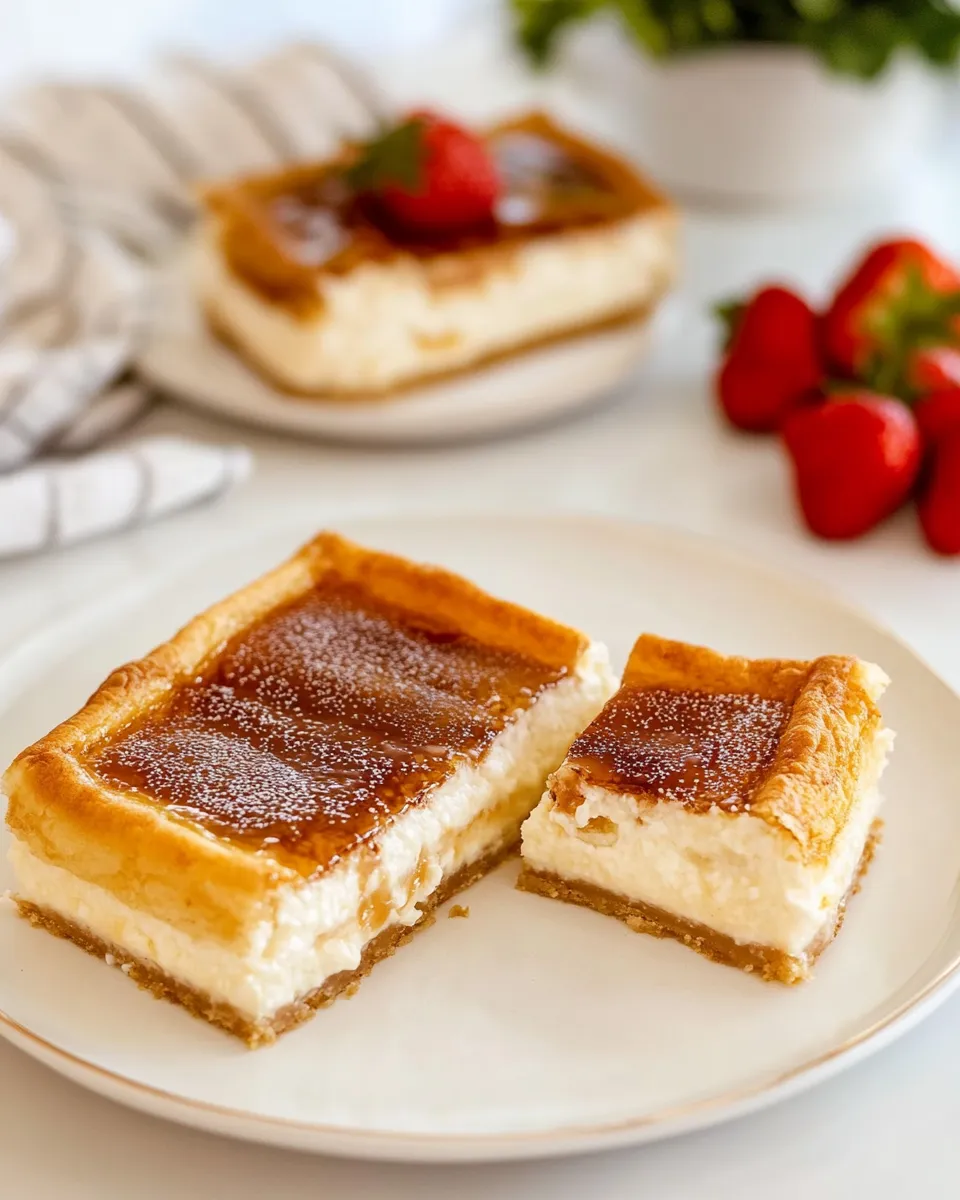
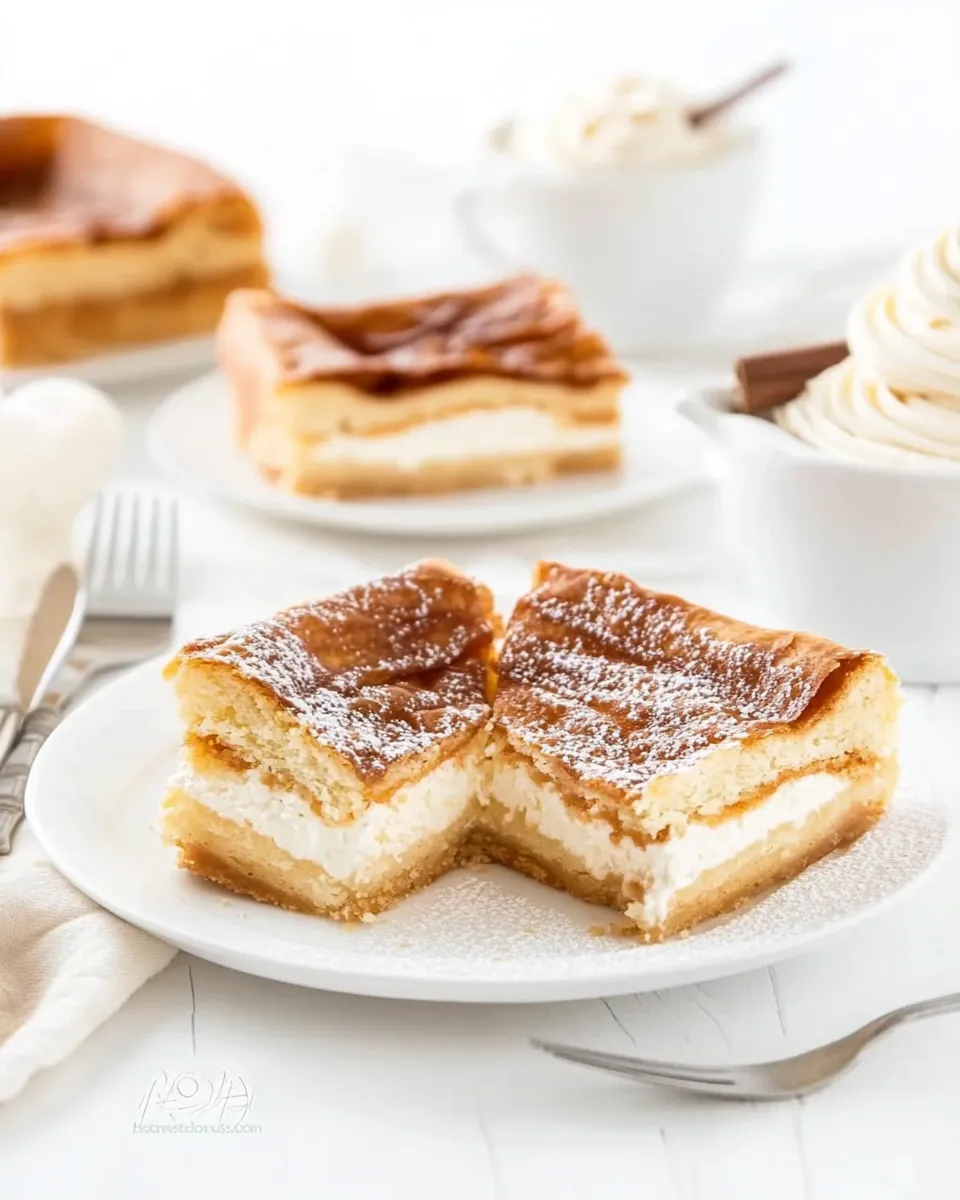
This sopapilla cheesecake is one of those recipes that feels indulgent but comes together quickly. It layers a silky cream cheese filling between two buttery crescent sheets, tops the cake with a cinnamon-sugar crumble, and finishes with a drizzle of honey while it’s still hot. The result is crisp, creamy, and just sweet enough—perfect for a weekend dessert or a potluck contribution that disappears fast.
I love making this when I want something that looks like effort without the fuss. You don’t need pastry skills or special ingredients—just cream cheese, crescent dough, butter, cinnamon, sugar, and honey. The texture contrast is the best part: flaky, golden dough surrounding a tangy, smooth center.
Below you’ll find the exact ingredient list and step-by-step instructions to make Sopapilla Cheesecake, followed by practical tips, common mistakes to avoid, equipment I reach for every time, and ideas for seasonal variations. Read through the whole post before you start so you know what to expect, then roll up your sleeves and enjoy.
Ingredient List
- 16 ounces cream cheese (room temperature) — the silky base of the filling; bringing it to room temperature prevents lumps when you beat it.
- 1 ¾ cups granulated sugar — divided use; most sweetens the filling, and the rest blends with butter and cinnamon for the crumb layer.
- 1 teaspoon pure vanilla extract — adds depth and rounds the tang of the cream cheese.
- 2 cans refrigerated crescent rolls or sheets (8 ounces each) — form the buttery top and bottom layers; crescent sheets are easiest, but seams on rolls can be pressed together.
- ½ cup butter (room temperature) — combined with sugar and cinnamon to make the crisp, buttery topping; room temperature butter produces crumbly pieces when mixed.
- 1 ½ teaspoons ground cinnamon — pairs with sugar and butter for that warm sopapilla flavor.
- 3 tablespoons honey — drizzled over the hot top for sheen, a touch of floral sweetness, and a sticky finish.
Cooking (Sopapilla Cheesecake): The Process
- Preheat the oven to 350°F. Spray a 9×13-inch baking pan with nonstick cooking spray.
- In the bowl of a stand mixer fitted with the paddle attachment, or in a large bowl with an electric mixer, beat 16 ounces cream cheese (room temperature), 1 cup granulated sugar, and 1 teaspoon pure vanilla extract on medium-high speed until smooth, about 3 minutes.
- Unroll one can (8 ounces) of refrigerated crescent rolls or crescent sheet. If using crescent rolls, gently press and pinch the perforated seams together to form one sheet. Press the dough evenly into the bottom of the prepared 9×13-inch pan.
- Spread the cream cheese mixture evenly over the dough in the pan, leaving a small border around the edges.
- Unroll the second can (8 ounces) of crescent rolls or crescent sheet. If using crescent rolls, pinch seams together to form a sheet. Place this second sheet of dough on top of the cream cheese layer and press the edges to seal lightly.
- In a medium bowl, use a fork or a pastry cutter to combine ½ cup butter (room temperature), the remaining ¾ cup granulated sugar, and 1½ teaspoons ground cinnamon until the mixture is well combined and crumbly.
- Evenly sprinkle or dot the cinnamon-butter mixture over the top layer of dough so the surface is covered in small pieces of the mixture.
- Bake in the preheated oven for 35–40 minutes, or until the top dough has puffed and turned golden brown.
- Remove the pan from the oven and immediately drizzle 3 tablespoons honey evenly over the hot top.
- Cool completely in the pan on a wire rack for about 2 hours before cutting into 12 squares.
- Serve at room temperature or chilled. Refrigerate any leftovers for up to 3 days.
The Upside of Sopapilla Cheesecake
This recipe is a win for several reasons. First, it’s fast to assemble—no blind-baking or tempering required—so you can go from pantry to oven in under 15 minutes. Second, it has great texture play: flaky, slightly chewy crusts sandwich a smooth, lightly sweetened cheesecake layer. Third, it scales well. The 9×13 pan feeds a crowd, and leftovers keep well in the fridge for quick dessert portions.
It’s also forgiving: the cream cheese filling is stable, and small imperfections in the top layer melt into the overall charm of the dessert. Because the top gets drizzled with honey while hot, you get that neat sheen and an immediately appealing aroma—always a crowd-pleaser. Serve it at room temperature for creamy slices, or chilled for a firmer bite.
Smart Substitutions
Dairy and texture swaps
If you need a lighter option, use a reduced-fat cream cheese. The texture will be a touch less rich but still pleasant. For a tangier profile, substitute one of the cream cheese packages with a ⅓ cup plain Greek yogurt—fold it into the filling after the initial mixing to keep the batter smooth.
Dough choices
If crescent sheets aren’t available, you can use puff pastry sheets as a substitute—though keep an eye on bake time since puff pastry can brown faster. If you use crescent rolls, press seams firmly to avoid gaps in the layers.
Sweeteners and topping alternatives
Swap honey for maple syrup if you prefer that flavor note; drizzle it the same way while the top is hot. For the cinnamon-sugar crumble, brown sugar adds molasses depth if you replace part of the granulated sugar, but keep the total sugar quantity the same for balance.
Must-Have Equipment
- 9×13-inch baking pan — the specified size gives the right thickness and bake time.
- Stand mixer or electric hand mixer — to get the cream cheese filling smooth and lump-free in about 3 minutes.
- Wire rack — for an even cool down so the honey sets properly and slices cleanly.
- Pastry cutter or fork — to blend the butter, sugar, and cinnamon into small, crumbly pieces for the topping.
- Nonstick cooking spray — makes removing squares easier and prevents sticking.
Learn from These Mistakes
Here are practical fixes I’ve learned the hard way so your Sopapilla Cheesecake turns out perfectly every time.
- Don’t skip room-temperature cream cheese: Cold cream cheese lumps and takes much longer to smooth out, which can overwork the batter or leave lumps in the filling.
- Seal the edges lightly: If you press too hard when sealing the top dough, you can squeeze out filling or create uneven seams that puff oddly. A gentle press will do.
- Evenly distribute the cinnamon-butter: Large clumps will melt into the dough in spots instead of creating that nice textured top. Aim for small, scattered pieces.
- Drizzle honey while hot: If the honey goes on after the top cools, it won’t adhere or spread as nicely. Do this step immediately after the pan comes out of the oven.
- Allow full cooling time before slicing: Cutting too soon yields sloppy pieces because the filling hasn’t set. Two hours at room temperature gives clean squares.
Seasonal Spins
Swap or add seasonal flavors to match holidays or fresh produce. In fall, stir ½ teaspoon pumpkin pie spice into the cinnamon-sugar crumble and finish with a light dusting of ground nutmeg after baking. For winter gatherings, add a tablespoon of orange zest to the cream cheese mixture for a bright citrus lift. In spring and summer, top each serving with macerated berries or a spoonful of roasted stone fruit to cut through the richness.
Behind-the-Scenes Notes
I keep a few little rituals when I make Sopapilla Cheesecake that improve the result. I always let the cream cheese sit on the counter for at least 30 minutes while I set up my pans and preheat the oven. I also fold the vanilla in last at medium-high speed so it disperses evenly without overbeating. When sprinkling the crumble, I prefer using my fingers to drop small pieces—this gives the topping the right texture.
One more thing: the original recipe calls for two cans of crescent dough. If you’re using the perforated rolls, take your time to press seams together rather than stretching the dough; it’s worth the few extra seconds to avoid small holes that leak filling.
Make Ahead Like a Pro
You can assemble the entire Sopapilla Cheesecake through step 7 (topping applied) and then cover tightly with plastic wrap and refrigerate for up to 24 hours before baking. Bring it to room temperature for 20–30 minutes while the oven heats, then bake as directed. If you want to serve chilled, bake, cool fully, and then refrigerate for at least 2 hours before slicing; this firms the filling and makes neat squares.
Leftovers keep well in an airtight container in the refrigerator for up to 3 days. If you prefer the flavors to mellow, slice and chill overnight—the cinnamon and honey settle in and the texture becomes pleasantly dense.
Your Top Questions
- Can I freeze Sopapilla Cheesecake? Yes. Wrap tightly and freeze for up to 1 month. Thaw overnight in the refrigerator and bring to room temperature before serving for best texture.
- Can I use homemade crescent sheet dough? You can, but adjust bake time as needed. Homemade dough thickness varies, so start checking for golden color around 30 minutes.
- Why did my top sink in the middle? Sinking usually happens if the filling was too warm or if the dough was pressed too firmly after adding the filling. Let the filling set slightly in the pan before topping to avoid excessive pressure.
- Can I omit the honey? You can, but the honey adds both flavor and a glossy finish. If you omit it, consider a light dusting of powdered sugar instead after cooling.
Bring It to the Table
Sopapilla Cheesecake slices best when plated simply. I like to serve each square with a forkful of fresh berries or a small scoop of vanilla ice cream. For a brunch spread, place the pan on a cutting board and offer a small pitcher of warmed honey or maple syrup on the side so guests can add more if they like.
This dessert works well at gatherings because it’s easy to portion and travels nicely if you keep it chilled until showtime. Make it a day ahead for stress-free serving—or bake it the morning of your event and leave it at room temperature until dessert. Either way, expect compliments.

Sopapilla Cheesecake
Ingredients
Ingredients
- 16 ouncescream cheeseroom temperature 2 8-ounce packages
- 1 3/4 cupsgranulated sugardivided use
- 1 teaspoonpure vanilla extract
- 2 cansrefrigerated crescent rolls or sheets8 ounces each
- 1/2 cupbutterroom temperature
- 1 1/2 teaspoonsground cinnamon
- 3 tablespoonshoney
Instructions
Instructions
- Preheat the oven to 350°F. Spray a 9×13-inch baking pan with nonstick cooking spray.
- In the bowl of a stand mixer fitted with the paddle attachment, or in a large bowl with an electric mixer, beat 16 ounces cream cheese (room temperature), 1 cup granulated sugar, and 1 teaspoon pure vanilla extract on medium-high speed until smooth, about 3 minutes.
- Unroll one can (8 ounces) of refrigerated crescent rolls or crescent sheet. If using crescent rolls, gently press and pinch the perforated seams together to form one sheet. Press the dough evenly into the bottom of the prepared 9×13-inch pan.
- Spread the cream cheese mixture evenly over the dough in the pan, leaving a small border around the edges.
- Unroll the second can (8 ounces) of crescent rolls or crescent sheet. If using crescent rolls, pinch seams together to form a sheet. Place this second sheet of dough on top of the cream cheese layer and press the edges to seal lightly.
- In a medium bowl, use a fork or a pastry cutter to combine ½ cup butter (room temperature), the remaining ¾ cup granulated sugar, and 1½ teaspoons ground cinnamon until the mixture is well combined and crumbly.
- Evenly sprinkle or dot the cinnamon-butter mixture over the top layer of dough so the surface is covered in small pieces of the mixture.
- Bake in the preheated oven for 35–40 minutes, or until the top dough has puffed and turned golden brown.
- Remove the pan from the oven and immediately drizzle 3 tablespoons honey evenly over the hot top.
- Cool completely in the pan on a wire rack for about 2 hours before cutting into 12 squares.
- Serve at room temperature or chilled. Refrigerate any leftovers for up to 3 days.
Equipment
- Nordic Ware Metal 9×13 Covered Cake Pan
- KitchenAid 9-Speed Digital Hand Mixer
- Offset spatula
Notes
From allrecipes