Making peanut butter at home is one of those kitchen wins that feels fancy and is genuinely practical. It’s three ingredients at most if you count time, it takes under ten minutes of active work, and the results taste fresher than anything from a supermarket jar. You control the texture and the salt and avoid additives you don’t recognize.
I keep a routine: buy good roasted, unsalted peanuts, let them warm to room temperature if they’ve been chilled, and the food processor does the rest. A short pulse to break things up, then a few minutes of processing and occasional scraping—simple, repeatable, and forgiving.
This recipe is about being efficient and reliable. I’ll walk you through exactly what to do, what gear helps, what to watch out for, and how to store the finished jar so it’s ready for sandwiches, sauces, baking, or a spoon straight from the jar.
What’s in the Bowl
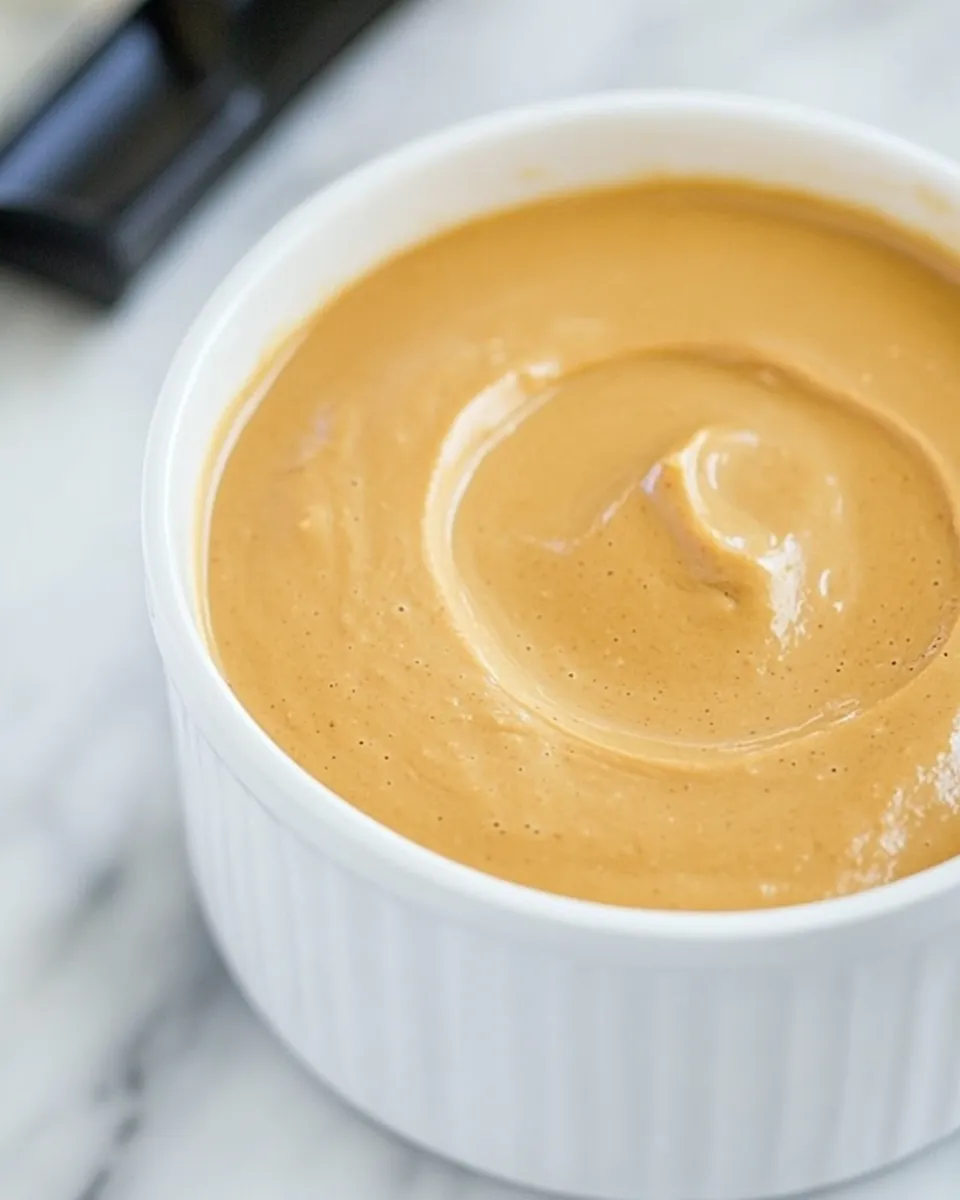
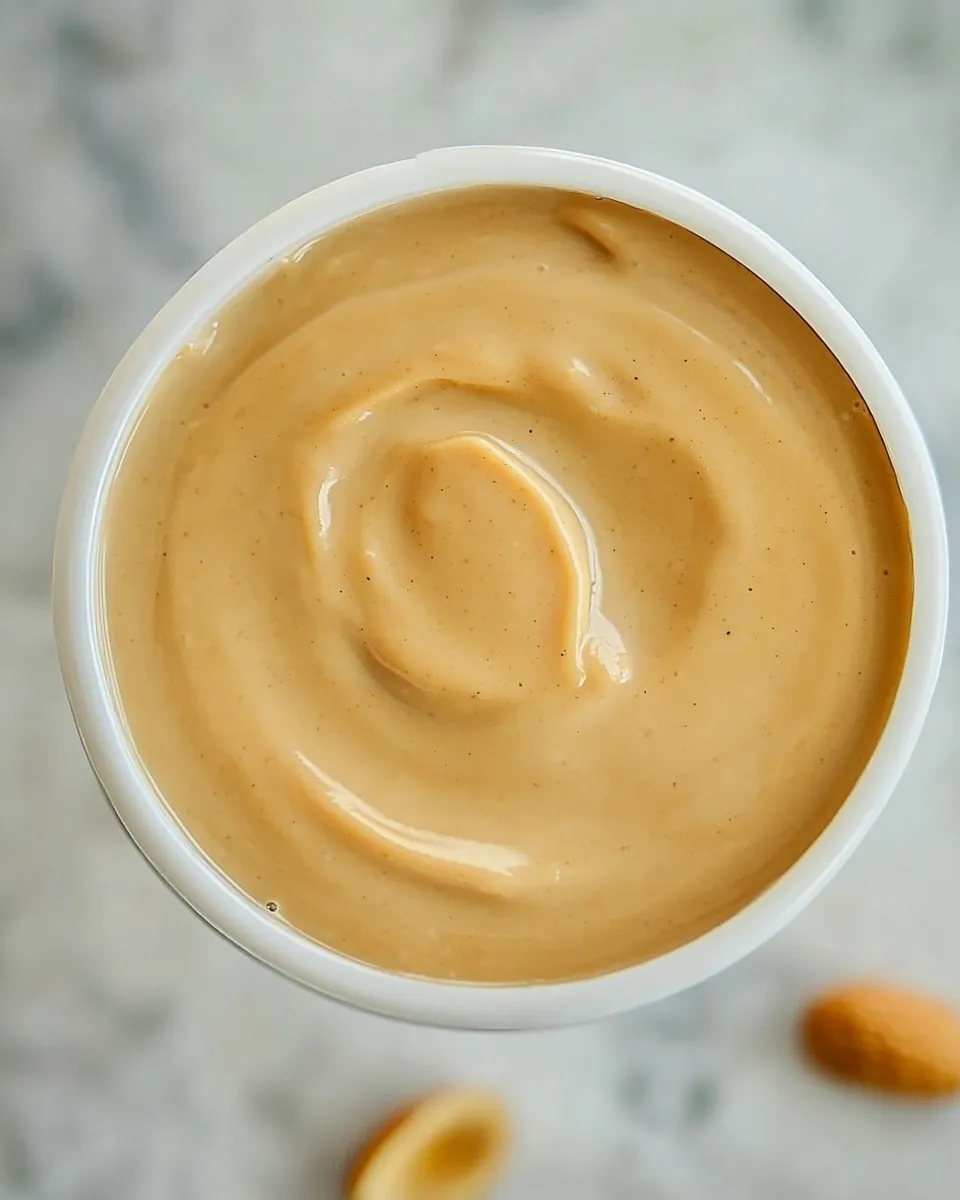
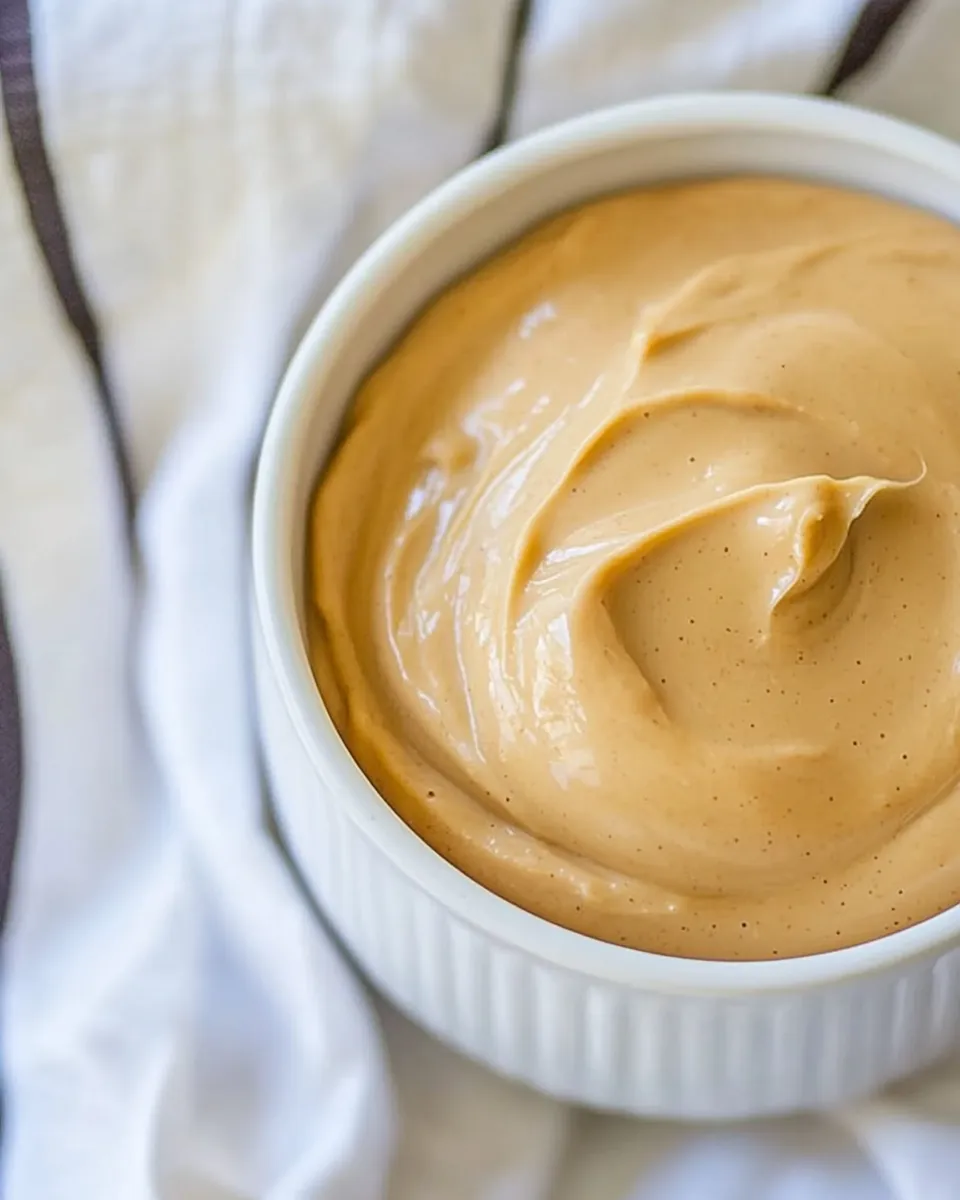
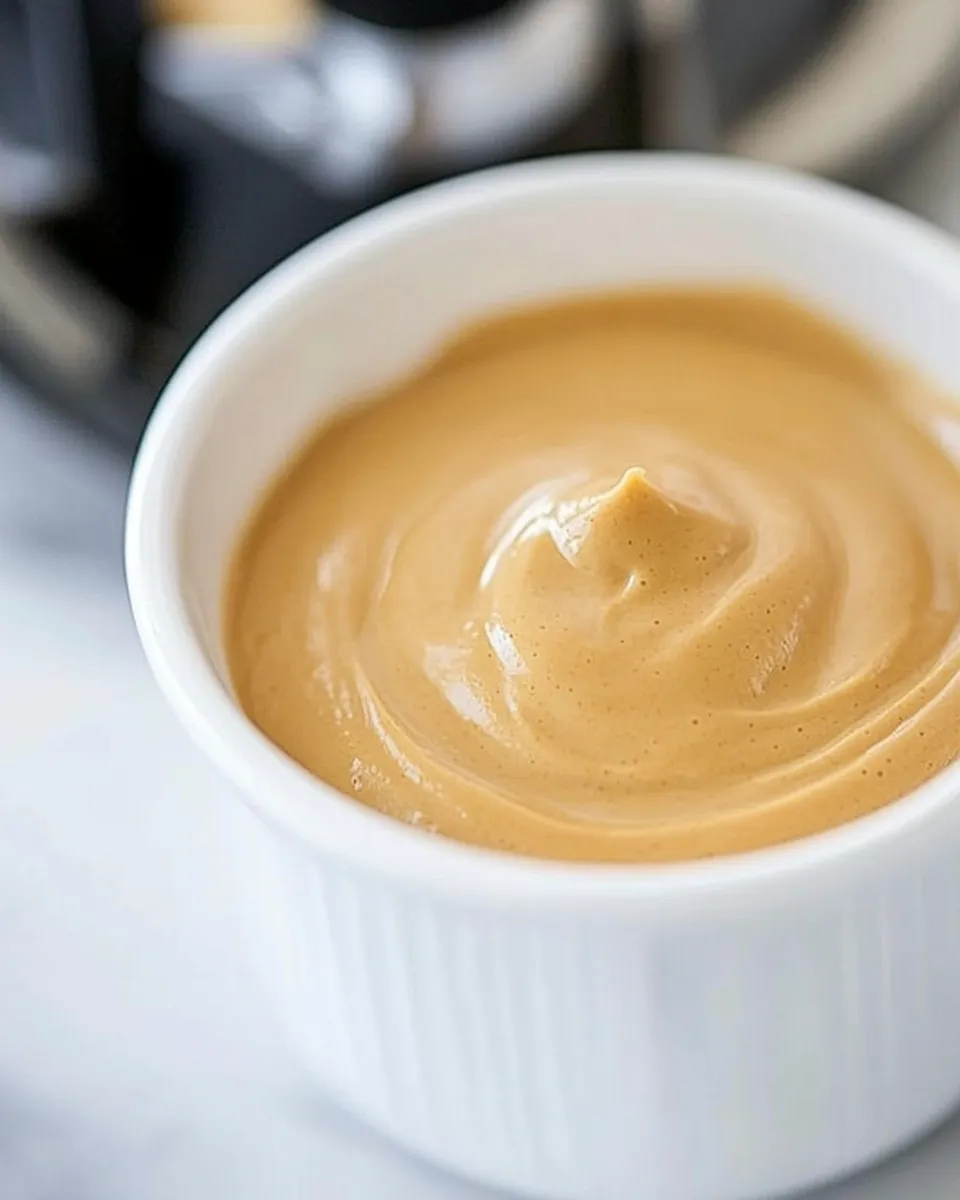
At its core this peanut butter is just roasted, unsalted peanuts and a touch of salt to taste. Starting unsalted gives you flexibility: you can keep it truly low sodium, bring it close to store-bought saltiness, or somewhere in between. The roasted peanuts provide the flavor and natural oils needed to reach that creamy consistency without added oils or stabilizers.
Texture-wise you will see three stages: crushed bits, a thick paste, then finally a smooth, glossy butter. The transformation happens entirely in the food processor. Patience and periodic scraping make the difference between gritty and velvety.
Ingredients
- 16 ounces roasted unsalted peanuts (not dry roasted) — the main ingredient; roasted unsalted gives full peanut flavor and lets you control salt.
- 1/4-1/2 teaspoons salt or to taste — start low and add more after tasting; salt rounds out the flavor and brightens sweetness.
Homemade Peanut Butter: Step-by-Step Guide
- Measure 16 ounces roasted unsalted peanuts (not dry-roasted) and let them come to room temperature if chilled.
- Place the peanuts in a food processor fitted with the standard blade. Pulse several times to break the peanuts up, then run the processor continuously for about 3–5 minutes, stopping occasionally to scrape down the bowl with a spatula. Continue until the peanuts reach a smooth, creamy consistency.
- Add salt: start with 1/4 teaspoon, process for 30–60 seconds to incorporate, then taste. If desired, add up to a total of 1/2 teaspoon and process again until evenly mixed.
- Transfer the peanut butter to a 16-ounce jar, seal with a lid, and refrigerate immediately.
What Makes This Recipe Special
This recipe’s strength is its simplicity. It relies on one well-chosen ingredient and a short, controlled technique to deliver consistent results. Because the peanuts are roasted and unsalted, the flavor is clean and pronounced; you’re tasting peanuts, not stabilizers or excess sugar. The short processing time—3 to 5 minutes—is long enough for the natural oils to release and emulsify but short enough that you aren’t heating the butter or overworking it.
Another advantage is control. You decide the salt level and the texture. Want it chunkier? Stop earlier and fold in a few chopped peanuts. Want it smoother? keep processing in short bursts and use the scraper. The method avoids added oils, which means the final product is straightforward and purer than many commercial jars.
Allergy-Friendly Substitutes
- Sunflower seed butter — for a nut-free alternative, roasted sunflower seeds can be processed the same way; start unsalted to control sodium.
- Roasted soy nuts — if soy is tolerated, roasted soy nuts yield a similar texture and toasty flavor when processed.
- Almonds or cashews — use roasted unsalted versions and follow the same method; note almonds may take a touch longer to reach creamy due to firmer structure.
- Seed blends — combine seeds (pumpkin, sunflower) for variety if avoiding tree nuts and peanuts; roast if necessary for flavor.
What You’ll Need (Gear)
- Food processor with a standard S-shaped blade — essential for turning nuts into butter; a high-power model shortens processing time.
- Spatula — for scraping down the bowl so everything processes evenly and you avoid dry pockets.
- Kitchen scale or measuring cup — to measure 16 ounces of peanuts accurately.
- 16-ounce jar with lid — the recipe transfers directly into a jar of this size for convenient storage and portion control.
- Optional: small bowl for tasting and additional measuring spoons for salt.
Frequent Missteps to Avoid
Don’t rush the processing. Early on, the mixture will look crumbly and coarse; that’s normal. It can be tempting to add oil to speed things up, but with roasted peanuts you shouldn’t need it. If you do add oil, you change the character and stability of the butter.
Avoid overfilling the food processor. Crowding can lead to uneven processing and a longer time to reach smoothness. If your processor is small, work in two batches or reduce the peanut amount slightly.
Watch salt carefully. Start with 1/4 teaspoon as the recipe suggests and taste. It’s easier to add than remove. If you accidentally oversalt, mixing in a few more peanuts and processing again can help rebalance the flavor.
Spring–Summer–Fall–Winter Ideas
Spring: Use the jar to make quick dressings with lemon, a little soy sauce, and water for a bright peanut dressing over crisp salads or grilled asparagus. The fresh roast flavor lifts spring greens.
Summer: Stir a spoonful into yogurt and layer with berries for a cool snack, or use the peanut butter in cold noodle salads with crisp vegetables and a splash of lime.
Fall: Peanut butter adds warmth and comfort to baking—thumbprint cookies, muffins, or swirled into pumpkin loaf batter. Its nutty depth plays well with cinnamon and nutmeg.
Winter: Make simple, soothing peanut butter hot chocolate by whisking a spoonful into warmed milk and a little cocoa, or spread thickly on toast alongside jam for winter breakfasts.
If You’re Curious
Why roasted unsalted peanuts? Roasting develops the nutty flavor. Unsalted means you can dial in the sodium level at the end, and it prevents the peanut butter from becoming too salty for use in both sweet and savory applications.
Oil separation: Without stabilizers, natural peanut butter can separate slightly over time. Since this recipe uses only peanuts and a pinch of salt, the oils are part of the finished product. Stir before use if separation occurs. Refrigeration minimizes separation and slows rancidity.
Crunchy option: If you want crunchy peanut butter, reserve 2–4 tablespoons of the peanuts, coarsely chop them, and fold them into the finished smooth butter. That keeps the processing time short while giving you texture.
Make-Ahead & Storage
Transfer the finished peanut butter to a clean 16-ounce jar, seal with a lid, and refrigerate immediately, as the instructions say. Refrigeration keeps the peanut butter fresh and slows any oil separation. Stored in the fridge, it will keep well for several weeks; for best flavor, consume within 4–6 weeks. Always use a clean spoon to avoid introducing contaminants that could shorten shelf life.
If you prefer room-temperature spreading, let a refrigerated jar sit out for 10–20 minutes before using, or scoop what you need and return the jar to the fridge promptly.
Quick Questions
- Can I use salted peanuts? Yes, but start with less added salt or skip it entirely; salted peanuts limit how much additional salt you can add afterward.
- How smooth will it get? Expect a creamy result within the 3–5 minute processing window stated. Processing time varies by processor power; stop once the texture is to your liking.
- Do I need to add oil? No. Roasted peanuts release their own oils and will become creamy without added oil. Adding oil changes texture and storage characteristics.
- Can I make a larger batch? Yes, but process in batches that your food processor can handle comfortably to ensure even results.
Save & Share
If this recipe helps you make a faster, better jar of peanut butter, save the page and bookmark the method. It’s a foundational recipe: once you’re comfortable with the timing and salt level, you can riff with textures and small additions on your own terms. Share a photo with a short note about how you like yours—smooth, slightly salted, or with a bit of crunch—and pass on the simple confidence that you can make excellent peanut butter at home anytime.

The Best and Easiest Homemade Peanut Butter
Ingredients
Ingredients
- 16 ouncesroastedunsalted peanuts not dry roasted
- 1/4-1/2 teaspoonsaltor to taste
Instructions
Instructions
- Measure 16 ounces roasted unsalted peanuts (not dry-roasted) and let them come to room temperature if chilled.
- Place the peanuts in a food processor fitted with the standard blade. Pulse several times to break the peanuts up, then run the processor continuously for about 3–5 minutes, stopping occasionally to scrape down the bowl with a spatula. Continue until the peanuts reach a smooth, creamy consistency.
- Add salt: start with 1/4 teaspoon, process for 30–60 seconds to incorporate, then taste. If desired, add up to a total of 1/2 teaspoon and process again until evenly mixed.
- Transfer the peanut butter to a 16-ounce jar, seal with a lid, and refrigerate immediately.
Equipment
- Food Processor
- Spatula
- jar