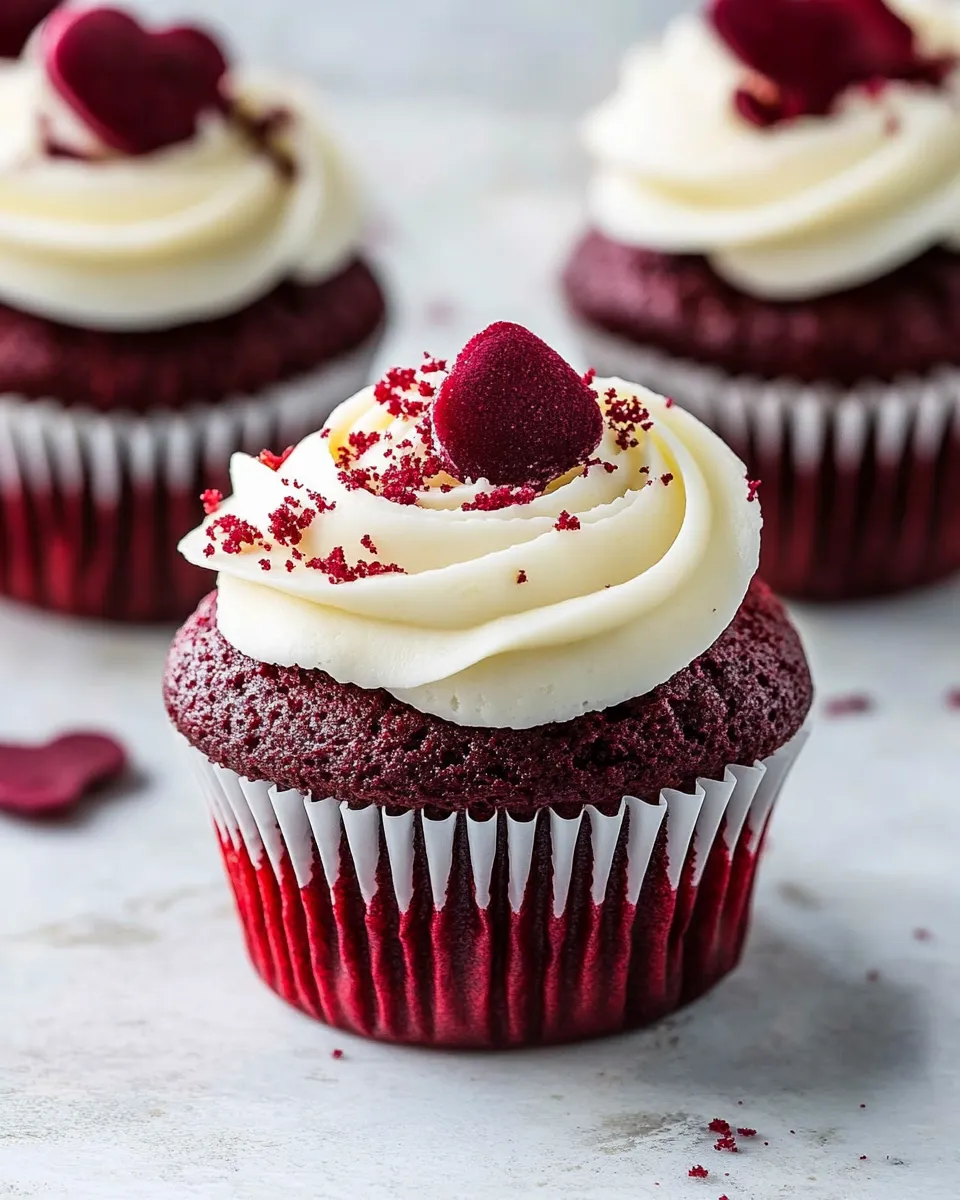
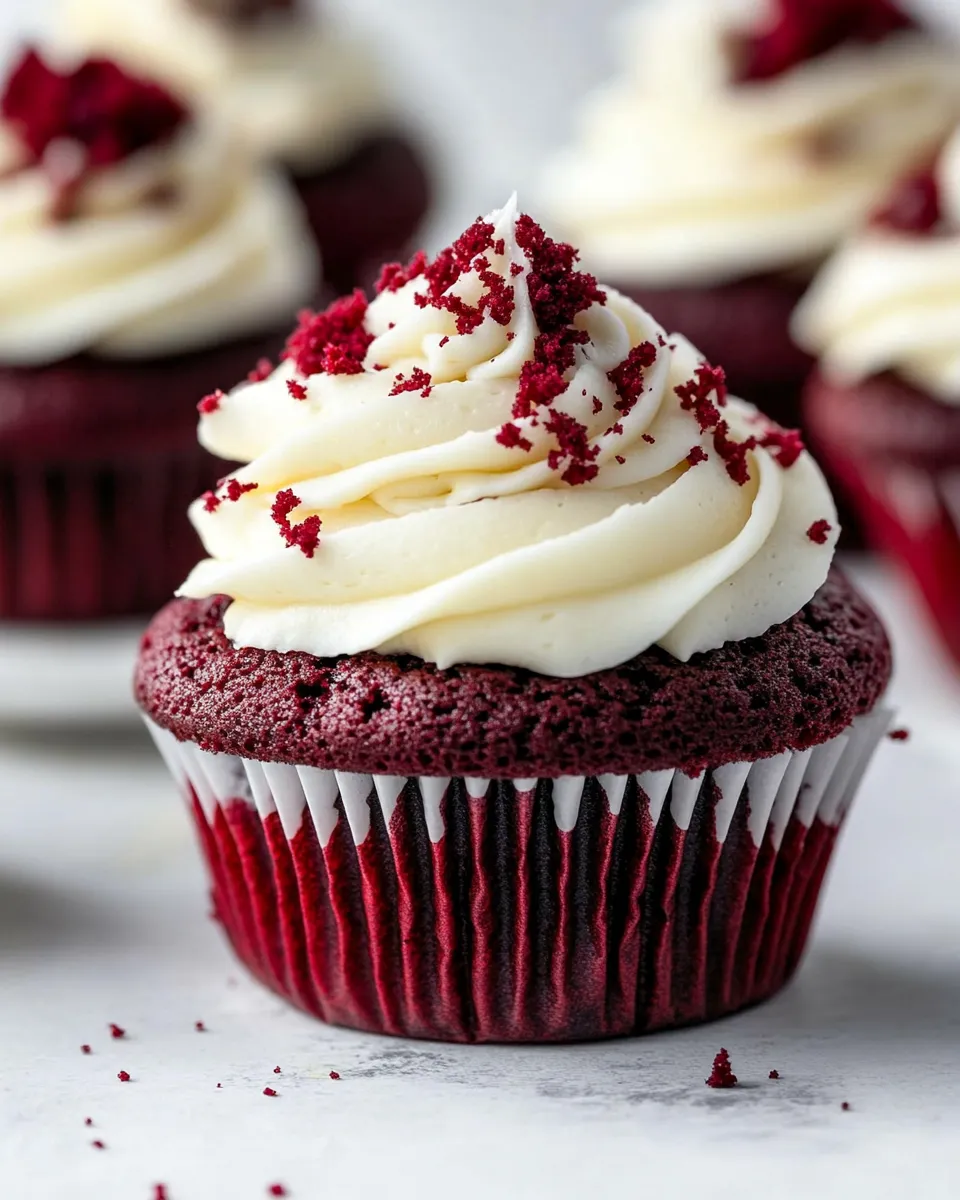
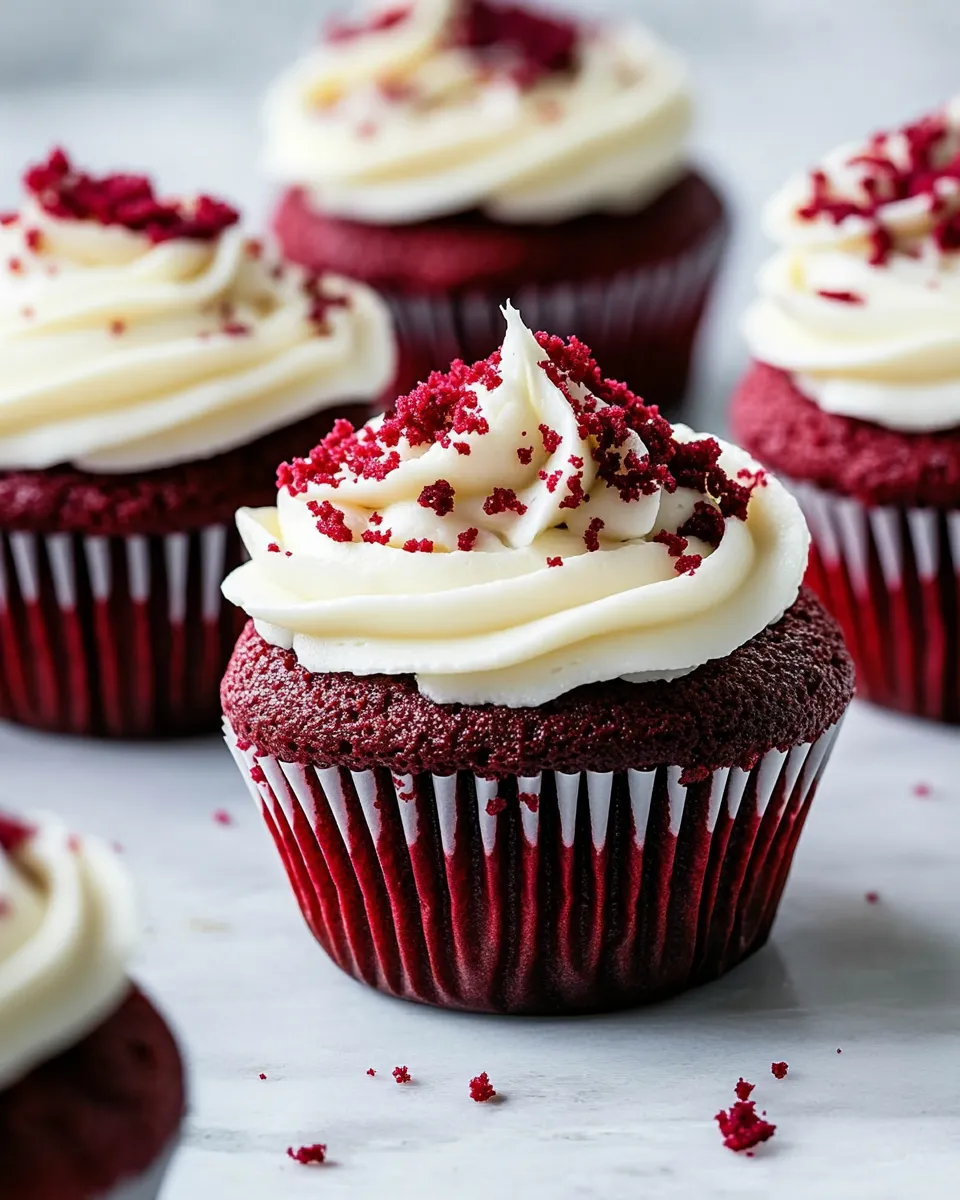
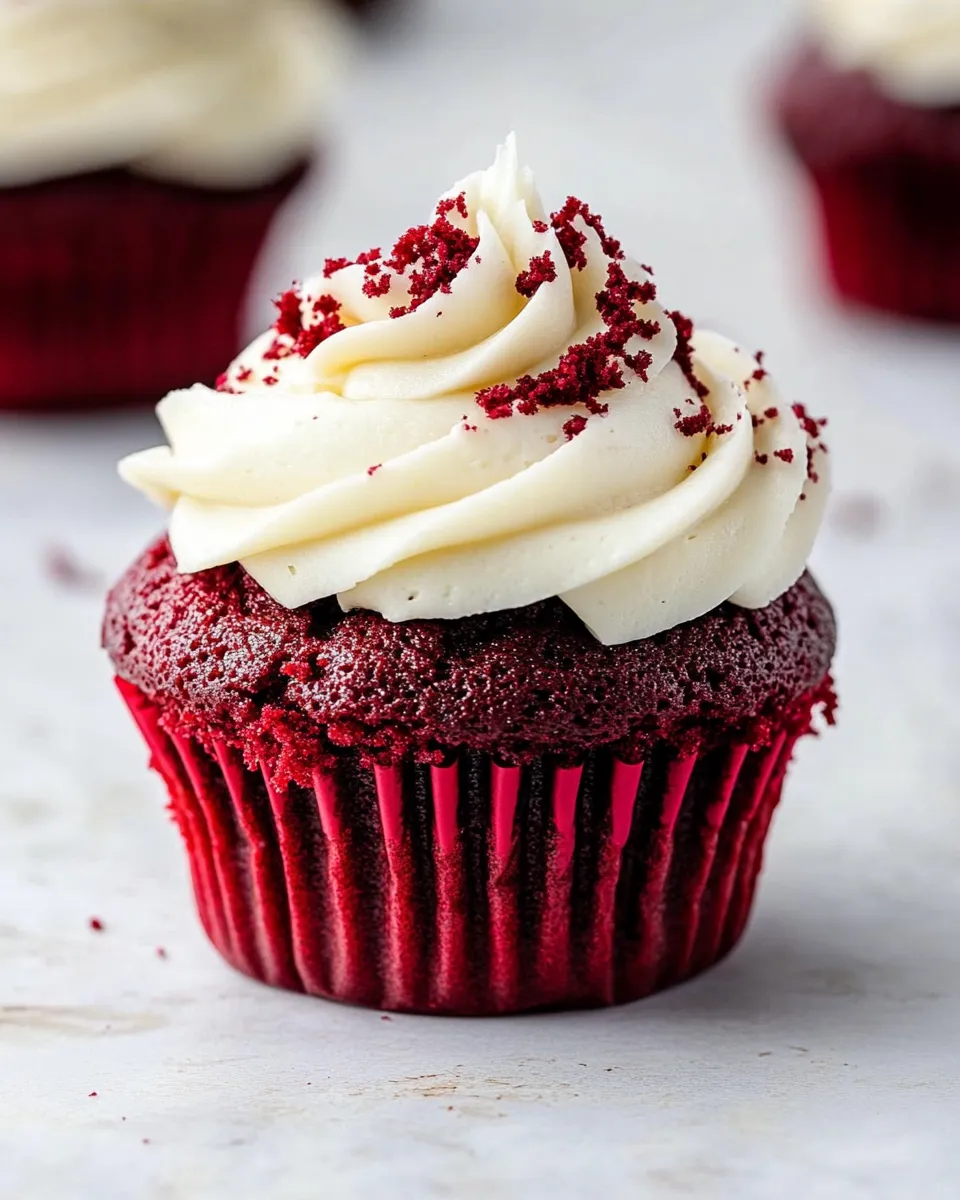
Red velvet cupcakes are one of those desserts that feel celebratory without being fussy. They’re tender, slightly tangy, and the color draws people in. The cream cheese frosting keeps them balanced — not too sweet, just enough tang to make every bite sing.
This recipe is compact and reliable. I test it when I need consistent results for a party, and it delivers every single time: even crumb, bright color, and frosting that holds its shape if you want to pipe. I’ll walk you through the exact ingredients, the step-by-step bake, common mistakes to avoid, and options for special diets.
Follow the instructions in order and you’ll have a dozen cupcakes ready to frost and serve. I keep practical tips throughout so you don’t waste time or second-guess your oven. Let’s get into it.
What You’ll Gather
Gather the ingredients and tools before you start. Measure carefully, bring refrigerated items to room temperature where noted, and preheat the oven just before you mix the batter. Below are the ingredients used in this recipe with a quick note about each one.
Ingredients
- 1 1/4 cup all-purpose flour — Provides structure; don’t overmeasure by packing the cup.
- 3/4 teaspoon baking soda — Gives lift and reacts with acidic ingredients.
- 1/2 teaspoon baking powder — Adds a little extra rise and lightness.
- 2 tablespoons Unsweetened cocoa powder — Classic red velvet flavor base; use unsweetened.
- 3/4 cup granulated sugar — Sweetens the cake and helps with moisture.
- 1/4 teaspoon salt — Balances flavor; don’t skip.
- 3/4 cup buttermilk room temperature — Adds tang and reacts with baking soda for tenderness.
- 1/2 cup vegetable oil — Keeps cupcakes moist; neutral-flavored oil works best.
- 1 large egg room temperature — Binds and adds richness; room temperature gives better emulsification.
- 1/2 teaspoon white vinegar — Enhances lift and the classic velvet tang.
- 1 teaspoon vanilla extract — Rounds flavors.
- 1 tablespoon liquid red food coloring — Gives the signature red color. Use liquid red as specified.
- 1/2 cup unsalted butter room temperature — For the frosting base; room temperature ensures a smooth whip.
- 4 Ounces cream cheese room temperature — The other frosting base; full-fat gives best texture and flavor.
- 1 pinch salt — Brings out the frosting flavor.
- 1 teaspoon vanilla extract — Flavor for the frosting.
- 2 1/4 cup powdered sugar — Sweetens and thickens the frosting; add gradually.
- 1/2 tablespoon Milk plus more if needed — Adjusts frosting consistency; add a bit at a time.
Build (Red Velvet Cupcakes with Cream Cheese Frosting) Step by Step
- Preheat the oven to 350°F. Prepare a 12-cup muffin pan by spraying it with pan spray and lining each cup with a cupcake liner; set the pan aside.
- In a medium bowl, sift together 1 1/4 cups all-purpose flour, 2 tablespoons unsweetened cocoa powder, 3/4 teaspoon baking soda, and 1/2 teaspoon baking powder. Add 3/4 cup granulated sugar and 1/4 teaspoon salt to the sifted dry ingredients and whisk until evenly combined; set aside.
- In a large bowl, whisk together 3/4 cup buttermilk (room temperature), 1/2 cup vegetable oil, 1 large egg (room temperature), 1/2 teaspoon white vinegar, 1 teaspoon vanilla extract, and 1 tablespoon liquid red food coloring until smooth and uniformly colored.
- Pour the dry mixture into the wet ingredients. Whisk gently just until the batter is smooth and no dry streaks remain—do not overmix.
- Using an ice cream scoop or spoon, divide the batter among the prepared liners, filling each about 2/3 full.
- Bake in the preheated oven for 18–20 minutes, or until the cupcake tops are set and spring back lightly when touched (a toothpick inserted in the center should come out with a few moist crumbs, not wet batter).
- Remove the pan from the oven and let the cupcakes cool in the pan for 5–10 minutes. Then transfer the cupcakes to a wire rack and let them cool completely before frosting.
- While the cupcakes cool, make the cream cheese frosting: In a large bowl, beat 1/2 cup unsalted butter and 4 ounces cream cheese (both at room temperature) until smooth and fully combined.
- Add 1 pinch salt and 1 teaspoon vanilla extract to the butter–cream cheese mixture and beat until incorporated.
- Gradually add 2 1/4 cups powdered sugar to the bowl, about 1 cup at a time (then the remaining amount), beating well after each addition until smooth and fully incorporated.
- Add 1/2 tablespoon milk and beat to combine. If the frosting is too thick for your desired use, add additional milk a small amount at a time until you reach the preferred consistency. If you plan to pipe the frosting, keep it thick enough to hold its shape.
- Frost the cooled cupcakes using a spatula or a piping bag. Store frosted cupcakes in the refrigerator if not serving immediately; bring to room temperature before serving if desired.
Why This Recipe Is Reliable
This recipe combines predictable chemistry with straightforward technique. The combination of baking soda and buttermilk gives dependable rise and tenderness. Adding oil (instead of all butter in the batter) keeps cupcakes moist for a longer window after baking. Measuring the flour properly and not overmixing are the two most important steps for consistent texture.
The frosting ratio—half a cup of butter to four ounces of cream cheese and 2 1/4 cups powdered sugar—balances sweetness and tang while remaining pipeable if you stop at the suggested milk amount. The order of mixing matters: cream the butter and cream cheese first, then bring in sugar gradually to avoid a gritty frosting.
Low-Carb/Keto Alternatives
If you need a low-carb or keto-friendly version, the structure of these cupcakes means substitutions will change texture noticeably. A few practical options:
- Replace the flour with a lower-carb blend designed for baking, but keep in mind the batter will be denser; reduce added liquid only if the batter looks excessively loose.
- Swap granulated sugar and powdered sugar for a powdered low-carb sweetener that measures cup-for-cup. Powdered sweetener helps the frosting texture match the original more closely.
- Use a higher-fat dairy for moisture and flavor if needed; taste and adjust sweetness carefully.
These swaps require small test batches to dial in texture and flavor. If you pursue a keto version, expect a different crumb and possibly a shorter rise time in the oven.
What’s in the Gear List
- 12-cup muffin pan — For consistent cupcake size and even baking.
- Cupcake liners — Easier release and cleaner presentation.
- Mixing bowls — At least one medium and one large.
- Sifter or fine mesh sieve — For the flour and cocoa, which prevents lumps.
- Whisk and spatula — A whisk for dry and wet mixing; spatula to fold and transfer batter.
- Electric mixer or stand mixer — Recommended for frosting to get smooth texture quickly.
- Wire rack — Essential for cooling completely before frosting.
- Ice cream scoop or spoon — For portioning batter evenly into liners.
Avoid These Mistakes
Common errors and how to prevent them
- Overmixing the batter — Stops tenderness. Whisk only until dry streaks disappear.
- Using cold butter or cream cheese for frosting — Results in lumps. Let them sit at room temperature until soft to the touch.
- Filling liners unevenly — Use an ice cream scoop for consistent cupcakes and even bake times.
- Not cooling cupcakes completely before frosting — Warm cupcakes will cause the frosting to slide or melt.
- Adding all powdered sugar at once — Frosting can become gritty or overly stiff. Add sugar gradually and beat between additions.
Holiday-Friendly Variations
Small changes make these cupcakes seasonal without changing the base recipe:
- For Valentine’s Day, pipe rosette swirls and add a small sprinkle of freeze-dried raspberries or heart-shaped sprinkles.
- For Christmas, keep the red color and add a touch of orange zest to the frosting for a bright, festive lift; top with crushed peppermint if you like a minty contrast.
- For a simple birthday option, tint part of the frosting with a drop of red or pink gel color to make two-toned swirls.
These are finishing touches only — the cake and frosting amounts remain the same. Avoid adding moisture-heavy toppings if you plan to store cupcakes for a day or two.
Cook’s Commentary
I rely on this recipe when I need cupcakes that travel well and hold up under bright party lights. The texture is intentionally tender, not cakey. If you prefer a denser crumb, reduce the buttermilk by a tablespoon or so. If your red color is a little shy, a small extra splash of liquid red food coloring will deepen it; color intensity varies by brand.
When piping the frosting, chill it briefly if it becomes too soft from mixing. If the frosting tightens up after refrigeration, let it sit at room temperature for 10–15 minutes and re-whip briefly to restore spreadability.
Keep-It-Fresh Plan
Store unfrosted cupcakes in an airtight container at room temperature for a day. For longer storage, freeze unfrosted cupcakes in a single layer on a tray, then transfer to a freezer-safe container for up to 2 months. Thaw in the refrigerator overnight, then bring to room temperature before frosting.
Frosted cupcakes should be refrigerated if not eaten the same day because of the cream cheese frosting. Keep them in an airtight container in the fridge for up to 3 days. Remove cupcakes from the fridge 20–30 minutes before serving so the frosting softens and the flavor opens up.
Questions People Ask
Can I make the cupcakes without food coloring?
Yes, but they will be more of a cocoa-tinted cake than classic red velvet. The flavor will still be red velvet style due to the cocoa and vinegar, but the visual cue will be different.
Why use oil instead of butter in the batter?
Vegetable oil keeps cupcakes moister for longer than butter does because it remains liquid at room temperature. If you prefer butter flavor, you can swap half of the oil for melted butter, but expect a slightly firmer crumb.
Why does the recipe call for both baking soda and baking powder?
Baking soda reacts with buttermilk and vinegar for lift and to help achieve the tender crumb. A small amount of baking powder adds extra lift and lightness so the cupcakes aren’t too dense.
In Closing
This Red Velvet Cupcakes with Cream Cheese Frosting recipe is about consistent technique and dependable flavor. Follow the ingredient list and step-by-step directions exactly for the best results, keep an eye on mixing, and cool completely before frosting. The reward is a dozen reliably tender cupcakes that look beautiful and taste like celebration.
Make them for a party or a quiet Tuesday—either way, they’re simple to execute and nearly impossible not to enjoy.

The BEST Red Velvet Cupcakes with Cream Cheese Frosting
Ingredients
Ingredients
- 1 1/4 cupall-purpose flour
- 3/4 teaspoonbaking soda
- 1/2 teaspoonbaking powder
- 2 tablespoonsUnsweetened cocoa powder
- 3/4 cupgranulated sugar
- 1/4 teaspoonsalt
- 3/4 cupbuttermilkroom temperature
- 1/2 cupvegetable oil
- 1 large eggroom temperature
- 1/2 teaspoonwhite vinegar
- 1 teaspoonvanilla extract
- 1 tablespoonliquid red food coloring
- 1/2 cupunsalted butterroom temperature
- 4 Ouncescream cheeseroom temperature
- 1 pinchsalt
- 1 teaspoonvanilla extract
- 2 1/4 cuppowdered sugar
- 1/2 tablespoonMilkplus more if needed
Instructions
Instructions
- Preheat the oven to 350°F. Prepare a 12-cup muffin pan by spraying it with pan spray and lining each cup with a cupcake liner; set the pan aside.
- In a medium bowl, sift together 1 1/4 cups all-purpose flour, 2 tablespoons unsweetened cocoa powder, 3/4 teaspoon baking soda, and 1/2 teaspoon baking powder. Add 3/4 cup granulated sugar and 1/4 teaspoon salt to the sifted dry ingredients and whisk until evenly combined; set aside.
- In a large bowl, whisk together 3/4 cup buttermilk (room temperature), 1/2 cup vegetable oil, 1 large egg (room temperature), 1/2 teaspoon white vinegar, 1 teaspoon vanilla extract, and 1 tablespoon liquid red food coloring until smooth and uniformly colored.
- Pour the dry mixture into the wet ingredients. Whisk gently just until the batter is smooth and no dry streaks remain—do not overmix.
- Using an ice cream scoop or spoon, divide the batter among the prepared liners, filling each about 2/3 full.
- Bake in the preheated oven for 18–20 minutes, or until the cupcake tops are set and spring back lightly when touched (a toothpick inserted in the center should come out with a few moist crumbs, not wet batter).
- Remove the pan from the oven and let the cupcakes cool in the pan for 5–10 minutes. Then transfer the cupcakes to a wire rack and let them cool completely before frosting.
- While the cupcakes cool, make the cream cheese frosting: In a large bowl, beat 1/2 cup unsalted butter and 4 ounces cream cheese (both at room temperature) until smooth and fully combined.
- Add 1 pinch salt and 1 teaspoon vanilla extract to the butter–cream cheese mixture and beat until incorporated.
- Gradually add 2 1/4 cups powdered sugar to the bowl, about 1 cup at a time (then the remaining amount), beating well after each addition until smooth and fully incorporated.
- Add 1/2 tablespoon milk and beat to combine. If the frosting is too thick for your desired use, add additional milk a small amount at a time until you reach the preferred consistency. If you plan to pipe the frosting, keep it thick enough to hold its shape.
- Frost the cooled cupcakes using a spatula or a piping bag. Store frosted cupcakes in the refrigerator if not serving immediately; bring to room temperature before serving if desired.
Equipment
- 12-cup muffin pan
- Cupcake liners
- Mixing bowls
- Sifter
- Whisk
- Electric mixer or hand mixer
- ice cream scoop or spoon
- Wire Rack
- Spatula
- piping bag (optional)
Notes
Updated on January 27, 2023
Originally Posted on February 3, 2017