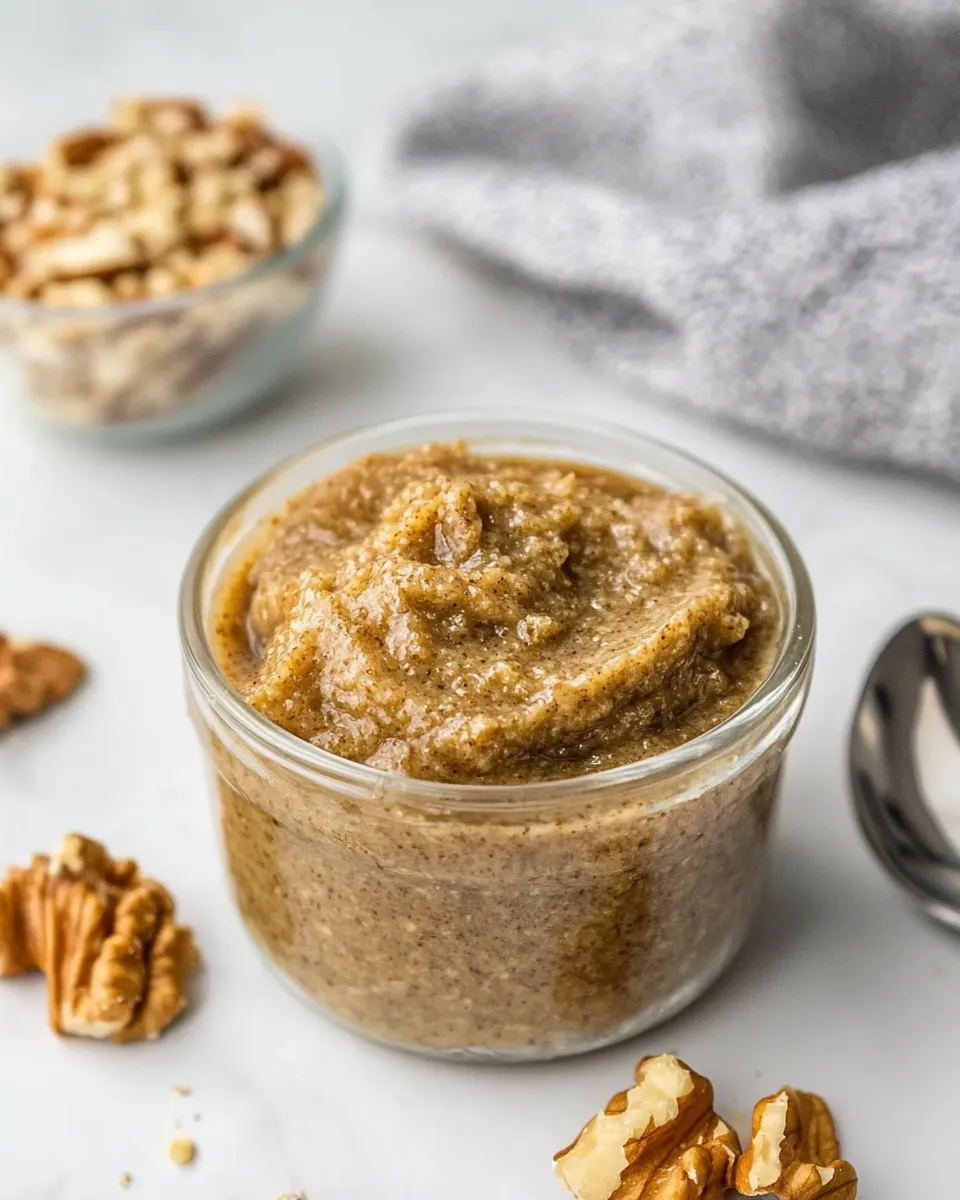
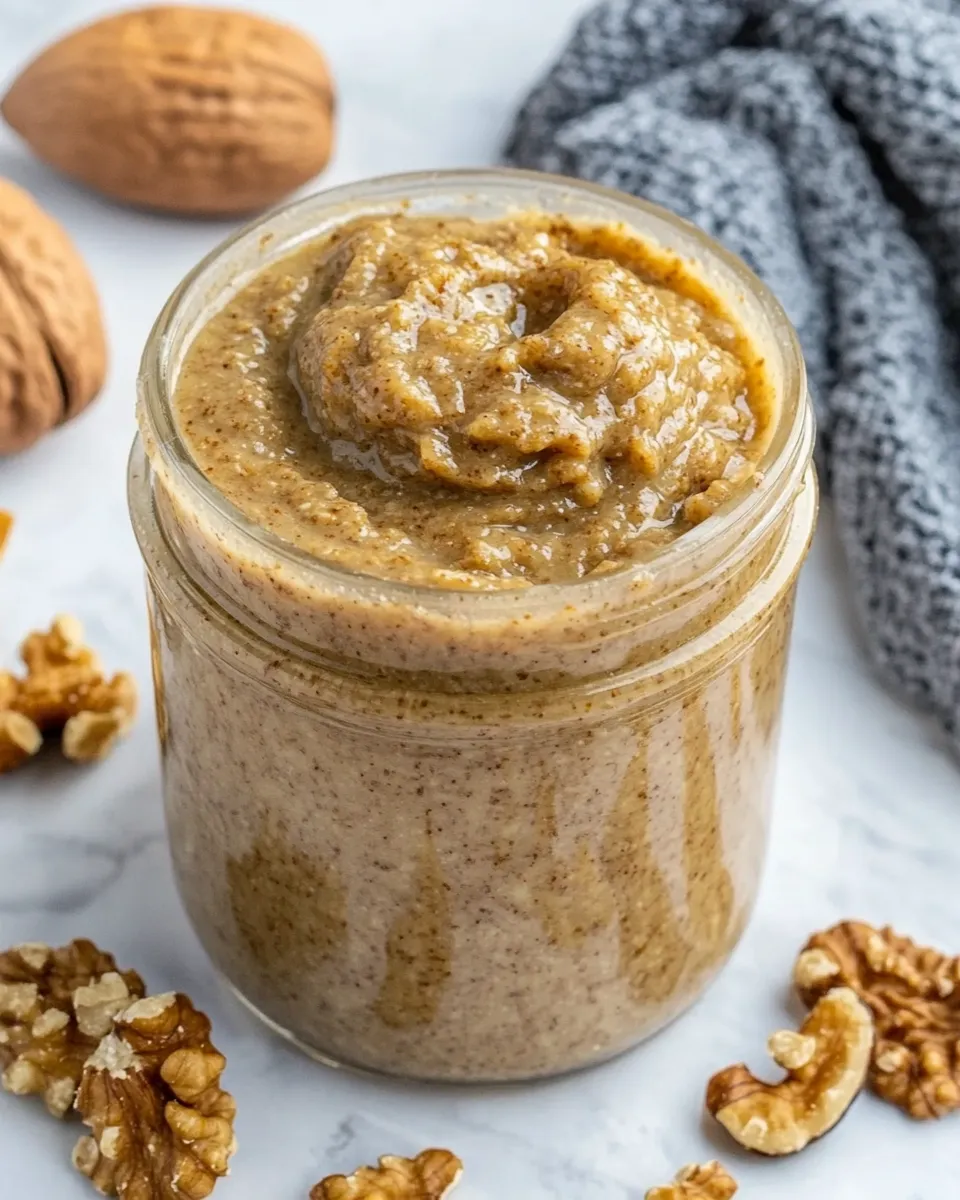
I make walnut butter almost every week. It’s quick, forgiving, and the kind of pantry staple that quietly upgrades breakfasts, snacks, and baking. There’s a satisfying rhythm to it: toast if you like, buzz in the processor, scrape, taste, and jar. You end up with something rich, slightly sweet, and deeply toasty that feels indulgent but is simply nuts and a little maple syrup.
You’ll appreciate how few moving parts this recipe has. No complicated ingredients, no long waits. A single food processor does most of the work, and the outcome is entirely in your control — sweeter, saltier, chunkier, or silkier, based on how long you process and how much seasoning you add. I’ll walk you through each step, share practical fixes if something goes sideways, and explain why small choices (toasting, scraping, rest times) matter.
This post is all about useful, honest guidance. I’ll keep the recipe exact and the tips practical so you can make walnut butter that suits your taste and kitchen tools. Let’s get to it.
Ingredients at a Glance
- 2 cups (217 g) walnuts — the base: provides flavor, texture, and natural oils for the butter.
- 1 tablespoon pure maple syrup (see note) — adds a touch of sweetness and helps the texture round out; optional amount for taste.
- ¼ teaspoon salt (to taste, see note) — brings forward the walnut flavor; start light and adjust.
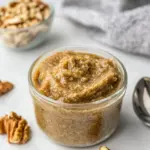
From Start to Finish: Walnut Butter
- (Optional) Toast the walnuts: heat a frying pan over low heat, add the walnuts in a single layer, and cook for a few minutes, stirring almost constantly. When you see small brown spots and/or smell a toasty aroma, remove the pan from the heat and transfer the walnuts to a plate to cool. Make sure they are almost completely cool before proceeding.
- Place the (toasted or raw) walnuts in a food processor. Process for about 1 minute.
- Stop the processor, scrape down the sides, then add 1 tablespoon pure maple syrup and 1/4 teaspoon salt.
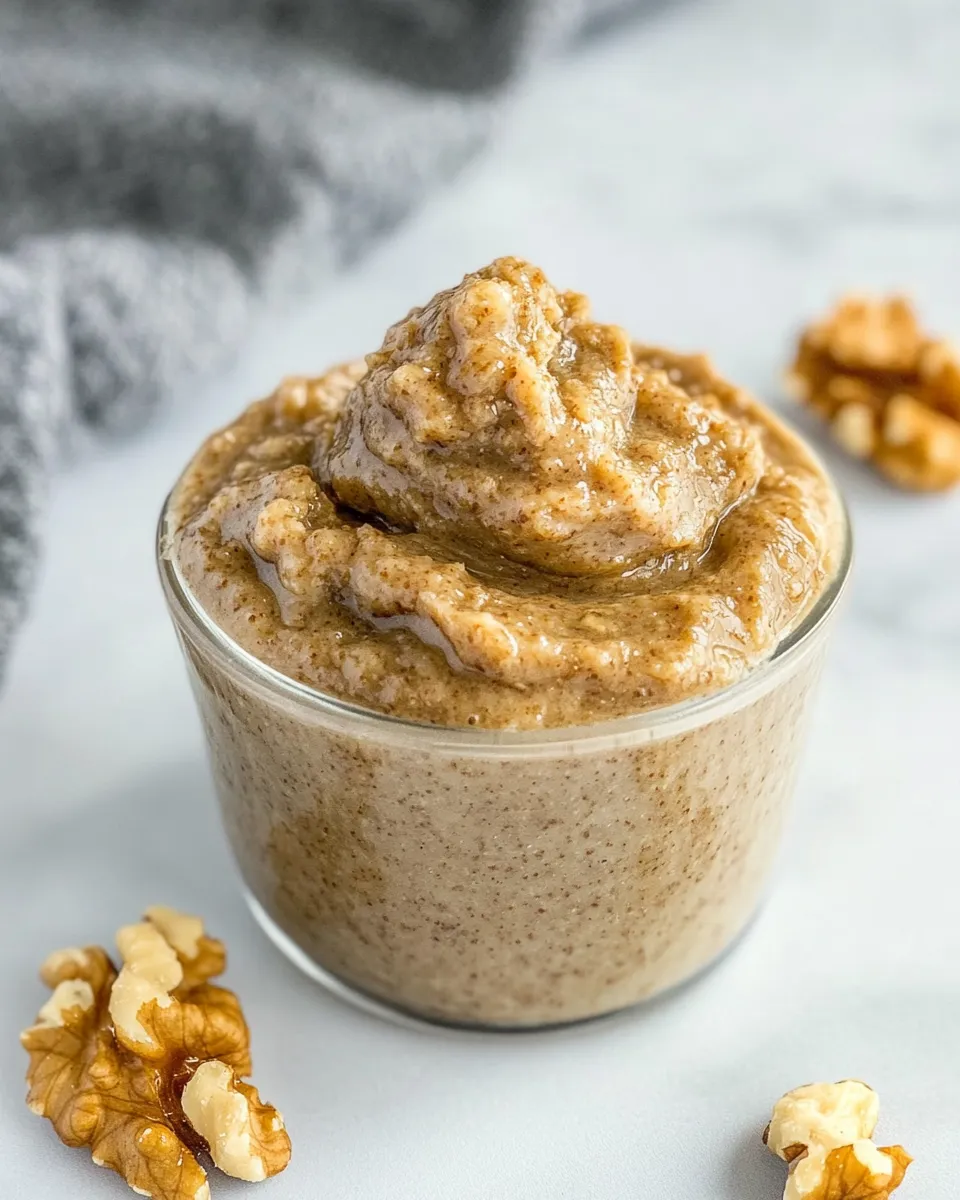
- Process again, stopping occasionally to scrape the sides, until the mixture first becomes thick and pasty and then loosens and becomes smooth as the oils release (this may take a few minutes depending on your processor).
- Taste and, if desired, adjust seasoning by adding more salt or maple syrup a little at a time.
- Transfer the walnut butter to an airtight container and store it in the refrigerator. Makes about 1 cup.
Why You’ll Keep Making It
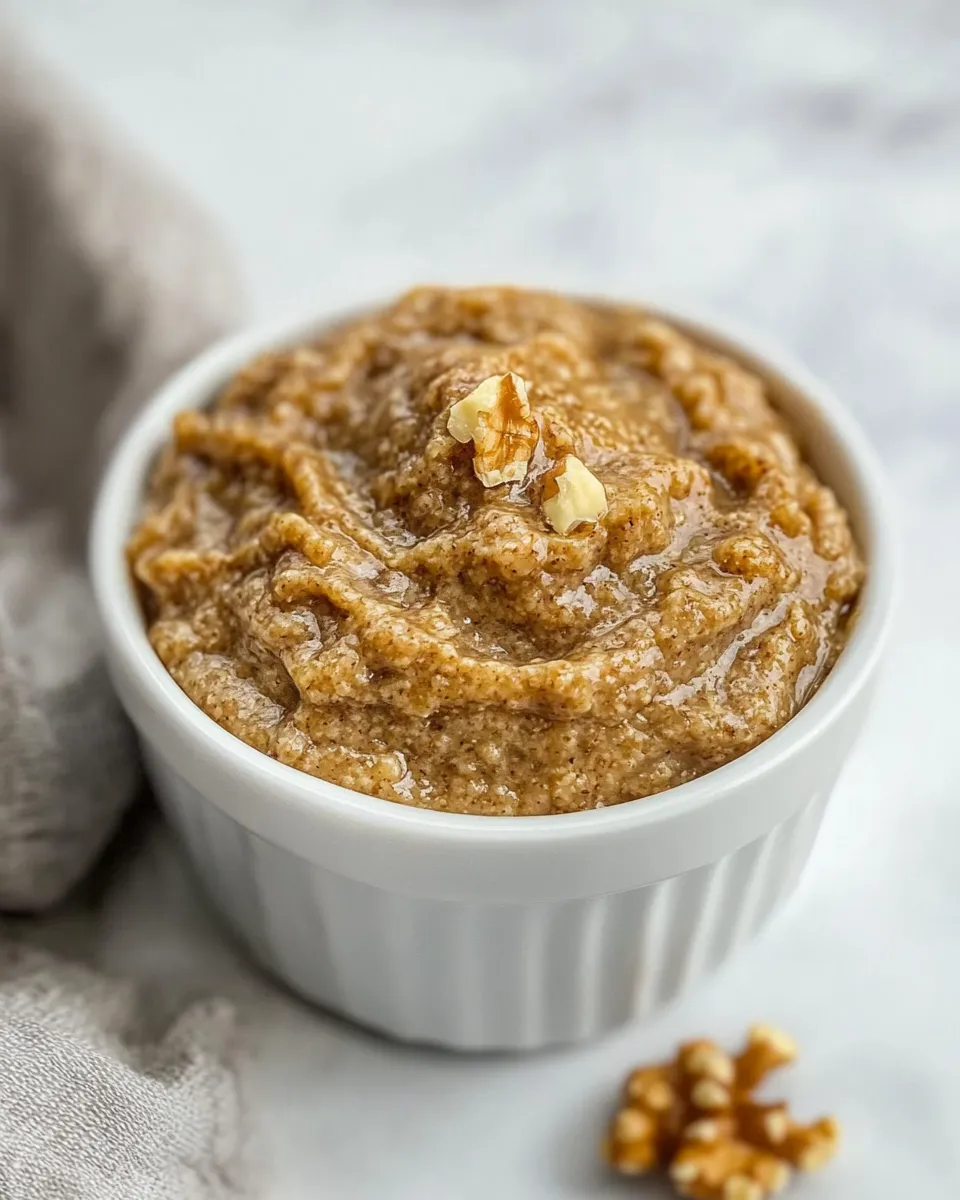
Walnut butter has a deep, slightly bitter edge that sets it apart from more common nut butters. It’s not cloyingly sweet, and the natural walnut oils give it a complex mouthfeel that pairs well with fruit, yogurt, and baked goods. Making it yourself is cheaper than specialty store jars and lets you control sweetness and salt.
It’s flexible. Want it chunkier? Pulse less. Prefer it silky? Process a little longer. Toast the nuts for more aroma or skip that step for a greener, fresher flavor. Little changes yield different results, so it never gets boring.
Finally, it’s useful. A jar in the fridge solves breakfasts, snacks, and last-minute recipes. Spoon it on toast, stir through porridge, dollop on roasted veggies, or use it in dressings and sauces for a nutty backbone.
Substitutions by Category
Keep this simple: the method is the constant; the accoutrements are yours to tweak. Below are substitution ideas framed as categories so you can choose without overthinking.
- Walnut preparation — Use raw or toasted walnuts. Toasting deepens flavor and adds nuttiness; raw walnuts give a fresher, greener note.
- Sweetening — You can omit the maple syrup if you prefer no added sweetness, or add it as written for a mild sweetness that rounds the mouthfeel.
- Salt level — Start with ¼ teaspoon salt and add a pinch more to taste. If you’re avoiding salt, skip it and reassess after tasting.
- Texture — Adjust by processing time: short pulses for chunky, long processing for creamy. The recipe’s technique works for any texture you want.
Cook’s Kit
- Food processor — single most important tool; gives even, controllable texture.
- Frying pan — optional, for toasting walnuts and boosting aroma.
- Spatula — for scraping the bowl clean and getting every last bit into the jar.
- Airtight container — to store the finished walnut butter and keep it fresh in the refrigerator.
Missteps & Fixes
- Processor stalls or struggles — stop, scrape the sides, and give the machine short breaks. A crowded bowl can overheat the motor; work in short bursts and allow rests.
- Butter stays pasty and won’t loosen — continue processing; sometimes it just needs more time for the oils to release. Scrape the sides and press the walnuts toward the blade between runs.
- Too thick or granular — keep processing. If your processor is small or underpowered, do shorter, more frequent runs and scrape often.
- Too dry or crumbly — instead of adding liquid, process longer; the oils in the walnuts will release and moisten the mixture. If you’ve processed for many minutes and it still won’t smooth, check that your walnuts are fresh; stale nuts can be drier.
- Flavor is flat — small adjustments help: a pinch more salt, another drizzle of maple syrup, or a quick taste after further processing. Adjust incrementally.
Make It Diet-Friendly
This walnut butter is naturally gluten-free and vegan as written (2 cups walnuts, 1 tablespoon pure maple syrup, ¼ teaspoon salt). To reduce sugar, omit or cut the maple syrup; the butter will be less sweet but still rich. To lower sodium, either omit the salt or reduce the quantity. Because the recipe relies on whole walnuts, it’s high in healthy fats and protein — portion control is the main consideration for calorie-sensitive diets.
Chef’s Rationale
Two things determine the final product: the walnuts themselves and the processing technique. Toasting releases aromatic oils and creates brown spots that deepen flavor; I include the toasting step as optional because some prefer the raw, grassy undertone. Processing slowly and scraping the bowl prevents overheating and ensures an even release of oils, which is why the method emphasizes stopping and scraping.
The small amount of maple syrup does two jobs: it rounds the taste and slightly helps texture by adding moisture. The ¼ teaspoon salt is intentionally modest; walnuts have subtle bitterness that salt tempers without overwhelming. Those quantities are starting points. The method trusts your palate to nudge them up or down.
Storage & Reheat Guide
Transfer walnut butter to an airtight container and keep it refrigerated. Stored this way it will stay good for several weeks — check smell and taste if you’re unsure. Because the butter contains no added preservatives, refrigeration keeps the oils from turning rancid too quickly. Allow it to sit at room temperature for a few minutes before using if it feels too firm straight from the fridge; stirring will restore consistency.
If separated slightly (a thin layer of oil on top), stir it back in. For a looser texture, let it warm at room temperature for a short while or briefly pulse in the processor to reincorporate oils. Avoid overheating in the microwave; short, gentle warming on the counter yields better texture and flavor.
Quick Q&A
- Do the walnuts need to be toasted? No. Toasting is optional. It intensifies aroma and flavor but raw walnuts make a fresher-tasting butter.
- How long will it keep? Refrigerated in an airtight container, it will keep for several weeks. Use your nose and taste to check for any off flavors.
- Can I use a blender instead of a food processor? A high-powered blender may work, but results vary. Food processors are ideal because they handle thicker pastes and allow for frequent scraping.
- Why is my walnut butter grainy? Often it needs more processing time. Keep pulsing, scrape the sides, and be patient—the oils will release and smooth the texture.
See You at the Table
Walnut butter is one of those small kitchen wins that feels luxurious but takes minutes to make. It’s forgiving, adaptable, and useful in many ways — from morning toast to baking and dressings. Start with the exact measurements here, then personalize to taste: more or less maple, an extra pinch of salt, or a shorter processing time for texture. I hope this becomes a simple staple in your kitchen, the kind you reach for without thinking and never regret.
Happy blending — and when you try it, tell me how you like it: toasted or raw, silky or chunky. I’m always curious how small changes make a big difference on the plate.
Walnut Butter
Ingredients
Ingredients
- 2 cups 217 g walnuts
- 1 tablespoonpure maple syrup see note
- 1/4 teaspoonsalt to taste, see note
Instructions
Instructions
- (Optional) Toast the walnuts: heat a frying pan over low heat, add the walnuts in a single layer, and cook for a few minutes, stirring almost constantly. When you see small brown spots and/or smell a toasty aroma, remove the pan from the heat and transfer the walnuts to a plate to cool. Make sure they are almost completely cool before proceeding.
- Place the (toasted or raw) walnuts in a food processor. Process for about 1 minute.
- Stop the processor, scrape down the sides, then add 1 tablespoon pure maple syrup and 1/4 teaspoon salt.
- Process again, stopping occasionally to scrape the sides, until the mixture first becomes thick and pasty and then loosens and becomes smooth as the oils release (this may take a few minutes depending on your processor).
- Taste and, if desired, adjust seasoning by adding more salt or maple syrup a little at a time.
- Transfer the walnut butter to an airtight container and store it in the refrigerator. Makes about 1 cup.
Equipment
- Food Processor
- Frying Pan
Notes
Same goes for the maple syrup (or honey) – start with 1 tablespoon and add more as desired.
If your nut butter ends up too salty – add a bit more syrup. Same goes vice versa – too sweet? Add a bit more salt.