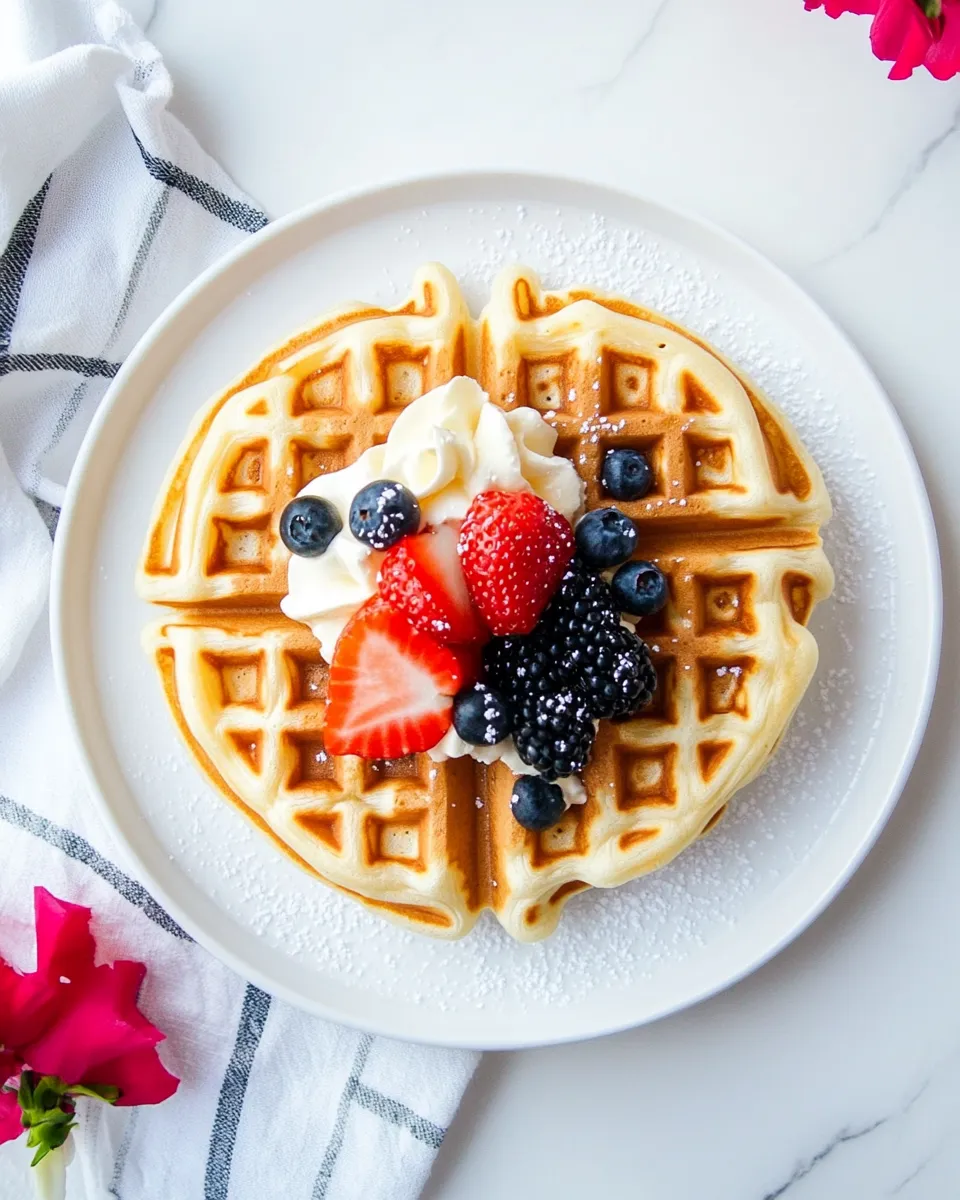
Waffles are one of those breakfasts that feel like a little ceremony. They crisp up golden, steam in the center, and demand attention the moment they hit the plate. This buttermilk waffle recipe is straightforward, forgiving, and fast once your waffle iron is hot. No complicated techniques — just reliable steps that deliver a tender interior and a crisp exterior.
I tested this recipe to find the right balance between lightness and structure. The combination of all-purpose flour and a dash of cornstarch keeps the crumbs tender while still giving the waffle enough strength to hold syrup and toppings. Buttermilk and a small amount of baking soda give lift and that faint tang that makes morning waffles taste like they belong at the table.
Below you’ll find a clear shopping reminder, the exact step-by-step directions to follow (unchanged from the tested source), an ingredients list with quick role notes, and practical tips for troubleshooting, storage, and variations. Read the short notes, follow the steps in order, and you’ll have consistent waffles every time.
What to Buy
Buy the ingredients listed in the Ingredients section below: they’re all you need to make the recipe as written. If you don’t already own one, purchase a reliable waffle iron (see Tools & Equipment Needed). For service, plan your toppings in advance — syrup, butter, or fruit — but those are optional and not required by the recipe.
Buttermilk Waffles: Step-by-Step Guide
- Preheat your waffle iron according to the manufacturer’s instructions; follow the manufacturer’s guidance for temperature and greasing if needed.
- In a bowl, whisk together ¾ cup all-purpose flour, ¼ cup cornstarch, ½ tsp baking soda, 1 tsp baking powder, and 1 tsp kosher salt until evenly combined.
- In a separate bowl, whisk together ¼ cup canola oil, ¾ cup buttermilk, 1 egg, 1 tbsp sugar, and 1 tsp vanilla extract until uniform.
- Pour the dry ingredients into the wet ingredients and gently stir with a spatula or whisk until just combined—no large dry streaks should remain; a few small lumps are fine. Do not overmix.
- Let the batter rest at room temperature for 15 minutes.
- When the waffle iron is ready, add the appropriate amount of batter per the manufacturer’s instructions and cook until the waffle iron indicates the waffles are done or about 2–3 minutes per waffle.
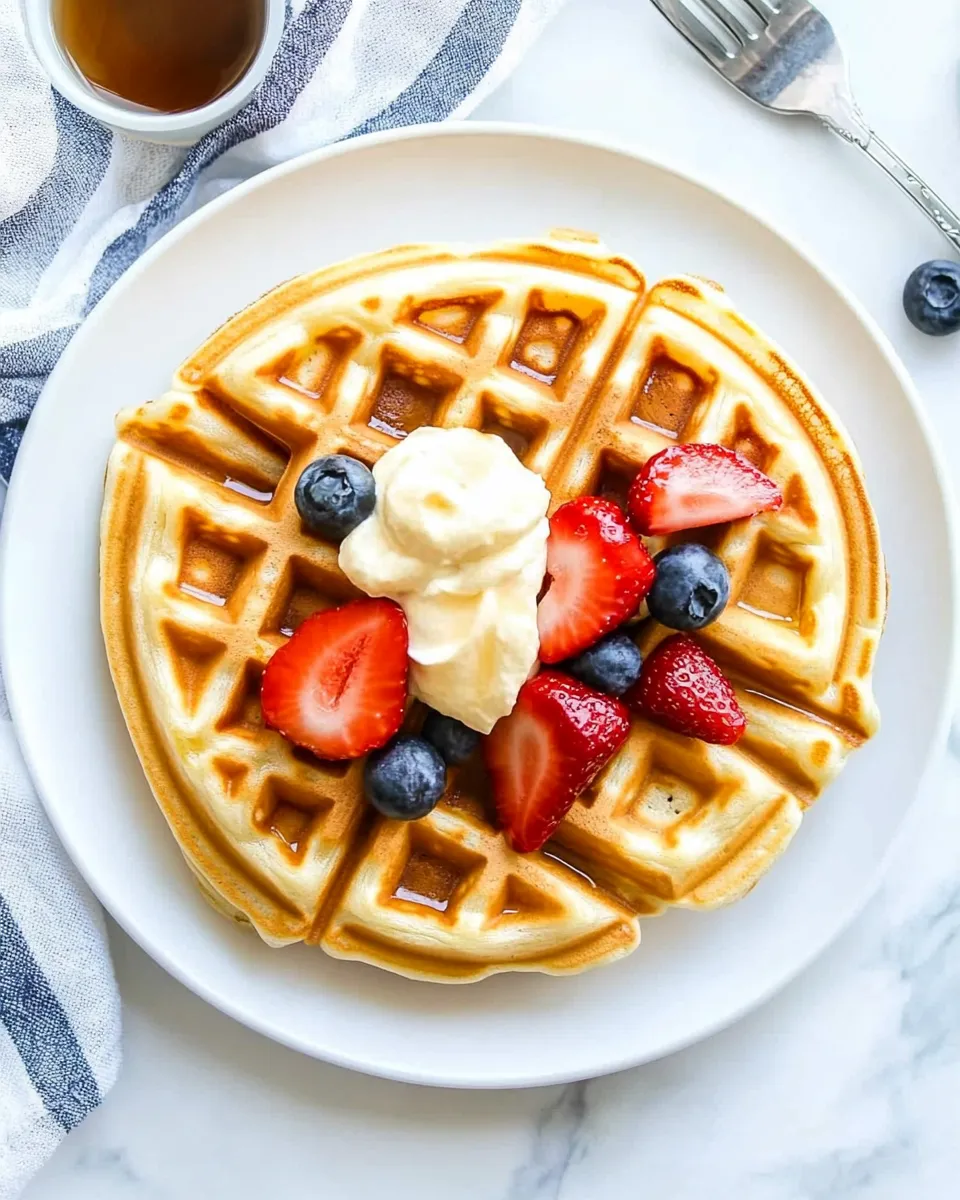
- Serve immediately, or keep waffles warm in a 250°F oven until ready to serve.
Ingredients
- ¾ cup all-purpose flour — provides the bulk and structure of the waffle.
- ¼ cup cornstarch — lightens the crumb and helps crisp the exterior.
- ½ tsp baking soda — reacts with the buttermilk for lift and a tender texture.
- 1 tsp baking powder — adds additional leavening for a lighter waffle.
- 1 tsp kosher salt — balances sweetness and enhances flavor.
- ¼ cup canola oil — keeps waffles moist and helps with browning.
- ¾ cup buttermilk — adds tang and reacts with baking soda for rise.
- 1 egg — binds the batter and contributes to structure and color.
- 1 tbsp sugar — a touch of sweetness and helps with browning.
- 1 tsp vanilla extract — adds aroma and rounds the flavor.
Why Buttermilk Waffles is Worth Your Time
These waffles require minimal fuss but deliver reliable results. The recipe balances a few simple ingredients so you don’t need eggs separated or whipped whites folded in. That saves time and reduces technique-related errors. The buttermilk and baking soda pairing gives a tender inside without collapsing the exterior crispness.
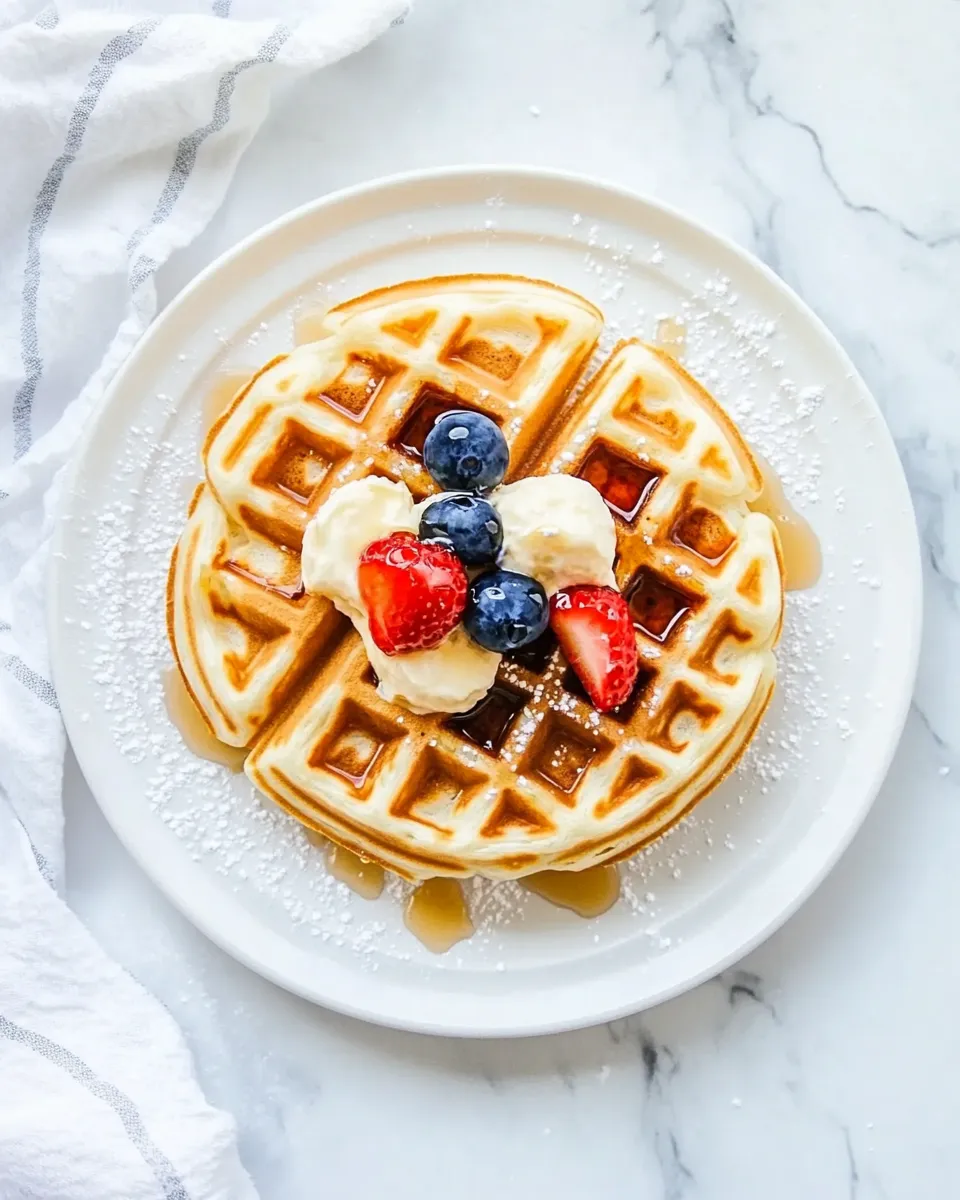
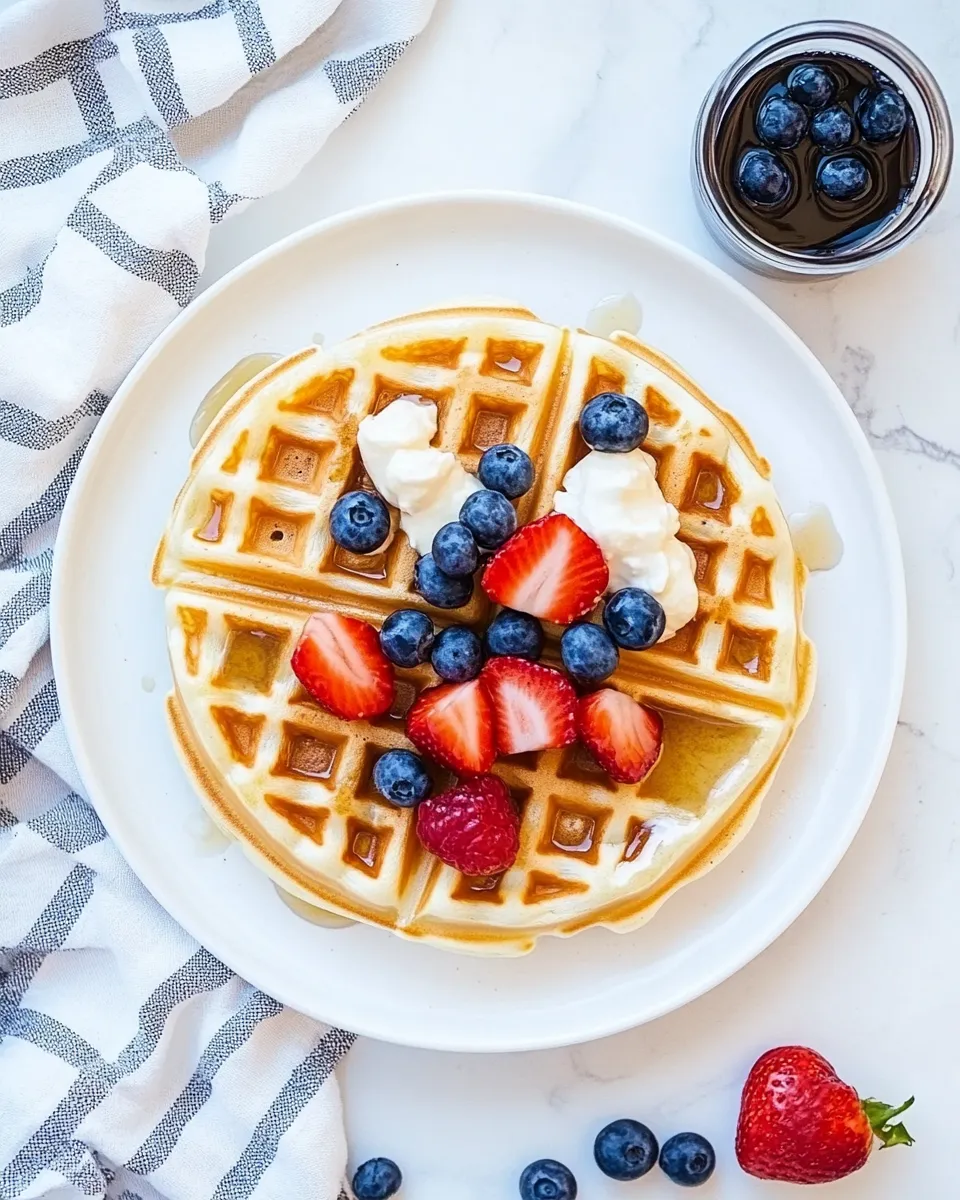
There’s also versatility. The batter is neutral enough to pair with sweet or savory toppings, and the resting time is short — only 15 minutes — so these come together quickly even on a weekend morning. You’ll end up with waffles that hold syrup well, stand up to fruit or yogurt, and maintain a pleasant chew rather than being gummy.
Low-Carb/Keto Alternatives
If you’re following a low-carb or keto plan, replicate the texture rather than the exact ingredients. This recipe depends on wheat flour and cornstarch, so you can’t swap them 1:1 and expect the same result. Instead, consider these practical pointers:
- Use a high-protein almond flour base blended with a small amount of coconut flour to absorb moisture. Start with a recipe specifically developed for low-carb waffles rather than substituting directly.
- Use a keto-friendly binder like additional egg or a tablespoon of psyllium husk to provide structure that flour would normally give.
- Skip the sugar or replace it with a granular erythritol that measures like sugar; be aware erythritol can affect browning.
These changes are experimental. Because the original recipe relies on the chemical interaction between buttermilk and baking soda, keep an acidic component (a splash of vinegar or actual buttermilk if your plan allows it) so the leavening still works.
Tools & Equipment Needed
Good equipment makes a difference. At minimum you need:
- A waffle iron you trust — follow its instructions for heat and batter quantity exactly.
- Two mixing bowls — one for dry, one for wet ingredients.
- Measuring cups and spoons — accuracy matters for the balance of leaveners.
- A spatula or whisk for combining the batter gently.
- An oven set to 250°F (optional) to keep cooked waffles warm if making multiple batches.
If your waffle iron requires greasing, use what the manufacturer recommends. Nonstick sprays can sometimes cause a gummy coating on newer nonstick plates; a light swipe of oil with a paper towel is often sufficient.
Troubles You Can Avoid
Common waffle issues are easy to fix once you know the causes.
- Dense, undercooked centers: Often caused by undercooking or overmixing. Follow step 4 — mix until just combined — and cook 2–3 minutes per waffle or until your iron signals done.
- Soggy waffles: They need time to set. Let the batter rest for 15 minutes per step 5, and finish waffles in a 250°F oven if not serving immediately to maintain crispness.
- Uneven browning: Make sure the waffle iron is fully preheated (step 1). If temperature fluctuates, adjust heat or allow extra warm-up time.
- Sticking to the iron: Grease per the manufacturer’s guidance. If sticking persists, clean the plates and avoid aerosol sprays that can leave a residue over time.
Seasonal Twists
Seasonal ingredients can brighten the plate without changing the batter. In spring and summer, top with berries and a squeeze of lemon. In fall, serve with warm apple compote and a pinch of cinnamon. In winter, a smear of orange marmalade or a handful of toasted nuts adds welcome complexity.
For savory excursions: hold the vanilla and sugar, add a pinch more salt, and serve with fried chicken or a herbed butter. The batter itself is neutral enough to handle small tweaks at the point of service.
What I Learned Testing
During testing I kept two priorities: consistent crisp edges and a tender interior. A few lessons stood out:
- Measure flour by spooning into the cup and leveling — scooping directly from the bag packs too much flour and dries the batter.
- Letting the batter rest (step 5) hydrates the flour and yields a better texture. Don’t skip it; 15 minutes is enough.
- Follow your waffle iron’s quantity guidance when adding batter (step 6). Overfilling causes overflow; underfilling yields thin, uneven waffles.
- Keeping finished waffles in a 250°F oven (step 7) preserves texture while you finish the batch. Stack them in a single layer on a wire rack if you can; stacking directly traps steam and softens the crust.
Save for Later: Storage Tips
To store waffles for short-term use, stack cooled waffles separated by parchment paper, wrap tightly, and refrigerate for up to 2 days. Reheat in a toaster or toaster oven to restore crispness. Microwaving will warm them but soften the exterior.
For longer storage, freeze waffles in a single layer on a baking sheet until firm, then transfer to a freezer bag. They’ll keep well for up to 2 months. Reheat directly from frozen in a toaster or 400°F oven until warmed through and crisp.
Top Questions & Answers
Q: Can I make the batter ahead?
A: You can mix the batter and refrigerate for up to 24 hours, but expect a slight loss in lift. Bring to room temperature and whisk gently before cooking. However, the recipe’s recommended 15-minute rest at room temp gives the best immediate rise.
Q: Can I substitute the canola oil?
A: Neutral oils like vegetable or grapeseed are fine. Butter will add flavor but can solidify in the batter if cold; melt it first and use cautiously. The recipe calls for ¼ cup canola oil to maintain moisture without strong flavor.
Q: Why both baking powder and baking soda?
A: Baking soda reacts with the acidic buttermilk to create lift and tender crumb, while baking powder provides additional leavening for a lighter waffle overall.
Q: My waffles are browning too quickly on the outside but still wet inside. What do I change?
A: Lower the heat slightly and increase cook time, or ensure the iron is fully preheated and the batter portion size matches manufacturer recommendations. Overly hot plates will brown the exterior before the center sets.
Before You Go
Follow the exact steps above and use the ingredients as listed for consistent results. The method is simple: combine dry, combine wet, mix gently, rest, and cook. That little pause of 15 minutes is worth it. With a reliable waffle iron and the right portioning, you’ll get crisp, tender Buttermilk Waffles every time.
If you try the recipe, note the amount of batter your waffle iron uses and the cook time it prefers — that makes future batches effortless. And don’t be shy about making a double batch and freezing some for weekday mornings. They reheat beautifully.

Buttermilk Waffles
Ingredients
Ingredients
- 3/4 cupall purpose flour
- 1/4 cupcornstarch
- 1/2 tspbaking soda
- 1 tspbaking powder
- 1 tspkosher salt
- 1/4 cupcanola oil
- 3/4 cupbuttermilk
- 1 egg
- 1 tbspsugar
- 1 tspvanilla extract
Instructions
Instructions
- Preheat your waffle iron according to the manufacturer’s instructions; follow the manufacturer’s guidance for temperature and greasing if needed.
- In a bowl, whisk together ¾ cup all-purpose flour, ¼ cup cornstarch, ½ tsp baking soda, 1 tsp baking powder, and 1 tsp kosher salt until evenly combined.
- In a separate bowl, whisk together ¼ cup canola oil, ¾ cup buttermilk, 1 egg, 1 tbsp sugar, and 1 tsp vanilla extract until uniform.
- Pour the dry ingredients into the wet ingredients and gently stir with a spatula or whisk until just combined—no large dry streaks should remain; a few small lumps are fine. Do not overmix.
- Let the batter rest at room temperature for 15 minutes.
- When the waffle iron is ready, add the appropriate amount of batter per the manufacturer’s instructions and cook until the waffle iron indicates the waffles are done or about 2–3 minutes per waffle.
- Serve immediately, or keep waffles warm in a 250°F oven until ready to serve.
Equipment
- Waffle Iron
- Mixing bowls
- Whisk
- Spatula
- Oven
Notes
To freeze, allow waffles to cool completely, then wrap individually in plastic wrap and place in a freezer bag. Freeze for up to 3 months. To reheat, microwave for 30-60 seconds.
Adapted from
Aretha Frankenstein Waffles of Insane Greatness