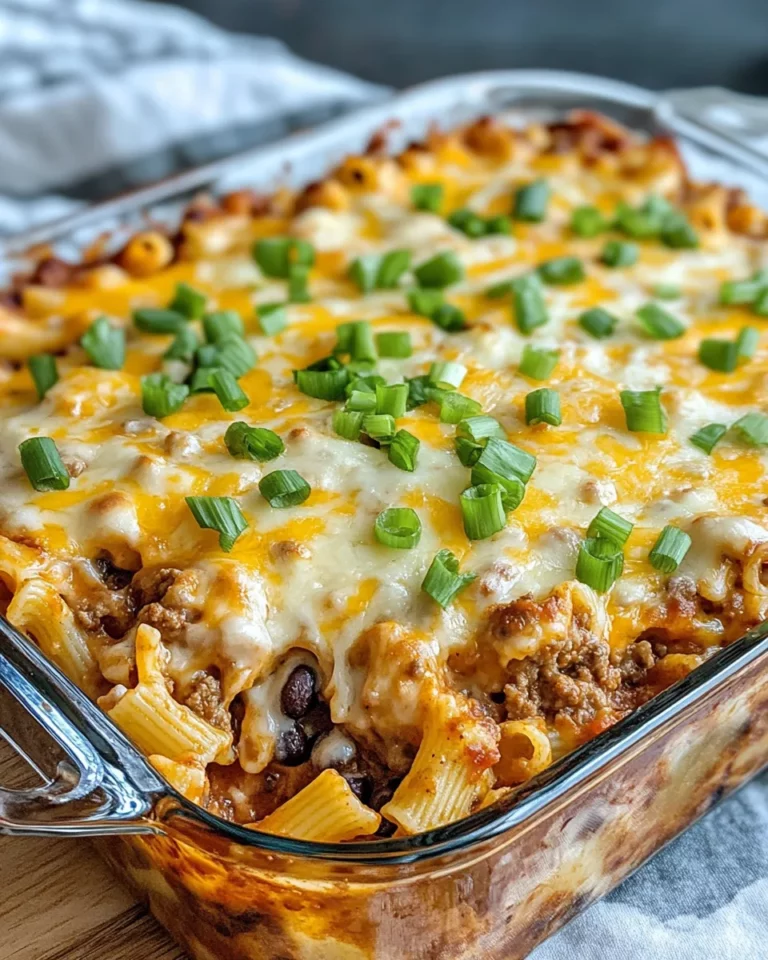
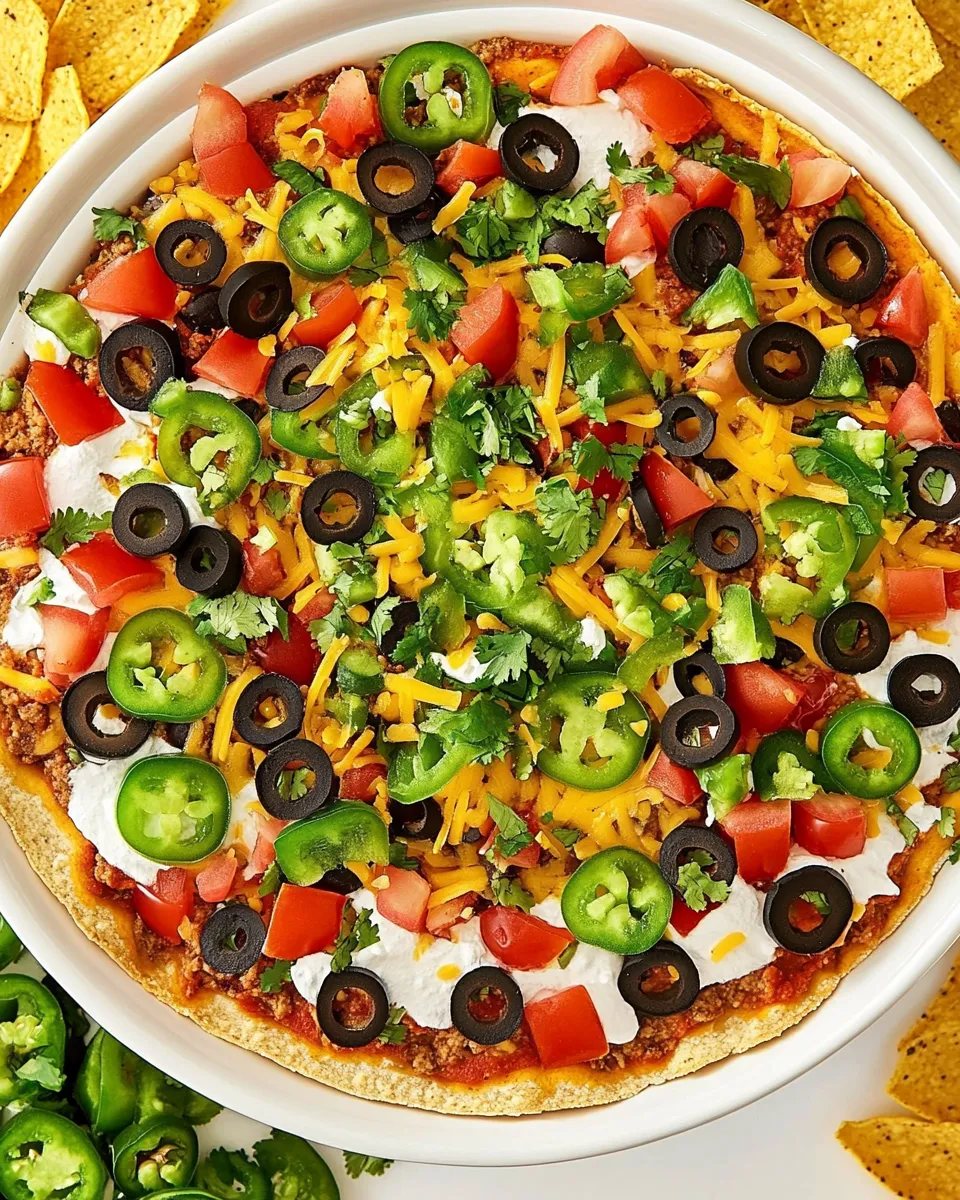
There are recipes that are nostalgia, and then there are recipes that are practical party weapons. Retro Taco Pizza is both. It’s a layered dip that looks like a playful pizza but makes snack duty effortless: spread, layer, sprinkle, serve. You get bold flavor with minimal fuss.
It works for game day, a backyard get-together, or a last-minute potluck. The assembly is quick. The components are pantry- and fridge-friendly. Once you’ve made it, you’ll understand why this retro favorite keeps showing up at casual gatherings.
Ingredients
- 16 ounces cream cheese, softened — the creamy base that holds the dip together; warm it slightly for an easier spread.
- 8 ounces mild taco sauce or Cholula hot sauce — brings the taco flavor; use the mild taco sauce for a gentler spice or Cholula for a little heat.
- 8 ounces shredded Mexican cheese blend — melty, salty topping that reads like a pizza cheese layer.
- ½ cup diced tomato, roma or plum tomatoes — fresh brightness and a pop of color; seed if very juicy.
- ½ cup chopped scallions — oniony crunch and green color; both white and green parts are useful.
- ½ cup sliced black olives, drained — salty, briny contrast; drain well to avoid soggy layers.
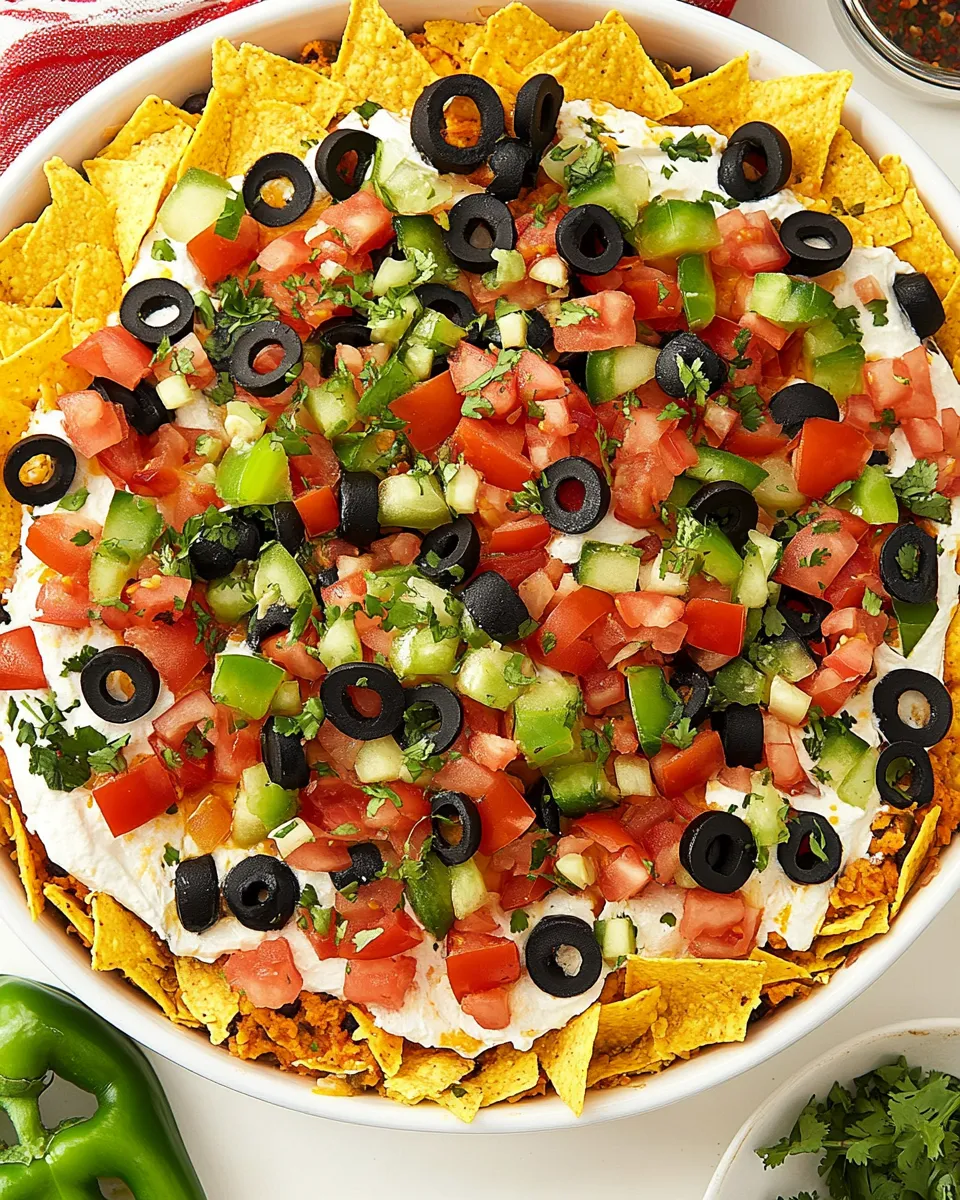
- Dippers: tortilla chips or fresh-cut vegetables — the vehicles for scooping; choose sturdy chips or crisp veggies so the layers hold up.
Your Shopping Guide
Shop with a short list and focus on freshness. Cream cheese is the main texture player; full-fat varieties spread more smoothly and taste richer. If you prefer a lighter option, a lower-fat cream cheese will work but expect a slightly thinner texture.
For the taco sauce, you’ll find mild taco sauce in the condiment aisle or by salsas. Cholula or other hot sauces are great if you like a sharper, vinegary heat. The recipe calls for 8 ounces so check bottle sizes—many bottles come in similar volumes.
Choose a pre-shredded Mexican cheese blend to save time. If your store offers freshly shredded blends at the cheese counter, those melt better and taste fresher, but pre-shredded is plenty convenient.
For produce, roma or plum tomatoes are chosen for their firm flesh and low water content. Look for scallions that are bright and not floppy. Black olives should be firm and evenly colored; pick a can or jar with an intact seal and discard any that smell off once opened.
Directions: Retro Taco Pizza (Layered Taco Dip)
- Place a 12–14 inch round dish or pizza pan on your work surface.
- Spread the 16 ounces softened cream cheese in an even layer over the surface of the pan.
- Pour the 8 ounces mild taco sauce (or Cholula hot sauce) over the cream cheese and spread into a thin, even layer.
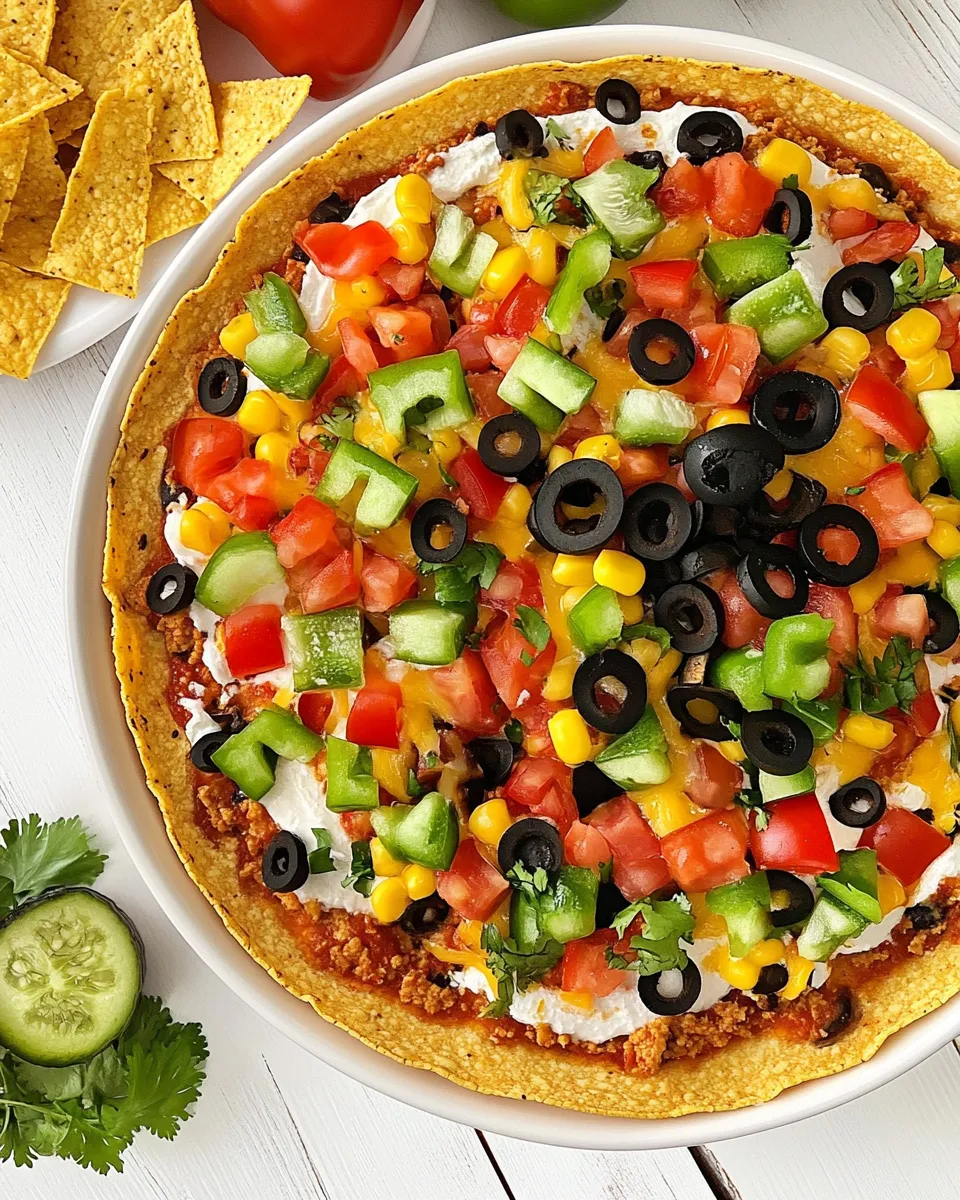
- Sprinkle the 8 ounces shredded Mexican cheese blend evenly over the taco sauce.
- Dice roma or plum tomatoes until you have ½ cup, and chop scallions until you have ½ cup. Drain ½ cup sliced black olives.
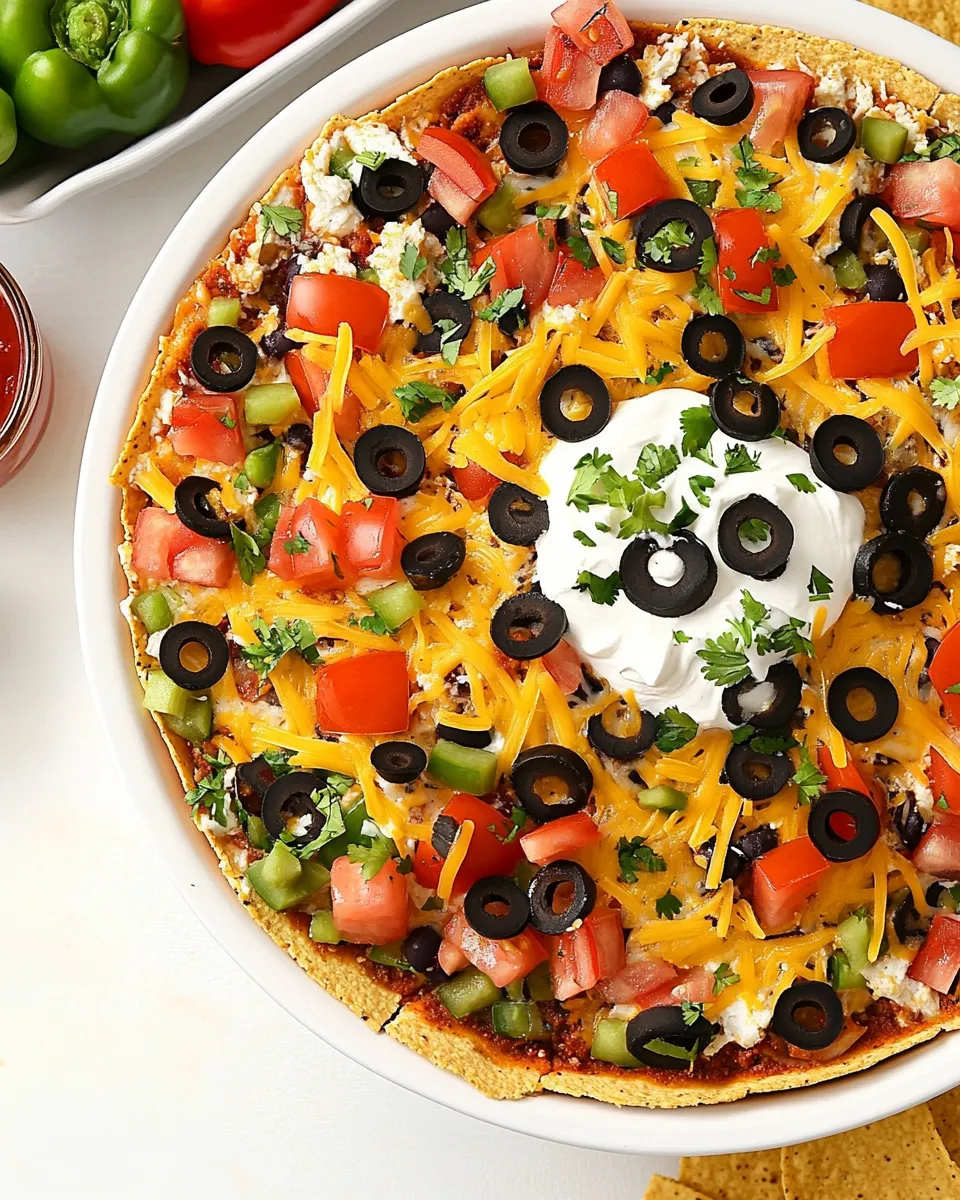
- Evenly sprinkle the diced tomato, chopped scallions, and drained sliced black olives over the cheese layer.
- Serve immediately with tortilla chips or fresh-cut vegetables for dipping.
Reasons to Love Retro Taco Pizza (Layered Taco Dip)
It’s fast. From softening the cream cheese to finishing the garnish, you’re working in minutes. That speed matters when you’re juggling a crowd or a last-minute invite.
It’s crowd-pleasing. The flavor profile hits familiar notes—creamy, tangy, cheesy, and a touch briny. People immediately recognize it and reach for chips.
It’s flexible. Use it as an appetizer, a party centerpiece, or a casual dinner with a big bowl of veggies on the side. It scales easily: double the layers for a larger pan or make individual mini versions for single-serving snacks.
It’s visually fun. Layered like a pizza, it looks special without complicated technique. The tomato, scallion, and olive toppings give a bright, approachable finish that reads well on a buffet table.
Budget & Availability Swaps
If you can’t find one item, small shifts keep the spirit of the recipe intact. For example, if pre-shredded Mexican blend isn’t available, any melty shredded cheese you like will do—look at the cheese aisle for blends or single-variety shreddables. If roma tomatoes are out of season, choose any firm, ripe tomato and dice it small so it doesn’t weigh the layers down.
For the sauce, the recipe already offers two options—mild taco sauce or Cholula—so pick by heat preference. If olives are scarce, fewer olives spread more thinly will still contribute that salty contrast without changing the structure of the dip.
Buy store-brand ingredients where sensible: cream cheese, canned olives, and shredded cheese are often fine in off-brands and can reduce cost. For a crowd, choose larger tubs of cream cheese if available; they usually offer a better per-ounce value.
Setup & Equipment
Keep the equipment simple. You need a 12–14 inch round dish or a pizza pan. A rubber spatula makes spreading the cream cheese easy. A small offset spatula or the back of a spoon helps smooth the taco sauce layer evenly.
Also have a cutting board, a sharp knife for the tomatoes and scallions, and a measuring cup to confirm the ½ cup quantities for the diced tomato, scallions, and olives. A colander or small sieve helps get excess liquid out of the olives and tomatoes if needed.
Steer Clear of These
Don’t skip the softening step for cream cheese. Cold cream cheese tears the surface and makes an uneven base. Let it sit at room temperature for 20–30 minutes or soften gently in short bursts in the microwave, checking often.
Avoid over-saucing. Pour the 8 ounces of taco sauce in a thin, even layer. Too much sauce can make the cheese layer slide and the top soggy. The recipe’s proportions are balanced for a good bite every scoop.
Drain toppings well. Excess liquid from olives or tomatoes will make the cheese soggy and cause weeping. Use a paper towel to blot particularly juicy tomatoes after dicing.
Make It Fit Your Plan
Planning to bring this to an event? Assemble it just before serving for the best texture. If you must prepare it a few hours ahead, spread the cream cheese and sauce, cover tightly, and add cheese and fresh toppings just before serving to keep them bright.
Feeding a crowd? Multiply the recipe and use larger sheet pans. You can also set up a “build-your-own” station with a tray of tortilla chips and extra vegetables, letting guests add extra toppings if they like.
Want lower-carb options? Serve generous portions of fresh-cut vegetables for dipping. The layered elements stay the same and the dip will still feel indulgent without the chips.
Cook’s Notes
Texture tips: If your cream cheese spreads too stiffly, give it a 10–15 second pulse in the microwave and stir until smooth. Don’t overheat; you want spreadable creaminess, not melted pooling.
Presentation tips: Use a ring of sliced scallions and olives around the edge to mimic a pizza “crust” and a scattering of diced tomatoes in the center. A gentle pat with a paper towel removes any stray moisture that could dull presentation.
Timing: This is a quick-assembly recipe. From pan to table you can finish in under 15 minutes if ingredients are prepped. If you need to prep ahead, keep toppings separate and assemble on arrival.
Save It for Later
Store leftovers covered in the refrigerator for up to 2–3 days. Keep the chips or vegetables separate. On day two the texture is still fine for casual snacking. Note: the cream cheese base firms as it chills, so let it sit at room temperature for 10–15 minutes before serving again to soften it up.
Freezing is not recommended. The texture of cream cheese and fresh tomatoes changes with freezing and thawing; you’ll lose the fresh bite and the topping may become watery.
Quick Q&A
Can I use flavored cream cheese? Yes, but choose mild flavors. Strong additions like chive-and-onion or jalapeño will change the intended balance; if that’s your preference, go for it, but taste as you assemble.
Can I make it spicy? Swap the mild taco sauce for Cholula as suggested in the ingredient list, or add a touch of hot sauce to the taco sauce layer. Taste first—the base is creamy and can temper heat, but it’s easy to overdo it.
Is this safe to make ahead? You can prep elements in advance. Keep the cream cheese in a covered container, the sauce separate, and add cheese and fresh toppings before serving for best texture and color.
Hungry for More?
If you like this easy, layered appetizer, try other simple party dips and no-fuss finger foods next. Think of building more dips with the same principles: a sturdy creamy base, a saucy layer for flavor, a melty cheese, and crisp, colorful toppings. These techniques scale well and help you turn minimal prep into maximum crowd-pleasing impact.

Retro Taco Pizza (Layered Taco Dip)
Ingredients
Ingredients
- 16 ouncescream cheesesoftened
- 8 ouncemild taco sauceor Cholula hot sauce
- 8 ounceshredded Mexican cheese blend
- 1/2 cupdiced tomatoroma or plum tomatoes
- 1/2 cupchopped scallions
- 1/2 cupsliced black olivesdrained
- Dippers: tortilla chips or fresh cut vegetables
Instructions
Instructions
- Place a 12–14 inch round dish or pizza pan on your work surface.
- Spread the 16 ounces softened cream cheese in an even layer over the surface of the pan.
- Pour the 8 ounces mild taco sauce (or Cholula hot sauce) over the cream cheese and spread into a thin, even layer.
- Sprinkle the 8 ounces shredded Mexican cheese blend evenly over the taco sauce.
- Dice roma or plum tomatoes until you have ½ cup, and chop scallions until you have ½ cup. Drain ½ cup sliced black olives.
- Evenly sprinkle the diced tomato, chopped scallions, and drained sliced black olives over the cheese layer.
- Serve immediately with tortilla chips or fresh-cut vegetables for dipping.
Equipment
- 12-14 inch round dish or pizza pan
Notes
Possible Add-Ons:
Shredded iceburg lettuce, cooked taco meat, diced avocado, pico de gillo.