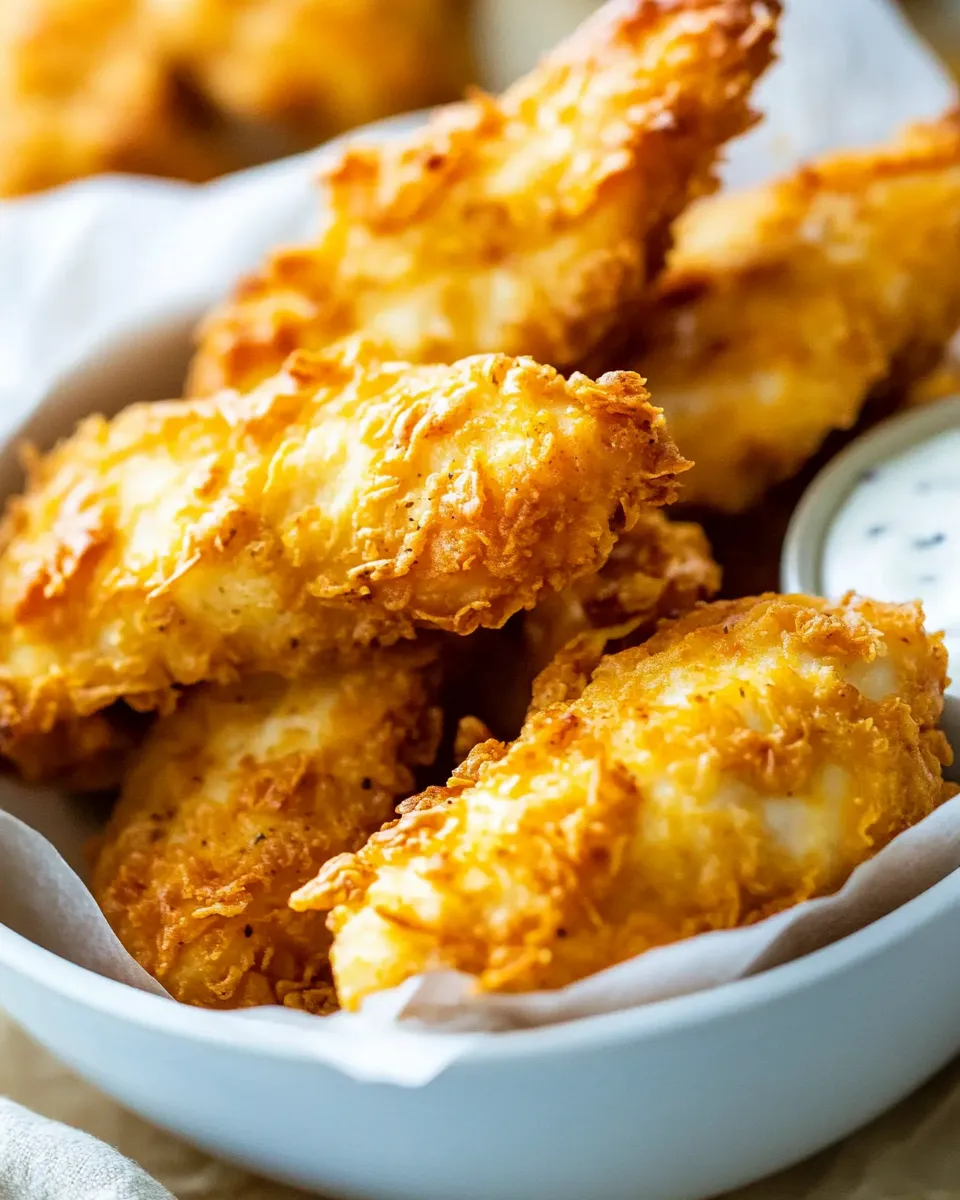
These chicken fingers are my go-to when I want something crunchy, fast, and reliably kid-friendly without deep frying. The corn flake–parmesan coating gives a toasted, herby bite while the oven keeps things simple and cleaner. They come out golden, crisp, and juicy every time when you follow the method below.
I tested this exact technique multiple times to get predictable browning and even cooking. Nothing fancy: common pantry items, one egg, and a quick assembly line. If you want a crunchy weeknight dinner or a party platter that disappears, this is the one to keep in your back pocket.
Read through the full post for tips on handling the chicken, storage, and reliable troubleshooting. I include small tricks that lift the bake from “good” to “consistently great.”
Ingredient Breakdown

Ingredients
- 2 Chicken breasts — trimmed and cut into strips for even cooking and easy serving.
- 1 cup corn flakes, crushed — the main crunchy coating; crush to a coarse texture for the best bite.
- 1 cup all-purpose flour — for the initial dredge; helps the egg and crumbs adhere.
- 1 egg — beaten to act as the binder between flour and crumb coating.
- ½ tsp salt — seasons the coating and the chicken; distribute evenly.
- ½ tsp black pepper — adds background heat and depth.
- 1 tsp sweet paprika — brings color and a mild, smoky sweetness to the crust.
- ¼ cup grated parmesan — adds savory umami and helps the crumbs crisp and brown.
Directions: Crispy Baked Chicken Fingers
- Preheat oven to 400°F (200°C). Line a baking tray with parchment paper, place a cooling rack on the tray, and spray the rack with non-stick cooking spray; set aside.
- Put the 1 cup crushed corn flakes into a medium bowl (or crush whole flakes in a sealed bag first). Add 1/4 cup grated parmesan, 1 tsp sweet paprika, 1/2 tsp salt, and 1/2 tsp black pepper; stir to combine.
- Place 1 cup all-purpose flour in a shallow bowl or plate.
- Crack the 1 egg into a separate bowl and whisk until uniform.
- Trim any excess fat from the 2 chicken breasts and cut each breast into even strips about 1/2–3/4 inch wide. Pat the strips dry with paper towels.
- Working one strip at a time, dredge a chicken strip in the flour, shaking off excess.
- Dip the floured strip into the whisked egg, then press it into the corn flake–parmesan mixture until evenly coated on all sides. Press crumbs onto the chicken so they adhere.
- Place the coated strips on the prepared cooling rack in a single layer, making sure they do not touch and are evenly spaced. Repeat until all strips are coated.
- Bake in the preheated oven for 20 minutes, flipping the strips once about halfway through (at ~10 minutes) for even browning, until the coating is golden and the chicken is cooked through (165°F / 74°C internal temperature if using a thermometer).
- Remove from the oven, let rest for 2–3 minutes, then serve.
Why This Recipe Is Reliable
This method separates the wet and dry steps—flour, egg, crumb—to create layers that adhere and brown predictably. Using a cooling rack over the tray lifts the chicken so hot air circulates all around each strip; that prevents soggy bottoms and gives uniform crisping without oil.
The corn flakes provide a sturdy, textured crust that toasts quickly at 400°F. Parmesan adds both flavor and better browning because its small, oily particles crisp up in the heat. The flip at the halfway point guarantees both sides hit direct convection for even color and doneness.
Finally, the temperature and timing are conservative and practical: 20 minutes total with a flip. That time reliably hits the target internal temperature for typical breast strips while avoiding over-drying when you pat the meat dry and avoid oversized strips.
Vegan & Vegetarian Swaps
If you want a plant-based version, swap the chicken for thick slices of firm tofu, tempeh planks, or large cauliflower florets. Press tofu to remove excess moisture before slicing and using the same dredge process—flour, aquafaba or plant milk, and the crushed corn flakes–parmesan mixture can be replaced with nutritional yeast plus extra grated vegan hard cheese for that savory kick.
For a vegetarian (not vegan) option, use a firm paneer or halloumi-style block; the texture holds up well to the coating and oven heat. Keep the same seasoning profile but skip any swaps that require additional quantities—coat and bake until golden and heated through.
Essential Tools for Success
- Cooling rack and baking tray — non-negotiable for crisping evenly; the rack keeps the coating from steaming on the tray.
- Parchment paper — for easier cleanup and to prevent sticking on the tray below the rack.
- Instant-read thermometer — useful for spot-checking doneness; look for 165°F / 74°C in the thickest strip.
- Three shallow bowls or plates — one for flour, one for egg, one for the crumb mix; they make the dredging process clean and fast.
- Sealable bag and rolling pin (optional) — to crush corn flakes into the preferred coarse texture without dusting too fine.
- Non-stick cooking spray — a quick mist on the rack helps prevent sticking and promotes even browning.
Pitfalls & How to Prevent Them
Coating Falling Off
If crumbs slide off during baking it’s usually because the flour or egg step was rushed or the chicken was too wet. Pat strips completely dry, dredge and shake off excess flour (don’t skip this), and press crumbs onto the strip firmly. Work in small batches so you can press properly.
Uneven Browning
Crowding the rack or placing strips too close together traps steam and prevents crisping. Give each piece space. Flip at ~10 minutes so both sides get direct airflow and equal color.
Dry Chicken
Cut the strips to a consistent width (1/2–3/4 inch). Skinny pieces overcook fast. If you find dryness happening, reduce oven time by a minute or two next time and check with a thermometer; thickness and starting temperature of the meat change the bake time.
Dietary Customizations
Low-sodium: Reduce the salt in the corn flake mixture or use a low-sodium parmesan. Taste the crumb mix before coating if you’re watching sodium—remember the cheese is salty.
Gluten-free: Use certified gluten-free corn flakes and swap the 1 cup all-purpose flour for an equal amount of a gluten-free 1-to-1 baking blend or rice flour. Work gently; some gluten-free flours behave differently, so press crumbs on firmly.
Lower-carb: Replace the corn flakes with crushed pork rinds or crushed low-carb crackers as a substitute for the crunchy element; keep the rest of the process identical. Note: that introduces different fats and textures.
Notes from the Test Kitchen
Timing and Texture
I tested at 400°F because it hits the sweet spot: hot enough to toast the crumbs quickly and short enough to prevent the chicken from drying. The 20-minute window worked across several trials with 1/2–3/4-inch strips. If strips are thicker than that, add a couple of minutes but watch color.
Crumb Consistency
Coarsely crushed corn flakes give the best mouthfeel. Too fine and you get a uniform crust that tastes more like breadcrumbs; too large and it won’t adhere well. Aim for a coarse sand-to-pebble texture.
Flavor Tweaks I Liked
A light sprinkle of smoked paprika in addition to sweet paprika adds complexity; a squeeze of lemon on the finished fingers brightens the overall plate. I kept the base directions unchanged for reliability, but these small finishing moves are worth trying.
Best Ways to Store
Cool finished chicken fingers completely at room temperature (no more than two hours), then arrange in a single layer in an airtight container lined with paper towel to absorb moisture. Refrigerate up to 3–4 days.
To reheat and keep the crisp, place on a rack over a baking sheet and warm in a 375°F oven for 8–10 minutes until heated through. Avoid the microwave unless the texture isn’t a priority—microwaving makes them limp.
For longer storage, freeze on a sheet tray in a single layer until solid (about an hour), then transfer to a freezer bag. Reheat from frozen at 375°F for 12–18 minutes, flipping once, until hot and crisp.
Crispy Baked Chicken Fingers Q&A
- Can I use chicken thighs instead of breasts? — Yes. Thighs have more fat and moisture; slice into even strips and check doneness with a thermometer.
- Do I need to spray the rack? — A light spray prevents sticking. If your rack is well-seasoned or non-stick, you can skip the spray, but it’s a safe step.
- What dipping sauces work best? — Classic choices are honey mustard, barbecue, ranch, or a simple ketchup. A squeeze of lemon or a vinegar-based slaw on the side also pairs nicely.
- Can I make these ahead? — Yes. Par-bake for 12 minutes, cool, and refrigerate. Finish baking before serving to refresh the crust.
- How do I know they’re done without a thermometer? — Cut the thickest strip: the juices should run clear and the meat should be opaque without pink. Still, an instant-read thermometer is the most reliable check.
Next Steps
Make these for a weeknight dinner, and note one variable to tweak each time: crust texture, thickness of strips, or finishing seasoning. Keep a small notebook or phone note so you dial in your ideal crisp-to-juiciness ratio.
If you enjoyed this method, try swapping the parmesan for a pecorino for a sharper edge, or double the paprika for a smokier flavor profile. Tag me in your photos if you share—there’s nothing I love more than seeing how people make a recipe their own.

Crispy Baked Chicken Fingers Recipe
Ingredients
Ingredients
- 2 Chicken breasts
- 1 cupcorn flakescrushed
- 1 cupall flour
- 1 egg
- 1/2 tspsalt
- 1/2 tspblack pepper
- 1 tspsweet paprika
- 1/4 cupgrated parmesan
Instructions
Instructions
- Preheat oven to 400°F (200°C). Line a baking tray with parchment paper, place a cooling rack on the tray, and spray the rack with non-stick cooking spray; set aside.
- Put the 1 cup crushed corn flakes into a medium bowl (or crush whole flakes in a sealed bag first). Add 1/4 cup grated parmesan, 1 tsp sweet paprika, 1/2 tsp salt, and 1/2 tsp black pepper; stir to combine.
- Place 1 cup all-purpose flour in a shallow bowl or plate.
- Crack the 1 egg into a separate bowl and whisk until uniform.
- Trim any excess fat from the 2 chicken breasts and cut each breast into even strips about 1/2–3/4 inch wide. Pat the strips dry with paper towels.
- Working one strip at a time, dredge a chicken strip in the flour, shaking off excess.
- Dip the floured strip into the whisked egg, then press it into the corn flake–parmesan mixture until evenly coated on all sides. Press crumbs onto the chicken so they adhere.
- Place the coated strips on the prepared cooling rack in a single layer, making sure they do not touch and are evenly spaced. Repeat until all strips are coated.
- Bake in the preheated oven for 20 minutes, flipping the strips once about halfway through (at ~10 minutes) for even browning, until the coating is golden and the chicken is cooked through (165°F / 74°C internal temperature if using a thermometer).
- Remove from the oven, let rest for 2–3 minutes, then serve.
Equipment
- Oven
- Baking tray
- Parchment Paper
- Cooling rack
- non-stick cooking spray
- Medium Bowl
- shallow bowl or plate
- sealable bag (optional)
- Whisk