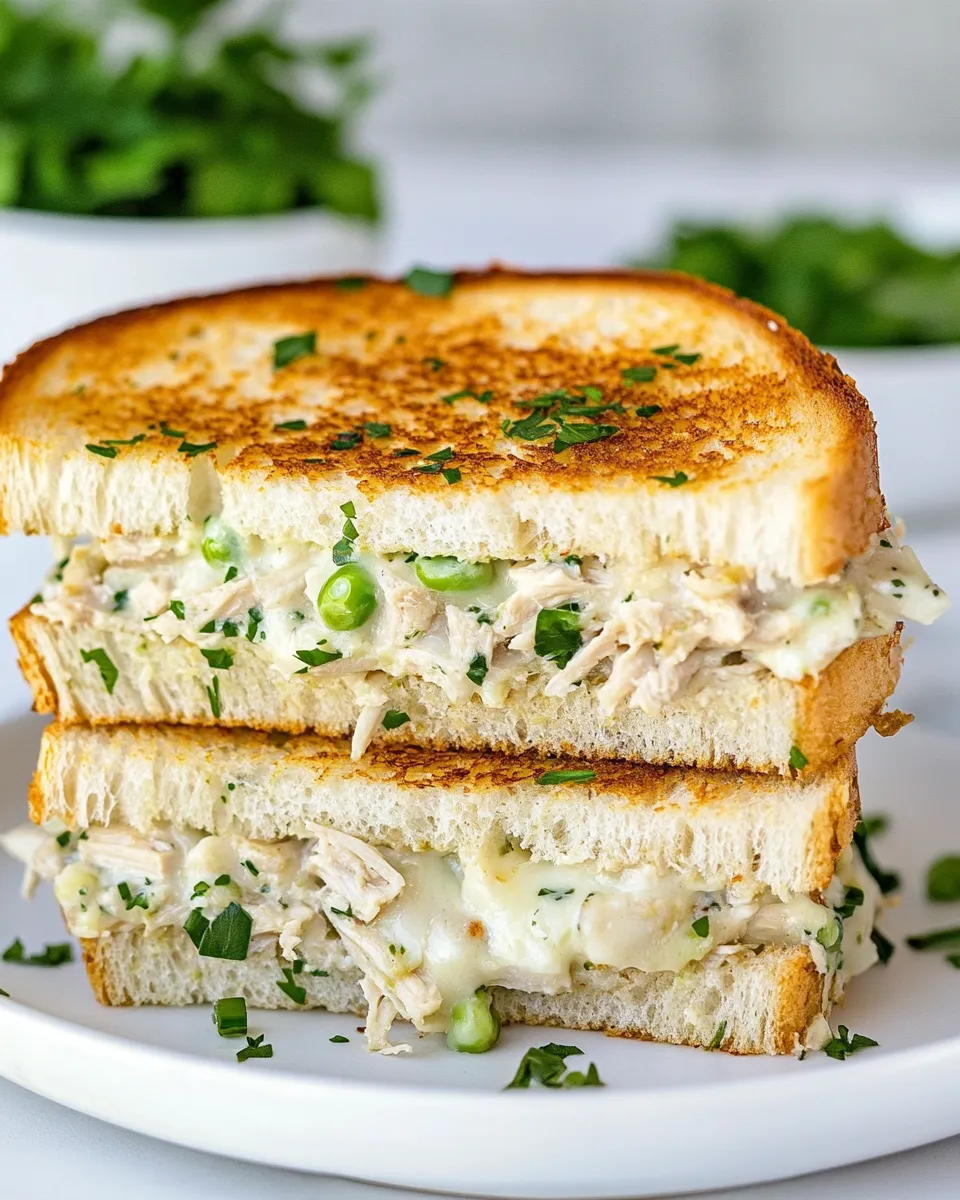
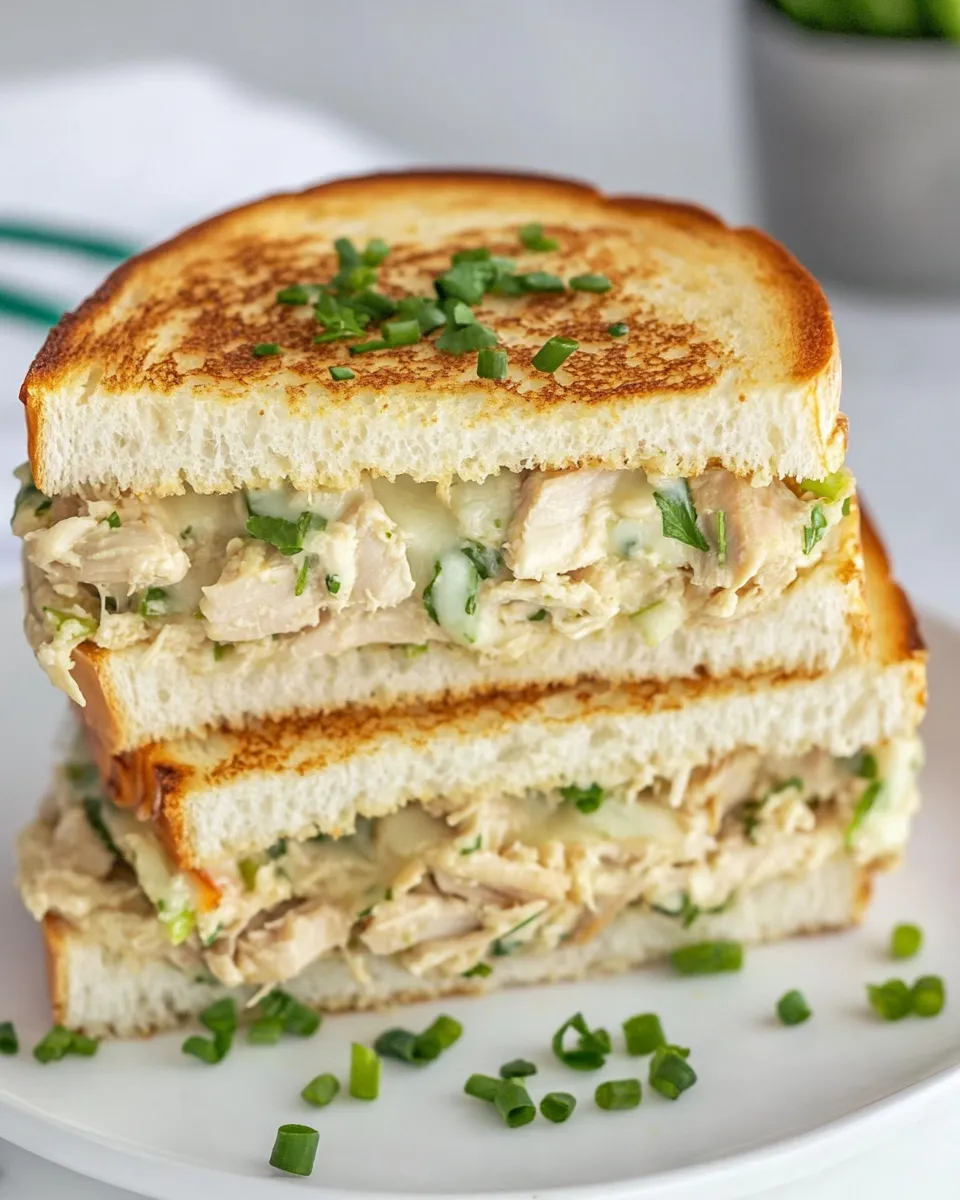
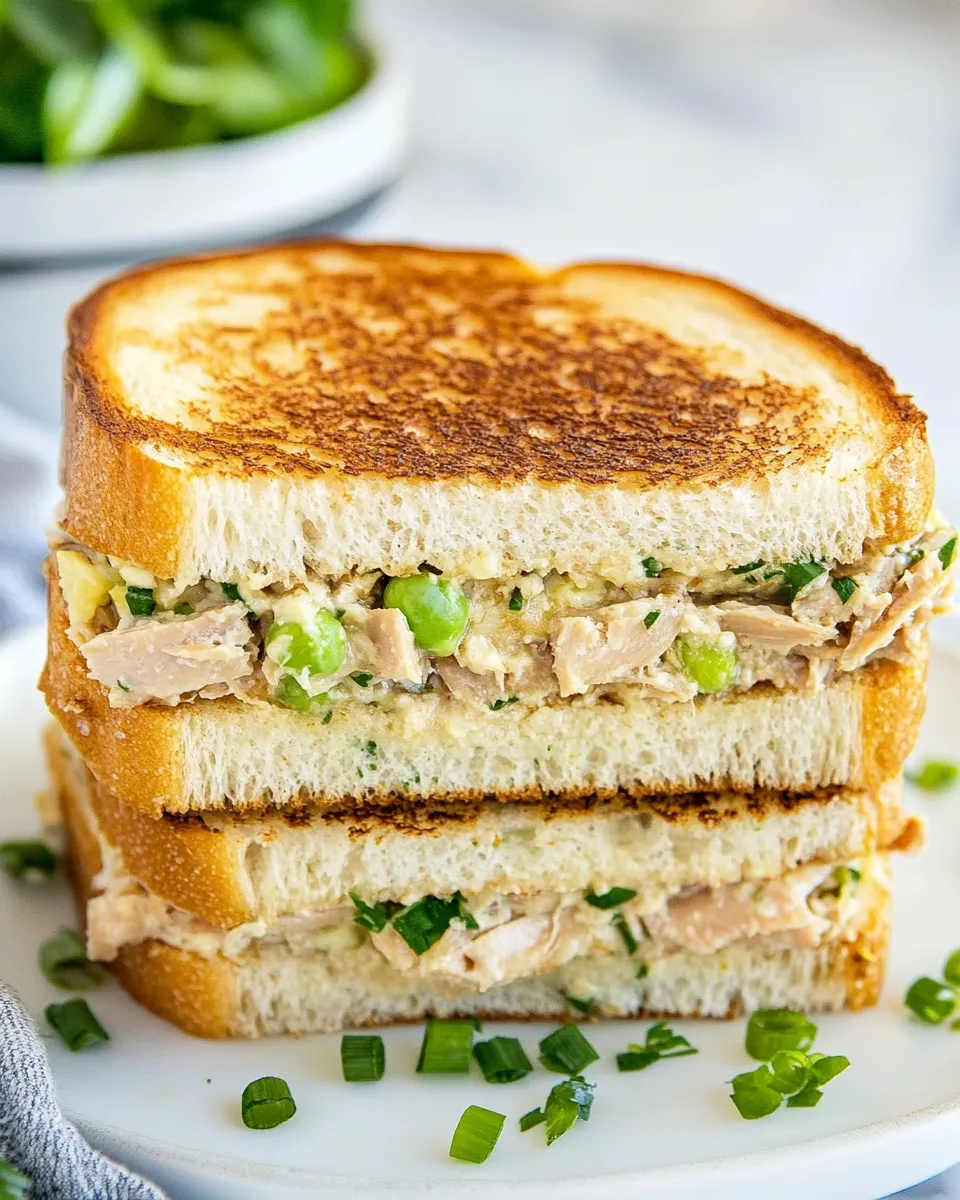
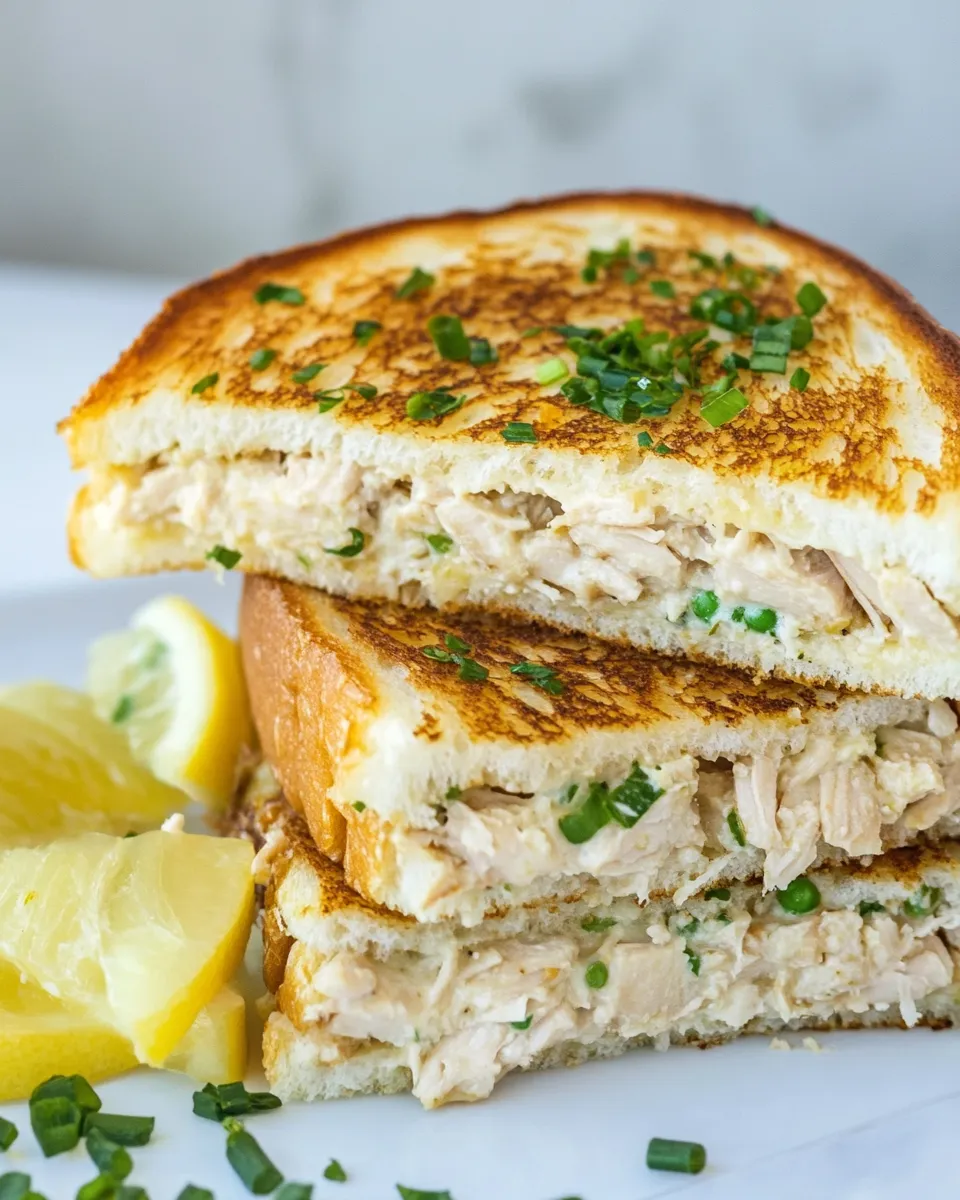
This tuna melt is the kind of recipe I turn to when I want something that feels like a hug on a plate but takes almost no time to get on the table. It’s honest food: flaky tuna, creamy mayo, a hit of lemon, and gooey white cheddar sandwiched between buttered bread that crisps up in the oven. No fuss, just reliable comfort.
It’s also forgiving. The filling comes together in minutes, and baking for 5 to 8 minutes gives you melted cheese and lightly golden bread without babysitting. Add tomato slices if you like a bit of brightness, or skip them for a purer, classic melt.
Below you’ll find the exact ingredients and step-by-step method I used in the test kitchen, plus practical tips for swapping ingredients, what to avoid, and how to store leftovers. If you want a weekday lunch, an easy dinner, or a weekend snack, this delivers every time.
The Ingredient Lineup
Ingredients
- 26 ounce cans white tuna (in water, drained and flaked) — The main protein; draining well prevents a soggy sandwich.
- ⅓ cup mayonnaise — Binds the tuna and adds creaminess and mouthfeel.
- 1 tablespoon lemon juice (freshly squeezed) — Brightens the filling and cuts the richness.
- 1 stalk celery (finely chopped) — Gives crunch and fresh texture contrast.
- 1 green onion (finely chopped) — Adds a mild oniony lift without overpowering.
- 3 tablespoons fresh parsley (chopped) — Fresh herb note that keeps the filling lively.
- ¼ teaspoon salt — Seasoning; adjust to taste depending on your tuna.
- ¼ teaspoon black pepper — Ground pepper adds a subtle bite.
- 8 slices bread — The vehicle; choose a sturdy slice so it holds the filling.
- ¼ cup butter (softened) — Spread on the outside of the bread for a golden, crispy finish.
- 8 slices white cheddar cheese — Melts well and gives the classic tuna melt flavor.
- 1 large tomato (sliced, optional) — Optional freshness and acidity; add if you like a juicier, brighter sandwich.
Make Tuna Melt: A Simple Method
- Preheat the oven to 400°F.
- If the tuna is in a can, drain it well and flake it with a fork. In a medium bowl, combine the drained flaked tuna, mayonnaise, lemon juice, finely chopped celery, finely chopped green onion, chopped parsley, salt, and black pepper; mix until evenly combined.
- Spread the softened butter on one side of each slice of bread.
- Place 4 buttered-side-down bread slices on a baking sheet.
- Divide the tuna mixture into four equal portions and spread one portion onto each of the 4 bread slices on the baking sheet. Top each with 2 slices of white cheddar cheese. If using, add tomato slices on top of the cheese.
- Place the remaining 4 bread slices on top of each sandwich with the buttered side facing up.
- Bake in the preheated oven until the cheese melts and the bread is lightly golden, about 5 to 8 minutes.
- Remove from the oven, let the sandwiches rest for a minute or two, then serve.
Why This Recipe Works
There are a few straightforward reasons this tuna melt hits the mark every time. First, the combination of mayonnaise and lemon juice keeps the tuna moist and flavorful while avoiding any sense of heaviness. The celery and green onion add crunch and freshness so the sandwich isn’t just a homogenous smear.
Second, buttering the outside of the bread is a small step with a big payoff: it creates a crisp, golden exterior that contrasts with the soft, melty interior. White cheddar melts cleanly and brings a mild tang that complements rather than competes with the tuna. Finally, baking the sandwiches instead of pan-frying multiple batches is efficient and gives evenly melted cheese with minimal hands-on time.
Vegan & Vegetarian Swaps
- For a vegetarian version, swap the tuna for mashed chickpeas or mashed white beans; season them the same way for a similar texture.
- Use vegan mayonnaise in place of regular mayo to keep the same creamy binder without dairy.
- Replace butter with a plant-based spread if you want a dairy-free exterior crisp.
- Substitute white cheddar with a vegan melting cheese if you need a fully plant-based melt.
- If you prefer less richness, skip the cheese and add extra herbs, sliced avocado, or a vinegar-based slaw for lift.
Prep & Cook Tools
- Medium mixing bowl — to combine the tuna filling.
- Fork — for flaking and mixing the tuna.
- Measuring cups and spoons — to measure mayo, lemon, and seasonings.
- Baking sheet — the easiest way to bake four sandwiches at once.
- Knife and cutting board — for the celery, green onion, parsley, and tomato.
- Spreader or small spatula — to spread butter and the tuna mixture.
- Oven — set to 400°F for quick baking; a toaster oven works for smaller batches.
What Not to Do
- Don’t skip draining the tuna. Excess liquid makes the filling runny and soggy.
- Avoid piling on too much filling; the sandwiches should close comfortably so the bread crisps evenly.
- Don’t put cold butter on the bread; softened butter spreads evenly and promotes even browning.
- Don’t assume all ovens are the same — check at 5 minutes to avoid over-browning.
- Don’t slice immediately. Let the sandwiches rest a minute or two; the filling sets and the cheese won’t slide out when you cut.
Make It Year-Round
This is a year-round recipe because canned tuna is shelf-stable and accessible no matter the season. In warmer months, slice the tomato thin and serve with a simple green salad to keep the meal bright. In cooler months, pair the melt with a bowl of tomato soup or roasted vegetable soup for cozy comfort.
Buy good-quality canned tuna when you can. Even a small upgrade in the tin will show up in flavor. If tomatoes are out of season and mealy, leave them off — the sandwich is still excellent without them.
Notes from the Test Kitchen
We tested this exact method to land on the 5 to 8 minute bake time. Most ovens will melt the cheese and lightly brown the bread within that window; if you prefer deeper color, add another minute or two but watch closely. Thicker bread slices need a touch more time than thin sandwich bread.
Two practical points learned while testing:
- Divide the tuna into four equal portions right in the bowl using a spoon to keep amounts consistent. It makes plating and timing predictable.
- If you like an extra-crispy bottom, place the baking sheet on a preheated pizza stone or a hot sheet for the last minute — but only if you’re comfortable with higher surface heat.
Meal Prep & Storage Notes
Make-ahead filling
The tuna mixture can be made in advance and stored in an airtight container in the refrigerator. It keeps well for a few days and actually benefits from a short rest so the flavors meld. Keep the bread, butter, and cheese separate until you’re ready to assemble to prevent sogginess.
Assembled sandwiches
Once assembled and baked, these are best eaten immediately. If you have leftovers, wrap them tightly and refrigerate; reheating in a 350°F oven for 6–10 minutes or in a skillet over medium heat restores some crispness. Freezing assembled tuna melts isn’t recommended because the texture of the bread and tomato (if used) will suffer.
Top Questions & Answers
- Can I use a different cheese? Yes. Any good melting cheese works, though white cheddar gives a classic flavor. Try mild cheddar, Monterey Jack, or a Swiss variety if you prefer.
- Can I pan-fry instead of baking? Yes. Heat a skillet over medium, assemble the sandwiches and cook like a grilled cheese, covering briefly to help the cheese melt. You’ll probably need to cook in batches.
- What type of tuna is best? The recipe calls for white tuna in water; drain it well. If you only have light tuna, it will still work—flavor and texture vary slightly.
- Is the tomato required? No. It’s optional. Add it if you want extra freshness and acidity; leave it off if you prefer a drier, more traditional melt.
- Can I reduce the mayo? Yes. Reduce by a tablespoon or two for a firmer filling, and add a splash of lemon or a teaspoon of olive oil if it feels too dry.
Final Thoughts
This Easy Tuna Melt is exactly what I reach for when I want something fast, dependable, and satisfying. It’s straightforward to scale, simple to tweak, and kind to a busy weeknight. The technique is forgiving: drain the tuna, keep the bread buttered, and watch the oven at the end of the bake time. You’ll have a hot sandwich with bright, balanced flavors in under 15 minutes from start to finish.
Make the tuna mixture ahead if you like, add tomato when they’re ripe, and don’t be shy with the parsley for a fresher finish. It’s one of those recipes that’s comfortable enough to become a weekday staple and tasty enough to serve friends without fuss. Enjoy.
Easy Tuna Melt
Ingredients
Ingredients
- 26 ounce canswhite tuna in water, drained and flaked
- 1/3 cupmayonnaise
- 1 tablespoonlemon juice freshly squeezed
- 1 stalkcelery finely chopped
- 1 green onion finely chopped
- 3 tablespoonsfresh parsley chopped
- 1/4 teaspoonsalt
- 1/4 teaspoonblack pepper
- 8 slicesbread
- 1/4 cupbutter softened
- 8 sliceswhite cheddar cheese
- 1 largetomato sliced, optional
Instructions
Instructions
- Preheat the oven to 400°F.
- If the tuna is in a can, drain it well and flake it with a fork. In a medium bowl, combine the drained flaked tuna, mayonnaise, lemon juice, finely chopped celery, finely chopped green onion, chopped parsley, salt, and black pepper; mix until evenly combined.
- Spread the softened butter on one side of each slice of bread.
- Place 4 buttered-side-down bread slices on a baking sheet.
- Divide the tuna mixture into four equal portions and spread one portion onto each of the 4 bread slices on the baking sheet. Top each with 2 slices of white cheddar cheese. If using, add tomato slices on top of the cheese.
- Place the remaining 4 bread slices on top of each sandwich with the buttered side facing up.
- Bake in the preheated oven until the cheese melts and the bread is lightly golden, about 5 to 8 minutes.
- Remove from the oven, let the sandwiches rest for a minute or two, then serve.
Equipment
- Mixing Bowl
- Fork
- Baking Sheet
- Oven
Notes
Taste for salt.After you mix all the tuna salad ingredients together, taste for salt and add more if needed. You always want to wait till the very end to add any additional salt.
Fully butter the bread.Make sure the butter is softened and that you evenly spread it all over the slices of bread so that the tuna melt bakes to a crispy golden brown.
Already cooked tuna melts will keep in thefridge for up to 3 days. However, they don’t tend to freeze well. To reheat, put the sandwiches in the oven at 350°F (177°C) on a sheet pan for about 10 minutes.