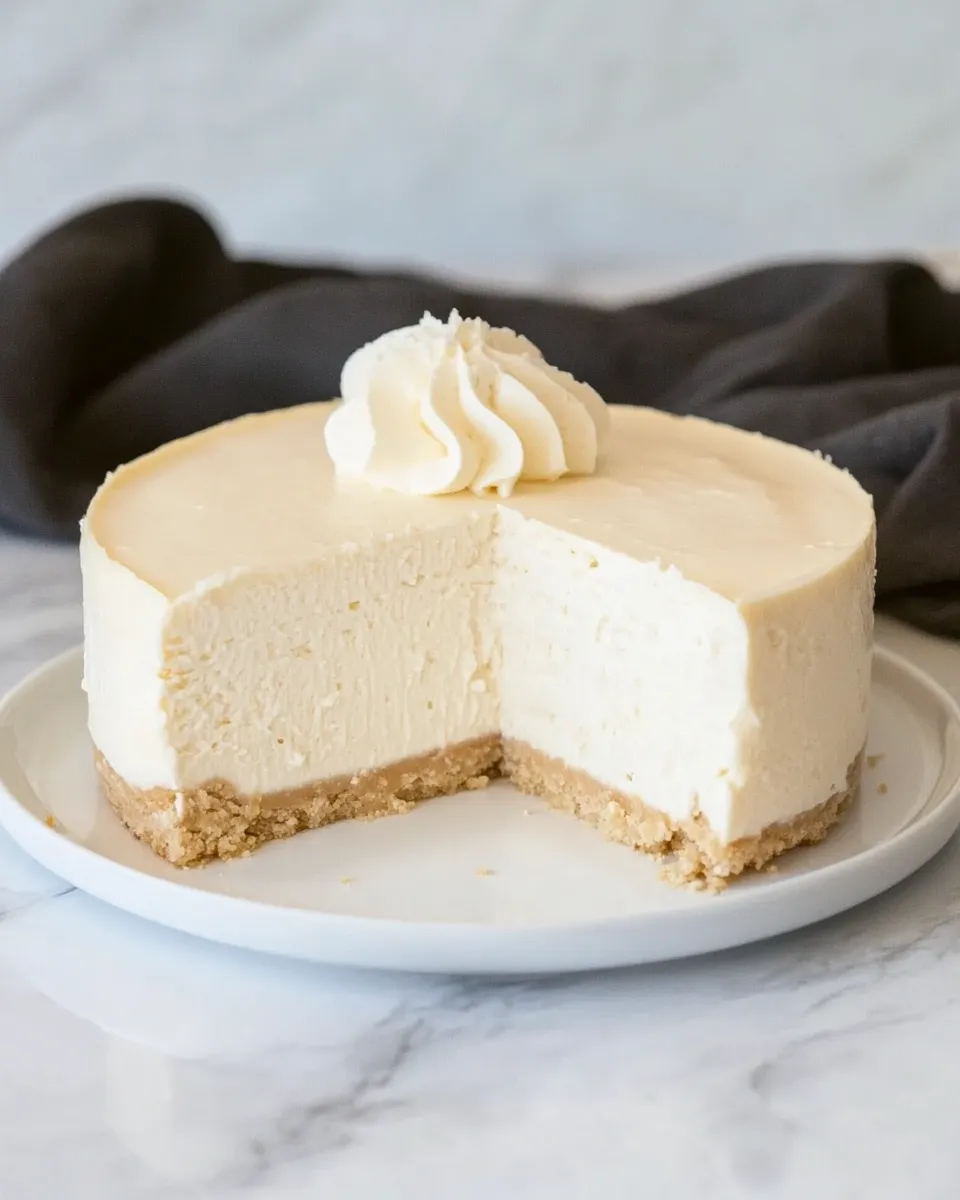
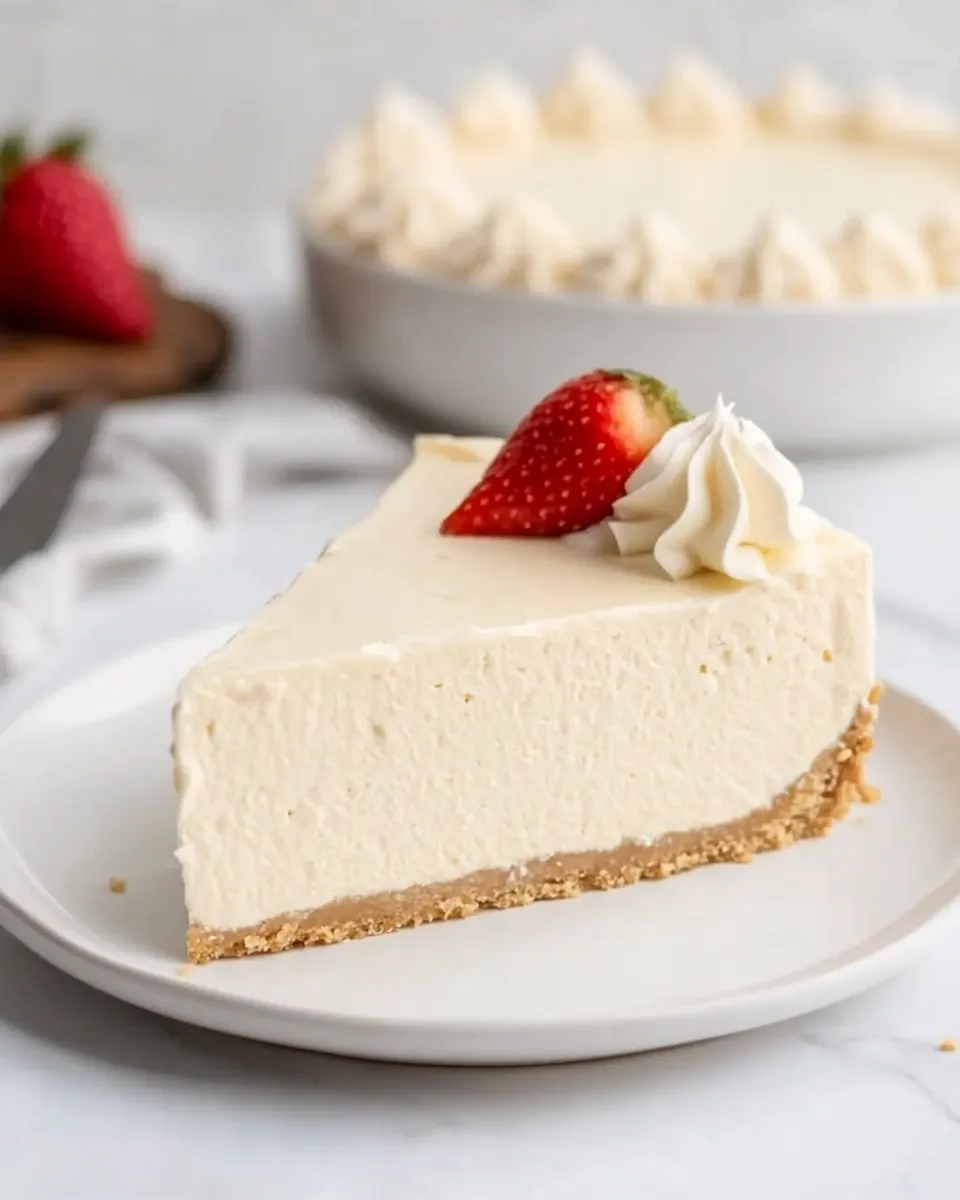
This no-bake keto cheesecake is one of those recipes I make when I want a dessert that feels indulgent but stays low-carb. It’s rich, creamy, and freezes into a sliceable, satisfying cake without any oven time. The texture comes from a blend of soaked cashews, cream cheese, coconut oil and coconut milk—simple building blocks that combine into a smooth, firm filling.
There’s a short prep window and a longer waiting period in the freezer, which makes this a great make-ahead dessert for busy evenings or entertaining. If you like a crisp crust, use the keto graham cracker crust called for here. If you’re avoiding crusts, the recipe works just as well crustless—just grease the pan and freeze the filling directly.
Below you’ll find everything you need: a clear ingredients list, step-by-step instructions taken from the tested directions, gear and timing notes, and practical troubleshooting. Follow the steps precisely for the best results; small details—like how warm your coconut milk mix is when it hits the blender—make a big difference.
What You’ll Need
Ingredients
- 1 recipe keto graham cracker crust — base for the cheesecake; follow the crust recipe called for or use a greased pan for crustless.
- 2 cups raw cashews soaked overnight — the primary dairy-free base for creaminess; draining and rinsing removes soaking liquid and yields a smoother blend.
- 1/2 cup coconut oil — helps the filling set when chilled; melt gently before use.
- 3/4 cup coconut milk — adds fat and richness; warm with the sweetener so it blends smoothly.
- 3/4 cup allulose — the sweetener in the filling; dissolves into the warm coconut milk.
- 1 teaspoon vanilla extract — flavoring; adds depth to the filling.
- 1 cup cream cheese dairy free or standard — provides structure and tang; use dairy-free or standard per your preference.
Cooking (No Bake Keto Cheesecake): The Process
- Prepare the 1 recipe keto graham cracker crust in an 8-inch springform pan according to the crust recipe. If you prefer a crustless cheesecake, grease an 8-inch pan and set it aside.
- Drain and rinse the 2 cups raw cashews that were soaked overnight; set them aside.
- In a small saucepan, combine 3/4 cup coconut milk and 3/4 cup allulose. Heat over medium-low, stirring, until the allulose has fully dissolved and the mixture is warm but not boiling. Remove from heat and let cool until just warm.
- If the 1/2 cup coconut oil is solid, melt it until liquid (microwave briefly or use a double boiler). Let it cool slightly if very hot.
- In a high-speed blender or food processor add the drained cashews, the melted coconut oil, the cooled coconut milk/allulose mixture, and 1 teaspoon vanilla extract. Blend until very smooth, stopping to scrape down the sides as needed.
- Add 1 cup cream cheese to the blender or processor and blend again until the filling is completely smooth and well combined.
- Pour the filling into the prepared crust (or the greased pan if crustless). Smooth the top with a spatula.
- Freeze the cheesecake until firm, at least 3 hours or overnight for best texture.
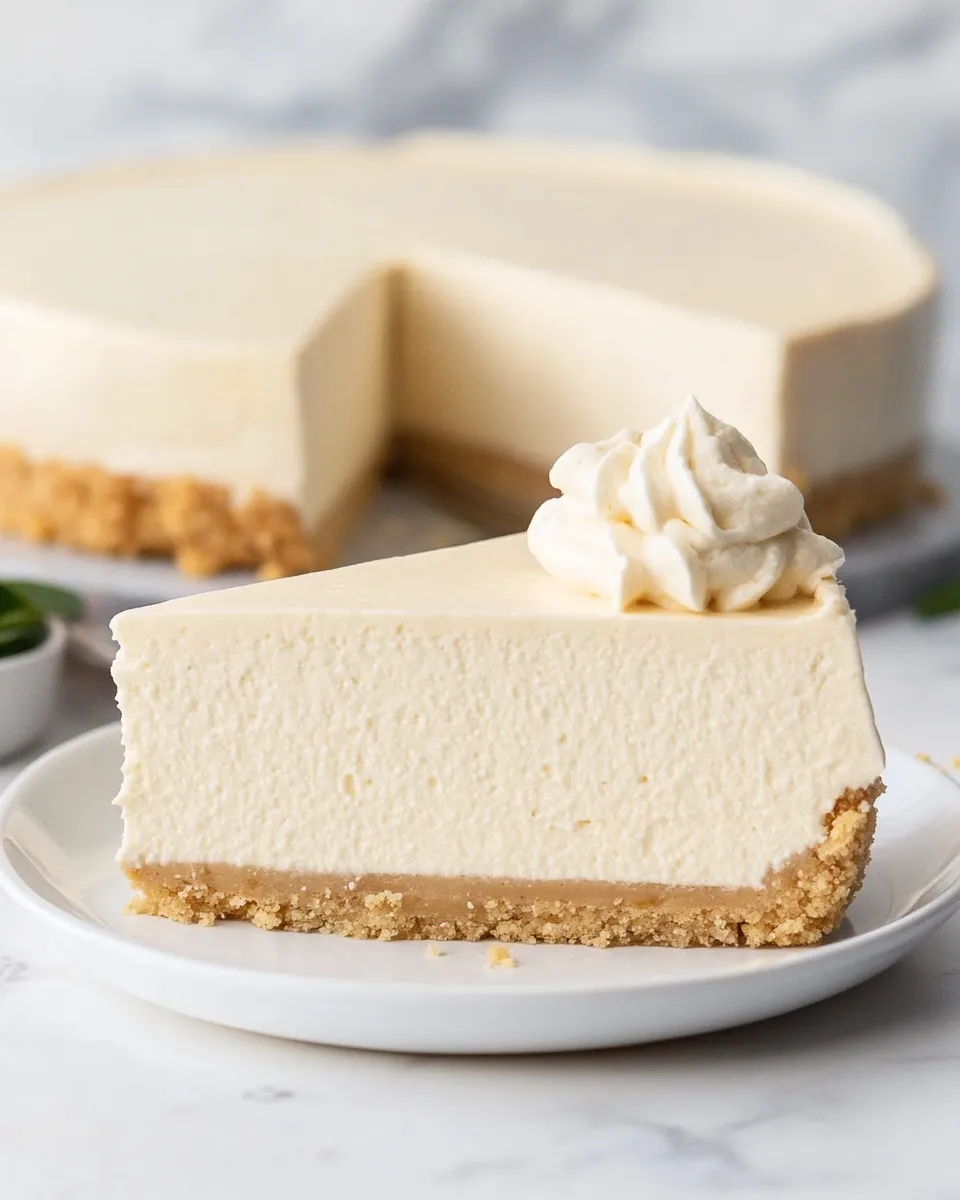
- To serve, remove the cheesecake from the freezer. If using a springform pan, release the ring; if needed, let the cheesecake sit at room temperature 10–15 minutes to soften slightly for easier slicing. Use a sharp knife (wipe clean between cuts) to slice and serve.
Why This Recipe Is Reliable
This recipe is dependable because it relies on tested texture-building techniques rather than tricks. Soaked cashews blended until smooth mimic the mouthfeel of traditional cheesecakes without relying on eggs or baking. The combination of coconut oil and cooled coconut milk helps the filling set firmly in the freezer and hold its shape once sliced.
The step where you warm the coconut milk with the sweetener and then cool it slightly is crucial. Dissolving the allulose into warm coconut milk prevents graininess. Similarly, starting with cashews that were soaked overnight ensures the blender can achieve a genuinely silky filling, rather than a nutty, grainy texture.
The recipe’s timing is forgiving when it comes to chilling. Freezing at least three hours produces a firm cake; overnight gives the best texture. Those clear time windows and the avoidance of ovens or precise baking temperatures make this recipe repeatable and accessible.
Ingredient Swaps & Substitutions
- Crust vs. crustless — the recipe supports either approach: use the keto graham cracker crust or grease the pan and go crustless.
- Cream cheese option — the ingredient list already allows either dairy-free or standard cream cheese, so pick the version that fits your diet.
- Sweeter expectations — this recipe uses the sweetener listed; any change in sweetener type or amount will alter sweetness and freeze texture, so adjust cautiously and test in a small batch if you must switch.
- Fats and texture — coconut oil is part of the setting mechanism. Swapping it for another fat will change mouthfeel and the way the filling firms, so expect differences if you change fat types.
Gear Checklist
- 8-inch springform pan (preferred) or an 8-inch round pan for crustless versions.
- High-speed blender or food processor capable of producing a very smooth nut-based filling.
- Small saucepan for dissolving the allulose into the coconut milk.
- Flexible spatula for smoothing the filling and scraping the blender.
- Measuring cups and spoons to keep the proportions accurate.
- Fine-mesh strainer or colander for draining and rinsing soaked cashews.
- Sharp chef’s knife for clean slices; a towel to wipe the blade between cuts.
Pitfalls & How to Prevent Them
- Grainy filling — if the sweetener isn’t fully dissolved or the cashews weren’t soaked long enough, the texture can be gritty. Prevent it by soaking cashews overnight and dissolving the sweetener fully in warm coconut milk, then allowing it to cool slightly before blending.
- Separation or oily surface — blending hot liquids with cold fats can cause separation. Ensure the melted coconut oil and coconut milk/allulose mix have cooled until just warm before adding to the blender.
- Too firm to slice — if frozen solid, the slices will be brittle. Let the cheesecake sit 10–15 minutes at room temperature before slicing so it softens just enough to cut cleanly.
- Too soft/doesn’t hold shape — not freezing long enough or skimping on the coconut oil can lead to a filling that won’t set. Freeze at least three hours; overnight is best.
- Messy slices — a dull or dirty knife tears the cake. Use a very sharp knife and wipe it between cuts for neat slices.
Holiday & Seasonal Touches
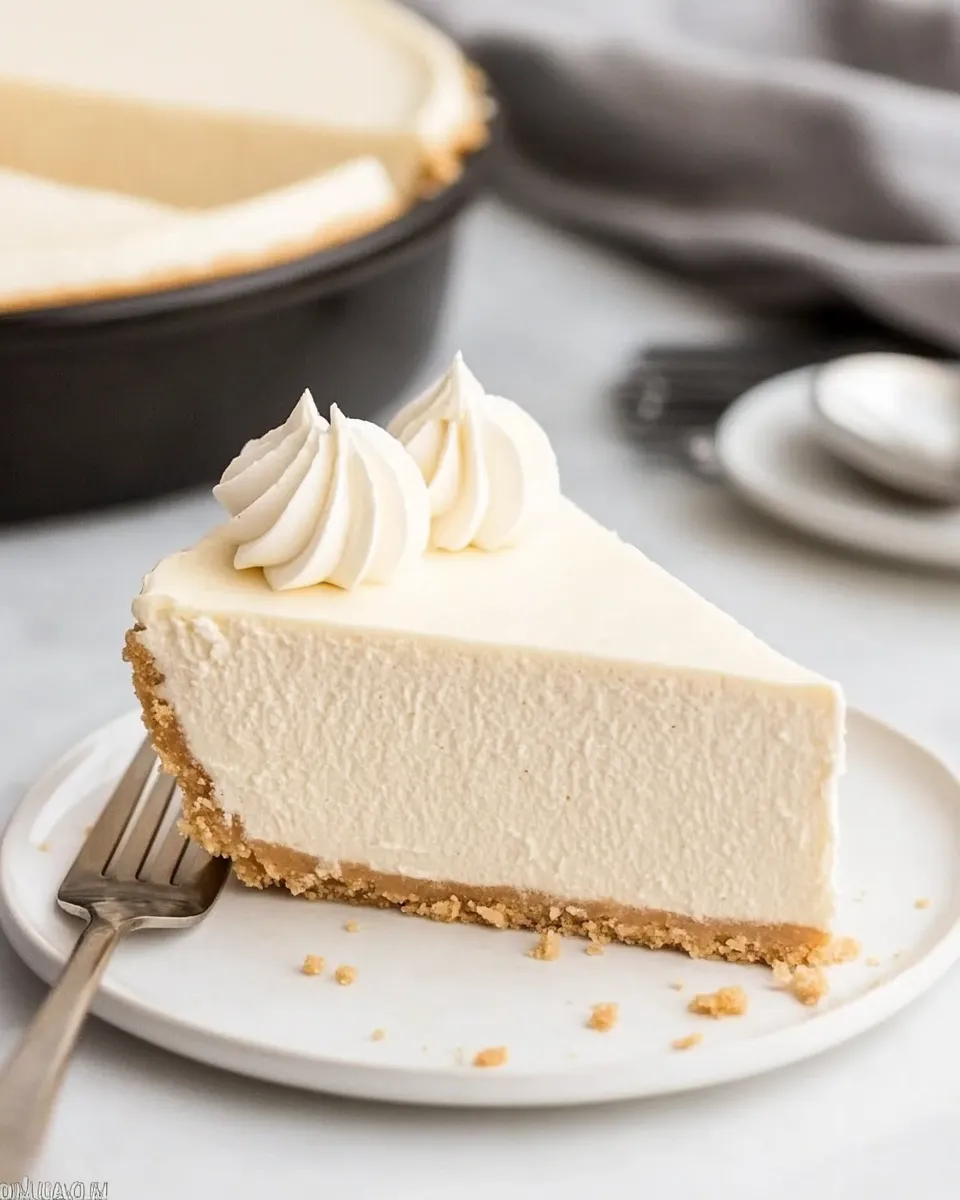
This cheesecake is a strong blank canvas because the filling is clean and slightly tangy. For holidays or seasonal meals, serve smaller slices to keep carbs in check and let the cheesecake be the creamy anchor of a dessert plate. The recipe freezes well, so you can make it a day or two ahead and bring it to a party straight from the freezer.
Because the filling is neutral, you can plan complementary touches—fresh items, sauces, or garnishes handled separately at serving time—so guests add what they like without changing the main cake’s texture. That approach keeps prep simple and lets you adapt to different dietary needs at the table.
Notes from the Test Kitchen
We tested this several times with slight variations in blender speed and chilling time. A high-speed blender makes a meaningful difference; if you’re using a smaller processor, scrape and blend in stages until the mix is velvety. Patience at the blending stage pays off. If the filling still seems slightly grainy, continue blending and give it another scrape and whirl.
We also found that cooling the coconut milk/allulose mix so it’s merely warm—not hot—before adding it to the blender prevents any melting of the coconut oil or cream cheese that would change texture. If you accidentally add a hot mixture, let the combined mix rest in the refrigerator briefly before pouring into the crust to avoid settling issues.
Timing notes: three hours will produce a firm, sliceable cake for most freezers, but if your freezer runs warm, allow a full night. Conversely, if you want to serve softer slices sooner, remove the cake after two hours and let it sit a bit at room temperature before cutting, but be mindful that it may be slightly softer than ideal.
Meal Prep & Storage Notes
- Make-ahead — the cake keeps well in the freezer for up to 2–3 weeks wrapped tightly (release the springform ring, wrap the cake or individual slices to avoid freezer burn).
- Serving from frozen — transfer to the refrigerator for 30–60 minutes before serving, or let slices sit at room temperature 10–15 minutes for easier cutting.
- Portioning — slice the cake while slightly softened for cleaner cuts, then return individual slices to the freezer or fridge as needed.
Troubleshooting Q&A
- Q: My filling is a bit grainy. What went wrong?
- A: Likely causes are insufficient cashew soaking or undissolved sweetener. Soak cashews overnight and be sure the allulose is fully dissolved in the warm coconut milk before blending. Blend longer and scrape frequently.
- Q: The cheesecake didn’t set firmly enough.
- A: Either it didn’t freeze long enough or there wasn’t enough fat to set. Freeze at least three hours; overnight is better. Confirm coconut oil was used and fully incorporated.
- Q: The surface looks oily after freezing.
- A: This can happen if the oil separates during blending. Ensure the coconut oil and coconut milk mix are not too hot when combined, and blend until smooth to emulsify.
- Q: How do I get clean slices?
- A: Use a sharp knife and wipe it clean between cuts. Allow the cake to sit 10–15 minutes at room temperature if it’s too hard straight from the freezer.
Before You Go
Make this cheesecake when you want a low-carb dessert that still feels special. Follow the soaking and warming steps precisely, use a reliable blender, and give it the freeze time it needs. It’s a make-ahead winner: effortless to prepare and easy to serve, especially when guests arrive or when you want a simple treat for evenings in.
If you try it, come back and tell me how it turned out—what crust you used, how you served it, and whether you prefer dairy-free or classic cream cheese. Small adjustments change texture and flavor in predictable ways, and sharing those details helps us all make better cheesecakes next time.
No Bake Keto Cheesecake
Ingredients
Ingredients
- 1 recipeketo graham cracker crust
- 2 cupsraw cashewssoaked overnight * See notes
- 1/2 cupcoconut oil
- 3/4 cupcoconut milk
- 3/4 cupallulose
- 1 teaspoonvanilla extract
- 1 cupcream cheesedairy free or standard
Instructions
Instructions
- Prepare the 1 recipe keto graham cracker crust in an 8-inch springform pan according to the crust recipe. If you prefer a crustless cheesecake, grease an 8-inch pan and set it aside.
- Drain and rinse the 2 cups raw cashews that were soaked overnight; set them aside.
- In a small saucepan, combine 3/4 cup coconut milk and 3/4 cup allulose. Heat over medium-low, stirring, until the allulose has fully dissolved and the mixture is warm but not boiling. Remove from heat and let cool until just warm.
- If the 1/2 cup coconut oil is solid, melt it until liquid (microwave briefly or use a double boiler). Let it cool slightly if very hot.
- In a high-speed blender or food processor add the drained cashews, the melted coconut oil, the cooled coconut milk/allulose mixture, and 1 teaspoon vanilla extract. Blend until very smooth, stopping to scrape down the sides as needed.
- Add 1 cup cream cheese to the blender or processor and blend again until the filling is completely smooth and well combined.
- Pour the filling into the prepared crust (or the greased pan if crustless). Smooth the top with a spatula.
- Freeze the cheesecake until firm, at least 3 hours or overnight for best texture.
- To serve, remove the cheesecake from the freezer. If using a springform pan, release the ring; if needed, let the cheesecake sit at room temperature 10–15 minutes to soften slightly for easier slicing. Use a sharp knife (wipe clean between cuts) to slice and serve.
Equipment
- 8-inch springform pan (or 8-inch pan)
- Small Saucepan
- High-Speed Blender or Food Processor
- Spatula
- Sharp Knife
Notes
* To soak cashews, place raw cashews in a bowl and cover with water for at least 6 hours. For a quicker method, top cashews with boiling water and let sit for 2 hours.
TO STORE:
Leftover cheesecake should be stored in an airtight container in the fridge for 1 week.
TO FREEZE:
Place slices in a freezer-safe container and freeze for up to 6 months. Let it thaw for several hours in the fridge.