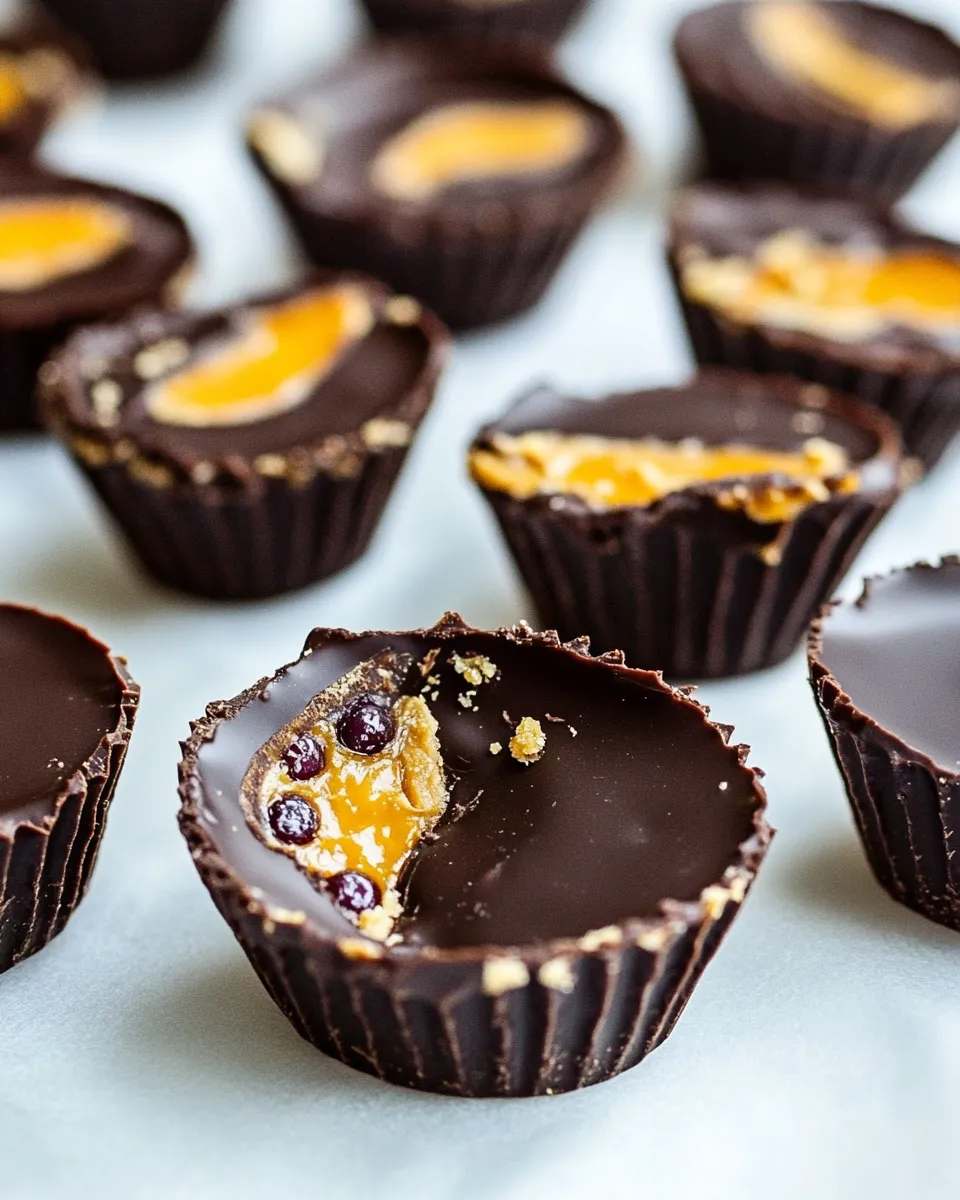
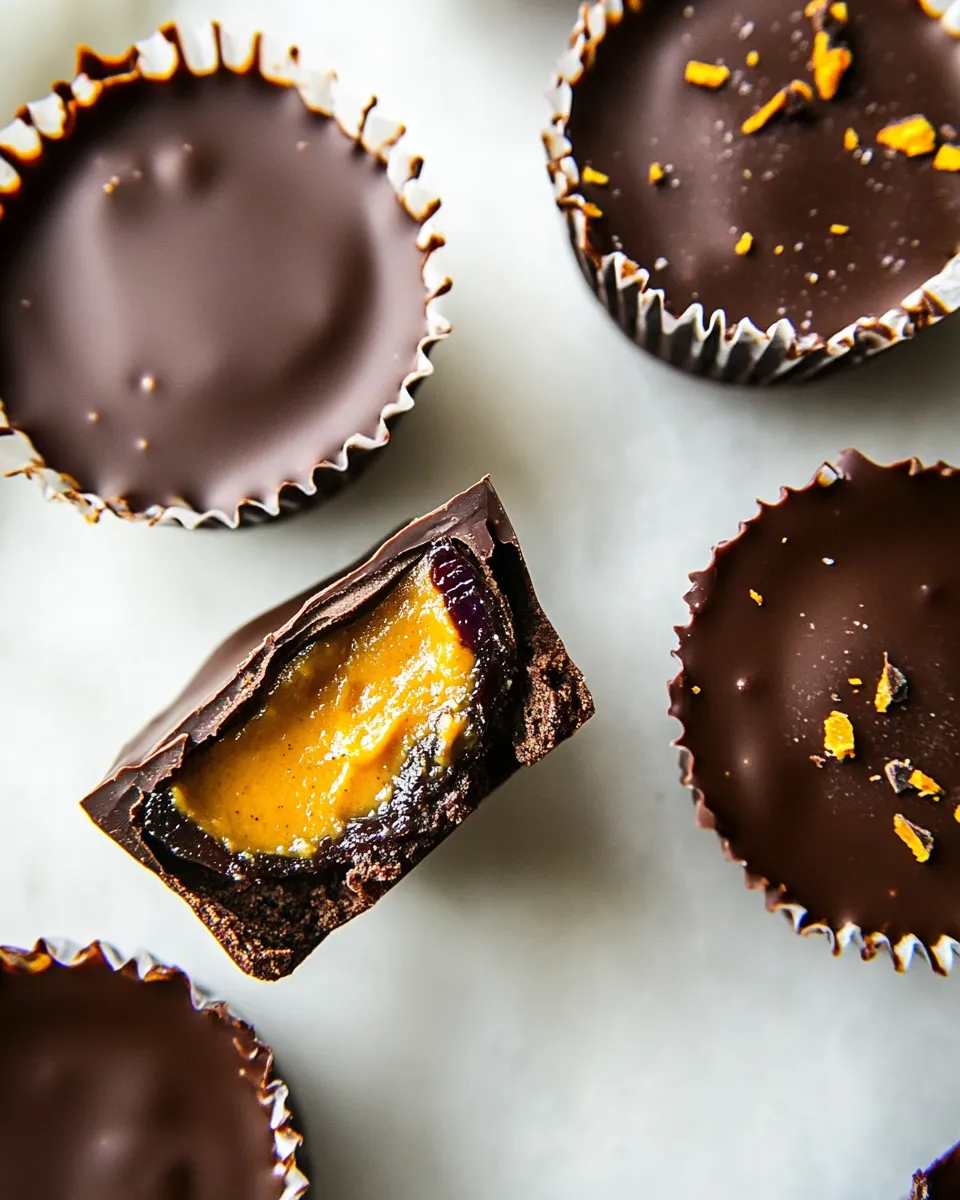
These little cups are one of my favorite no-fuss treats to make when I want something nostalgic but a bit grown-up. Think of the classic sandwich—peanut butter and jelly—but wrapped in dark chocolate, with a little pinch of salt to wake up the flavors. They come together fast, store well, and make excellent gifts or party bites.
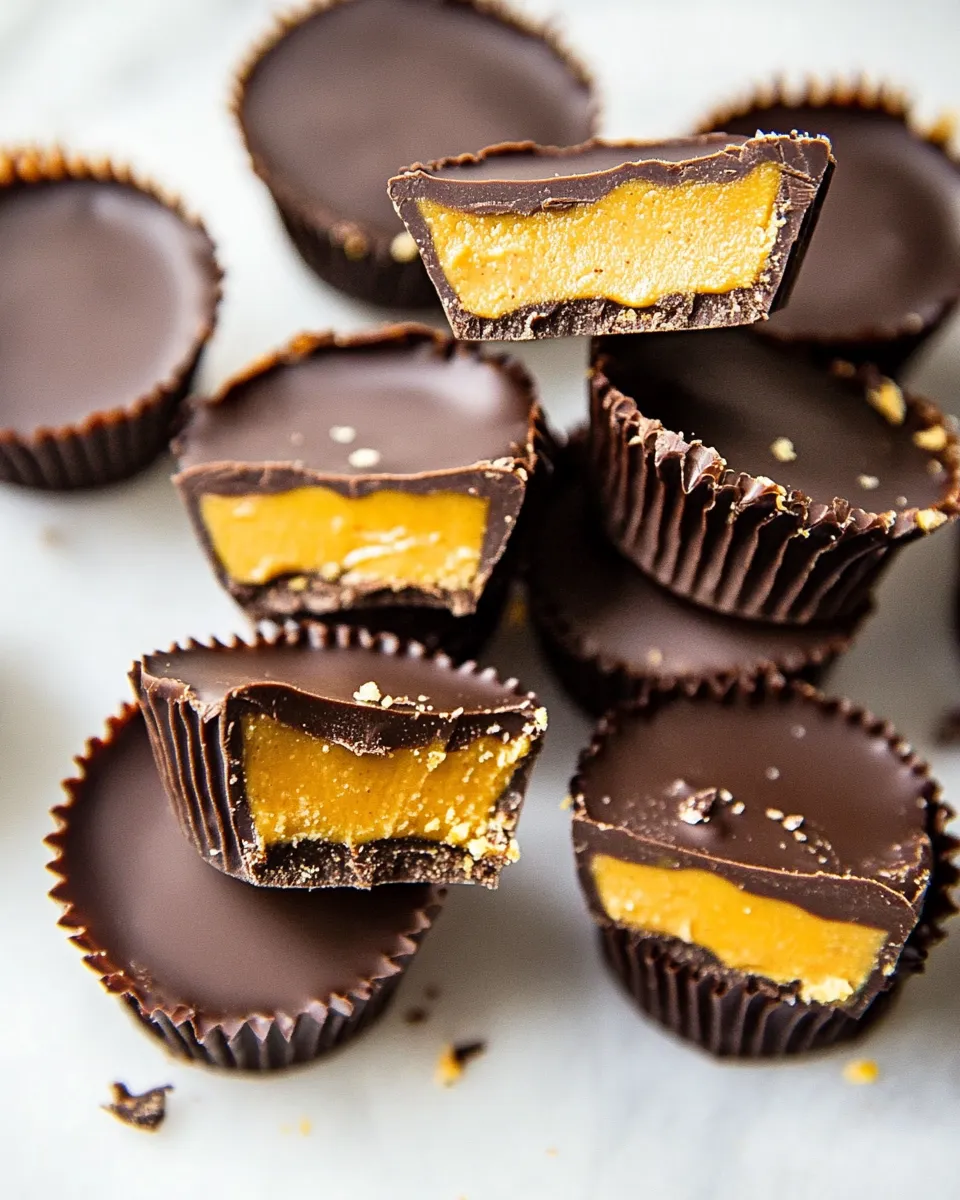
I keep a tray in the freezer because they’re so easy to grab and eat. The technique is forgiving: if your first shell isn’t perfect, you can warm the chocolate and smooth it again. The texture is a simple contrast of crisp chocolate, creamy peanut butter, and a hit of jam—exactly what you want from a small dessert.
No fancy tempering required unless you want glossy chocolate that snaps at room temperature. Even untempered dark chocolate sets beautifully in the freezer, so these are ideal for quick chocolate work with minimal tools.
What Goes In
Ingredients
- 8oz dark chocolate — the shell: provides structure, snap, and a cocoa-bitter counterpoint to the fillings.
- ¼ cup smooth peanut butter — the creamy, salty core that pairs with both chocolate and jam.
- ¼ cup jelly or jam of choice — adds sweetness, fruit brightness, and a contrasting texture.
- Flaked or coarse salt, optional — a light sprinkle enhances chocolate and peanut butter flavors; use sparingly.
Chocolate Peanut Butter and Jelly Cups in Steps
- Line a mini muffin tray with 24 mini muffin liners and place the tray in the refrigerator or freezer to chill while you prepare the chocolate.
- Melt the 8 oz dark chocolate: break into small pieces if using a bar. Microwave in 30-second intervals, stirring between intervals, until smooth and fully melted. OR set a heatproof bowl over a saucepan with about 1 cup simmering water (bowl should not touch the water) and stir the chocolate in the bowl until melted. Remove from heat.
- Spoon about 1 teaspoon of the melted chocolate into each chilled muffin liner. Tilt and rotate the muffin tin or use a spoon to spread the chocolate up the sides of each liner to form a shell, leaving the center open. Set the tray in the freezer for 5–10 minutes, until the chocolate shells are firm.
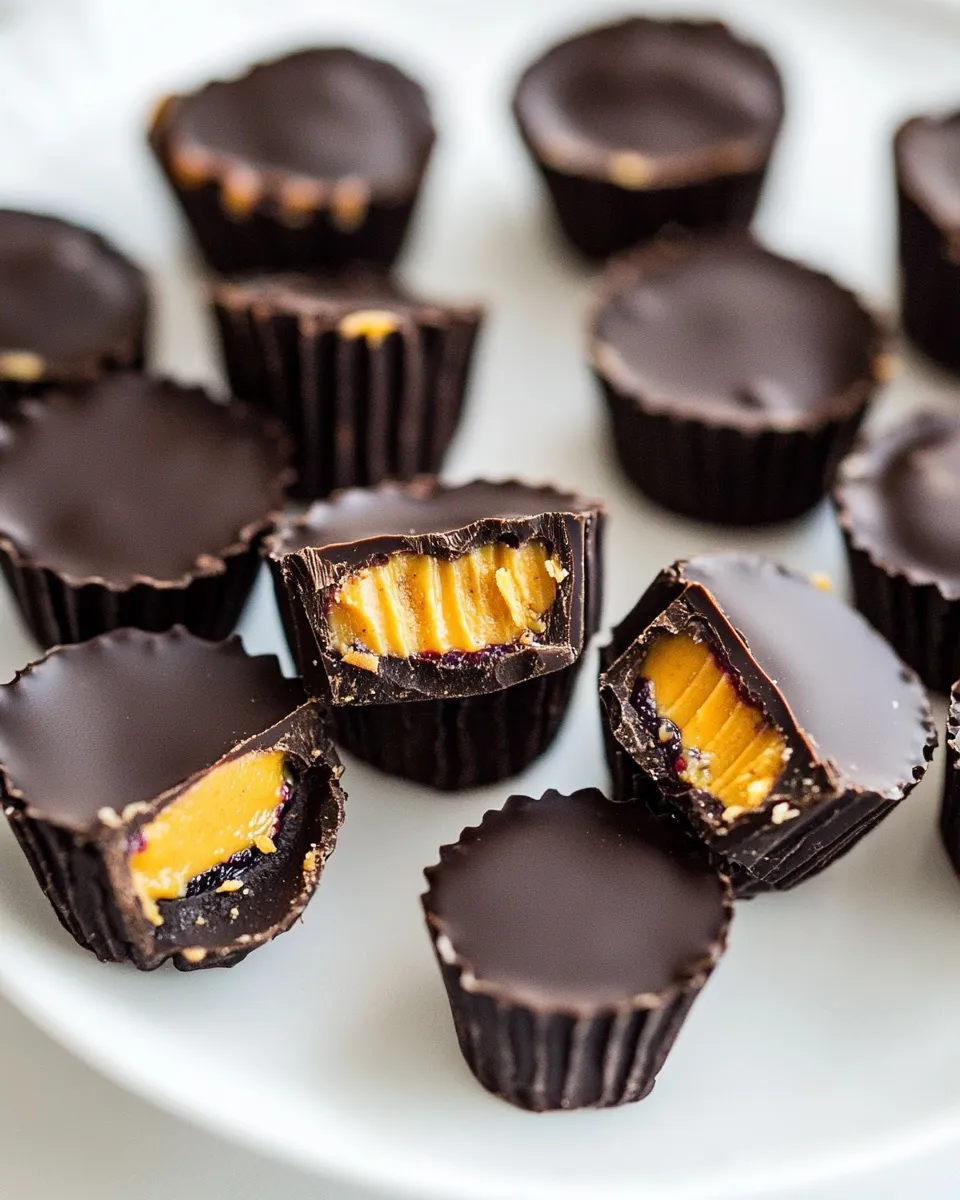
- Remove the tray from the freezer. Place about 1/2 teaspoon smooth peanut butter into the center of each chocolate shell, then place about 1/2 teaspoon jelly or jam on top of the peanut butter (try to keep the fillings away from the shell edges).
- If the melted chocolate has cooled and thickened, gently reheat it until pourable. Spoon about 1 teaspoon of melted chocolate over the top of each filled cup to fully seal the filling.
- Sprinkle a small pinch of flaked or coarse salt on each cup if desired. Return the tray to the freezer for 5–10 minutes, until the tops are set.
- Remove the cups from the liners and enjoy immediately, or store chilled.
Why You’ll Keep Making It
These cups hit a familiar comfort note with very little work. The ratio of chocolate to filling is forgiving, so you can make dozens in one go and never second-guess whether each bite is balanced. They come together in stages with simple cooling steps, so you can do other things in between—wash up, make coffee, or wrap them for a friend.
The flavor combination is timeless. Dark chocolate tames the sweetness, peanut butter brings savory richness, and jam adds a bright, fruity lift. A tiny pinch of salt turns the whole thing from sweet snack into something addictive. Once you make a batch, they disappear fast; you’ll want to keep a stash on hand for last-minute guests or an instant dessert.
Easy Ingredient Swaps
- Swap the chocolate type by choosing a lighter or darker cocoa percentage for a more or less bitter shell.
- Use a different nut or seed spread in place of the peanut butter if you prefer a different flavor profile.
- Try a different fruit spread for the jelly layer to change the character—tart preserves create a livelier bite.
- Skip the salt if you prefer truly sweet cups; or use a finishing salt for a stronger contrast.
Tools of the Trade
You don’t need much to make these. A mini muffin tin and liners are the core equipment. A microwave-safe bowl or a heatproof bowl for a double boiler is handy for melting chocolate. Use a small spoon for spreading and portioning, or pastry brushes if you have them and want neater shells. Finally, a small freezer or space in your regular freezer speeds up the setting stages.
Troubles You Can Avoid
Chocolate seizing or thickening is the most common hiccup. If your chocolate becomes grainy, it’s usually due to moisture or overheating. Warm it gently over low heat and stir continuously; if moisture hit it, a little extra fresh chocolate melted and stirred in can often smooth the mixture.
Thin shells are another issue. Make sure you spread the chocolate up the sides evenly and chill long enough so the shell firms before adding the fillings. If a shell tears when you unmold, the fix is simple: remelt some chocolate, patch the break, and chill again.
Make It Diet-Friendly
If you’re watching sugar or calories, focus on small changes rather than drastic ones. Use a dark chocolate with a higher cocoa percentage to reduce sugar per piece. Choose a fruit spread with lower sugar or a reduced-sugar jam. Portion control here works in your favor—mini cups give you a satisfying bite without overdoing it.
For peanut allergies, substitute another creamy spread from the same jar in the swaps suggestion. Keep in mind that texture and flavor will change, so test one or two before committing to a full batch for a group.
Flavor Logic
This recipe rests on contrasts. Dark chocolate brings bitterness and structure; peanut butter adds fat and savory depth; and jelly brings acidity and sweetness. The chocolate shell isolates the filling flavors until the cup breaks in your mouth, which creates that first pleasurable pop of contrast. Salt acts as a bridge, amplifying chocolate and peanut butter while making the jam taste brighter.
Temperature matters, too. Cold cups are firmer and more candy-like; if you let them warm slightly, the peanut butter softens and the jam becomes more pronounced. That change in mouthfeel is part of the fun—decide whether you want them straight from the freezer or slightly chilled at room temperature.
Keep It Fresh: Storage Guide
These cups store well chilled. Keep them in an airtight container in the refrigerator if you plan to eat them within a week. For longer storage, freeze them for up to one month. Thaw in the refrigerator or at room temperature for a few minutes before serving if frozen.
When packing for gifting, use parchment squares or mini paper liners to keep them from sticking together. Keep them cool during transport; chocolate can sweat if it moves from cold to hot quickly. If condensation forms, blot gently before serving to keep the presentation clean.
Quick Q&A
- Can I use milk chocolate? Yes; it will be sweeter and softer at room temperature than dark chocolate.
- Do I need to temper the chocolate? No, not for freezer-set cups. Tempering gives a glossy finish and room-temperature snap, which is optional.
- Can I make these larger? You can scale to a standard muffin tin, but adjust filling volumes proportionally and expect longer chilling times.
- Will the jelly make the shell soggy? If you keep the filling away from the shell edges and seal well with chocolate, the shell stays crisp.
Ready to Cook?
Gather your 8oz dark chocolate, ¼ cup smooth peanut butter, ¼ cup jelly, and optional flaked salt. Chill your-lined mini muffin tin, melt the chocolate, build shells, and fill. The method is straightforward and forgiving. Work in short stages and use the freezer to firm shells quickly. In about 30–40 minutes you’ll have a tray of irresistible Chocolate Peanut Butter and Jelly Cups ready to eat or share.
If you make a batch, take a mental note of which jam you used and how much salt you sprinkled; small tweaks make a big difference on the second round. Enjoy the play of bitter, salty, creamy, and sweet—simple components that combine into something greater than the sum of their parts.

Chocolate Peanut Butter and Jelly Cups
Ingredients
Ingredients
- 8 ozdark chocolate
- 1/4 cupsmooth peanut butter
- 1/4 cupjelly or jam of choice
- Flaked or coarse salt optional
Instructions
Instructions
- Line a mini muffin tray with 24 mini muffin liners and place the tray in the refrigerator or freezer to chill while you prepare the chocolate.
- Melt the 8 oz dark chocolate: break into small pieces if using a bar. Microwave in 30-second intervals, stirring between intervals, until smooth and fully melted. OR set a heatproof bowl over a saucepan with about 1 cup simmering water (bowl should not touch the water) and stir the chocolate in the bowl until melted. Remove from heat.
- Spoon about 1 teaspoon of the melted chocolate into each chilled muffin liner. Tilt and rotate the muffin tin or use a spoon to spread the chocolate up the sides of each liner to form a shell, leaving the center open. Set the tray in the freezer for 5–10 minutes, until the chocolate shells are firm.
- Remove the tray from the freezer. Place about 1/2 teaspoon smooth peanut butter into the center of each chocolate shell, then place about 1/2 teaspoon jelly or jam on top of the peanut butter (try to keep the fillings away from the shell edges).
- If the melted chocolate has cooled and thickened, gently reheat it until pourable. Spoon about 1 teaspoon of melted chocolate over the top of each filled cup to fully seal the filling.
- Sprinkle a small pinch of flaked or coarse salt on each cup if desired. Return the tray to the freezer for 5–10 minutes, until the tops are set.
- Remove the cups from the liners and enjoy immediately, or store chilled.
Equipment
- mini muffin tray
- mini muffin liners
- Refrigerator
- freezer
- Microwave
- Heatproof bowl
- Saucepan
- Spoon
Notes
Chocolate
: You can use any type of melting chocolate you like. I prefer to keep these a little on the healthier side by using 60% or more dark chocolate but milk or even white chocolate will work.