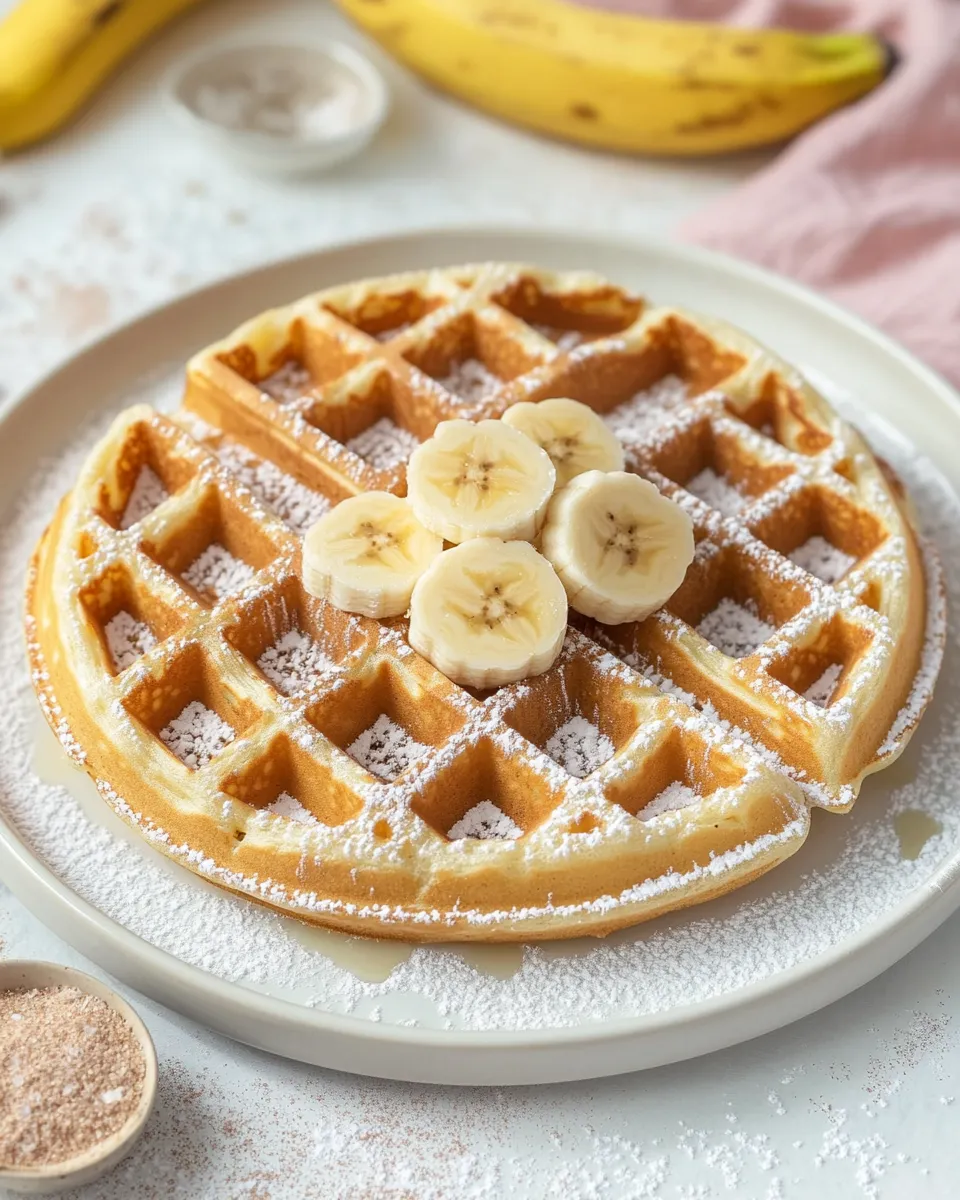
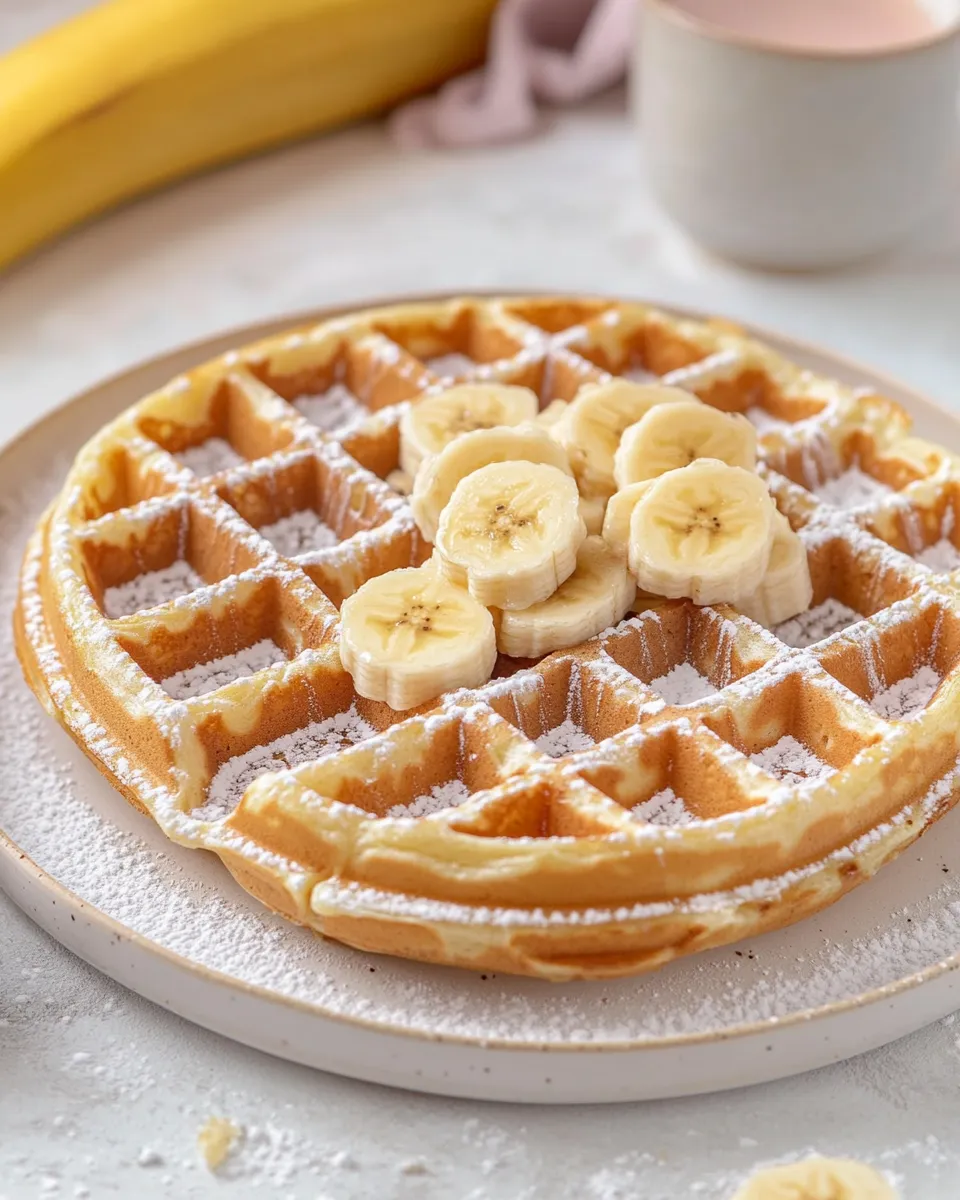
There’s a reason banana waffles show up on my weekend rotation: they’re forgiving, fast, and the kind of comfort that doesn’t demand a lot of fuss. Ripe banana adds natural sweetness and moisture, cinnamon brings a cozy note, and the batter comes together in one bowl. You’ll have golden, crisp waffles on the table while still feeling like you made something with care.
I write recipes I actually make, and this one lives in heavy rotation on busy mornings and slow Sundays alike. The technique is straightforward, and the results are dependable—crispy on the outside, tender inside, with little pockets of banana flavor throughout. No elaborate ingredients, no long waits.
Below I walk through what to buy, how to prep, and what to watch for. I include sensible swaps, gear suggestions, and answers to the questions you’ll probably have once your first waffle is in the air. Let’s get to it—these waffles are worth the short effort.
What to Buy
Buy ripe bananas: the riper, the better—spots and softness mean more flavor and sweetness. Pick up a reliable all-purpose flour and fresh-baked powder for lift. If you don’t keep canola on hand, vegetable oil works fine. Eggs, milk, sugar and a pinch of cinnamon round this out. A good waffle iron makes the process easier but the recipe will work with most home models.
Ingredients
- 1 medium, ripe banana — provides natural sweetness, moisture, and banana flavor; mash until mostly smooth.
- 2 tablespoons light canola or vegetable oil — adds fat for tenderness and helps the waffles brown.
- 2 large eggs — bind the batter and add structure and richness.
- 1 3/4 cups all-purpose flour — the base of the batter; gives body and structure.
- 1 tablespoon baking powder — the leavening agent; critical for lift and fluff.
- 1/4 teaspoon salt — balances sweetness and enhances flavor.
- 3 tablespoons granulated sugar — adds sweetness and helps with browning.
- 1/2 teaspoon ground cinnamon — warm spice that pairs with banana without overpowering.
- 1 1/3 cups milk — hydrates the dry ingredients and makes the batter scoopable; whole milk gives richer flavor but any milk works.
Banana Waffles: From Prep to Plate
Follow these steps in order. The method is simple and reliable, and resting the batter briefly makes a noticeable difference in texture.
- Preheat your waffle iron according to the manufacturer’s instructions.
- In a medium mixing bowl, mash 1 medium ripe banana with a fork until mostly smooth (small lumps are fine).
- Add 2 tablespoons light canola or vegetable oil and 2 large eggs to the mashed banana; whisk until well combined.
- In a separate bowl, whisk together 1 3/4 cups all-purpose flour, 1 tablespoon baking powder, 1/4 teaspoon salt, 3 tablespoons granulated sugar, and 1/2 teaspoon ground cinnamon until evenly distributed.
- Add the dry ingredients to the banana mixture and stir gently until just incorporated — do not overmix.
- Gradually pour in 1 1/3 cups milk while stirring until the batter is just smooth and free of large lumps.
- Let the batter rest for 5–10 minutes.
- If your waffle iron requires greasing, follow the manufacturer’s recommendation. Pour the appropriate amount of batter onto the preheated waffle iron and cook according to the manufacturer’s instructions until the waffles are golden and crisp.
- Transfer cooked waffles to a wire rack to keep them crisp while you finish cooking the remaining batter.
- Serve the waffles warm.
Why Cooks Rave About It
These waffles hit the sweet spot between comfort food and efficiency. Banana is a natural sweetener, so you get depth without needing a long list of add-ins. The batter is forgiving: slight overmixing won’t ruin it, and imperfectly mashed bananas still add a lot of character.
The formula balances crispness and tenderness. Baking powder gives lift and a light crumb; oil keeps them crisp and helps browning; eggs provide structure. Letting the batter rest lets the flour hydrate and the baking powder do its work so the waffles cook evenly. That few-minute pause pays off.
Budget & Availability Swaps

- Bananas: Use overripe bananas you might otherwise toss to stretch your grocery budget. They’ll be sweeter and more flavorful.
- Oil: If you’re out of canola or vegetable oil, substitute the same amount of melted butter. The flavor will be richer and slightly more indulgent.
- Milk: Any dairy or plant milk (almond, oat, soy) works here; thickness may vary. If using lower-fat milk, the waffles will still work but may be slightly less rich.
- Flour: All-purpose is the target. If you only have whole-wheat flour, use half whole-wheat, half all-purpose for better texture.
Gear Up: What to Grab
You don’t need a lot. A medium mixing bowl, a fork to mash the banana, a whisk, and a spatula are the essentials. A reliable waffle iron is the biggest variable; mine is a two-plate model with adjustable heat. If your iron has a nonstick surface, you may not need to oil it, but always check the manual.
Nice-to-haves
- Wire rack: keeps waffles crisp after cooking.
- Measuring cup or scoop: helps portion batter consistently for evenly cooked waffles.
- Kitchen timer: takes the guesswork out of cooking times if your waffle iron doesn’t have a light or beep.
Problems & Prevention
If waffles come out soggy:
- Preheat the waffle iron fully. If it isn’t hot enough, waffles will steam rather than crisp.
- Avoid stacking cooked waffles on a plate—use a wire rack to let steam escape.
If waffles are dense or heavy:
- Measure flour accurately; spoon it into the measuring cup and level it off instead of scooping, which packs flour and adds too much.
- Don’t overmix after combining wet and dry—mix until just incorporated.
If waffles burn on the outside but are undercooked inside:
- Lower the heat setting and cook a bit longer, or use smaller portions of batter so they cook through without overbrowning.
Customize for Your Needs
Want more banana punch? Mash an extra half banana into the batter, but expect a bit more moisture—reduce milk by a tablespoon if the batter looks very loose. Serving a crowd? Double the recipe and keep cooked waffles warm in a low oven (200°F/95°C) on a wire rack so they stay crisp.
Gluten-free? Use a 1:1 gluten-free blend that includes xanthan gum. The texture will be slightly different but perfectly tasty. Dairy-free? Swap in your preferred plant milk.
Make them richer: swap oil for melted butter and add a teaspoon of vanilla extract to the wet mix. For a crunch, fold in chopped toasted nuts or sprinkle them on top when serving.
If You’re Curious
Waffles belong to a long tradition of batter-cooked breakfasts and street foods. The rising agent here—baking powder—creates lift quickly, which is why the batter rests only briefly. The banana contributes sugars that caramelize during cooking, giving those deep golden spots and extra flavor. That caramelization plus a hot iron is why crisp edges form even with a moister interior.
Storing Tips & Timelines
Leftover waffles store well. Cool them completely on a wire rack before storing to avoid condensation. For short-term storage, stack in an airtight container in the fridge for up to 3 days. For longer-term, freeze on a tray until firm, then transfer to a freezer bag; they’ll keep for up to 2 months.
To reheat, toast frozen waffles straight from the freezer in a toaster or an oven at 350°F (175°C) for 8–12 minutes until heated through and crisp. Thawed waffles re-crisp quickly in a hot skillet or oven.
Top Questions & Answers
Q: Can I make the batter ahead?
A: You can mix the dry ingredients ahead, but combine wet and dry shortly before cooking. Once mixed, the batter is best used within an hour; baking powder begins reacting, and the waffles will lose some lift if left too long.
Q: My batter seems lumpy—what now?
A: A few small lumps are fine; large lumps of flour indicate under-mixing the dry ingredients before adding. Stir until just incorporated and let it rest—the lumps usually smooth out.
Q: Can I freeze the batter?
A: I don’t recommend freezing batter made with baking powder—the texture suffers. Freeze cooked waffles instead.
Make It Tonight
Plan: mash the banana and whisk together wet ingredients while the waffle iron preheats. Combine dry ingredients in another bowl, fold them in, pour in milk, and let the batter rest. Cook waffles and hold them warm on a wire rack while you finish. Serve with butter, maple syrup, sliced bananas, or a dollop of yogurt.
Timing: from start to first waffle on the plate is about 20–25 minutes. If you’re feeding a crowd, start doubling the recipe and use an oven to hold finished waffles warm and crisp. These banana waffles are fast enough for a weeknight treat and sweet enough for a weekend brunch—either way, they’re worth making tonight.

The Best Banana Waffles
Ingredients
Ingredients
- 1 medium ripe banana
- 2 tablespoonslight canola or vegetable oil
- 2 large eggs
- 1 3/4 cupsall-purpose flour
- 1 tablespoonbaking powder
- 1/4 teaspoonsalt
- 3 tablespoonsgranulated sugar
- 1/2 teaspoonground cinnamon
- 1 1/3 cupsmilk
Instructions
Instructions
- Preheat your waffle iron according to the manufacturer's instructions.
- In a medium mixing bowl, mash 1 medium ripe banana with a fork until mostly smooth (small lumps are fine).
- Add 2 tablespoons light canola or vegetable oil and 2 large eggs to the mashed banana; whisk until well combined.
- In a separate bowl, whisk together 1 3/4 cups all-purpose flour, 1 tablespoon baking powder, 1/4 teaspoon salt, 3 tablespoons granulated sugar, and 1/2 teaspoon ground cinnamon until evenly distributed.
- Add the dry ingredients to the banana mixture and stir gently until just incorporated — do not overmix.
- Gradually pour in 1 1/3 cups milk while stirring until the batter is just smooth and free of large lumps.
- Let the batter rest for 5–10 minutes.
- If your waffle iron requires greasing, follow the manufacturer's recommendation. Pour the appropriate amount of batter onto the preheated waffle iron and cook according to the manufacturer's instructions until the waffles are golden and crisp.
- Transfer cooked waffles to a wire rack to keep them crisp while you finish cooking the remaining batter.
- Serve the waffles warm.
Equipment
- Waffle Iron
- Mixing Bowl
- Fork
- Whisk
- Wire Rack