Making yogurt at home with an Instant Pot is one of those small kitchen wins that feels like magic until you realize how simple it actually is. You control the milk, the tang, and the texture—no mystery ingredients or industrial processes. Once you get comfortable with the timing and temperatures, it becomes a predictable, low-effort habit that rewards you with creamy bowls, smoothies, and baking staples.
I keep my notes practical: what to watch for, how to fix a runny batch, and how to adapt the process without ruining the culture. This post walks through the exact steps I use every time, why they matter, and sensible swaps if you need them. No fluff—just the usable guidance you’d get from a friend who makes yogurt every week.
If you’re short on time, the biggest thing to remember is temperature control. The Instant Pot streamlines both pasteurizing the milk and incubating the culture, but each stage has a temperature window that matters. Follow those ranges and you’ll end up with reliably good yogurt.
Ingredient List
- 1 gallon milk — the base; whole milk gives the creamiest result but the process works with lower-fat milks too.
- 1/4 cup yogurt with active cultures (or yogurt starter) — seeds the batch with live bacteria; choose plain yogurt labeled “active cultures.”
Instant Pot Yogurt: How It’s Done
- Clean the Instant Pot insert and lid with soap and water. Or sterilize the empty cooker by adding 2 cups cold water to the inner pot, closing the lid, sealing the vent, selecting High Pressure for 3 minutes, then allowing a natural release. Empty and dry the inner pot.
- Pour 1 gallon milk into the clean inner pot and place the inner pot into the Instant Pot housing. Put the lid on (vent position does not matter).
- Press the “Yogurt” button, then press “Adjust” until the display reads “BOIL.” When the Instant Pot beeps, remove the lid and check the milk temperature with a thermometer. The milk should be 180–200°F.
- If the milk has not reached 180–200°F, repeat the “Yogurt” → “BOIL” cycle and recheck until it reaches 180–200°F. If it is within range, proceed.
- Allow the milk to cool to 110–115°F. This will take about 1–2 hours at room temperature, or you can speed it up by placing the inner pot in a bowl of ice water for about 10–15 minutes. Check the temperature often. Spoon off any milk skin that forms on top.
- In a small bowl, combine 1/4 cup yogurt with active cultures (or yogurt starter) with a ladleful of the cooled 110–115°F milk and whisk until smooth. Pour this starter mixture back into the inner pot and whisk gently to distribute evenly.
- Return the inner pot to the Instant Pot housing, secure the lid (vent position does not matter), press the “Yogurt” button and set the incubation time to 8:00–12:00 hours (choose 8 hours for looser, milder yogurt; up to 12 hours for thicker, tangier yogurt).
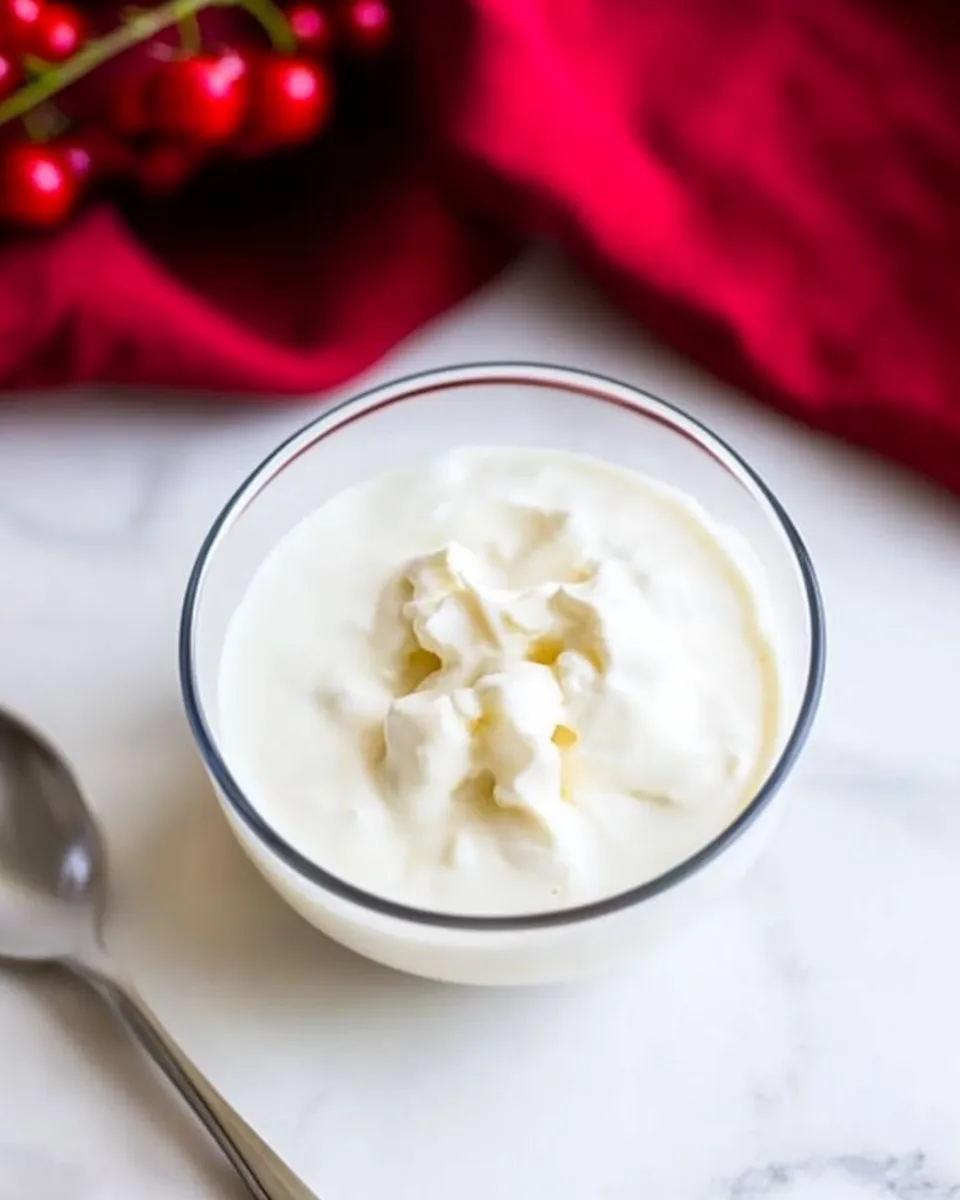
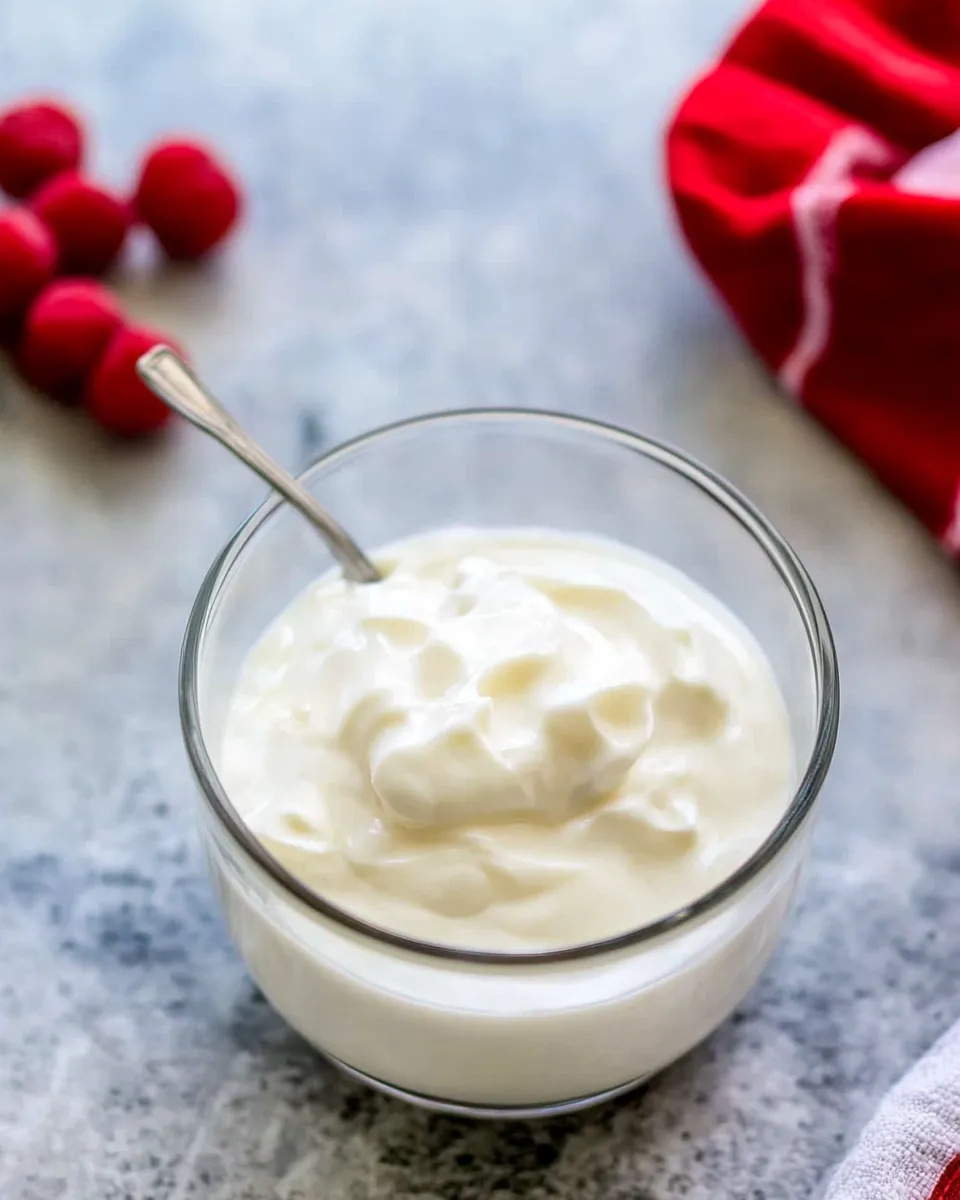
- When the incubation time ends, check that the yogurt has thickened and jiggles only slightly. The yogurt will firm up more after refrigeration.
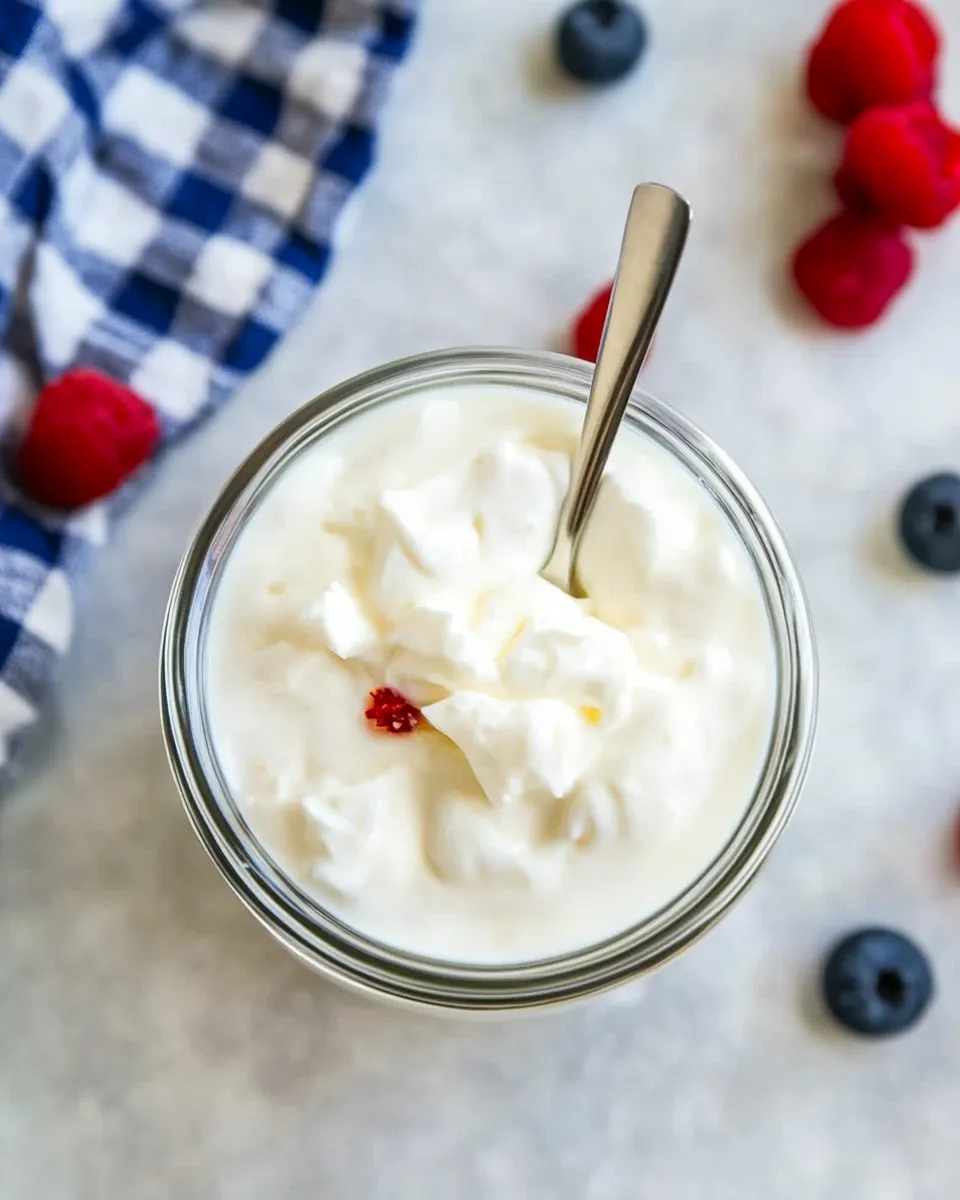
- Transfer the yogurt to containers, or cover the inner pot, and refrigerate for at least 4 hours or overnight before serving. Stir before serving.
- Store yogurt in the refrigerator and use within 10 days.
Why Cooks Rave About It
The Instant Pot removes the guesswork around temperature control and timing, which are the two trickiest parts of home yogurt-making. The machine reliably brings milk to the proper pasteurization range and then holds the warm incubation environment for hours with minimal monitoring. That consistency translates to consistent texture and flavor.
Another reason cooks love this method is cost and customization. A gallon of milk turns into several quarts of fresh yogurt, and you decide how tart or mild it becomes by adjusting incubation time. You can also control fat content and avoid stabilizers or thickeners often found in commercial yogurts.
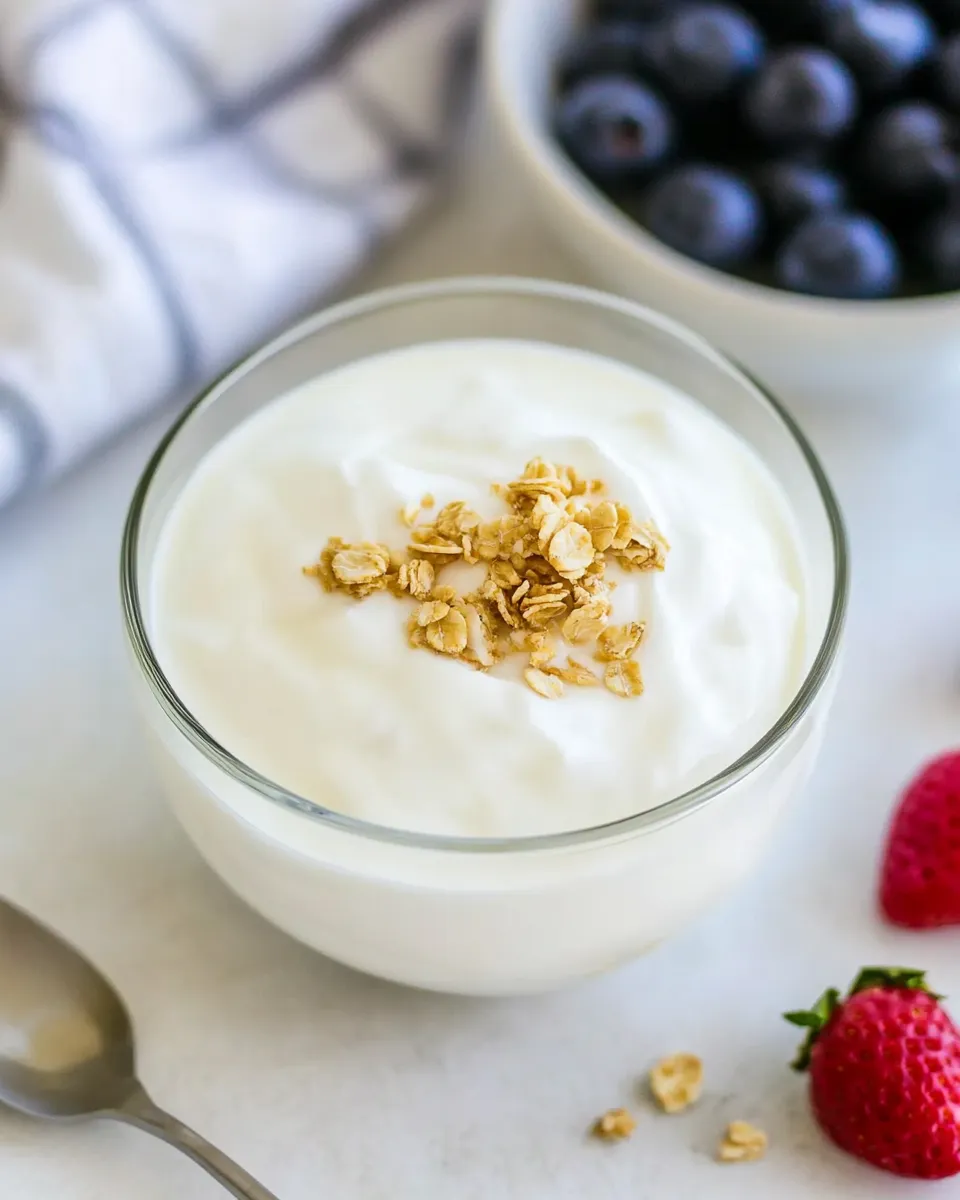
Finally, homemade yogurt is versatile. It brightens breakfasts, enriches baked goods, and makes faster, fresher tzatziki or raita than store-bought. The satisfaction of stirring a spoon into thick, homemade yogurt is oddly gratifying—and it’s healthier for many people because you recognize every ingredient.
Swap Guide
Want to change things up? Here are practical swaps and what to expect.
- Milk type — Whole milk yields the creamiest yogurt. Lower-fat milk will produce a thinner mouthfeel; you can concentrate it by straining the finished yogurt if you want thickness.
- Starter — You can use plain store-bought yogurt labeled “active cultures” as a starter. Use the 1/4 cup starter ratio in the recipe. Avoid flavored or heat-treated yogurts that may have dead cultures.
- Fat adjustments — If you want thicker yogurt without straining, add powdered milk to the milk before heating (this is a guide, not a required step of the source recipe). If you prefer to stick strictly to the recipe, plan to strain some whey after incubation.
- Texture — For Greek-style yogurt, strain the finished yogurt through cheesecloth or a mesh strainer over a few hours to remove whey and concentrate the solids.
Setup & Equipment
Minimal tools get the job done. The Instant Pot with a working, clean inner pot and a functioning “Yogurt” program is the central piece of equipment. Beyond that, I keep these within reach:
- Instant Pot (with yogurt function) — the core appliance.
- Instant-read thermometer — essential for checking 180–200°F and the 110–115°F range before inoculation.
- Whisk and ladle — for tempering the starter and distributing it evenly.
- Heatproof bowls or containers for cooling and storing the yogurt.
- Ice water bath tools (large bowl and ice) — optional, but useful to speed cooldown to incubation temperature.
What Not to Do
A few things will trip you up if you try them. Don’t skip pasteurizing (the “BOIL” stage) unless you’re starting with ultra-pasteurized milk and understand the increased risks to culture development. Underheating can allow unwanted bacteria to compete; overheating can damage proteins needed for a good set.
Don’t add the starter until the milk has cooled to 110–115°F. Adding it while the milk is hotter will kill the cultures and give you a failed batch. Conversely, adding the starter to milk that’s too cool may slow the culture so much that it won’t properly incubate within the recommended time.
Don’t frequently open the pot during incubation. It disturbs the steady temperature and lengthens the time needed to set. Finally, don’t toss a slightly thin batch—refrigeration and gentle straining can usually rescue texture.
Adaptations for Special Diets
Dairy-free and vegan adaptations require different approaches because many plant milks don’t have the proteins that set the way dairy does. If you follow a dairy-free diet, look for starters designed for soy or coconut and expect a different texture. Commercial plant-based yogurts often use additional stabilizers; replicating that exact mouthfeel at home is possible but requires additional ingredients and techniques.
For low-lactose diets, well-incubated yogurt is often easier to digest because cultures consume lactose during fermentation. Using lactose-free milk with a traditional starter can still produce a satisfactory result, but expect minor differences in tang and texture.
For keto or low-carb diets, use whole milk and keep your yogurt plain. Sweeteners and fruit add carbs after the fact; the base yogurt itself is largely protein and fat depending on milk choice.
Pro Tips & Notes
Temperature tips
Use an instant-read thermometer. Hitting 180–200°F is crucial for a clean set and for removing competing microbes. Cooling to 110–115°F is equally important—too warm and you kill the starter; too cool and the cultures are sluggish.
Timing & tang
Incubate 8–12 hours per your taste. Shorter times = milder, looser yogurt; longer times = tangier, thicker (and possibly more whey). If you like very tangy yogurt, aim closer to 12 hours but keep an eye on texture.
Handling whey
You’ll often see a layer of whey after refrigeration. That’s normal—stir it back in for creamier yogurt or drain it off for thicker, Greek-style yogurt. Save whey for smoothies or baking; it’s full of protein.
Saving starter
You can save 1/4 cup from a successful batch to start your next batch. Use it within a week or freeze a backup in small portions for one-time use starters. Each successive generation can weaken, so every few batches consider restarting with a fresh store-bought starter labeled for live cultures.
Leftovers & Meal Prep
Refrigerate yogurt promptly and use within 10 days. Keep it covered to prevent it from absorbing odors. Portion into jars for easy breakfasts—add fruit, nuts, or a drizzle of honey when serving to keep the base clean and long-lasting.
Yogurt freezes OK for cooked uses (marinades, baking) but the texture can separate once thawed. If you plan to freeze, portion into freezer-safe containers and use within 1–2 months. Thawed yogurt is best used in cooked recipes or smoothies rather than as a fresh spoonable snack.
Make yogurt part of a weekly rhythm. One gallon yields multiple containers and easily supplies a family for a week of breakfasts and sauces. It saves money and reduces packaging waste.
FAQ
- Q: Can I use any store-bought yogurt as a starter?
A: Use plain yogurt labeled “active cultures.” Avoid flavored or fruit-on-the-bottom varieties; heat-treated or ultra-filtered yogurts may have reduced live cultures. - Q: Why didn’t my yogurt thicken?
A: Common causes are incorrect temperatures (didn’t reach 180–200°F, or starter was added when milk was too hot or too cool), a weak starter, or incubation time that was too short. Refrigerate and strain to salvage texture. - Q: How long can I incubate?
A: The source instructions recommend 8–12 hours. Longer incubation intensifies tang and should be monitored for flavor preference. - Q: Is it safe to use the Instant Pot lid vent position set any way?
A: The source directions say vent position does not matter for the steps given. Follow the recipe steps as written. - Q: Can I make smaller or larger batches?
A: The source recipe specifies 1 gallon. Scaling is possible but keep proportion of starter around 1/4 cup per gallon. For very small batches, adjust starter proportionally and ensure your thermometer remains accurate for smaller volumes.
In Closing
Making yogurt in the Instant Pot is straightforward once you understand the two temperature stages: heating to pasteurize and cooling to inoculate. Stick to the steps, keep a reliable thermometer handy, and choose a dependable starter. After a few batches you’ll have a feel for your preferred incubation time and texture.
If you try this method, start with the 8-hour incubation to see your baseline, then experiment toward 12 hours if you want tang. Keep notes on each batch—milk type, incubation time, and how you cooled the milk—so you can reproduce your favorite results. Enjoy the creamy, homemade payoff.

Instant Pot Yogurt
Ingredients
Ingredients
- 1 gallonmilk*
- 1/4 cupyogurt with active cultures or yogurt starter*
Instructions
Instructions
- Clean the Instant Pot insert and lid with soap and water. Or sterilize the empty cooker by adding 2 cups cold water to the inner pot, closing the lid, sealing the vent, selecting High Pressure for 3 minutes, then allowing a natural release. Empty and dry the inner pot.
- Pour 1 gallon milk into the clean inner pot and place the inner pot into the Instant Pot housing. Put the lid on (vent position does not matter).
- Press the “Yogurt” button, then press “Adjust” until the display reads “BOIL.” When the Instant Pot beeps, remove the lid and check the milk temperature with a thermometer. The milk should be 180–200°F.
- If the milk has not reached 180–200°F, repeat the “Yogurt” → “BOIL” cycle and recheck until it reaches 180–200°F. If it is within range, proceed.
- Allow the milk to cool to 110–115°F. This will take about 1–2 hours at room temperature, or you can speed it up by placing the inner pot in a bowl of ice water for about 10–15 minutes. Check the temperature often. Spoon off any milk skin that forms on top.
- In a small bowl, combine 1/4 cup yogurt with active cultures (or yogurt starter) with a ladleful of the cooled 110–115°F milk and whisk until smooth. Pour this starter mixture back into the inner pot and whisk gently to distribute evenly.
- Return the inner pot to the Instant Pot housing, secure the lid (vent position does not matter), press the “Yogurt” button and set the incubation time to 8:00–12:00 hours (choose 8 hours for looser, milder yogurt; up to 12 hours for thicker, tangier yogurt).
- When the incubation time ends, check that the yogurt has thickened and jiggles only slightly. The yogurt will firm up more after refrigeration.
- Transfer the yogurt to containers, or cover the inner pot, and refrigerate for at least 4 hours or overnight before serving. Stir before serving.
- Store yogurt in the refrigerator and use within 10 days.
Equipment
- Instant Pot (6 or 8 Quart)
- Instant-read digital thermometer.
- Cheesecloth(Optional): to strain the yogurt for Greek yogurt/thicker yogurt, if desired. You can buy cheesecloth at most grocery stores in the baking or kitchen gadget section.
- Fine-mesh strainer
Notes
Raw milk: I have not tested this recipe with raw milk, but I’ve read that the results can be inconsistent based on the microbes in the raw milk competing with the yogurt starter. Let me know if you try it with raw milk! Sheep milk and Goat milk could be also used but the yogurt will take on those respective flavors.
Dairy-free yogurt: Try these recipes forSoy milkyogurt orcoconut milkyogurt.
Every 1 quart (4 cups) of milk need 1 Tablespoon of yogurt starter. If using more than 1 gallon of milk, you will need an 8 quart instant pot. To halve the recipe, use ½ gallon of milk and 2 tablespoons yogurt starter.