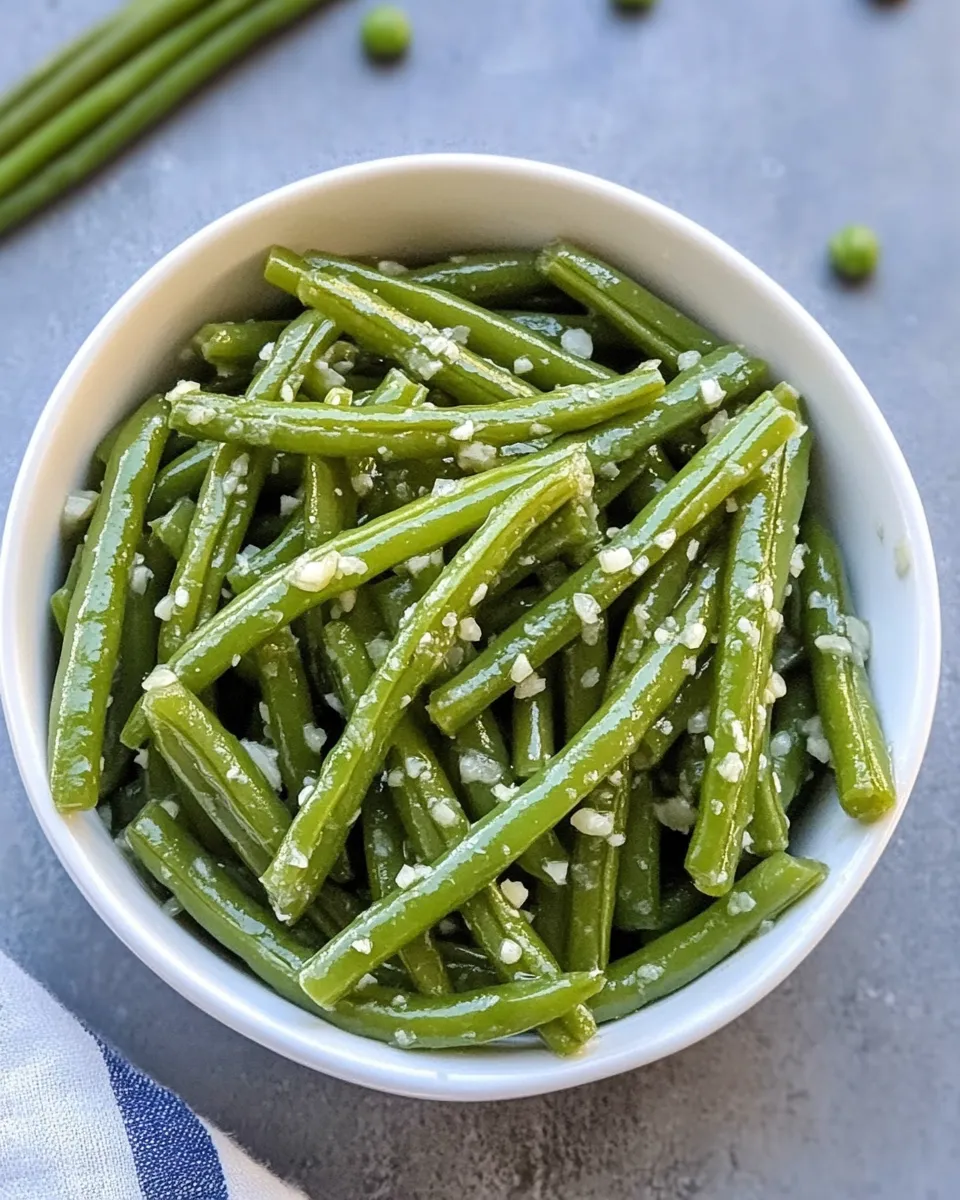
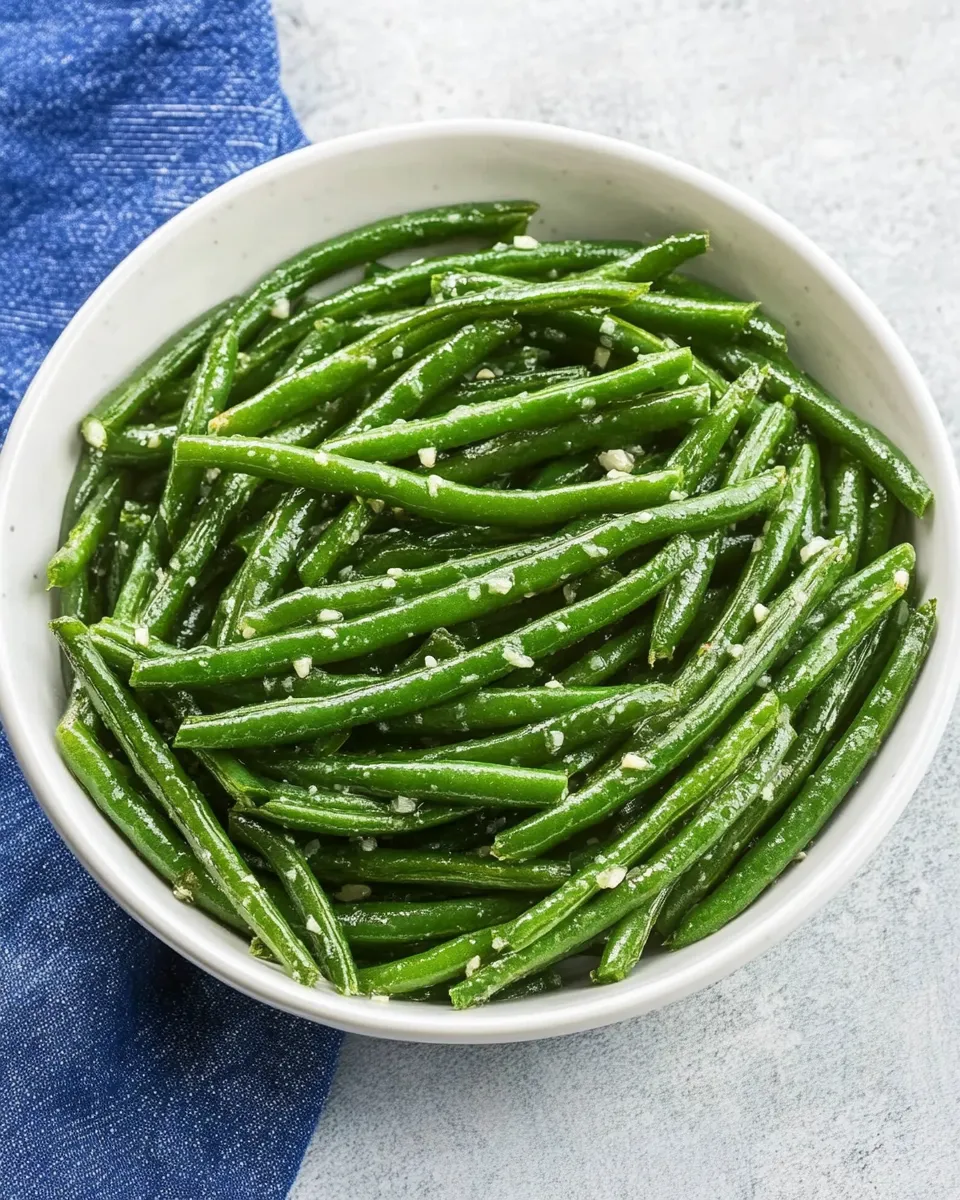
These Instant Pot Garlic Green Beans are the sort of side dish I reach for when I want something clean, fast, and flavorful. They take the stubborn chore of steaming green beans to the pressure-cooker era: one minute under high pressure gives bright, tender-crisp beans with a gentle hit of garlic and butter. They’re uncomplicated and play well with practically every main course.
I love how reliably they turn out. The Instant Pot builds pressure in about five minutes, so from fridge to plate you’re often under 20 minutes. Small changes—like skipping the lemon or choosing vegetable stock—let you tailor them for picky eaters or make the recipe vegan without losing that fresh, garlicky snap.
Below you’ll find the ingredient notes, the exact Instant Pot steps you asked for, plus practical swaps, troubleshooting tips, storage guidance, and quick Q&A so you can make these beans your go-to weeknight side. No fluff—just clear, usable guidance.
What You’ll Gather

Gather fresh, firm green beans and a few pantry basics: garlic, butter, salt, and a bit of stock. You only need a handful of tools and a single pot—the Instant Pot insert makes cleanup fast. Exact amounts and the cooking order are below in the Ingredients and How-To sections.
Ingredients
- 1 pound (450 grams) fresh green beans — choose bright, firm beans with snap; trim any tough ends before cooking.
- 2 cloves garlic, crushed — fresh crushed garlic gives direct flavor; add it to the pot so it infuses the beans while they steam.
- 1 tablespoon butter — I used sunflower butter — adds richness and helps carry flavor; can be omitted for a lighter finish.
- ½ teaspoon salt — seasons the cooking liquid and the beans; taste and adjust at the end if needed.
- ½ cup vegetable or chicken stock — if vegan, use vegetable stock; the stock steams the beans and gives them depth that water won’t.
- 1 tablespoon lemon juice — optional — brightens the finished dish if you choose to add it at the end.
Mastering Instant Pot Garlic Green Beans: How-To
- Wash the green beans and trim the stem ends.
- Place the green beans in the Instant Pot insert. Add the butter, crushed garlic, and ½ teaspoon salt, then pour in the vegetable or chicken stock listed in the ingredients.
- Close the lid and set the steam valve to SEALING.
- Select PRESSURE COOK/MANUAL on HIGH pressure and set the time for 1 minute (set to 0 minutes if you prefer crunchier beans). The Instant Pot will take about 5 minutes to come to pressure.
- When the cooking program ends, immediately perform a quick release by carefully moving the valve to VENTING; keep your hands and face away from the steam. Wait until the float valve drops.
- Open the lid away from you and remove the green beans with tongs or a slotted spoon.
- If using, stir in the optional 1 tablespoon lemon juice.
- Taste and adjust seasoning if needed, then serve.
Why This Instant Pot Garlic Green Beans Stands Out
These green beans rely on smart timing rather than complex technique. The one-minute high-pressure cook keeps the beans vivid and slightly crisp, not mushy. The garlic and butter (or sunflower butter, as noted) meld into the stock, turning a simple steam into a seasoned vessel for flavor. You get the brightness of a quick vegetable side with the kind of hands-off convenience busy nights demand.
Another strength is adaptability: small ingredient swaps keep the profile consistent while accommodating diets. Choosing stock over water is a small detail that gives a surprisingly noticeable lift. Quick release stops carryover cooking immediately, so texture remains predictable.
Substitutions by Category
Sticking to the spirit of the recipe keeps results reliable. Below are substitutions that match the ingredients already provided or adjust technique without changing quantities.
- Liquid — Use either vegetable or chicken stock as listed; stock is preferred over water for flavor.
- Fat — The recipe lists butter (I used sunflower butter). If you want less fat, omit the butter and rely on stock; the beans will still cook well but be less glossy.
- Aromatics — The recipe calls for crushed garlic; keep it fresh for the best aromatic impact. If you prefer a milder garlic note, smash the cloves but leave them whole and remove before serving.
- Brightener — Lemon juice is optional in the ingredients. Use it at the end to freshen the finished beans. Skip if you don’t want the citrus tang.
- Salt — The recipe uses ½ teaspoon salt. Adjust at the table if people are watching their sodium, but begin with the stated amount for balanced flavor.
Tools of the Trade
Minimal equipment is required, which is one reason this recipe is so fast. Use tools you already have:
- Instant Pot or similar electric pressure cooker (6-quart is standard).
- Tongs or a slotted spoon for removing the beans from the cooking liquid.
- Colander or bowl for washing and trimming the beans before cooking.
- Knife and cutting board to trim stems and crush garlic.
Nice-to-have
- A microplane or small grater if you prefer to grate garlic instead of crushing; crushing preserves texture and releases flavor quickly.
Troubles You Can Avoid
Common hiccups are easy to fix once you know what to watch for.
- Mushy beans: Don’t overcook. Use the recipe’s one-minute setting for tender-crisp beans. If you like them very crisp, set the timer to 0 minutes as the recipe notes. Also perform a quick release immediately when the program ends to stop carryover cooking.
- Beans not cooked through: Ensure the Instant Pot actually reaches pressure. If the float valve never rises, the seal may not be set properly. Check the sealing ring and the valve position before starting.
- Too bland: Use stock—not water—and don’t skip the salt. Taste at the end and add a pinch more salt if needed. A squeeze of the optional lemon juice brightens flavor immediately.
- Overly salty: If stock is salty, omit some or all of the ½ teaspoon salt in the ingredients and taste at the end, adding a little if needed.
- Garlic too sharp: If raw garlic flavor bothers you, smash the cloves and nestle them under the beans; they’ll infuse without being overpowering. Remove them before serving if desired.
Make It Fit Your Plan
Weeknight dinner: This is a plug-and-play side. Start the beans when your main has 15 minutes left to cook. The timing aligns well with sheet-pan roasts, pasta, or simply roasted chicken.
Meal prep: Cook the beans to your preferred doneness and cool quickly on a tray before refrigerating. They reheat well in a hot skillet for a few minutes or briefly in the microwave. Add lemon or extra butter when reheating to freshen them up.
Vegan option: Use vegetable stock and omit the butter. The beans will still be flavorful thanks to the stock and garlic; finish with lemon for brightness.
Notes from the Test Kitchen
I tested this recipe at different fresh-bean maturities. Younger, tender beans need the full one-minute pressure cook for edge-softening without limpness. Older, thicker beans sometimes benefit from a brief trimming of the thicker ends and are still best at one minute; a 0-minute setting left them too raw in some trials.
I prefer crushed garlic added to the pot rather than sautéing first. It gives the green beans a clean, integrated garlic flavor without extra steps. The small amount of butter (I chose sunflower butter for a neutral profile) melted into the hot beans gives them a silky finish. If you skip the fat, the beans will be slightly drier but still very good.
Storing Tips & Timelines
Refrigerate cooled green beans in an airtight container for up to 4 days. For best texture, eat within 2–3 days. To reheat, warm briefly in a skillet with a splash of stock or a small knob of butter to restore gloss and temperature. Avoid long microwave reheats that can make the beans soft and watery.
Freezing is not recommended for best texture; green beans will survive the freezer but the texture will soften after thawing, making them better suited for cooked dishes where a softer bean is acceptable.
Handy Q&A
Q: Can I use frozen green beans?
A: The recipe was developed for fresh beans. Frozen beans contain more water and tend to cook faster; you can try the same method but check doneness immediately and consider reducing the liquid slightly. If you use frozen, don’t crowd the pot; work in batches if needed.
Q: Why use stock instead of water?
A: Stock adds depth and savory notes that water cannot. It’s a small detail that elevates a minimal recipe into something that feels composed and finished.
Q: What if I don’t have an Instant Pot?
A: You can steam these on the stovetop until crisp-tender, then finish with butter and garlic off heat. The timings will differ; aim for 3–6 minutes depending on bean size and your preferred doneness.
Q: Can I double the recipe?
A: You can increase the quantity to fill the insert more, but avoid heaping beans above the max fill line. Cooking time stays the same; the Instant Pot may take longer to reach pressure if it’s very full.
Let’s Eat
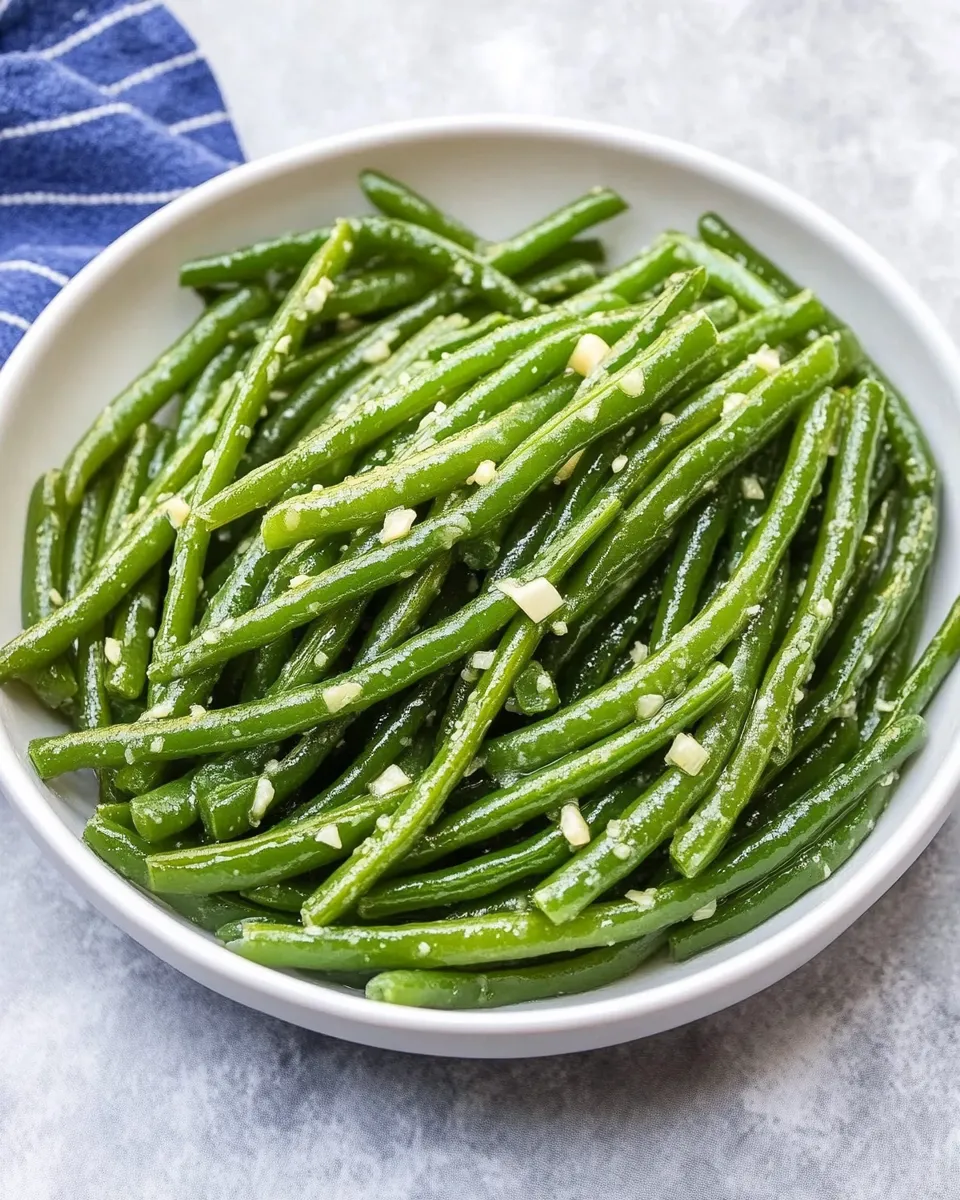
Serve these Instant Pot Garlic Green Beans hot, finished with an optional squeeze of lemon if you like a bright lift. They pair beautifully with roasted meats, grilled fish, or a simple grain bowl. The flavor is straightforward—garlic, butter, salt, and a gentle savory background from the stock—so the beans let the rest of the meal shine while holding their own.
Keep this recipe in your weeknight rotation. It’s quick, forgiving, and reliably good—everything I look for when I want a simple vegetable that feels special without extra work.

Instant Pot Garlic Green Beans
Ingredients
Ingredients
- ?1 pound 450 gramsfresh green beans
- ?2 clovesgarliccrushed
- ?1 tablespoonbutterI used sunflower butter
- ?1/2 teaspoonsalt
- ??cupvegetable or chicken stockif vegan use vegetable stock
- ?1 tablespoonlemon juiceoptional
Instructions
Instructions
- Wash the green beans and trim the stem ends.
- Place the green beans in the Instant Pot insert. Add the butter, crushed garlic, and ½ teaspoon salt, then pour in the vegetable or chicken stock listed in the ingredients.
- Close the lid and set the steam valve to SEALING.
- Select PRESSURE COOK/MANUAL on HIGH pressure and set the time for 1 minute (set to 0 minutes if you prefer crunchier beans). The Instant Pot will take about 5 minutes to come to pressure.
- When the cooking program ends, immediately perform a quick release by carefully moving the valve to VENTING; keep your hands and face away from the steam. Wait until the float valve drops.
- Open the lid away from you and remove the green beans with tongs or a slotted spoon.
- If using, stir in the optional 1 tablespoon lemon juice.
- Taste and adjust seasoning if needed, then serve.
Equipment
- Instant Pot
- Tongs