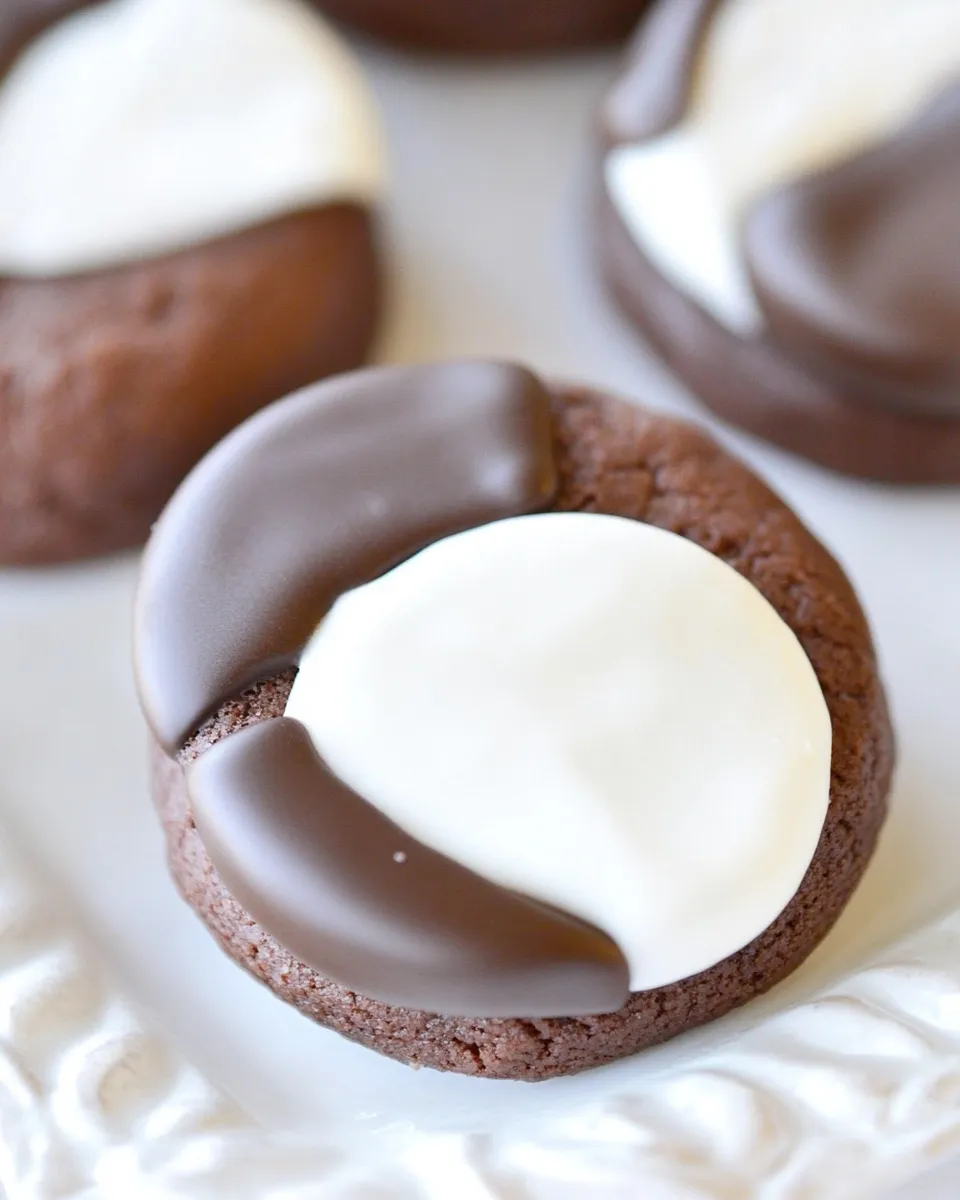
These cookies are comfort on a plate: soft, cakey rounds iced half with vanilla and half with chocolate. They travel well, keep for a few days at room temperature if stored properly, and they make a weekend afternoon feel a little more special. I make a batch whenever friends come over because they’re forgiving, and everyone gets the version they prefer.
The recipe below is straightforward and built on butter, sour cream, and a single egg—simple ingredients that yield a tender cookie with a fine crumb. The dual icings are the showstoppers: glossy, smooth, and just sweet enough to contrast the mildly tangy cookie underneath. Timing matters for setting the icings, so I walk you through that precisely.
No fancy equipment required. Read through once, assemble your ingredients, and follow the order—especially when alternating dry ingredients and sour cream—so the dough reaches the right thickness. I include practical tips, tools, and troubleshooting from the test kitchen to help you get bakery-style results at home.
Ingredient Rundown
Ingredients
- 2 cups all-purpose flour — a bit more if needed; this is the structure of the cookie.
- 1/2 teaspoon baking powder — light lift and gentle rise.
- 1/4 teaspoon baking soda — reacts with the sour cream for subtle lift.
- 1/4 teaspoon salt — balances sweetness in the dough.
- 10 tablespoons unsalted butter — softened to room temperature; adds richness and tenderness.
- 1 cup white granulated sugar — sweetens and helps create the cookie’s tender crumb.
- 1 large egg — at room temperature; binds and adds moisture.
- 2 1/2 teaspoons pure vanilla extract — primary flavor in the dough.
- 1/3 cup full-fat sour cream — at room temperature; keeps the cookie soft and adds a slight tang.
- 5 1/2 cups powdered sugar — sifted; used for both icings for smoothness.
- 7 tablespoons whole milk — divided; thins the icings to the right consistency.
- 2 tablespoons light corn syrup — gives the icings a glossy, stable finish.
- 1 teaspoon vanilla extract — for the vanilla icing.
- 1/2 teaspoon salt — balances the icing’s sweetness.
- 3 tablespoons unsweetened cocoa powder — for the chocolate icing.
Black and White Cookies Made Stepwise
- Preheat the oven to 350°F (180°C). Line two baking sheets with parchment paper and set aside.
- In a medium bowl whisk together 2 cups all-purpose flour, 1/2 teaspoon baking powder, 1/4 teaspoon baking soda, and 1/4 teaspoon salt. Set aside.
- In a large bowl using a mixer fitted with the paddle attachment, beat 10 tablespoons softened unsalted butter and 1 cup granulated sugar on medium-high speed until smooth and creamy, about 2 minutes.
- Add 1 large room-temperature egg and 2 1/2 teaspoons pure vanilla extract to the butter mixture and beat on medium speed until combined, about 1 minute. Scrape down the sides and bottom of the bowl.
- Reduce mixer speed to low. Add the dry ingredients to the butter mixture in three additions, stopping twice to add the sour cream: add one-third of the dry ingredients, then add half of the 1/3 cup full-fat sour cream; add a second third of the dry ingredients, then add the remaining sour cream; finally add the last third of the dry ingredients. Beat only until just combined—the dough will be very thick.
- Grease a 1/4-cup measuring cup or use a cookie scoop, and drop mounds of dough about 4 inches apart on the prepared baking sheets (about 6 cookies per sheet).
- Bake the cookies for 16–18 minutes, or until the edges are lightly browned.
- Let the cookies cool on the baking sheets for 5 minutes, then transfer them to a wire rack to cool completely before icing.
- While the cookies cool, make the vanilla icing: in a medium bowl whisk together 5 1/2 cups sifted powdered sugar, 6 tablespoons of the whole milk, 2 tablespoons light corn syrup, 1 teaspoon vanilla extract, and 1/2 teaspoon salt until smooth. (If needed, whisk longer to remove lumps.)
- Transfer 1 cup of the vanilla icing to a separate bowl. To that separate bowl add the remaining 1 tablespoon of milk and 3 tablespoons unsweetened cocoa powder; whisk until the chocolate icing is smooth and uniform.
- Spread the vanilla icing onto half of the cooled cookies. Refrigerate those iced cookies for 15 minutes or until the vanilla icing is set.
- After the vanilla icing has set, spread the chocolate icing onto the other half of the cookies. Allow all the iced cookies to sit until the icing is fully set, about 1–2 hours, before serving.
What Sets This Recipe Apart
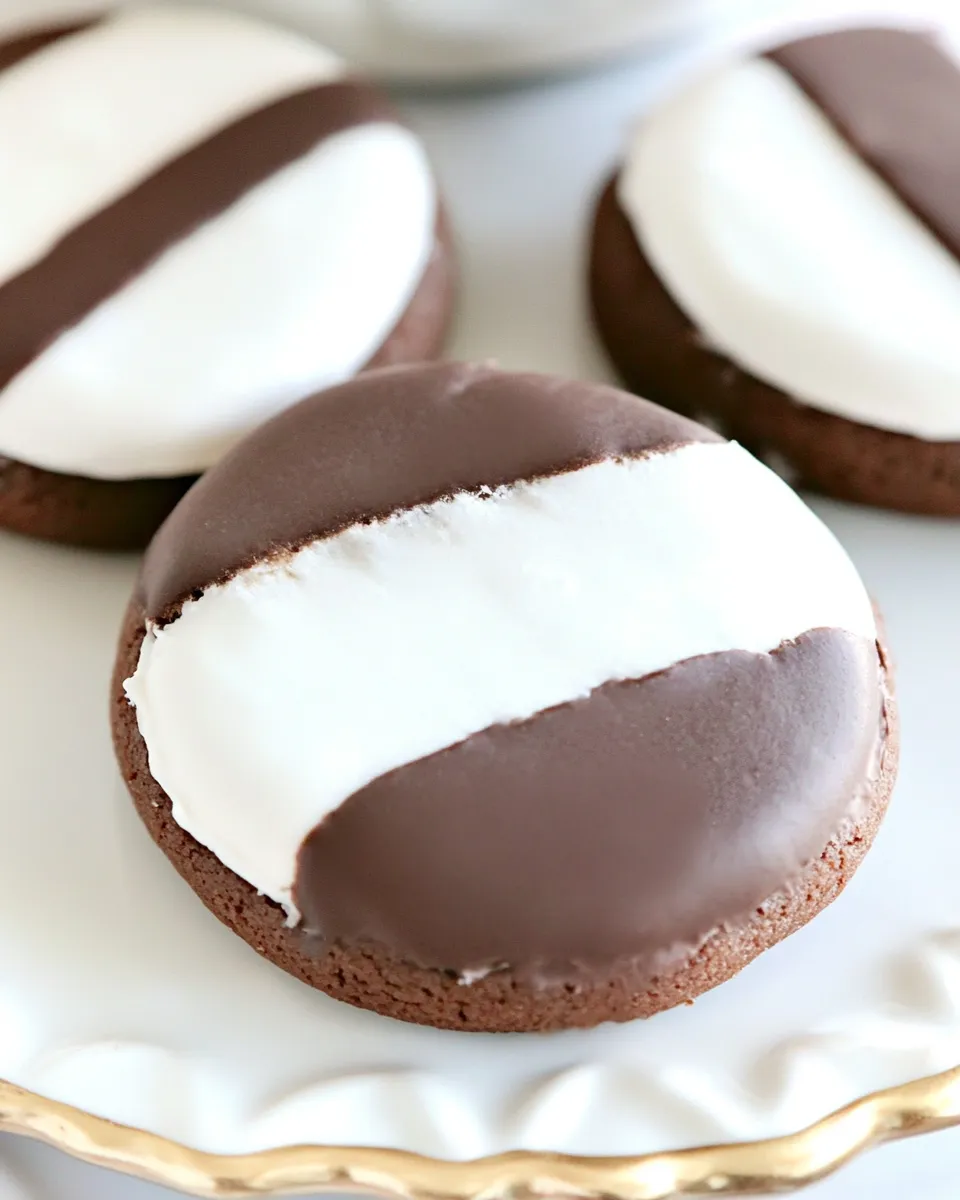
These cookies are cakey rather than crisp. The combination of baking powder and a small amount of baking soda plus sour cream produces a tender, slightly domed cookie with a soft crumb. The dough is intentionally thick—it’s meant to hold shape while baking and create that classic New York-style profile.
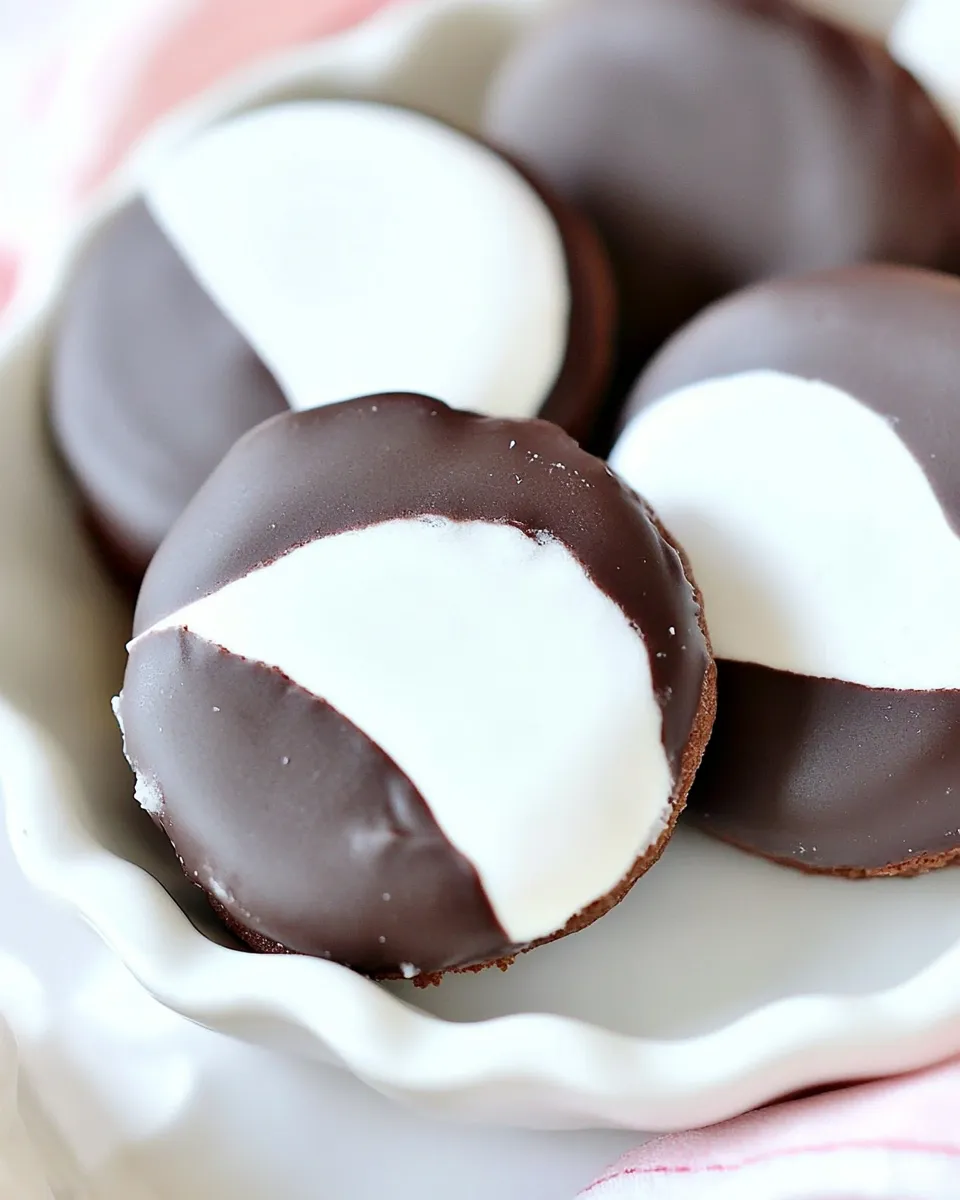
The icings are designed for shine and texture. The corn syrup keeps the icing from drying out into a brittle shell; instead you get a satiny finish that stays a little soft—perfect for biting through without cracking off.
Finally, the balance of vanilla and chocolate icing gives you both flavors on a single tray. That contrast—light and dark, sweet and slightly bitter—makes each cookie satisfying in a small, nostalgic way.
If You’re Out Of…
- Sour cream: Plain full-fat Greek yogurt can be used in a pinch, though the flavor will be tangier. Use the same volume.
- Unsalted butter: Salted butter will work; omit or reduce the salt in the dough slightly to compensate.
- Whole milk: Any milk will thin the icings, but use less low-fat or plant-based milk and add a splash at a time until you reach the right consistency.
- Corn syrup: If you truly don’t have corn syrup, a neutral-flavored honey or light agave in the same amount can work, though the finish may be a touch less glossy.
Tools of the Trade
- Stand mixer with paddle attachment or a handheld mixer — for creaming butter and sugar easily.
- Cookie scoop or 1/4-cup measuring cup — for uniform cookie sizes and even baking.
- Parchment paper — prevents sticking and makes cleanup fast.
- Wire rack — for cooling so the base doesn’t steam and get soggy.
- Medium bowls and a whisk — for combining dry ingredients and whisking icings smooth.
Things That Go Wrong
- Cookies spread too much: The dough may be too warm. Chill the dough briefly for 15–20 minutes and make sure your butter was softened but not greasy.
- Cookies are flat and dense: Overmixing after adding flour can develop gluten. Mix only until just combined.
- Icing is grainy: Powdered sugar lumps can remain if not sifted. Sift powdered sugar and whisk fully; add liquid a teaspoon at a time if needed.
- Icing runs off the cookie: The icing is too thin. Let it thicken slightly before spreading, or add a little more sifted powdered sugar to the batch.
- Bottoms brown too quickly: Your oven may run hot. Lower the rack or reduce oven temperature by 10–15°F and rotate pans halfway through baking.
Substitutions by Diet
Here are reliable swaps if you’re accommodating special diets. Keep in mind texture and flavor can change slightly.
- Dairy-free / Vegan: Use a plant-based butter substitute measured the same, nondairy sour cream or full-fat coconut yogurt for the sour cream, and a plant milk for the icing. Replace the egg with a commercial egg replacer (follow package) or 1/4 cup blended silken tofu plus a pinch of baking powder for lift; results will vary.
- Lower sugar: This recipe’s charm relies on the sweet icings. You can reduce the granulated sugar in the dough slightly (e.g., by 2 tablespoons), but heavily reducing the powdered sugar for the icing will change texture dramatically.
- Gluten-free: A 1-to-1 gluten-free flour blend designed for baking can work, but expect a slightly different crumb. Add 1/4 teaspoon xanthan gum if your blend lacks it.
Notes from the Test Kitchen
I tested these cookies across a few iterations. Key lessons: (1) Bring dairy ingredients to room temperature for better emulsification. Cold sour cream or egg can cause the butter to seize and the dough to look curdled. (2) The three-step addition of dry ingredients with sour cream in between is not optional—it controls hydration so the dough stays thick and doesn’t become batter-thin. (3) Let the vanilla icing set before adding the chocolate. If you try to do both at once the colors will bleed at the seam and you’ll lose the clean split look.
I also found that a 1/4-cup scoop yields a cookie about 3.5–4 inches across after baking—ideal for that classic oversized appearance. Bake only on the middle rack for even heat and rotate pans if you’re using multiple sheets.
Freezer-Friendly Notes
These cookies freeze well at two stages:
- Unbaked dough: Portion mounds of dough onto a tray, flash-freeze until firm, then transfer to a labeled bag. Bake from frozen; add a few minutes to the bake time.
- Fully baked, unfrosted cookies: Layer them between parchment in an airtight container and freeze up to 3 months. Thaw at room temperature, then ice as instructed. Icing frozen cookies is not ideal because condensation can affect finish.
Do not freeze already-iced cookies for best texture—the icing can weep when thawed.
Quick Q&A
Can I make the dough ahead? Yes. Refrigerate the dough for up to 24 hours. Let it sit at room temperature a few minutes if it becomes too firm to scoop. You can also portion and freeze as noted above.
How do I get smooth icings? Sift the powdered sugar, warm the milk slightly (not hot) to help dissolve lumps, and whisk vigorously. If the chocolate icing looks streaky, keep whisking until uniform.
How do I store leftovers? Store in an airtight container at room temperature for 2–3 days. If your kitchen is warm, refrigerate and bring to room temperature before serving to restore tenderness.
The Takeaway
This Black and White Cookies recipe is dependable, forgiving, and tailored for a soft, cakey texture topped with glossy icings. Follow the stepwise method—especially the alternating addition of dry ingredients and sour cream—and you’ll get uniform, bakery-style cookies every time. The icings take patience but reward you with a beautiful finish. Make a double batch; they disappear fast.
Ready to bake? Gather your ingredients, preheat the oven, and enjoy the process. These cookies are easy to share, and they make a weekday afternoon feel a little celebratory.

Black and White Cookies Recipe
Ingredients
Ingredients
- 2 cupsall-purpose floura bit more if needed
- 1/2 teaspoonbaking powder
- 1/4 teaspoonbaking soda
- 1/4 teaspoonsalt
- 10 tablespoonsunsalted buttersoftened to room temperature
- 1 cupwhite granulated sugar
- 1 large eggat room temperature
- 2 1/2 teaspoonspure vanilla extract
- 1/3 cupfull-fat sour creamat room temperature
- 5 1/2 cupspowdered sugarsifted
- 7 tablespoonswhole milkdivided
- 2 tablespoonslight corn syrup
- 1 teaspoonvanilla extract
- 1/2 teaspoonsalt
- 3 tablespoonsunsweetened cocoa powder
Instructions
Instructions
- Preheat the oven to 350°F (180°C). Line two baking sheets with parchment paper and set aside.
- In a medium bowl whisk together 2 cups all-purpose flour, 1/2 teaspoon baking powder, 1/4 teaspoon baking soda, and 1/4 teaspoon salt. Set aside.
- In a large bowl using a mixer fitted with the paddle attachment, beat 10 tablespoons softened unsalted butter and 1 cup granulated sugar on medium-high speed until smooth and creamy, about 2 minutes.
- Add 1 large room-temperature egg and 2 1/2 teaspoons pure vanilla extract to the butter mixture and beat on medium speed until combined, about 1 minute. Scrape down the sides and bottom of the bowl.
- Reduce mixer speed to low. Add the dry ingredients to the butter mixture in three additions, stopping twice to add the sour cream: add one-third of the dry ingredients, then add half of the 1/3 cup full-fat sour cream; add a second third of the dry ingredients, then add the remaining sour cream; finally add the last third of the dry ingredients. Beat only until just combined—the dough will be very thick.
- Grease a 1/4-cup measuring cup or use a cookie scoop, and drop mounds of dough about 4 inches apart on the prepared baking sheets (about 6 cookies per sheet).
- Bake the cookies for 16–18 minutes, or until the edges are lightly browned.
- Let the cookies cool on the baking sheets for 5 minutes, then transfer them to a wire rack to cool completely before icing.
- While the cookies cool, make the vanilla icing: in a medium bowl whisk together 5 1/2 cups sifted powdered sugar, 6 tablespoons of the whole milk, 2 tablespoons light corn syrup, 1 teaspoon vanilla extract, and 1/2 teaspoon salt until smooth. (If needed, whisk longer to remove lumps.)
- Transfer 1 cup of the vanilla icing to a separate bowl. To that separate bowl add the remaining 1 tablespoon of milk and 3 tablespoons unsweetened cocoa powder; whisk until the chocolate icing is smooth and uniform.
- Spread the vanilla icing onto half of the cooled cookies. Refrigerate those iced cookies for 15 minutes or until the vanilla icing is set.
- After the vanilla icing has set, spread the chocolate icing onto the other half of the cookies. Allow all the iced cookies to sit until the icing is fully set, about 1–2 hours, before serving.
Equipment
- Mixer
- paddle attachment
- Mixing bowls
- Measuring Cups
- Measuring Spoons
- 1/4-cup measuring cup or cookie scoop
- Baking Sheets
- Parchment Paper
- Wire Rack