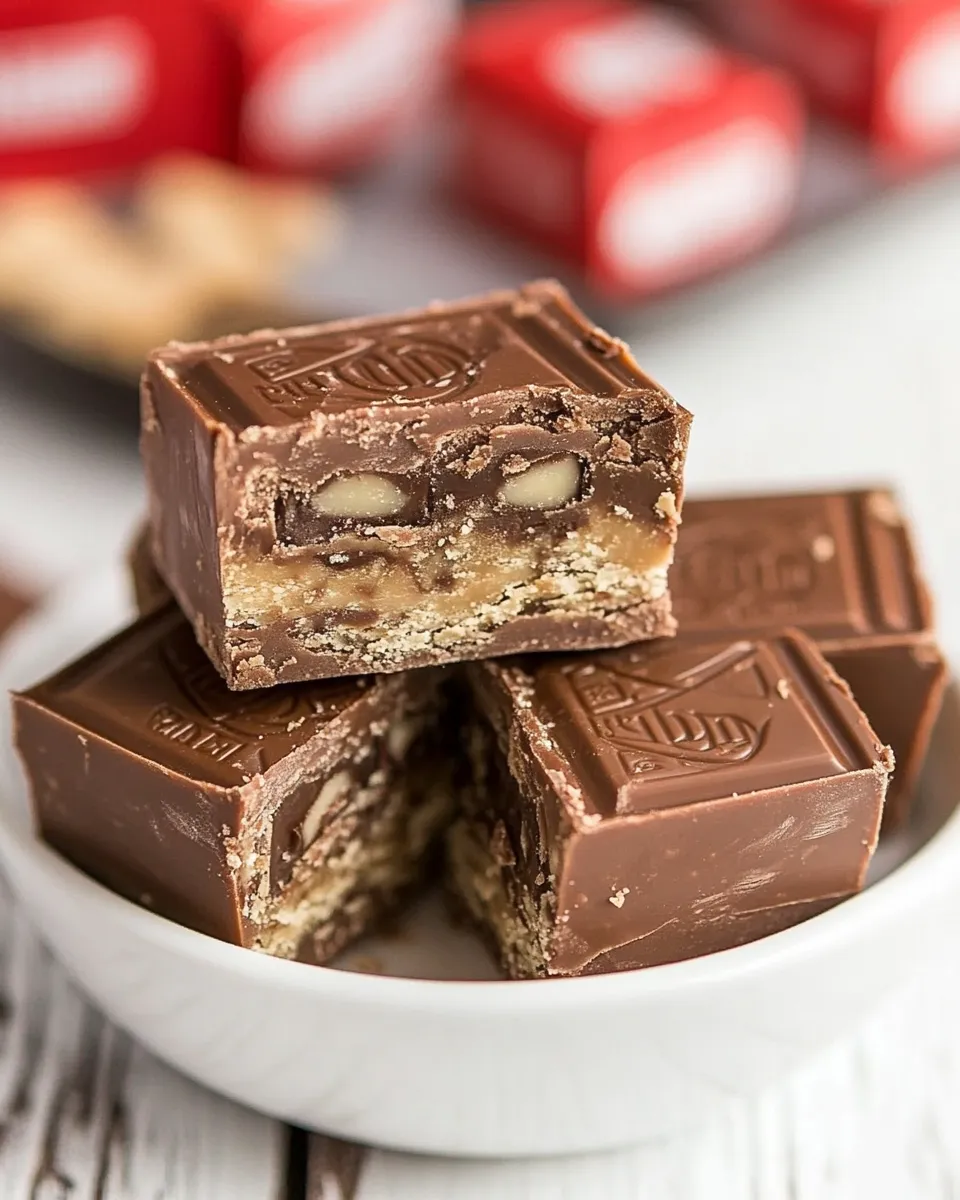
I love recipes that feel indulgent but are actually kind to your schedule. This Kit Kat fudge is one of those — four ingredients, one pan, and zero tempering drama. It gives you glossy, creamy chocolate with the familiar crunchy-sweet snap of Kit Kats on top. Quick enough for last-minute guests. Pretty enough to gift.
There’s nothing fussy here. No candy thermometer, no double boiler rituals, and no long standing times. You warm chocolate and sweetened condensed milk together, fold in vanilla, press in fun-size Kit Kats, chill, and slice. The result is reliable: rich, sliceable fudge with a playful candy-bar crown.
I’ll walk you through what to shop for, exactly how to do each step, and small fixes that make this better every time. Read the method once, then follow the short steps when you make it. You’ll have a slab of fudge in well under an hour of active time.
Your Shopping Guide

This section tells you exactly what to buy and why it matters. Keep it simple: good chocolate, a full can of sweetened condensed milk, and fresh Fun Size Kit Kat bars. Nothing fancy required, but small choices change the final texture and flavor.
Ingredients
- 3 cups semi-sweet or milk chocolate chips — the body of the fudge; semi-sweet gives more chocolate bite, milk makes it creamier and sweeter.
- 1 14 ounce can sweetened condensed milk — provides sweetness and smooth, fudgy structure so you don’t need butter or sugar.
- 1 teaspoon vanilla extract — rounds and brightens the chocolate flavor; stir in at the end for best aroma.
- 10–12 Fun Size Kit Kat Bars, broken into sticks — pressed on top for crunch and that unmistakable Kit Kat look; use fresh bars for maximum snap.
Stepwise Method: 4-ingredient Kit Kat Fudge
- Line an 8×8-inch baking pan with foil, leaving an overhang for easy removal, and spray the foil lightly with cooking spray.
- In a medium saucepan, combine 3 cups semi-sweet or milk chocolate chips and the 1 14‑ounce can of sweetened condensed milk.
- Warm the mixture over medium-low heat, stirring constantly with a heatproof spatula or wooden spoon until the chocolate is completely melted and the mixture is smooth and glossy (do not let it boil).
- Remove the pan from the heat and stir in 1 teaspoon vanilla extract until evenly incorporated.
- Pour the chocolate mixture into the prepared pan and spread it into an even layer with an offset spatula or the back of a spoon.
- Working quickly while the surface is still soft, press 10–12 Fun Size Kit Kat bars (broken into sticks) into the top of the fudge in a single layer so they adhere.
- Let the fudge cool to room temperature on the counter, then refrigerate until fully set, at least 1 hour. Use the foil overhang to lift the fudge from the pan, peel off the foil, and cut into pieces.
Why It Deserves a Spot
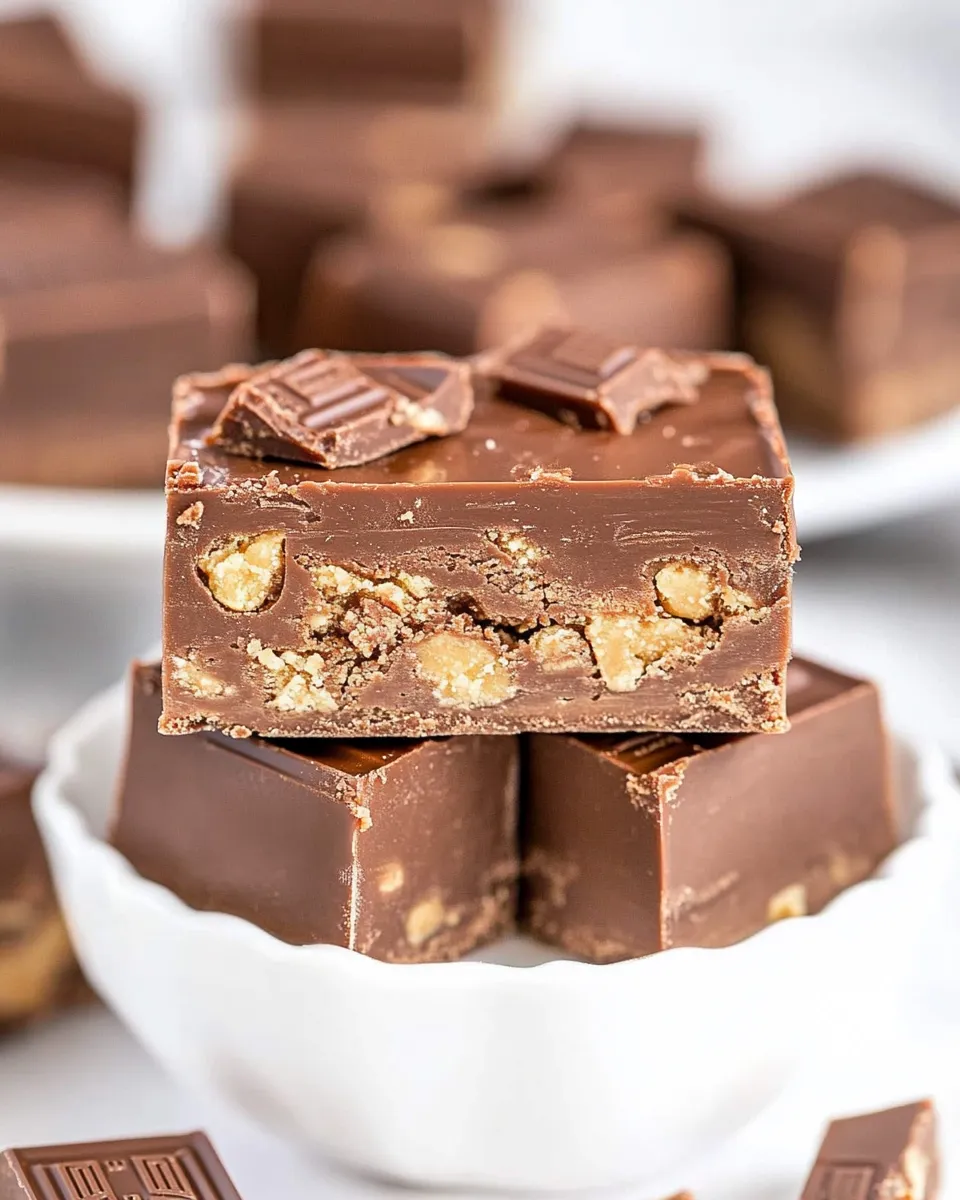
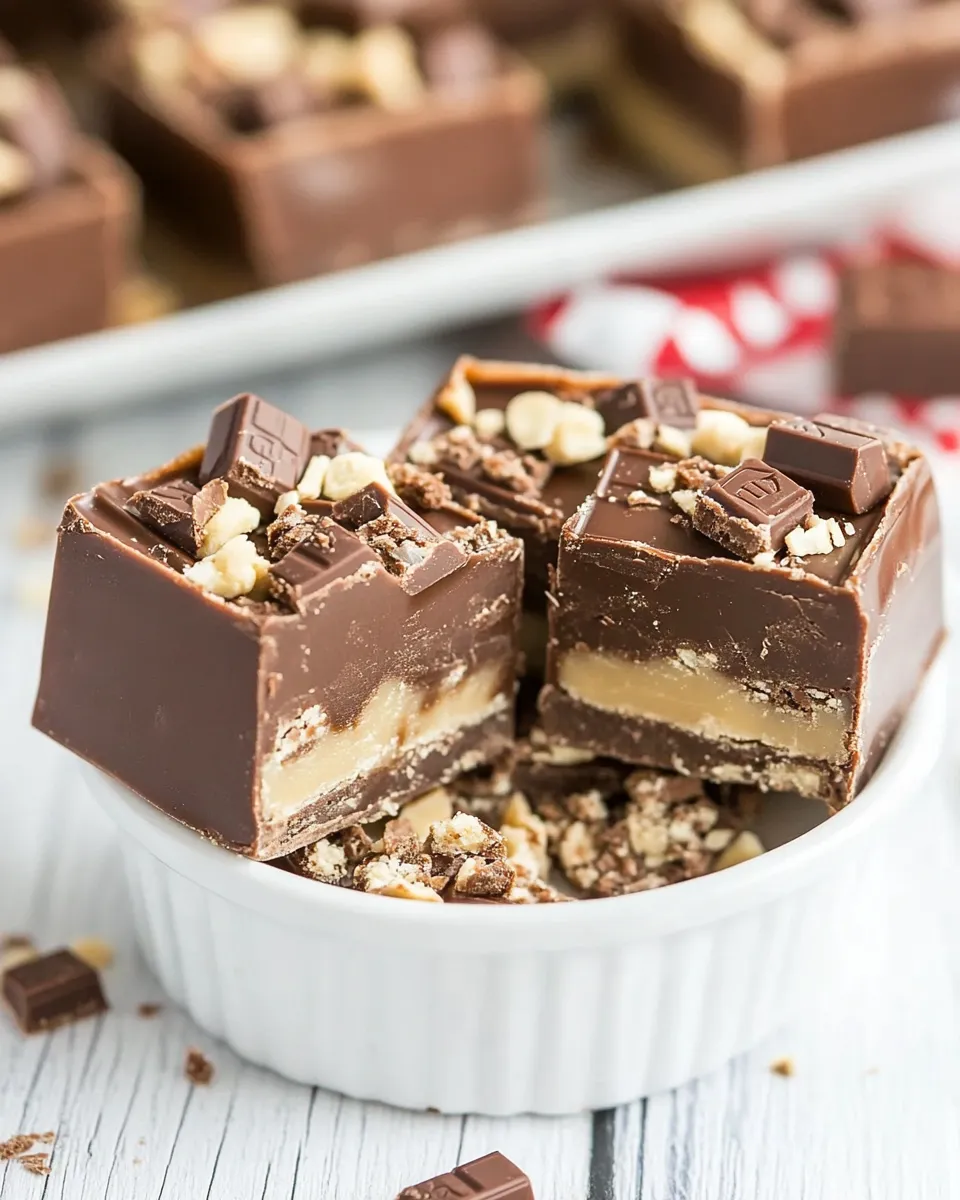
This fudge checks boxes most of us care about: it’s fast, impressive, and crowd-pleasing. The contrast between silky chocolate and crisp Kit Kat makes every bite interesting. You don’t need special equipment, so it’s perfect for apartment kitchens or last-minute treats.
It’s also forgiving. Little temperature slips won’t ruin the batch as long as you don’t boil the mixture. The condensed milk keeps the texture consistent and eliminates the need to cook sugar to soft-ball stages. If you want a chocolatey centerpiece that looks like you spent hours, this delivers.
Quick Replacement Ideas
- Chocolate chips: swap semi-sweet for milk if you prefer a sweeter, creamier fudge. Use good-quality chips for better flavor.
- Kit Kat bars: if Kit Kats aren’t available, use a similar wafer chocolate bar broken into sticks. Keep the size similar so they adhere evenly.
- Vanilla: if you don’t have vanilla, omit it — the fudge will still be fine. Alternatively, a tiny splash of almond extract (less than the vanilla amount) can be interesting, but measure carefully.
Cook’s Kit
- 8×8-inch baking pan — for a good thickness that slices well.
- Aluminum foil — to line the pan and lift the fudge out easily.
- Cooking spray — prevents sticking and makes removal clean.
- Medium saucepan — wide enough to stir comfortably.
- Heatproof spatula or wooden spoon — for constant stirring while melting.
- Offset spatula or spoon — to spread the fudge evenly in the pan.
- Measuring cups and spoons — to keep quantities accurate.
Mistakes Even Pros Make
- Letting the chocolate mixture boil. That can separate the fats and ruin the smooth texture. Keep the heat medium-low and stir constantly.
- Pressing the Kit Kats in too late. The surface needs to be soft enough for them to adhere but not so hot that they melt through. Work quickly.
- Cutting the fudge too soon. If it hasn’t fully set, pieces will squish and lose shape. Chill at least 1 hour or until firm.
- Using stale candy bars. If Kit Kats have been in humid conditions, they can go soft and soggy; fresh bars give the best snap.
Make It Fit Your Plan
Need to scale? This method is straightforward to halve for a smaller pan or double for a 9×13 — just keep the same ratios. For gifting, cut uniform squares and stack them between parchment in a box. For parties, arrange servings on a platter with small dessert forks or napkins.
If you want bite-sized pieces, score the fudge lightly after it cools but before it fully chills, then finish cutting after refrigeration. That gives cleaner edges on small pieces. If you need this for a bake sale or school event, label allergens: this contains milk and chocolate and store-bought Kit Kats may contain soy or traces of nuts.
Cook’s Notes
- Chocolate type: semi-sweet gives a better chocolate balance if you’re serving adult palettes; milk chocolate will read sweeter and child-friendly.
- Melting technique: stir constantly and keep the heat low. If the chocolate looks grainy, keep stirring off-heat — it will often smooth out as residual warmth finishes the job.
- Pan prep: foil with an overhang makes removal effortless. Spray the foil lightly so the fudge peels away cleanly.
- Pressing Kit Kats: break each Fun Size bar into its individual finger sticks and place in a single even layer. Slight gaps are fine — they give a pretty mosaic look.
Save for Later: Storage Tips
Store the fudge in an airtight container. It keeps well in the refrigerator for up to 2 weeks, though it’s best eaten within the first week for optimum texture. For longer storage, freeze wrapped pieces in an airtight container for up to 3 months. Thaw in the refrigerator overnight before serving. If chilling makes the fudge very firm, let it sit at room temperature 10–15 minutes before serving for a softer bite.
When transporting, keep the fudge chilled and pack it snugly so the Kit Kats don’t shift. If you’re gifting, include a note that it contains chocolate and should be refrigerated in warm weather.
Questions People Ask
- Can I skip the Kit Kats and swirl the chocolate instead? Yes — you can press chopped nuts, toffee, or cookie pieces on top, but texture will differ from the Kit Kat crunch.
- What if my mixture seizes or becomes grainy? Keep stirring off the heat; usually residual warmth and stirring smooths it. If it’s truly separated, you may need to start over with fresh chocolate.
- Can I use dark chocolate? You can, but the bitterness will be more pronounced. Consider a mix of semi-sweet and dark if you want complexity without too much bite.
- How thin or thick should the slab be? An 8×8 pan gives a nicely thick slice. A larger pan will yield thinner pieces that are more fragile.
The Takeaway
This 4-ingredient Kit Kat fudge is a dependable, fast way to make a crowd-pleasing chocolate treat. Minimal fuss, minimal gear, and maximum payoff. Follow the steps, mind the heat, press in the bars while the surface is soft, chill, and slice. You’ll end up with a glossy, rich fudge crowned with crisp Kit Kats — sweet, nostalgic, and utterly sliceable. Give it a try when you need a simple showstopper.
Easy 4-ingredient Kit Kat Fudge
Ingredients
Ingredients
- 3 cupssemi-sweet or milk chocolate chips
- 114 ounce cansweetened condensed milk
- 1 teaspoonvanilla extract
- 10-12 Fun SizeKit Kat Barsbroken into sticks
Instructions
Instructions
- Line an 8×8-inch baking pan with foil, leaving an overhang for easy removal, and spray the foil lightly with cooking spray.
- In a medium saucepan, combine 3 cups semi-sweet or milk chocolate chips and the 1 14‑ounce can of sweetened condensed milk.
- Warm the mixture over medium-low heat, stirring constantly with a heatproof spatula or wooden spoon until the chocolate is completely melted and the mixture is smooth and glossy (do not let it boil).
- Remove the pan from the heat and stir in 1 teaspoon vanilla extract until evenly incorporated.
- Pour the chocolate mixture into the prepared pan and spread it into an even layer with an offset spatula or the back of a spoon.
- Working quickly while the surface is still soft, press 10–12 Fun Size Kit Kat bars (broken into sticks) into the top of the fudge in a single layer so they adhere.
- Let the fudge cool to room temperature on the counter, then refrigerate until fully set, at least 1 hour. Use the foil overhang to lift the fudge from the pan, peel off the foil, and cut into pieces.
Equipment
- 8x8 inch baking pan
- Foil
- Cooking spray
- Medium Saucepan
- Heatproof spatula
- Wooden Spoon
- Offset spatula
- Refrigerator
Notes
You can also make this in the microwave in a large microwave-safe bowl. Heat on high power, stirring every minute.
Fudge can be stored in an airtight container in the refrigerator for up to 2 weeks or you can freeze it for up to 3 months.