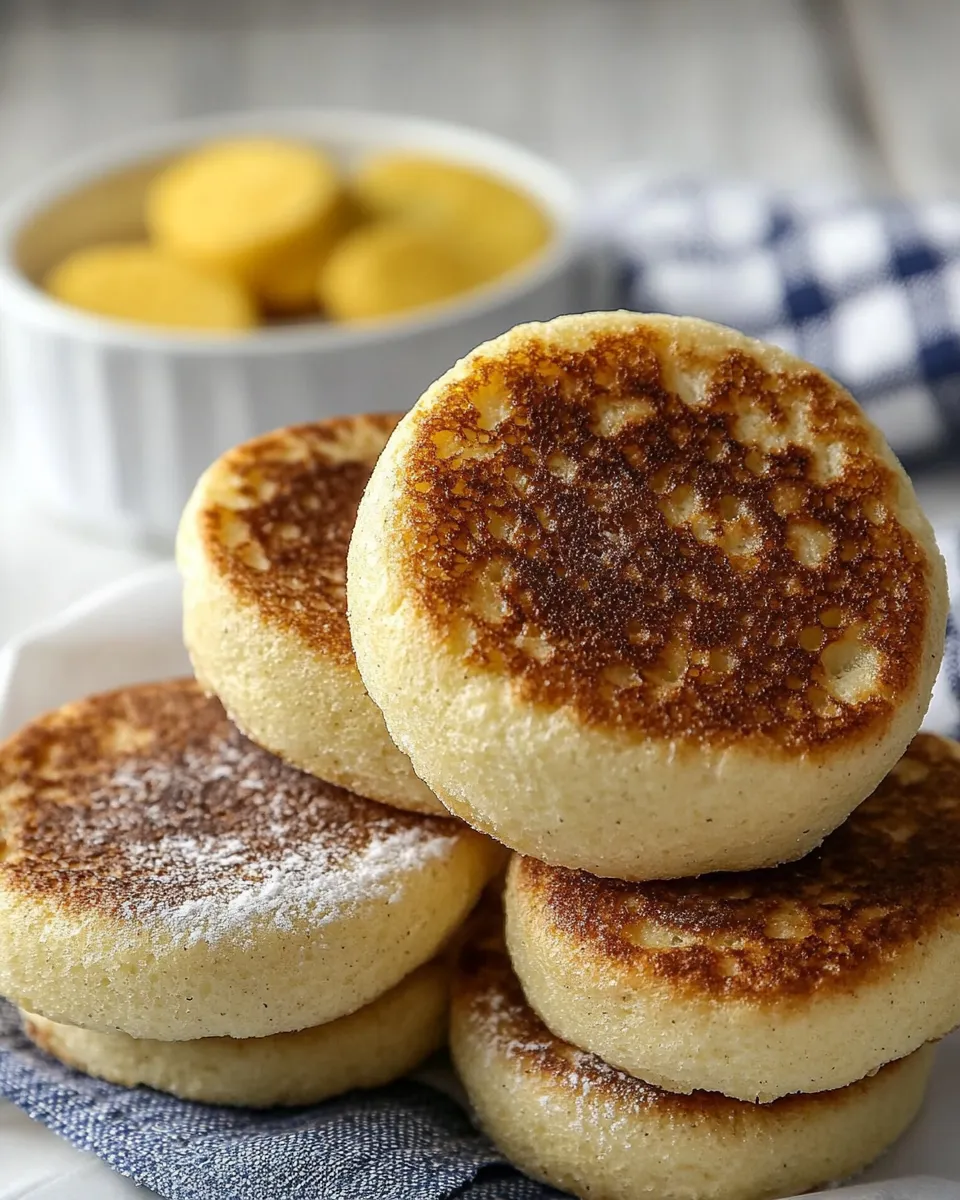
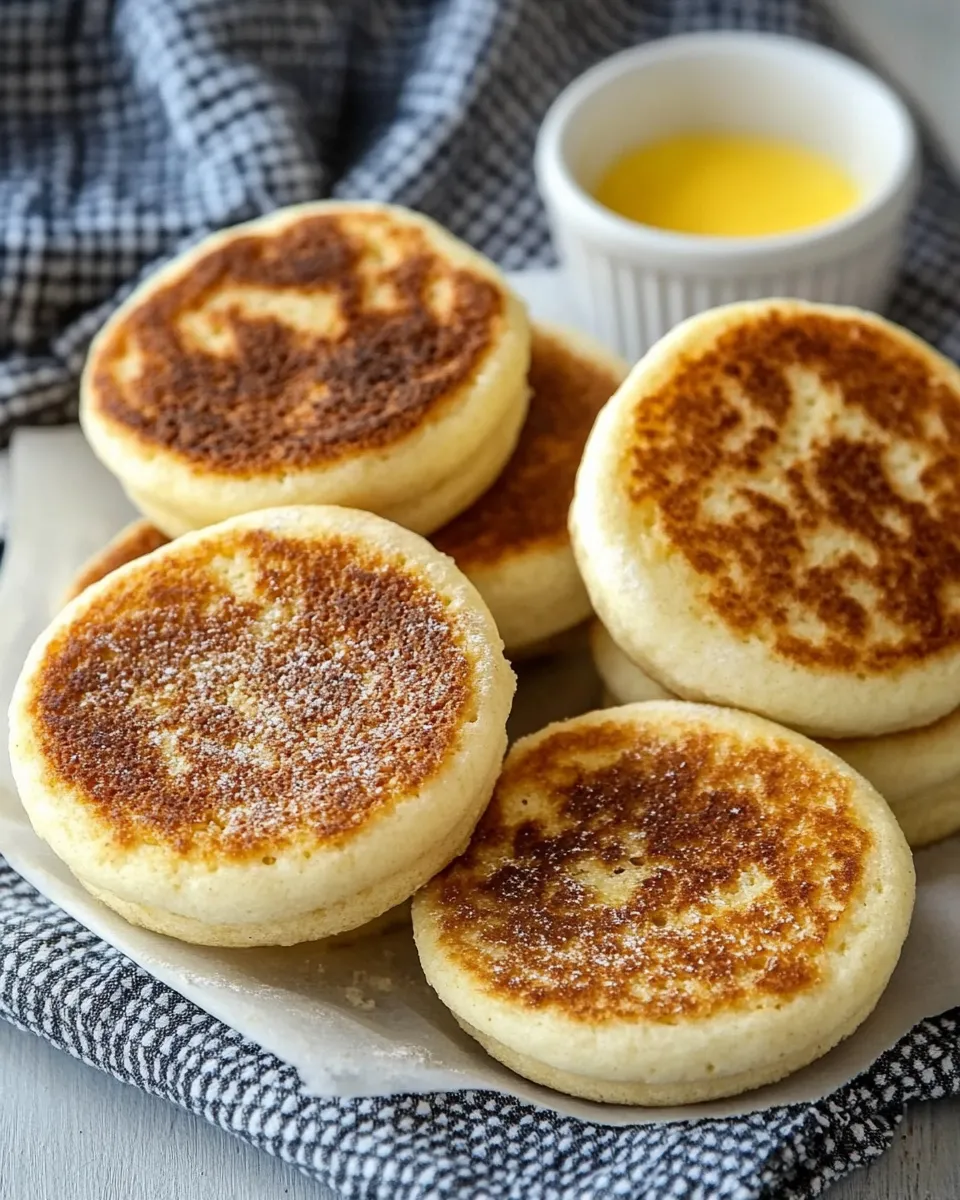
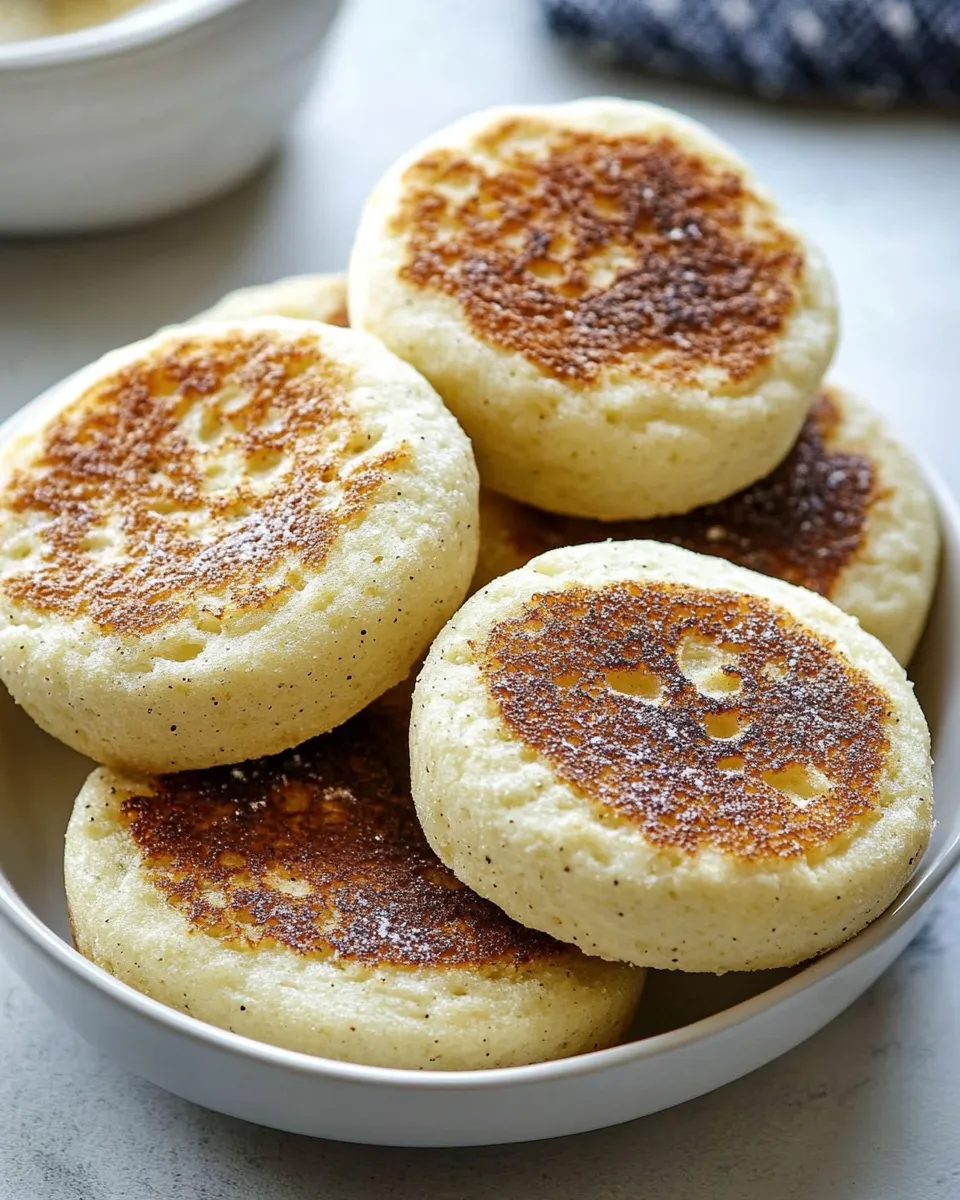
There’s something incredibly satisfying about biting into a warm, homemade English muffin. They boast a delightful texture, perfect for toasting, and can be topped with anything from butter and jam to poached eggs and hollandaise sauce. Making English muffins from scratch may sound daunting, but with this English Muffins Recipe, you’ll find it to be a simple and rewarding process. Let’s dive into why you should make this recipe, what you need, and how to create these golden, nooks-and-crannies-filled delights in your own kitchen!
Top Reasons to Make English Muffins Recipe
- Freshness: There’s nothing like the taste of freshly baked English muffins, warm from the oven.
- Customizable: You can add seeds, spices, or even herbs to make them your own.
- Healthier Options: Control the ingredients and opt for whole grains or less sugar.
- Perfect for Meal Prep: Make a batch ahead of time and freeze them for quick breakfasts.
What Goes In
- 1 1/2 cups whole milk minus 1 Tbsp: Provides moisture and a tender crumb.
- 2 Tbsp unsalted butter: Adds richness and flavor.
- 2 Tbsp honey: A natural sweetener that helps with browning.
- 1 tsp active dry yeast: Essential for leavening and creating that airy texture.
- 2 3/4 cups bread flour: The main ingredient for structure.
- 1/4 cup whole wheat flour: Optional for added nutrition and flavor.
- 1 1/2 tsp fine sea salt: Enhances flavor and strengthens the dough.
- 1/4 cup semolina flour or finely ground cornmeal: For dusting, gives a nice texture and prevents sticking.
Toolbox for This Recipe
- Mixing bowl: For combining and kneading the dough.
- Rolling pin: To shape your muffins evenly.
- Cookie sheet: For baking the muffins.
- Kitchen thermometer: To check the milk temperature for activating the yeast.
- Skillet or griddle: For cooking the muffins to perfection.
English Muffins Recipe — Do This Next
Step 1: Prepare the Milk Mixture
In a small saucepan, heat the whole milk over low heat until it is warm to the touch (about 110°F or 43°C). Remove from heat and stir in the butter and honey until melted and combined.
Step 2: Activate the Yeast
Sprinkle the active dry yeast over the warm milk mixture and let it sit for about 5-10 minutes, until it becomes frothy.
Step 3: Combine the Dry Ingredients
In a large mixing bowl, whisk together the bread flour, whole wheat flour (if using), and salt.
Step 4: Make the Dough
Pour the milk mixture into the dry ingredients. Stir with a wooden spoon until a rough dough forms. Turn it out onto a floured surface and knead for about 5-7 minutes, until smooth and elastic.
Step 5: First Rise
Shape the dough into a ball and place it in a lightly greased bowl. Cover with a damp cloth or plastic wrap and let it rise in a warm place for 1 hour, or until doubled in size.
Step 6: Shape the Muffins
Once the dough has risen, punch it down and turn it out onto a lightly floured surface. Roll it out to about 1-inch thickness. Use a round cutter to cut out muffins and place them on a baking sheet dusted with semolina flour or cornmeal.
Step 7: Second Rise
Cover the cut muffins with a cloth and let them rise for another 30 minutes.
Step 8: Cook the Muffins
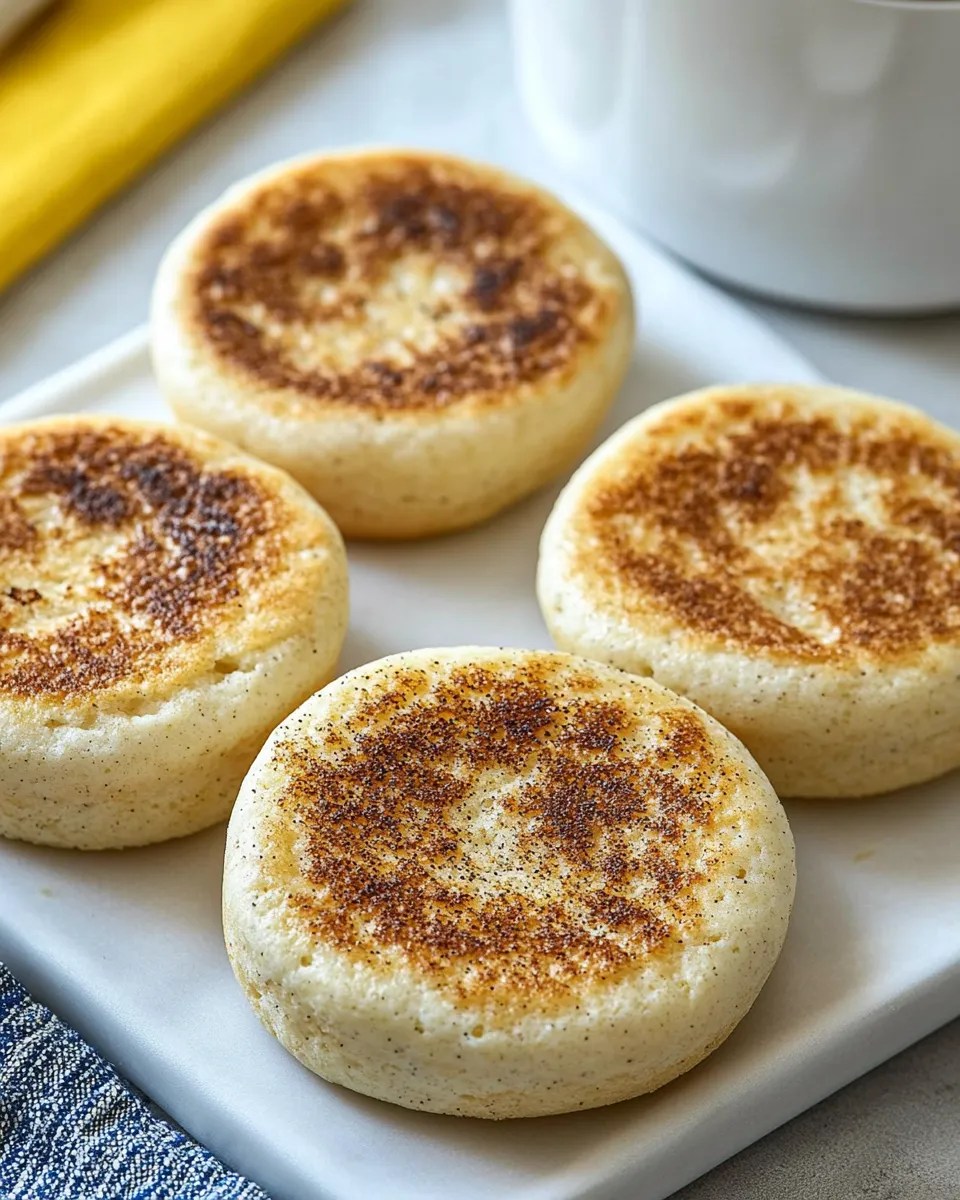
Preheat a skillet or griddle over low heat. Cook the muffins for about 5-7 minutes on each side, until they are golden brown. You may need to adjust the heat to ensure they cook through without burning.
Step 9: Cool and Serve
Transfer the cooked muffins to a wire rack to cool. Once cooled, slice them open, toast, and enjoy with your favorite toppings!
Customize for Your Needs
- Add seeds: Incorporate poppy seeds or sesame seeds into the dough for extra crunch.
- Herbed version: Mix in dried herbs like oregano or rosemary for a savory twist.
- Cheesy muffins: Add shredded cheese for a cheesy flavor throughout.
- Sweet muffins: Include raisins or dried cranberries for a sweet breakfast treat.
Watch Outs & How to Fix
While making your English muffins, there are a few common pitfalls to watch for:
- Dough too sticky: If your dough is too sticky, add a little more flour, a tablespoon at a time, until manageable.
- Muffins not rising: Ensure your yeast is fresh and that the milk is not too hot, as it can kill the yeast.
- Burnt muffins: Cook on low heat to avoid burning the outside while leaving the inside raw.
Save It for Later
Once you master this English Muffins Recipe, consider making a double batch! These muffins freeze beautifully. Just allow them to cool completely, then place them in a freezer-safe bag. They can last for up to three months in the freezer. To enjoy, simply pop them in the toaster and they’ll taste fresh out of the oven!
English Muffins Recipe Q&A
Can I use all-purpose flour instead of bread flour?
Yes, you can use all-purpose flour, but the texture may be slightly less chewy. Bread flour gives a better rise and structure due to its higher protein content.
How do I store leftover English muffins?
Store them in an airtight container at room temperature for up to 3 days. For longer storage, freeze them as mentioned above.
Can I use almond milk or other dairy-free milk alternatives?
Absolutely! You can substitute almond milk or any other non-dairy milk, but make sure it is unsweetened and warm before adding the yeast.
What toppings do you recommend for English muffins?
The possibilities are endless! Classic butter and jam is a favorite, but you can also try avocado and egg, peanut butter and banana, or even a savory spread like cream cheese and smoked salmon.
The Last Word
Making your own English muffins is not only a fun kitchen project, but it also leads to delicious results that are far superior to store-bought options. With a few simple ingredients and some patience, you’ll be rewarded with a batch of fluffy, toasty muffins that are perfect for breakfast or brunch. So roll up your sleeves, gather your ingredients, and get ready to enjoy the taste of homemade English muffins right from your oven!
Share on Pinterest
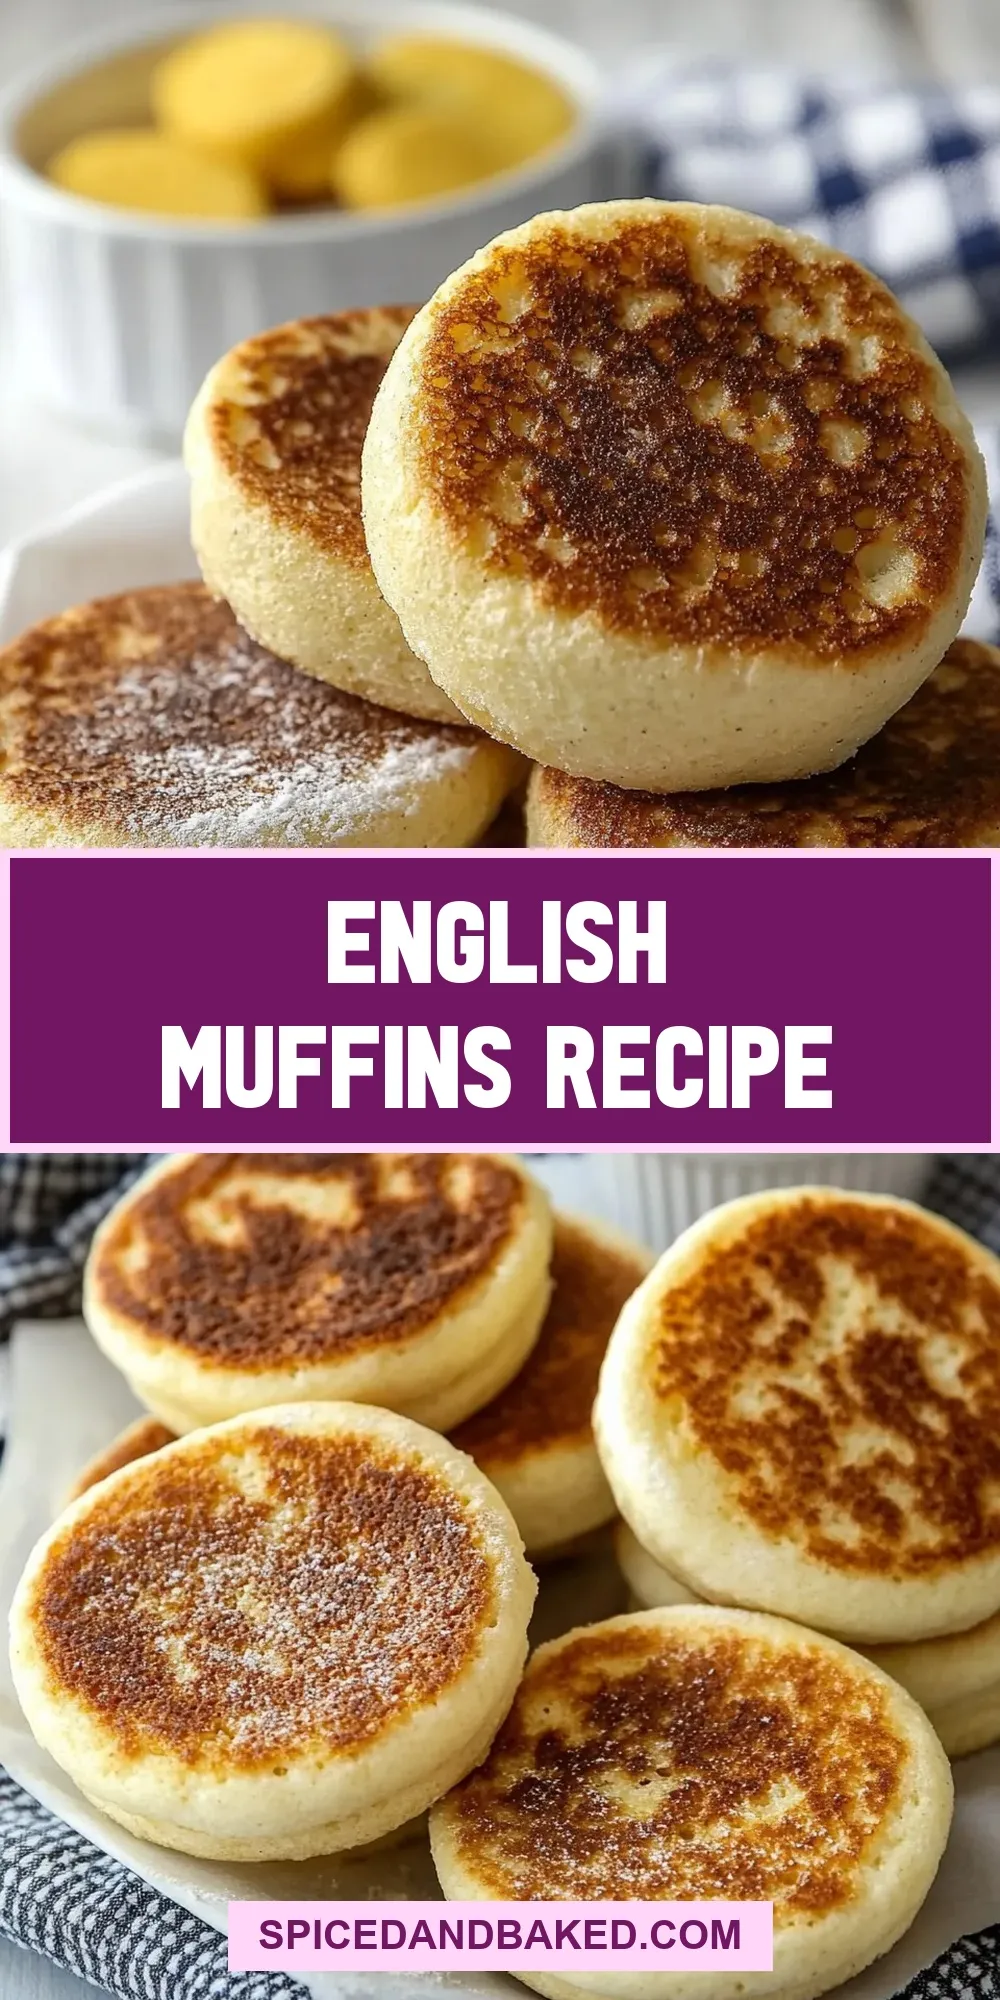

English Muffins Recipe
Ingredients
- 1 cup Whole milk minus 1 Tbsp
- 2 Tbsp Unsalted butter
- 2 Tbsp Honey
- 1 tsp Active dry yeast
- 2 3/4 cups Bread flour
- 1 4 cup Whole wheat flour optional
- 1 1/2 tsp Fine sea salt
- 1 4 cup Semolina flour or finely ground cornmeal for dusting
Instructions
- Step 1: Prepare the Milk Mixture - In a small saucepan, heat the whole milk over low heat until it is warm to the touch (about 110°F or 43°C). Remove from heat and stir in the butter and honey until melted and combined.
- Step 2: Activate the Yeast - Sprinkle the active dry yeast over the warm milk mixture and let it sit for about 5-10 minutes, until it becomes frothy.
- Step 3: Combine the Dry Ingredients - In a large mixing bowl, whisk together the bread flour, whole wheat flour (if using), and salt.
- Step 4: Make the Dough - Pour the milk mixture into the dry ingredients. Stir with a wooden spoon until a rough dough forms. Turn it out onto a floured surface and knead for about 5-7 minutes, until smooth and elastic.
- Step 5: First Rise - Shape the dough into a ball and place it in a lightly greased bowl. Cover with a damp cloth or plastic wrap and let it rise in a warm place for 1 hour, or until doubled in size.
- Step 6: Shape the Muffins - Once the dough has risen, punch it down and turn it out onto a lightly floured surface. Roll it out to about 1-inch thickness. Use a round cutter to cut out muffins and place them on a baking sheet dusted with semolina flour or cornmeal.
- Step 7: Second Rise - Cover the cut muffins with a cloth and let them rise for another 30 minutes.
- Step 8: Cook the Muffins - Preheat a skillet or griddle over low heat. Cook the muffins for about 5-7 minutes on each side, until they are golden brown. You may need to adjust the heat to ensure they cook through without burning.
- Step 9: Cool and Serve - Transfer the cooked muffins to a wire rack to cool. Once cooled, slice them open, toast, and enjoy with your favorite toppings!
Equipment
- Mixing Bowl
- Rolling Pin
- Cookie sheet
- Kitchen Thermometer
- Skillet or griddle
Notes
- Customize your muffins by adding seeds or herbs for extra flavor.
- For a cheesy version, mix in some shredded cheese into the dough.
- These muffins freeze well; store them in an airtight container for future use.