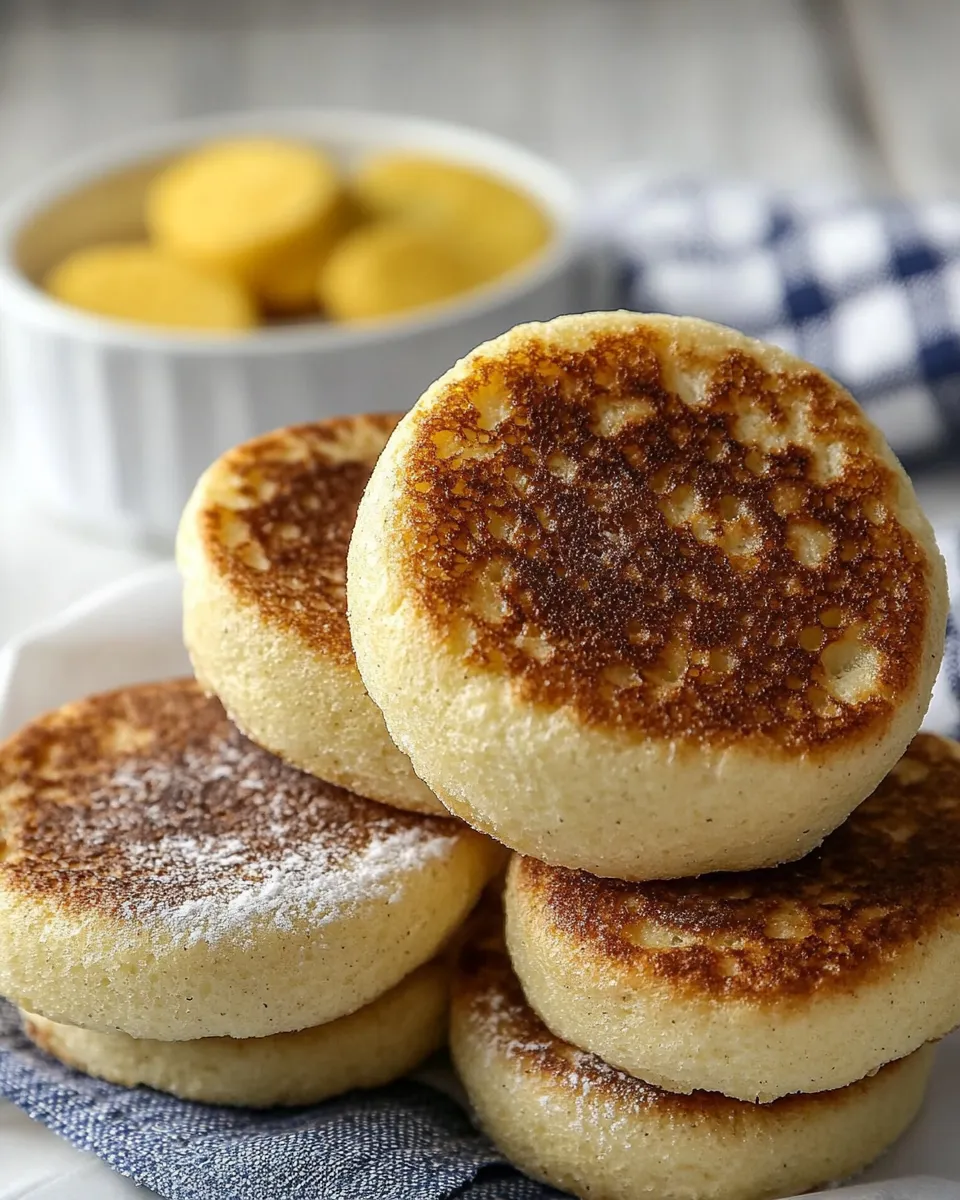
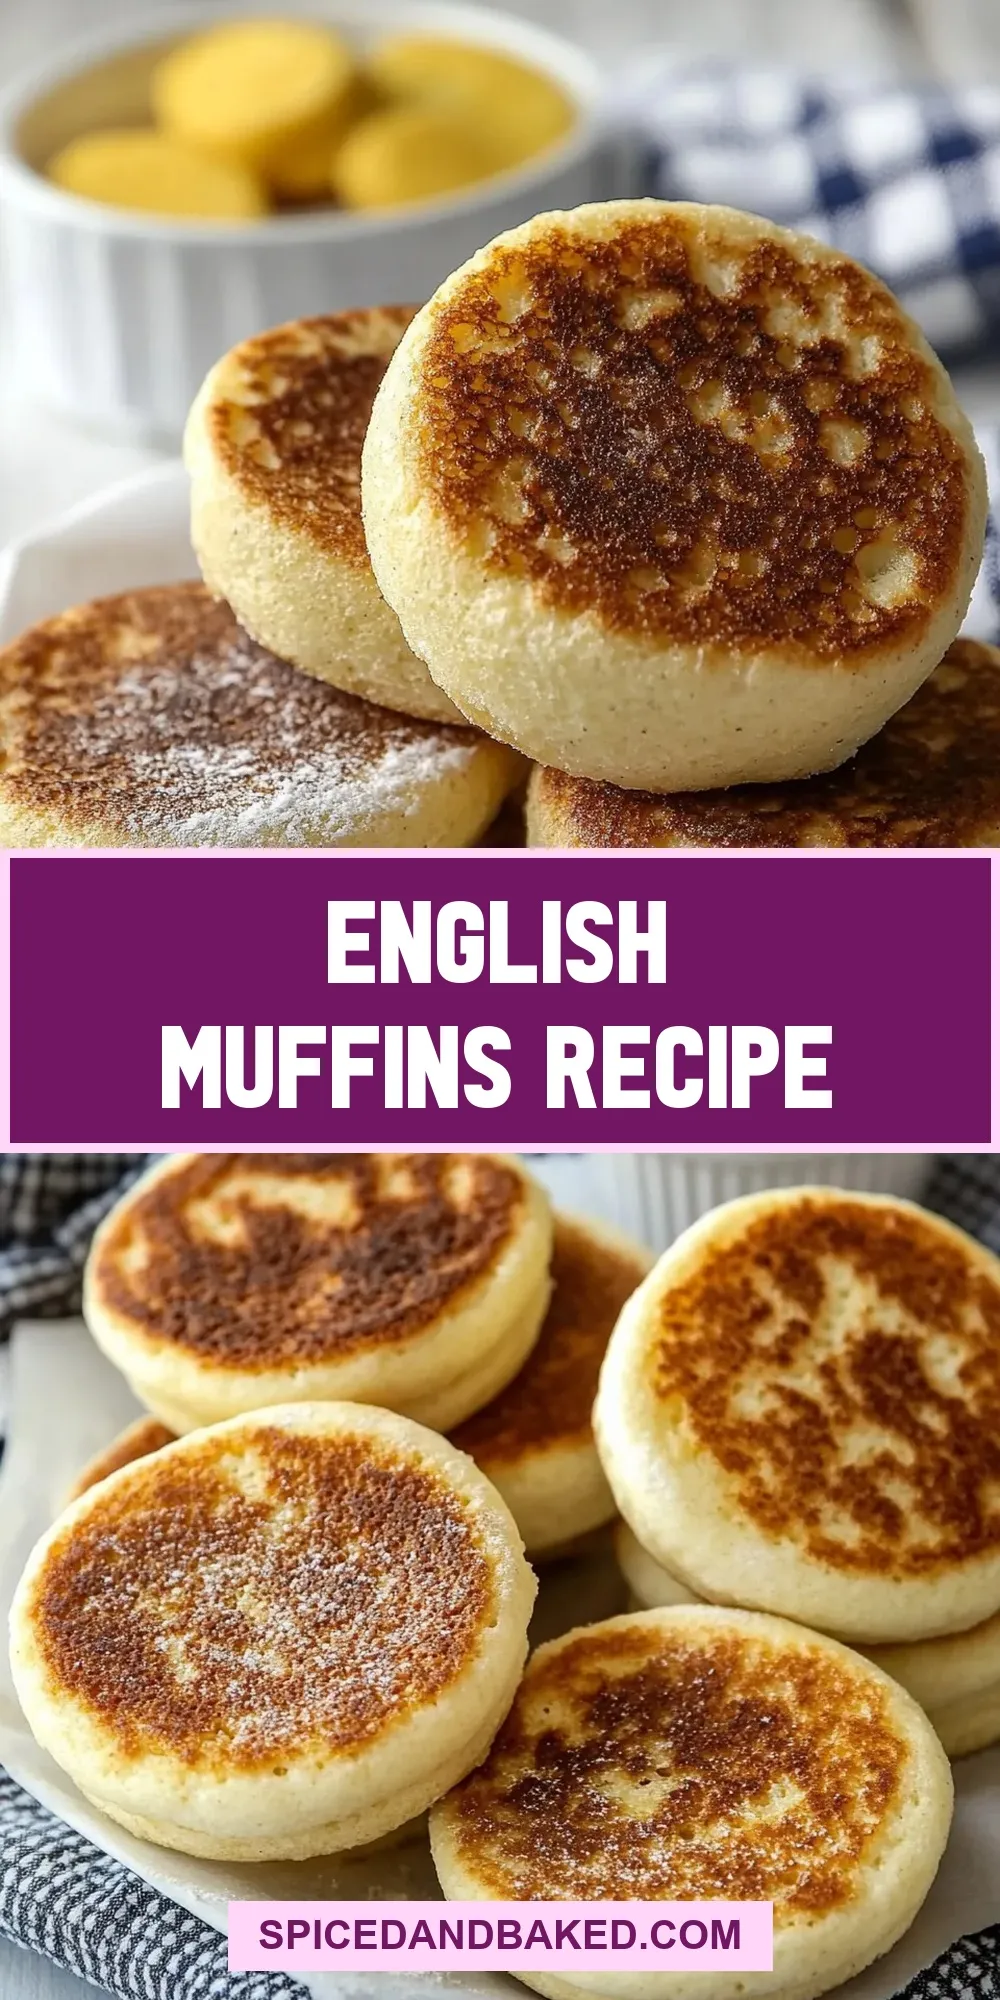
I fell in love with English muffins the first time I split one open and found that honeycomb of soft, craggy interior. That texture — the nooks and crannies that catch melted butter — is the reason I make them at home. Store-bought versions are convenient, but homemade gives you control over flavor, texture and that perfect toasting behavior.
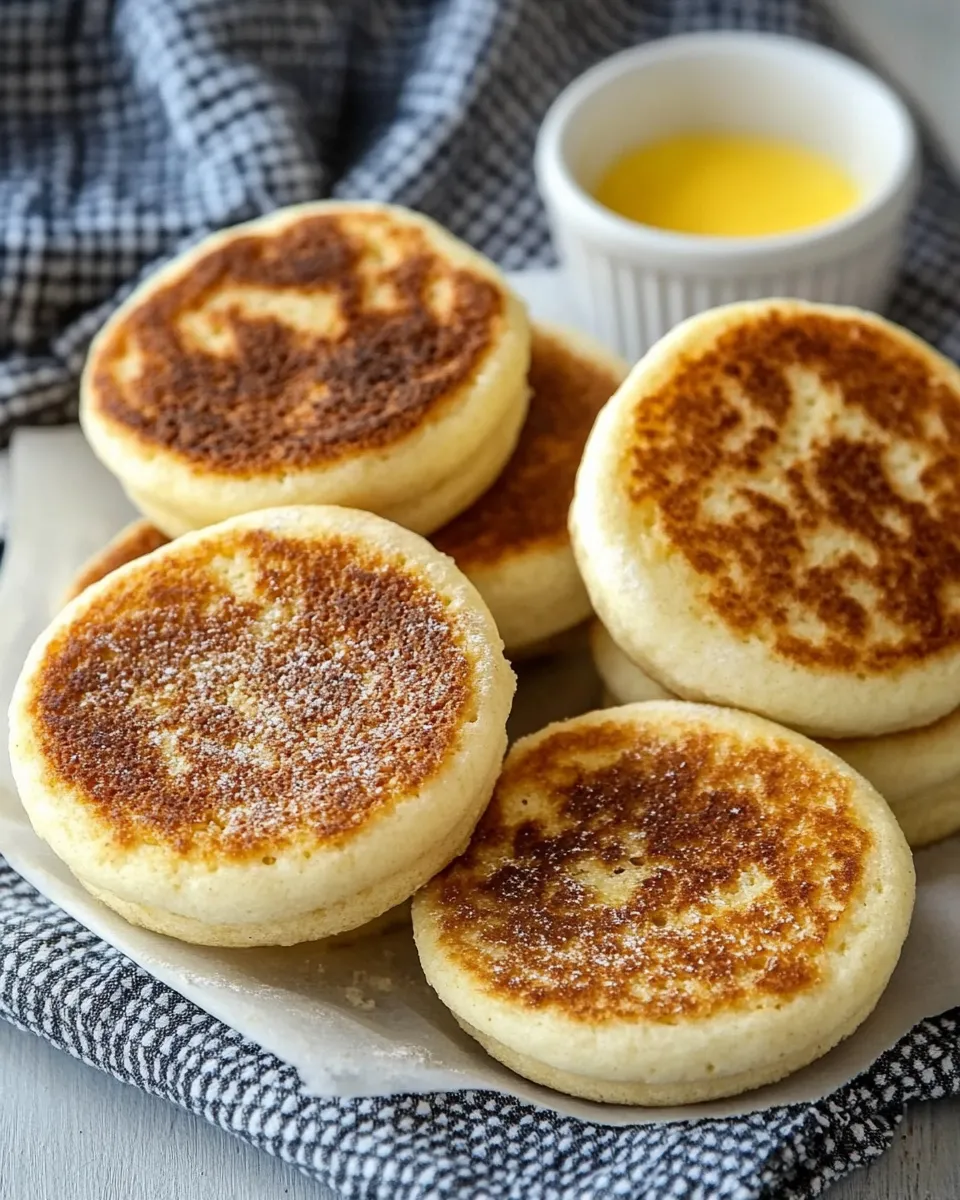
This recipe is straightforward but worth the attention. Measure, proof, and handle the dough gently; the reward is a tender, slightly chewy muffin with crispy browned bottoms and a soft crumb inside. I’ll walk you through each step and share practical notes from the test kitchen so your first batch (or fiftieth) comes out reliably.
If you have a cast-iron pan or griddle, a little patience and a thermometer, you’ll get consistent results. The recipe uses common pantry flour and a touch of whole wheat for complexity, plus semolina for that ideal dusting. Let’s get to it.
Ingredient Breakdown
- 1 1/2 cups whole milk minus 1 Tbsp — provides fat and moisture; temp matters for yeast proofing.
- 2 Tbsp unsalted butter — enriches the dough for tenderness and flavor.
- 2 Tbsp honey — feeds the yeast and adds a gentle sweetness to the crust and crumb.
- 1 tsp active dry yeast, at room temperature — leavening; make sure it blooms in the warm milk mixture.
- 2 3/4 cups bread flour, (*see note 1) — gives structure and chew; the high protein helps those signature nooks.
- 1/4 cup whole wheat flour, optional, or use more Bread Flour — adds depth and a touch of nuttiness; truly optional.
- 1 1/2 tsp fine sea salt — balances flavor and tightens gluten development.
- 1/4 cup semolina flour or finely ground cornmeal, for dusting — keeps muffins from sticking and adds texture to the exterior.
Step-by-Step: English Muffins
- Combine 1 1/2 cups whole milk minus 1 Tbsp, 2 Tbsp unsalted butter, and 2 Tbsp honey in a saucepan or microwave-safe container. Heat to 120°F, stir until the butter is melted, then cool the mixture to 110°F.
- Stir 1 tsp active dry yeast into the 110°F milk mixture until dissolved. Let sit 7–10 minutes, until foamy or bubbly, to proof the yeast.
- In the bowl of a stand mixer, whisk together 2 3/4 cups bread flour, 1/4 cup whole wheat flour (optional), and 1 1/2 tsp fine sea salt.
- Add the foamy yeast-and-milk mixture to the dry ingredients. Using the paddle attachment, mix on speed 2 for 8–10 minutes, scraping down the bowl once or twice. The dough will be very wet and sticky.
- Lightly dust a large mixing bowl with a little of the bread flour. Transfer the dough into the dusted bowl (the dough may still be sticky but should release from the mixer bowl). Cover with a kitchen towel and place in a warm spot (about 100°F). Let rise until doubled in size, about 2 hours.
- Line a baking sheet with parchment paper and generously dust the parchment with the 1/4 cup semolina flour for dusting.
- Dust a clean work surface generously with flour. Invert the risen dough onto the floured surface and, using floured fingers, gently press and spread the dough to an even 1/2-inch thickness.
- Using a 3-inch round cutter dipped in flour between cuts, cut out rounds by pushing straight down and then twisting. Transfer each round to the prepared, semolina-dusted baking sheet. Dust the tops of the rounds with additional semolina as needed.
- Cover the muffins on the baking sheet with a towel and let rest for 20 minutes to lightly puff. If making ahead: instead of this 20-minute rest, cover the muffins with a sheet of plastic wrap lightly dusted with flour or semolina and refrigerate overnight; when ready to cook, remove from the fridge and proceed with step 10.
- Preheat a dry cast-iron pan or griddle over low heat. Place the muffins on the dry pan spaced apart, cover with a lid, and cook until the bottoms are golden brown, about 6 minutes, rotating or moving the muffins halfway through for even browning. Reduce heat if they brown too quickly.
- Flip the muffins when the tops look matte and they have puffed. Cook uncovered on the second side for 4–5 minutes. Check that the center reaches 200°F with a thermometer.
- Transfer the cooked muffins to a wire rack to cool. To split, pierce all around with the tines of a fork and pull the halves apart. Store or serve as desired.
Top Reasons to Make English Muffins
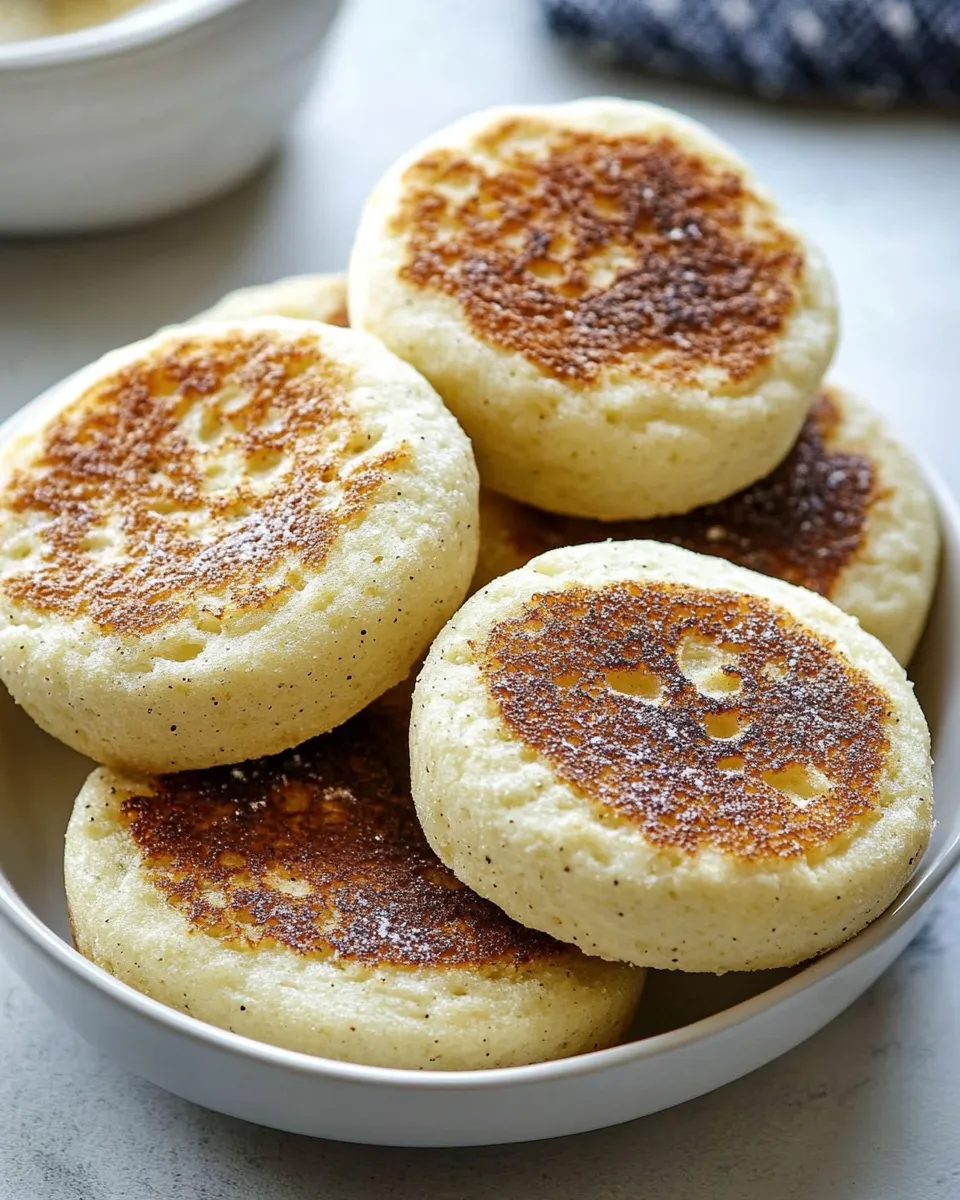
1) Texture: Homemade English muffins have an open, irregular crumb that traps butter, jam or eggs better than many breads. Those nooks are what make them special.
2) Freshness and flavor control: You control the salt, the degree of browning and whether to include whole wheat. Fresh muffins have a brightness and richness that commercial versions often lack.
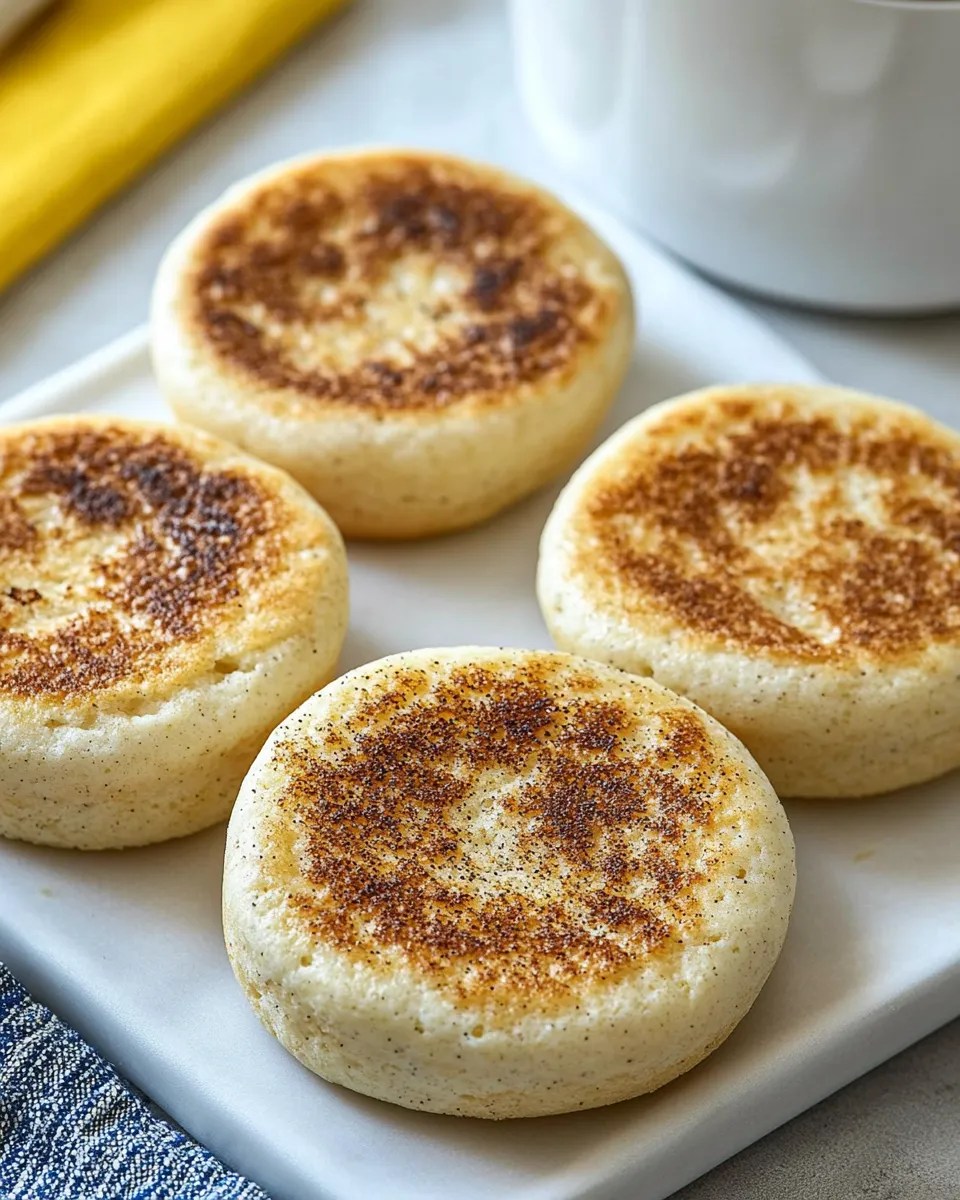
3) Versatility: Split, toast, top with sweet or savory spreads, or use as the base for breakfast sandwiches — they do a lot for your morning routine.
4) Economical and satisfying: A small list of ingredients yields a dozen or so muffins, depending on cutter size and dough handling. Making them yourself stretches pantry staples into something delicious.
Ingredient Flex Options
Keep changes simple and purposeful:
- Whole wheat flour is optional — you can substitute that 1/4 cup with bread flour if you prefer a lighter, less assertive flavor.
- Semolina flour or finely ground cornmeal is listed as a dusting option. Use whichever you have; both prevent sticking and give a pleasant texture.
- If you prefer a slightly richer dough, you can ensure the full 2 Tbsp butter is melted into the milk as directed. Don’t reduce the milk by more than the specified 1 Tbsp — the dough’s hydration is calibrated for the described handling and rise.
Tools of the Trade
These are the items that make the process smoother and more reliable:
- Stand mixer with paddle attachment — helpful for handling the very wet dough without exhausting your arms.
- Instant-read thermometer — indispensable for checking milk temps, proofing environment, and final internal temp (200°F) for the muffins.
- Cast-iron pan or heavy griddle — provides even, steady heat for the stovetop baking method described.
- 3-inch round cutter — for uniform muffins; a clean tin can or jar lid of similar size works in a pinch.
- Parchment-lined baking sheet dusted with semolina — prevents sticking and makes transfer simple.
- Wire rack — cools the muffins so the bottoms don’t steam and get soggy.
Troubleshooting Tips
Yeast and Proofing
If the yeast doesn’t foam after 7–10 minutes, the milk was likely too hot or the yeast is old. Start again with fresh yeast and confirm the liquid is about 110°F before adding yeast.
Dough Too Sticky or Too Dry
The dough is meant to be very wet and sticky. Resist the impulse to add lots of extra flour. If you must, add only a tablespoon at a time when dusting, but expect handling to be sticky. A sticky dough yields the best internal texture.
Undercooked Centers
If muffins are browning but still doughy inside, lower the heat and cook a bit longer, or check internal temp with a thermometer — target 200°F. Too-high heat will brown exteriors before the middle sets.
Muffins Stick to Pan
Be generous with the semolina or cornmeal on the parchment. If sticking persists, check that the pan’s surface is even and the parchment isn’t slick in spots; semolina provides abrasive separation.
Fresh Seasonal Changes
English muffins are a canvas for seasonal flavors. In spring, top with lemon curd or fresh berries; in summer, try heirloom tomato slices with basil and a drizzle of olive oil for a savory play; fall calls for spiced apple butter or pumpkin butter on a warm split muffin; winter mornings welcome melted butter and a spoonful of spiced jam. No quantities are needed — just adjust to your taste.
For a heartier seasonal breakfast, pair toasted English muffins with sautéed greens and a poached egg. In cooler months, serve them warm from the pan with a pat of cold butter so it melts into all those nooks.
Notes from the Test Kitchen
Temperature control changes everything. I use the thermometer at three checkpoints: milk to 120°F then cooled to 110°F, proofing environment around 100°F, and final internal temp of the muffins at 200°F. These temp targets keep the yeast lively and the interior fully baked without dried-out edges.
When spacing muffins on the pan, give them room to puff and expand slightly. Crowding will yield flatter shapes and uneven browning. The recommended 20-minute rest after cutting helps a gentle final rise; if you refrigerate overnight, you’ll notice slightly deeper flavor and an easier morning cook.
Be patient on the stovetop. Low, steady heat is kinder than high heat. If they brown too quickly, lower the flame. Rotating the muffins halfway through the first side helps account for hot spots on many pans.
Store, Freeze & Reheat
To store: cool completely on a rack, then place in an airtight container at room temperature for up to 2 days. For longer storage, freeze split muffins in a zip-top bag with parchment between halves to prevent sticking; they’ll keep well for up to 3 months.
To reheat from frozen: toast the split muffins directly from frozen in a toaster or oven until hot and crisp. If you prefer a skillet method, warm them over low heat in a covered pan just until heated through, then split with a fork to preserve the nooks.
Ask & Learn
Q: Can I use instant yeast instead of active dry yeast?
A: The recipe specifies active dry yeast; if substituting instant, reduce proofing time and add it directly to dry ingredients per package guidance. Because proofing is a check on yeast vitality, using active dry as written helps predict rise behavior.
Q: Why not bake these in the oven?
A: Traditional English muffin texture comes from the stovetop method: steady bottom heat develops the browned base while low covered heat bakes through. You can experiment with low oven temperatures, but results will differ.
Q: How many muffins does this make?
A: Yield depends on cutter size and how closely you cut rounds. Expect roughly a dozen 3-inch muffins, give or take.
Hungry for More?
If you enjoyed making English Muffins, try adapting the method for other pan-baked flatbreads or breakfast sandwiches. Use your favorites from the pantry to top them — butter, preserves, eggs, or savory ingredients you prefer. Once you master the dough and the pan technique, the rest is personal preference and delicious experimentation.

English Muffins Recipe
Ingredients
Ingredients
- 1 1/2 cupswhole milk minus 1 Tbsp
- 2 Tbspunsalted butter
- 2 Tbsphoney
- 1 tspactive dry yeast at room temperature
- 2 3/4 cupsbread flour (*see note 1)
- 1/4 cupwhole wheat flour optional, or use more Bread Flour
- 1 1/2 tspfine sea salt
- 1/4 cupsemolina flour or finely ground cornmeal for dusting
Instructions
Instructions
- Combine 1 1/2 cups whole milk minus 1 Tbsp, 2 Tbsp unsalted butter, and 2 Tbsp honey in a saucepan or microwave-safe container. Heat to 120°F, stir until the butter is melted, then cool the mixture to 110°F.
- Stir 1 tsp active dry yeast into the 110°F milk mixture until dissolved. Let sit 7–10 minutes, until foamy or bubbly, to proof the yeast.
- In the bowl of a stand mixer, whisk together 2 3/4 cups bread flour, 1/4 cup whole wheat flour (optional), and 1 1/2 tsp fine sea salt.
- Add the foamy yeast-and-milk mixture to the dry ingredients. Using the paddle attachment, mix on speed 2 for 8–10 minutes, scraping down the bowl once or twice. The dough will be very wet and sticky.
- Lightly dust a large mixing bowl with a little of the bread flour. Transfer the dough into the dusted bowl (the dough may still be sticky but should release from the mixer bowl). Cover with a kitchen towel and place in a warm spot (about 100°F). Let rise until doubled in size, about 2 hours.
- Line a baking sheet with parchment paper and generously dust the parchment with the 1/4 cup semolina flour for dusting.
- Dust a clean work surface generously with flour. Invert the risen dough onto the floured surface and, using floured fingers, gently press and spread the dough to an even 1/2-inch thickness.
- Using a 3-inch round cutter dipped in flour between cuts, cut out rounds by pushing straight down and then twisting. Transfer each round to the prepared, semolina-dusted baking sheet. Dust the tops of the rounds with additional semolina as needed.
- Cover the muffins on the baking sheet with a towel and let rest for 20 minutes to lightly puff. If making ahead: instead of this 20-minute rest, cover the muffins with a sheet of plastic wrap lightly dusted with flour or semolina and refrigerate overnight; when ready to cook, remove from the fridge and proceed with step 10.
- Preheat a dry cast-iron pan or griddle over low heat. Place the muffins on the dry pan spaced apart, cover with a lid, and cook until the bottoms are golden brown, about 6 minutes, rotating or moving the muffins halfway through for even browning. Reduce heat if they brown too quickly.
- Flip the muffins when the tops look matte and they have puffed. Cook uncovered on the second side for 4–5 minutes. Check that the center reaches 200°F with a thermometer.
- Transfer the cooked muffins to a wire rack to cool. To split, pierce all around with the tines of a fork and pull the halves apart. Store or serve as desired.
Equipment
- saucepan or microwave-safe container
- stand mixer with paddle attachment
- Large Mixing Bowl
- Kitchen Towel
- Parchment Paper
- 3-inch round cutter
- cast-iron pan or griddle
- Lid
- Wire Rack
- instant-read thermometer (optional)
Notes
1.
Flour Notes:
You can substitute with all-purpose flour, but bread flour has a higher protein content which produces more gluten. Adding whole wheat flour adds more flavor to the dough, avoid too much whole wheat flour, or the muffins will become too firm. Make sure your flour is not expired which can give your muffins a slight bitterness.
2.
Proofing Dough
– your house is cool, you can let your dough rise in the oven with the oven light on. The light gives off just enough heat to help the dough along (keep it under 100˚F). Don’t Overproof – if you let your dough rise too much, you will exhaust your yeast and it won’t rise nicely in the final rise.
3.
Storing
–
Store in an airtight container at room temperature for 2-3 days, refrigerate for up to a week, or cool and wrap in freezer-safe wrap and freeze.