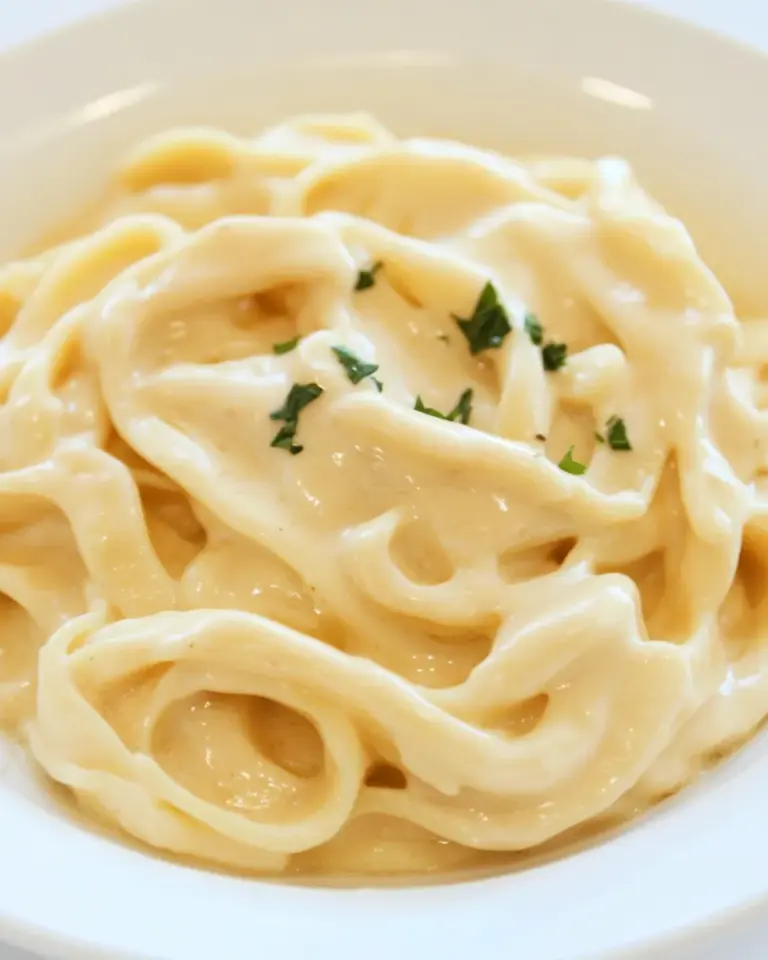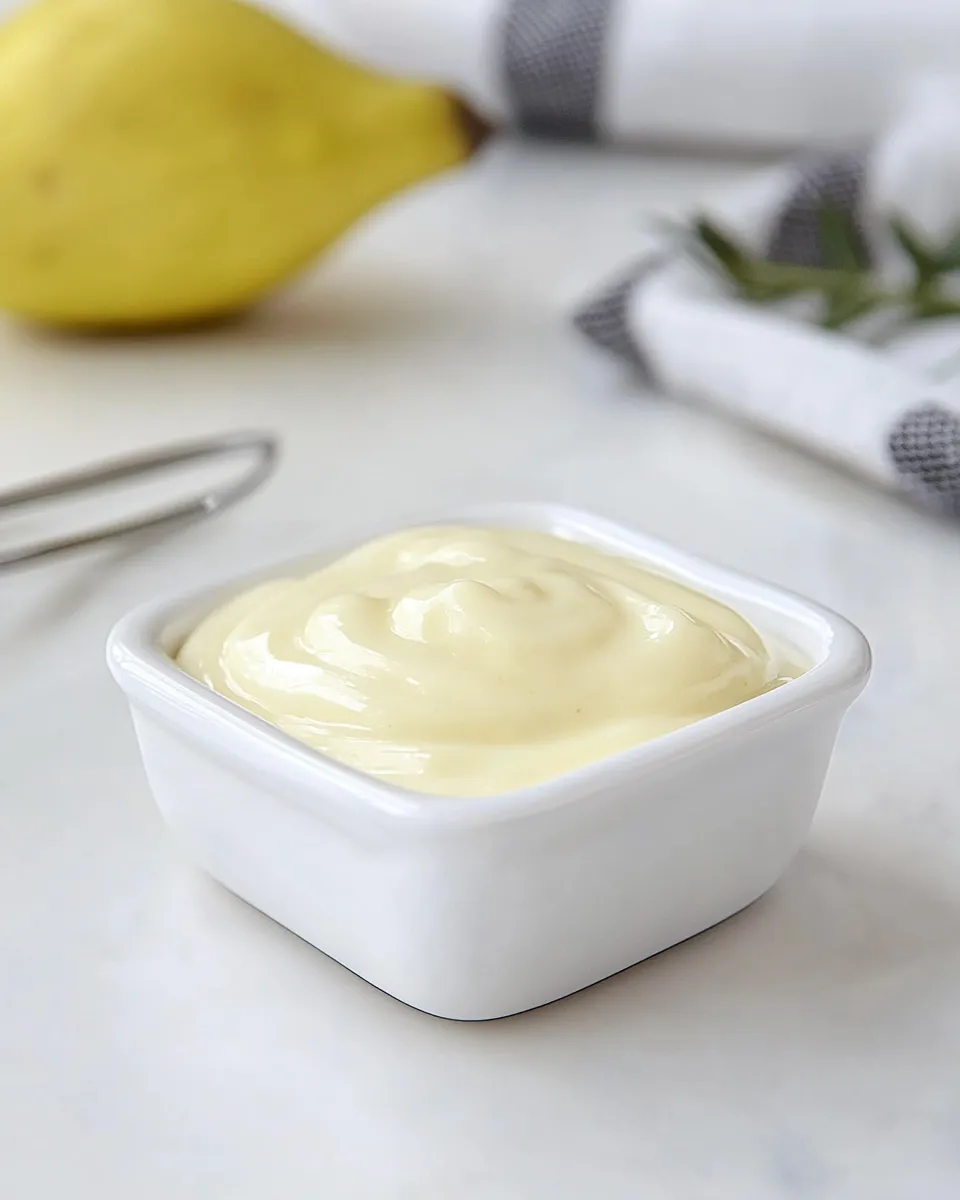
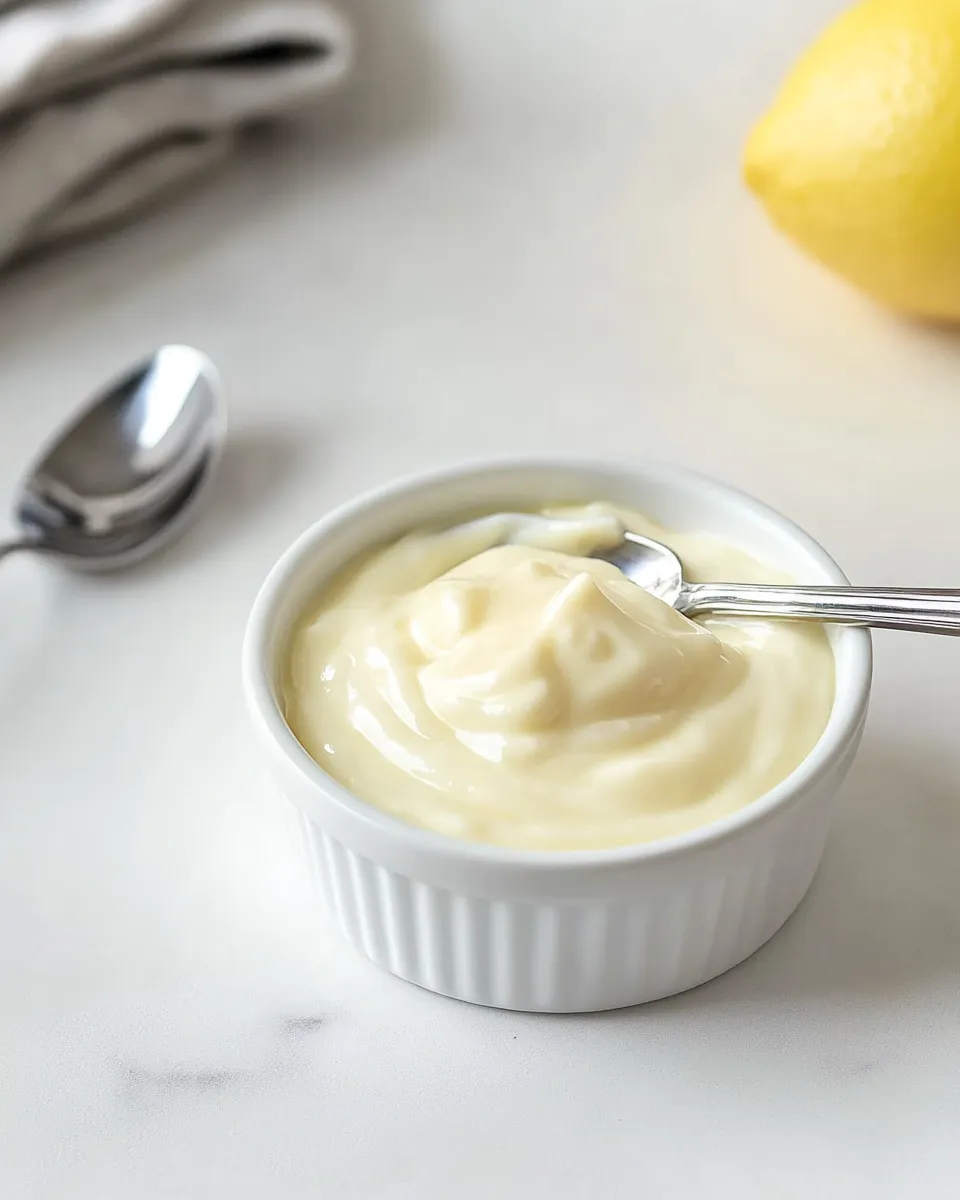
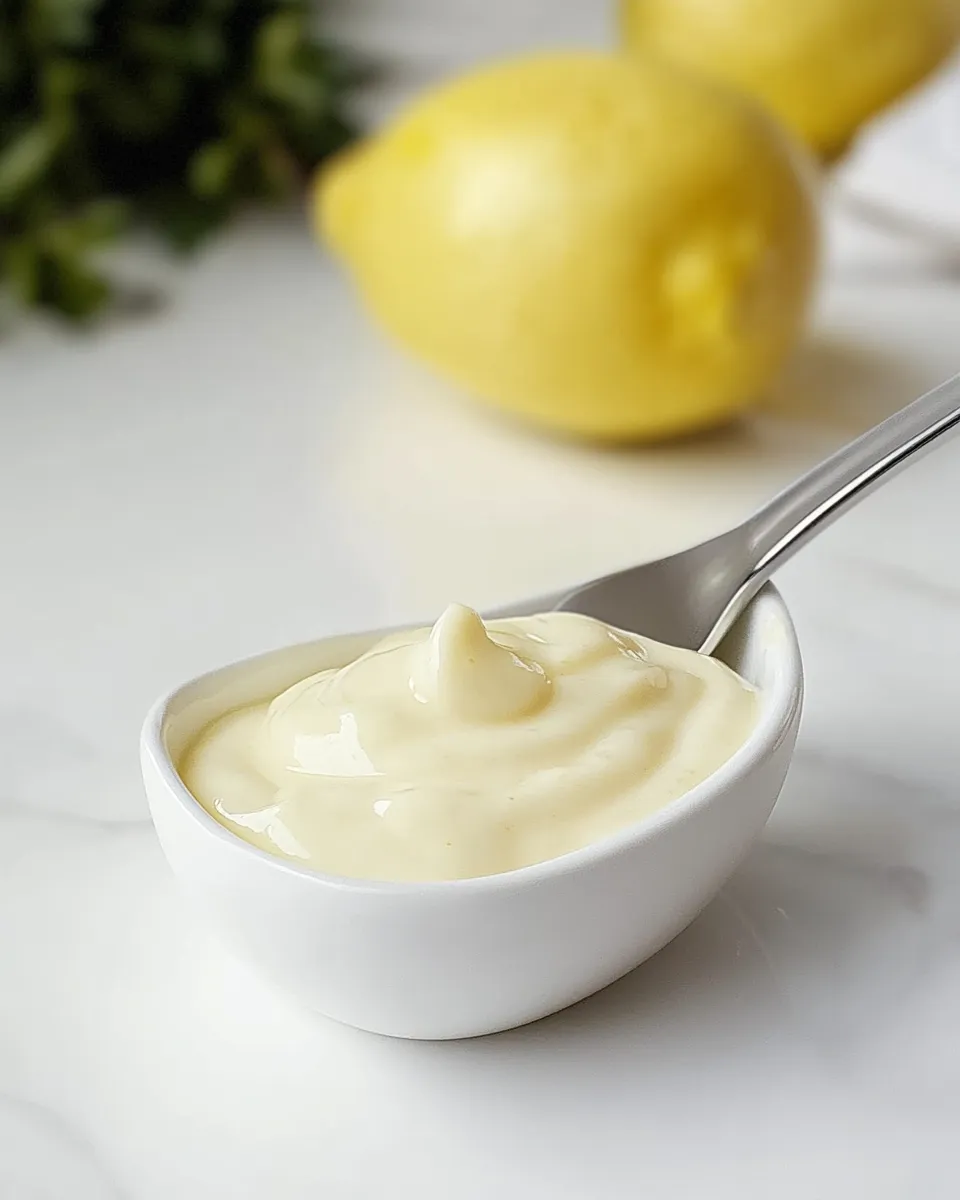
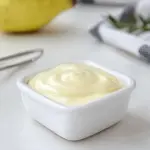
Japanese-style mayonnaise is creamy, tangy, and a touch sweet — exactly the kind of thing you want in your fridge for everything from simple sandwiches to dressings and dips. This version focuses on a stable, silky emulsion built from egg yolks and neutral oil, brightened with rice vinegar and lemon, and balanced with a little sugar. It’s straightforward, forgiving, and stays true to the flavors that make Japanese mayo so addictive.
I test small batches in my kitchen and share practical notes so you can replicate consistent results at home. Expect clear steps, minimal gear, and a few troubleshooting tips so you don’t waste eggs or oil. Make this once and you’ll reach for it over store-bought mayo more than you think.
Keep in mind this recipe uses pasteurized egg yolks for safety. The process is the same whether you whisk by hand or use a blender — the principle is slow oil incorporation to form a stable emulsion. Ready? Let’s shop, make, and store the best homemade Japanese mayo you can trust.
Your Shopping Guide
Start with ingredients you can rely on. Pasteurized egg yolks are the safest choice if you’re not cooking with the eggs afterward. Look for them in the refrigerated section near specialty eggs or in small cartons labeled pasteurized; some supermarkets sell them in single-use packets. If you can’t find pasteurized yolks, choose the freshest eggs and follow any local food-safety guidance for raw eggs.
Neutral-flavored oil matters. Canola and vegetable oil are specifically mentioned in the recipe and are good because they let the egg, vinegar, and lemon shine without adding competing flavors. If you want a slightly richer note, avoid oils like olive oil here — they overpower the delicate balance. For rice vinegar, pick an unseasoned variety labeled “rice vinegar” rather than seasoned sushi vinegar; the recipe calls for unseasoned rice vinegar so you can control sweetness and salt.
Keep basic measuring tools on hand: spoons for small measures, a cup for the oil, and a medium bowl for whisking. If you’ll use a blender or immersion blender instead of a whisk, a narrow jar or tall container helps the oil stream in slowly for a stable emulsion.
Homemade Japanese Mayo in Steps
- In a medium bowl, whisk together 2 large pasteurized egg yolks and 1 3/4 teaspoons Dijon mustard until smooth and fully combined.
- Begin whisking vigorously and add the 1 1/2 cups neutral-flavored oil (canola or vegetable) a few drops at a time, whisking constantly so the mixture starts to thicken and form an emulsion.
- Once the mixture is noticeably thickened and stable, continue to add the remaining oil in a very thin, steady stream while whisking continuously until all the oil is incorporated and the mayonnaise is thick and creamy.
- Add 2 tablespoons unseasoned rice vinegar, 1 tablespoon fresh lemon juice, 1 1/2 teaspoons granulated sugar plus more to taste, and 1/2 teaspoon kosher salt to the bowl.
- Whisk until the acid, sugar, and salt are fully incorporated and taste; adjust sweetness by adding a little more sugar if desired.
- Transfer the mayonnaise to a clean, airtight container and refrigerate. Use within a few days.
Ingredients
- 2 large pasteurized egg yolks — the emulsifying base; pasteurized for food safety when using raw yolks.
- 1 3/4 teaspoons Dijon mustard — helps stabilize the emulsion and adds gentle pungency.
- 1 1/2 cups neutral-flavored oil — canola or vegetable oil; provides bulk and a neutral canvas for flavor.
- 2 tablespoons unseasoned rice vinegar — gives the mayo its characteristic tang without added sugar.
- 1 tablespoon fresh lemon juice — brightens the flavor and balances richness.
- 1 1/2 teaspoons granulated sugar — a small amount to round flavors; add more to taste if you prefer sweeter mayo.
- 1/2 teaspoon kosher salt — brings out the flavors and balances the acidity and sweetness.
What Sets This Recipe Apart
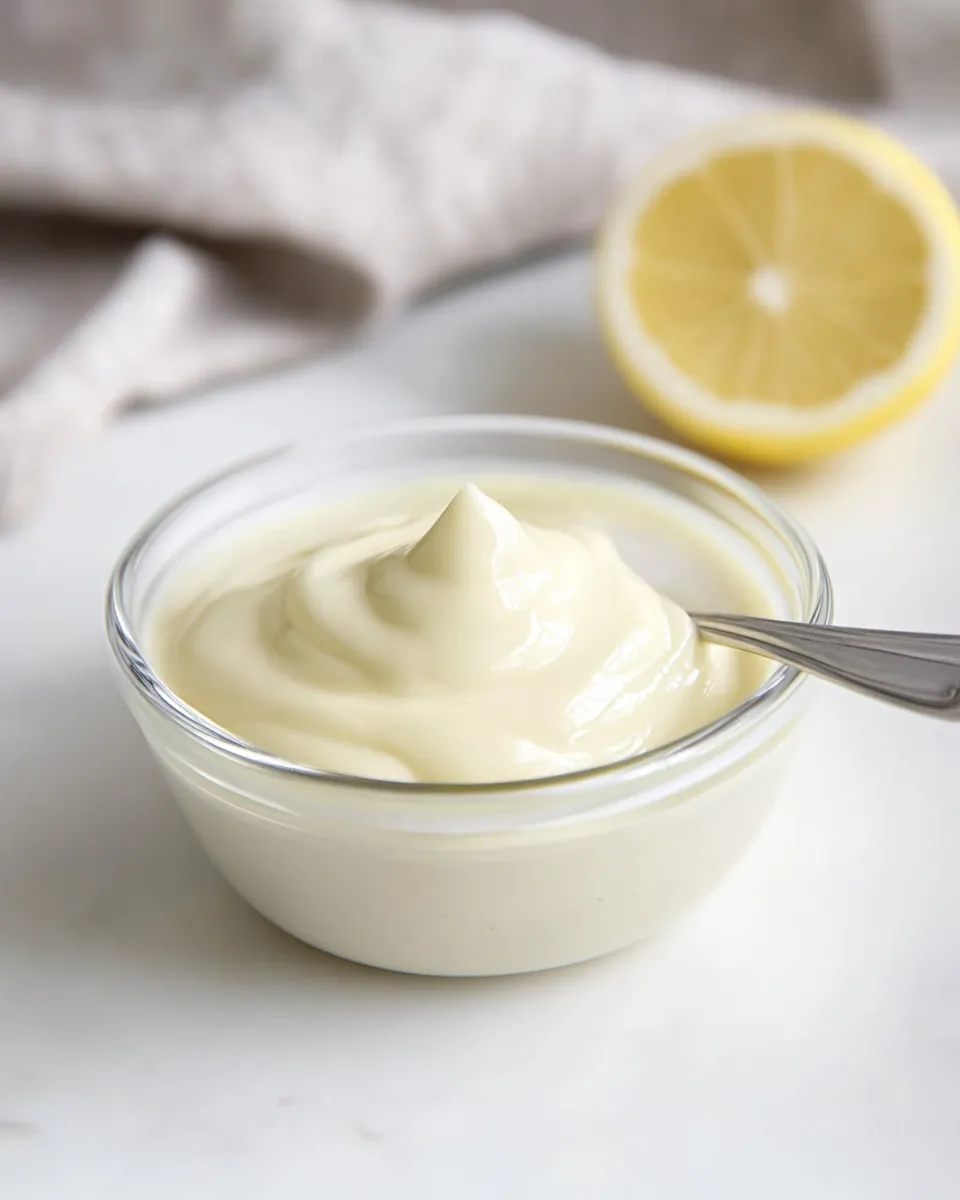
This recipe is essentially a focused, homemade take on Japanese-style mayo: it emphasizes yolks, rice vinegar, and a touch of sugar. The use of pasteurized yolks and Dijon for stability makes the emulsion reliable even with hand-whisking. Rice vinegar plus lemon creates a layered acidity that is softer and sweeter than straight white vinegar, which is why this mayo pairs so well with delicate proteins and grilled vegetables.
The texture is thoughtfully tuned: by starting with drops of oil, then switching to a thin stream once the emulsion is established, you get a dense, creamy mayo without a heavy greasy finish. The small amount of sugar is essential — it’s subtle, but it lifts the overall balance in the same way homemade Japanese mayo typically tastes.
Allergy-Friendly Substitutes
If eggs are a problem, this exact method won’t work because the yolks are the emulsifiers. For egg-free options, buy a commercial vegan mayo or make an aquafaba-based emulsion using chickpea liquid — note that proportions and technique differ from this recipe. For a dairy-sensitive household, everything here is already dairy-free.
If you need to avoid mustard (allergy or personal preference), you can omit the Dijon, but expect the emulsion to be slightly less stable; whisk carefully and add oil more slowly. For a gluten-free diet, check your Dijon mustard label (most are gluten-free) and double-check other product labels as needed.
What’s in the Gear List
- Medium mixing bowl — roomy enough to whisk vigorously without splatter.
- Whisk — a sturdy balloon whisk is ideal for aeration and control; use a hand blender or stand blender if you prefer.
- Measuring spoons and cup — accurate measures matter here, especially for oil and acids.
- Small spouted pitcher or spoon — helpful for adding oil in a controlled thin stream.
- Airtight container or jar — for refrigeration and transport; glass jars work well for visibility and cleanup.
Watch Outs & How to Fix
Emulsion breaks or looks curdled
If your mayo splits or looks watery and separated, stop adding oil. Try whisking in a teaspoon of warm water or another egg yolk in a clean bowl to create a fresh base, then very slowly whisk the split mayo into it, a few drops at a time. Often that brings the emulsion back together.
Too thin
If the mayo never thickened, you likely added oil too quickly at the start or the bowl was too cold. Start a new yolk in a clean bowl, then add the thin mayo dropwise into that fresh yolk while whisking vigorously. Alternatively, whisk for longer — sometimes patience is all it needs once the emulsion starts forming.
Too tart or too sweet
Adjust by small increments. If too tart, neutralize with a pinch more sugar and a tiny splash more oil or yolk. If too sweet, increase acidity slightly with another 1/4 teaspoon rice vinegar or a few drops of lemon juice, tasting as you go. Make changes in small steps; this mayo is concentrated, and small tweaks matter.
Safety note
Because this uses raw egg yolks, always use pasteurized yolks if you need to avoid risk. Store the finished mayo chilled and follow the storage notes below. Discard if it smells off or shows separation after extended storage.
Spring–Summer–Fall–Winter Ideas
Spring: Toss with blanched asparagus, peas, and radishes for a bright, creamy salad. Thin the mayo with a little lemon juice for a dressing.
Summer: Mix with Sriracha or roasted garlic for an unbeatable burger or grilled corn spread. Use it as a dip for raw vegetables or as a base for potato salad.
Fall: Stir into warm roasted sweet potatoes or carrots to add creaminess. Use it as a dip for roasted root vegetables straight from the oven.
Winter: Fold into hot tuna or chicken salad for a comforting sandwich filler. Use a dollop on warm bowls like ramen or soba for a rich finish (the mayo will blend into the broth for a silky texture).
If You’re Curious
Why pasteurized yolks? Pasteurization reduces the risk of pathogens while preserving the functional proteins that stabilize emulsions. If you use raw yolks from fresh eggs, you may be fine, but pasteurized yolks are the safer, more predictable option.
Why both rice vinegar and lemon? Rice vinegar brings a clean, mild acidity with a hint of sweetness. Lemon adds a bright, fresh top note. Together they give depth without harshness. The sugar tames the acidity and rounds the palate, which is characteristic of Japanese mayo profiles.
Meal Prep & Storage Notes
This mayo should be transferred to a clean, airtight container and refrigerated immediately. The source instructions advise: “Use within a few days.” Keep it cold and don’t leave it out at room temperature for extended periods. Always use clean utensils to avoid introducing contaminants.
When prepping meals, plan on making this in small batches so you use it up within a few days. That keeps flavor and texture at their best, and reduces the chance of spoilage.
Top Questions & Answers
Can I use a blender or immersion blender?
Yes. If using a blender or immersion blender, start with the egg yolks and mustard, then add the oil dropwise through the lid or opening while blending at low speed. Once the emulsion forms, you can add the rest of the oil in a thin stream.
Can I use whole eggs instead of yolks?
Whole eggs will work in many mayonnaise recipes, but this particular version is written for yolks only. Whole eggs introduce more water from the whites, which changes texture and stability. If you prefer whole-egg mayo, reduce some acid and watch the oil addition carefully.
How long will this last?
Follow the recipe guidance: transfer to a clean container, refrigerate, and use within a few days. Freshness, cleanliness of utensils, and fridge temperature all affect shelf life.
What if I don’t have rice vinegar?
Rice vinegar is recommended for its mildness. If you must, you can substitute a mild white wine vinegar or white vinegar in small amounts, but taste carefully and reduce the amount if needed; these substitutes are usually sharper.
Can I flavor this mayo?
Yes. Once you have a stable base, fold in flavors like minced garlic, roasted peppers, Sriracha, or herbs. Add small amounts and taste. Keep in mind additions can change texture and shelf life.
Hungry for More?
If you liked this mayonnaise, try using it as the base for tangy dressings, spicy dipping sauces, or to elevate sandwiches and grain bowls. Bookmark this recipe, experiment with small flavor add-ins, and keep notes on what you liked so you can reproduce it exactly next time. Homemade mayo is a small kitchen skill that pays off in countless simple meals.
Homemade Japanese Mayo
Ingredients
Ingredients
- 2 large pasteurized egg yolks
- 1 3/4 teaspoonsDijon mustard
- 1 1/2 cupsneutral-flavored oilcanola or vegetable oil
- 2 tablespoonsunseasoned rice vinegar
- 1 tablespoonfresh lemon juice
- 1 1/2 teaspoonsgranulated sugarplus more to taste
- 1/2 teaspoonkosher salt
Instructions
Instructions
- In a medium bowl, whisk together 2 large pasteurized egg yolks and 1 3/4 teaspoons Dijon mustard until smooth and fully combined.
- Begin whisking vigorously and add the 1 1/2 cups neutral-flavored oil (canola or vegetable) a few drops at a time, whisking constantly so the mixture starts to thicken and form an emulsion.
- Once the mixture is noticeably thickened and stable, continue to add the remaining oil in a very thin, steady stream while whisking continuously until all the oil is incorporated and the mayonnaise is thick and creamy.
- Add 2 tablespoons unseasoned rice vinegar, 1 tablespoon fresh lemon juice, 1 1/2 teaspoons granulated sugar plus more to taste, and 1/2 teaspoon kosher salt to the bowl.
- Whisk until the acid, sugar, and salt are fully incorporated and taste; adjust sweetness by adding a little more sugar if desired.
- Transfer the mayonnaise to a clean, airtight container and refrigerate. Use within a few days.
Equipment
- Medium Bowl
- Whisk
- Airtight Container
Notes
Use pasteurized egg yolks for food-safety (as indicated).